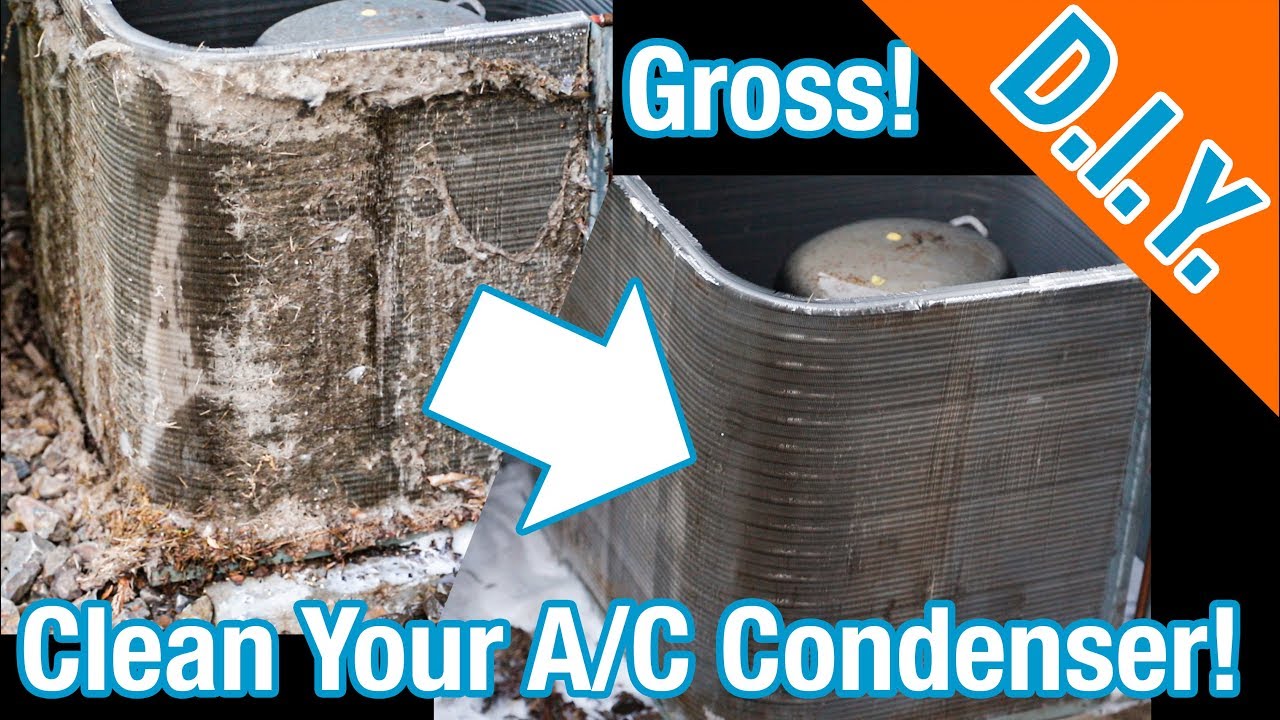
How To Clean Central Air Conditioner Coils
Maintaining a clean central air conditioning system is crucial for optimal performance, energy efficiency, and indoor air quality. A key component of your AC system requiring regular attention is the coils. Dirty coils force your system to work harder, leading to higher energy bills, reduced cooling capacity, and potential system failure. This guide will provide a comprehensive overview of how to clean your central air conditioner coils, empowering you to make an informed decision about whether to tackle this task yourself or call in a professional.
Understanding Your AC Coils
Your central air conditioner has two main sets of coils: the evaporator coil (located inside your home, usually in the air handler) and the condenser coil (located outside in the outdoor unit). Think of your AC system as a heat transfer mechanism. The refrigerant acts like the "blood" of the system, circulating between these coils.
The evaporator coil absorbs heat from the air inside your home, cooling it down. The condenser coil then releases that heat outside. When these coils are dirty, the heat transfer process becomes inefficient, leading to the problems mentioned earlier. Dust, dirt, pollen, leaves, and other debris can accumulate on the coils, acting as insulation and hindering their ability to release or absorb heat.
Why Clean Your Coils?
Cleaning your AC coils offers a multitude of benefits:
- Improved Energy Efficiency: Clean coils allow your AC system to operate at its designed efficiency, reducing energy consumption and lowering your electricity bills. A dirty coil forces the system to work harder to achieve the same level of cooling, wasting energy in the process.
- Enhanced Cooling Performance: Clean coils ensure optimal heat transfer, allowing your AC system to cool your home effectively and maintain a comfortable temperature.
- Extended System Lifespan: By reducing the strain on your AC system, cleaning the coils can help prolong its lifespan and prevent costly repairs. Overworked components are more prone to failure.
- Improved Indoor Air Quality: A dirty evaporator coil can harbor mold, bacteria, and other allergens, which can then be circulated throughout your home. Cleaning the coils can help improve indoor air quality and reduce allergy symptoms.
- Reduced Repair Costs: Addressing coil cleaning proactively can prevent more serious issues from developing, saving you money on expensive repairs down the road. For example, a refrigerant leak could occur due to the system running inefficiently due to dirty coils.
Safety First!
Before you begin any cleaning procedure, safety is paramount. Follow these precautions:
- Turn Off the Power: Always disconnect the power to both the indoor unit (air handler) and the outdoor unit (condenser) at the circuit breaker. This is crucial to prevent electrical shock. Double-check that the power is off before proceeding.
- Wear Protective Gear: Wear safety glasses and gloves to protect your eyes and hands from dirt, debris, and cleaning solutions.
- Read the Manual: Consult your AC system's owner's manual for specific recommendations and warnings regarding coil cleaning. Some models may have unique requirements.
- Work in a Well-Ventilated Area: When cleaning the evaporator coil, ensure adequate ventilation to avoid inhaling fumes from cleaning solutions.
- Be Mindful of Refrigerant Lines: Refrigerant lines are fragile. Avoid bending or damaging them during the cleaning process. If you suspect a refrigerant leak, do not attempt to repair it yourself; contact a qualified HVAC technician.
Cleaning the Condenser Coil (Outdoor Unit)
The condenser coil, located in the outdoor unit, is exposed to the elements and tends to accumulate more dirt and debris. Here's how to clean it effectively:
- Inspect the Unit: Visually inspect the condenser unit for any obvious signs of damage, such as bent fins or leaks.
- Remove Debris: Remove any large debris, such as leaves, twigs, grass clippings, or branches, from around the unit and from the coil itself. You can use a brush, vacuum cleaner with a brush attachment, or your hands (with gloves, of course).
- Straighten Bent Fins: The fins on the condenser coil are thin and delicate and can easily become bent. You can straighten them using a fin comb, which is a specialized tool designed for this purpose. Be gentle to avoid further damage.
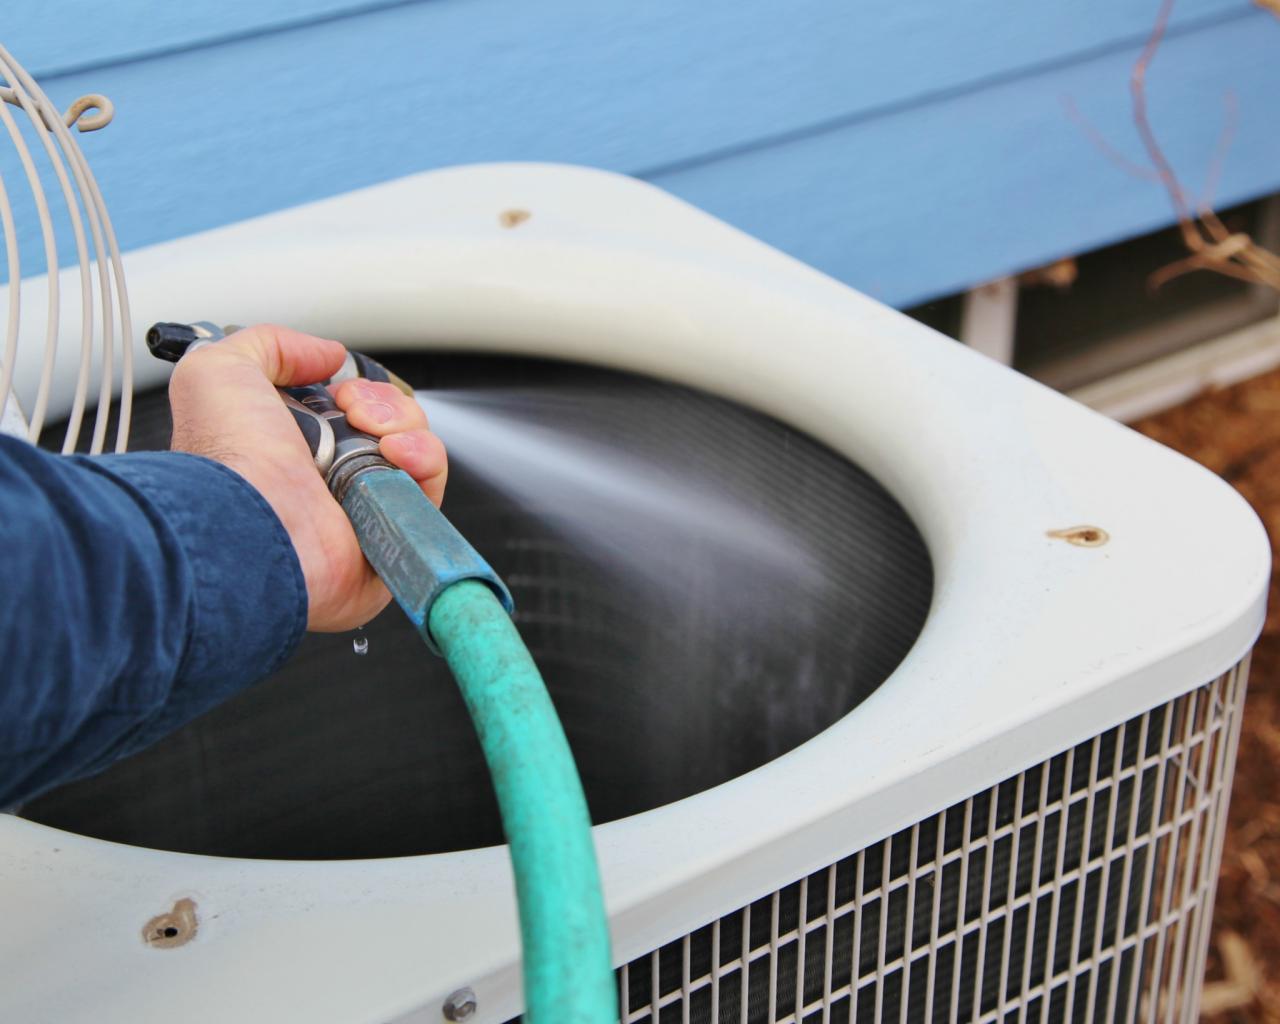
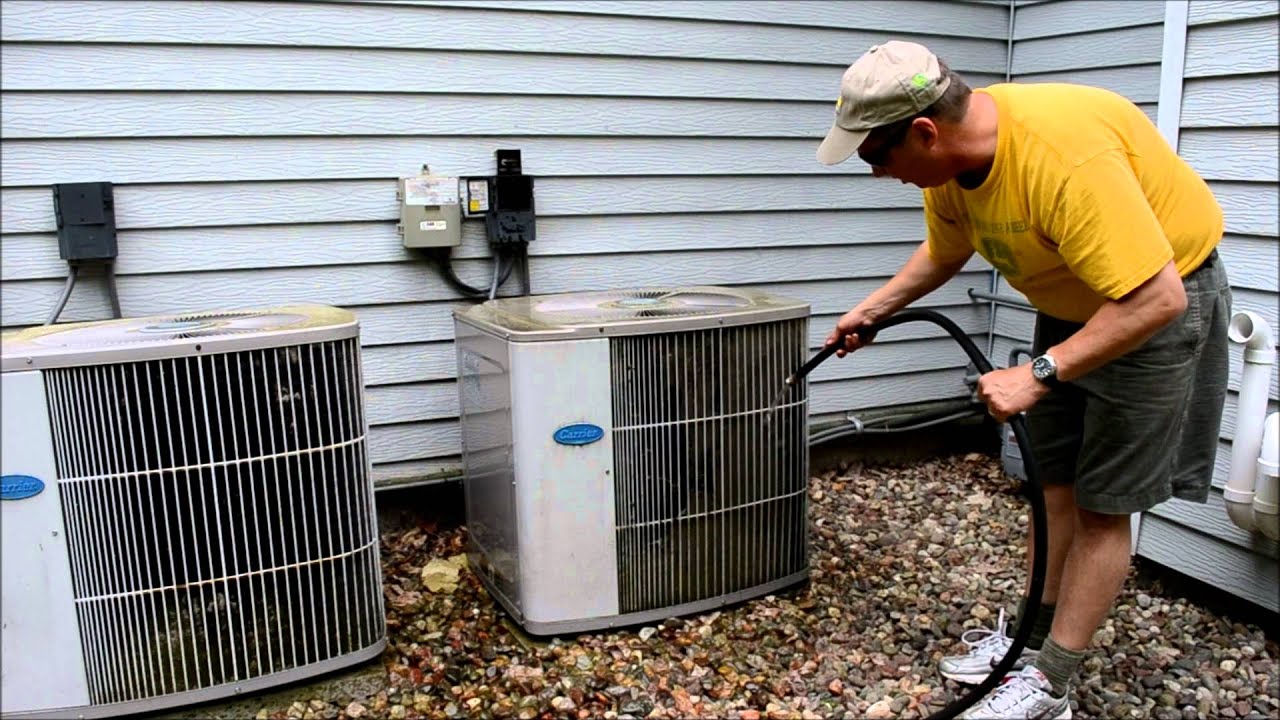
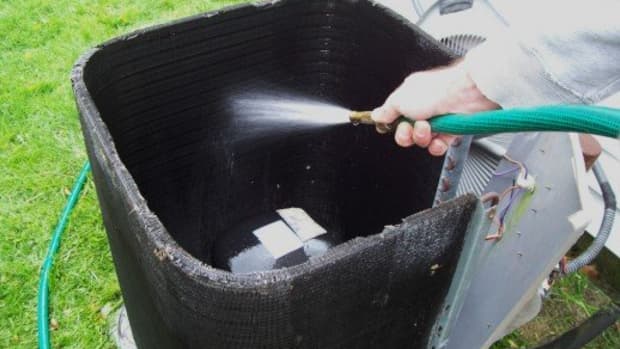
- Rinse with a Hose: Use a garden hose with a gentle spray nozzle to rinse the coil from the inside out. Avoid using a high-pressure nozzle, as this can damage the fins. Spray at an angle to remove dirt and debris trapped between the fins. Ensure the water drains away from the unit properly.
- Apply Coil Cleaner (Optional): If the coil is heavily soiled, you can use a commercially available coil cleaner. Follow the manufacturer's instructions carefully. Most coil cleaners require you to spray the cleaner onto the coil, let it sit for a specified time, and then rinse it off with water. Use a non-acidic coil cleaner to avoid damaging the coil.
- Rinse Again: After applying coil cleaner (if used), rinse the coil thoroughly with water to remove any residue.
- Allow to Dry: Allow the condenser coil to air dry completely before turning the power back on.
Cleaning the Evaporator Coil (Indoor Unit)
Cleaning the evaporator coil, located inside your home, can be more challenging, as it often requires some disassembly of the air handler. If you are uncomfortable with this, it's best to call a professional.
- Locate the Evaporator Coil: The evaporator coil is typically located in the air handler, which is usually found in the attic, basement, or a closet.
- Access the Coil: Remove the access panel to the air handler. You may need to remove screws or clips. Take pictures of the wiring and components before disconnecting anything to help you reassemble it later.
- Inspect the Coil: Visually inspect the evaporator coil for dirt, dust, and mold growth.
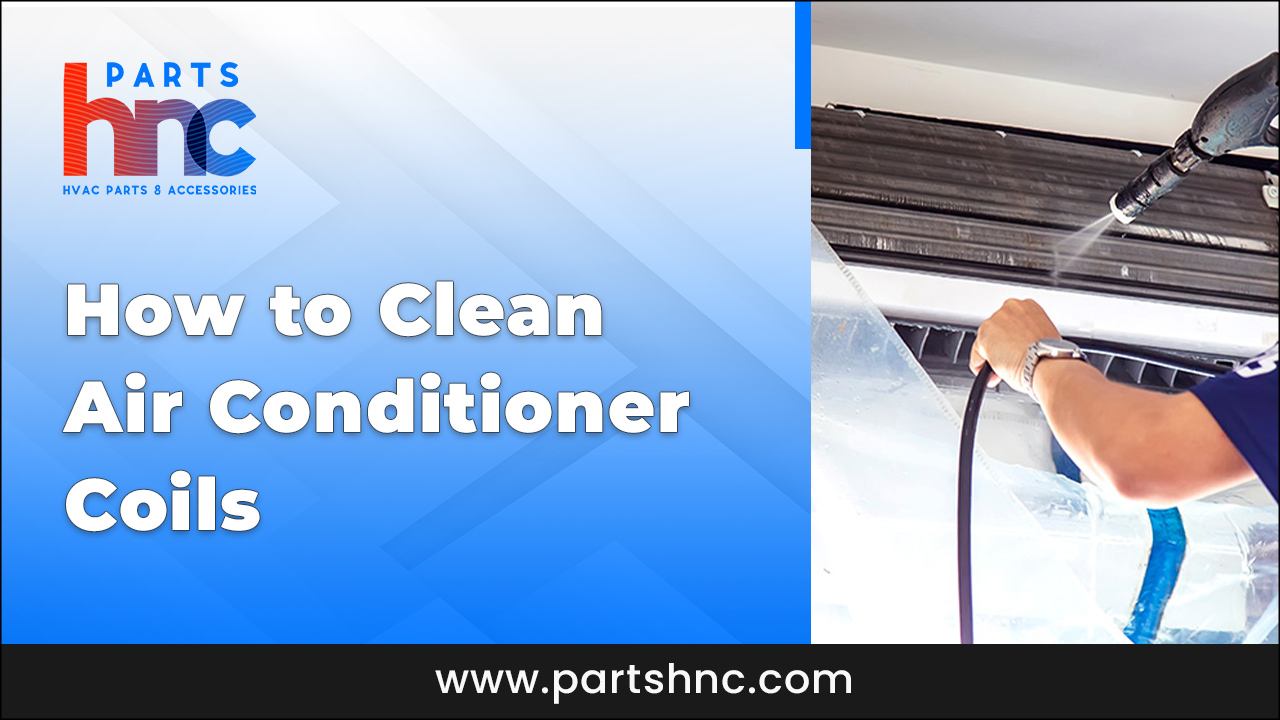
- Clean with a Soft Brush and Vacuum: Use a soft brush attachment on a vacuum cleaner to gently remove loose dust and debris from the coil. Be careful not to damage the delicate fins.
- Apply Coil Cleaner (Optional): If the coil is heavily soiled or shows signs of mold growth, you can use a commercially available evaporator coil cleaner. Use a no-rinse coil cleaner specifically designed for evaporator coils, as it's difficult to rinse the coil thoroughly in place. Follow the manufacturer's instructions carefully.
- Allow to Dry: Allow the evaporator coil to air dry completely before reassembling the air handler.
- Replace the Access Panel: Carefully replace the access panel, ensuring all screws or clips are securely fastened. Double-check that all wiring is properly reconnected based on the pictures you took.
When to Call a Professional
While cleaning your AC coils can be a DIY project, there are situations where it's best to call a qualified HVAC technician:
- You're Uncomfortable: If you are not comfortable working with electrical components or disassembling your AC system, it's best to leave the job to a professional.
- You Suspect a Refrigerant Leak: If you suspect a refrigerant leak, do not attempt to repair it yourself. Contact a qualified HVAC technician immediately. Refrigerant is a hazardous substance, and handling it requires specialized equipment and training.
- The Coils are Severely Soiled: If the coils are extremely dirty or have significant mold growth, a professional cleaning may be necessary. They have specialized equipment and cleaning solutions to handle these situations effectively.
- The System is Under Warranty: Cleaning the coils yourself may void your AC system's warranty. Check your warranty terms before proceeding.
- You're Not Seeing Results: If you've cleaned the coils yourself and your AC system is still not performing optimally, there may be other underlying issues that require professional diagnosis and repair.
Preventative Maintenance
To minimize the need for frequent coil cleaning and ensure the long-term health of your AC system, consider the following preventative measures:
- Regularly Change Air Filters: Replace your air filters every 1-3 months, depending on the type of filter and the air quality in your home. Clean air filters prevent dust and debris from accumulating on the evaporator coil.
- Keep the Outdoor Unit Clear: Keep the area around the outdoor unit free of leaves, grass clippings, and other debris. Trim shrubs and bushes that are close to the unit.
- Schedule Regular Professional Maintenance: Schedule annual or bi-annual maintenance with a qualified HVAC technician. They can inspect and clean the coils, as well as perform other essential maintenance tasks to keep your system running smoothly.
Choosing the Right Coil Cleaner
If you decide to use a coil cleaner, it's important to choose the right product. Here are some factors to consider:
- Type of Coil: Use a cleaner specifically designed for either condenser coils or evaporator coils.
- Acidic vs. Non-Acidic: Avoid using acidic coil cleaners, as they can damage the coils. Opt for a non-acidic cleaner.
- Rinsing Required: For evaporator coils, choose a no-rinse cleaner, as it's difficult to rinse the coil thoroughly. For condenser coils, choose a cleaner that can be easily rinsed off with water.
- Biodegradable: Consider using a biodegradable coil cleaner to minimize environmental impact.
- Read Reviews: Read online reviews and compare different products before making a purchase.
Conclusion
Cleaning your central air conditioner coils is an essential part of maintaining a healthy and efficient AC system. By following the steps outlined in this guide, you can effectively clean your coils and enjoy improved energy efficiency, enhanced cooling performance, and a longer system lifespan. Remember to prioritize safety and, when in doubt, call a qualified HVAC technician for assistance. Regular maintenance is key to avoiding bigger problems down the line, saving you money and discomfort in the long run.

:max_bytes(150000):strip_icc()/how-to-clean-air-conditioner-coils-5225557-step-12-2ba92c6572654da1997facb50c456218.jpg)

:max_bytes(150000):strip_icc()/CleaningAirConditionerCoils-7c523daa8342441381326474a3ce4f83.jpg)