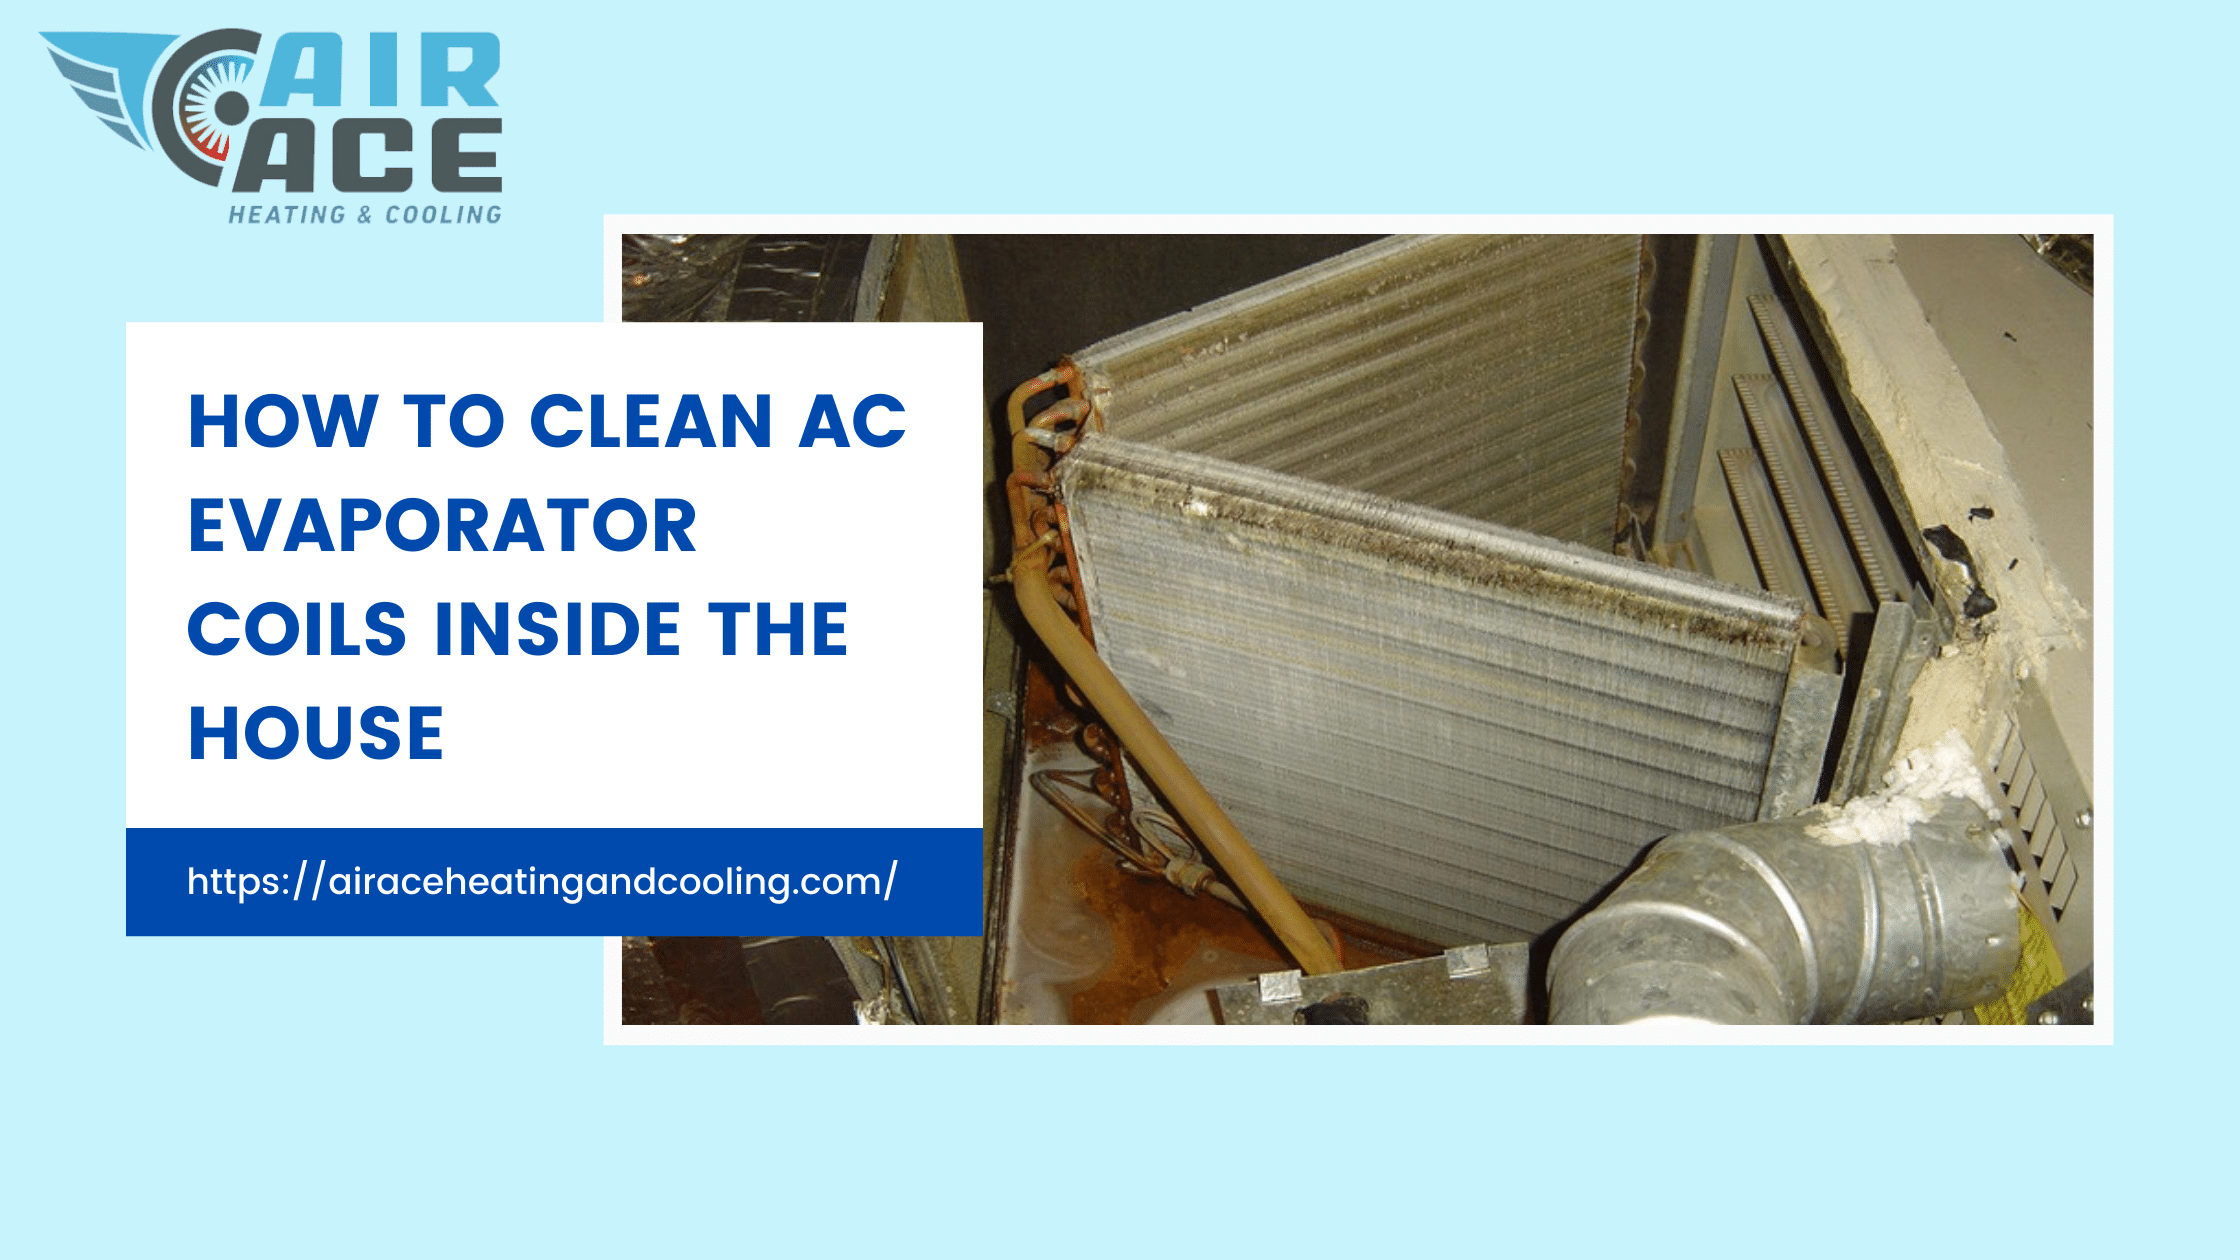
How To Clean Dirty Evaporator Coil

A dirty evaporator coil is a common problem that can severely impact the performance of your air conditioning system. It reduces efficiency, increases energy bills, and can even lead to system failure. This guide will provide you with a comprehensive understanding of how to clean a dirty evaporator coil, helping you decide if it's a DIY project or if you should call in a professional.
Understanding the Evaporator Coil
The evaporator coil is a critical component of your air conditioning system. Think of refrigerant as the 'blood' of your AC system, carrying heat from inside to outside. The evaporator coil is where the refrigerant absorbs heat from the air inside your home. This process cools the air, which is then circulated throughout your house. The coil is typically located inside the indoor unit of your AC system, often within the air handler.
When the evaporator coil is dirty, it acts as an insulator, preventing efficient heat transfer. Dust, dirt, mold, and other debris accumulate on the coil's surface, reducing its ability to absorb heat. This forces your AC system to work harder, consuming more energy and ultimately costing you money.
Signs of a Dirty Evaporator Coil
Recognizing the signs of a dirty evaporator coil is the first step in addressing the problem. Here are some common indicators:
- Reduced cooling performance: Your AC may not be cooling your home as effectively as it used to.
- Increased energy bills: You may notice a significant increase in your energy consumption without a change in your cooling habits.
- Frozen evaporator coil: Excessive dirt can restrict airflow, causing the coil to freeze.
- Musty odor: Mold and mildew growth on the coil can produce an unpleasant musty smell.
- Water leaks: A clogged condensate drain pan, often caused by debris from the dirty coil, can lead to water leaks.
- Longer run times: Your AC unit runs for longer periods to achieve the desired temperature.
Safety Precautions Before Cleaning
Before you even think about cleaning your evaporator coil, safety is paramount. Here's what you need to do:
- Turn off the power: Locate the circuit breaker for your indoor AC unit and turn it off. This is essential to prevent electric shock.
- Wear protective gear: Wear safety glasses, gloves, and a dust mask to protect yourself from dust, mold, and cleaning chemicals.
- Read the manufacturer's instructions: Consult your AC unit's manual for specific instructions and warnings related to cleaning the evaporator coil.
Tools and Materials You'll Need
Having the right tools and materials will make the cleaning process much easier and more effective. Here's a list of essentials:
- Screwdriver: To remove access panels.
- Vacuum cleaner with hose attachment: To remove loose dirt and debris.
- Soft brush: For gently brushing the coil fins. A fin comb can also be helpful to straighten bent fins.
- Evaporator coil cleaner: Choose a cleaner specifically designed for evaporator coils. These are available at most hardware stores and online retailers. Avoid using harsh chemicals or abrasive cleaners, as these can damage the coil. No-rinse cleaners are often the easiest to use.
- Spray bottle: For applying the coil cleaner.
- Flashlight or work light: To provide adequate illumination.
- Clean cloths or rags: For wiping surfaces.
- Fin comb (optional): To straighten bent coil fins.
Step-by-Step Guide to Cleaning Your Evaporator Coil
Now, let's get down to the nitty-gritty of cleaning your evaporator coil. Follow these steps carefully:
- Access the Evaporator Coil: The first step is to gain access to the evaporator coil. This usually involves removing an access panel on your indoor AC unit. The location of this panel varies depending on the model. Consult your AC unit's manual for specific instructions. Typically, you'll need to remove screws to detach the panel. Be careful not to damage any wires or components.
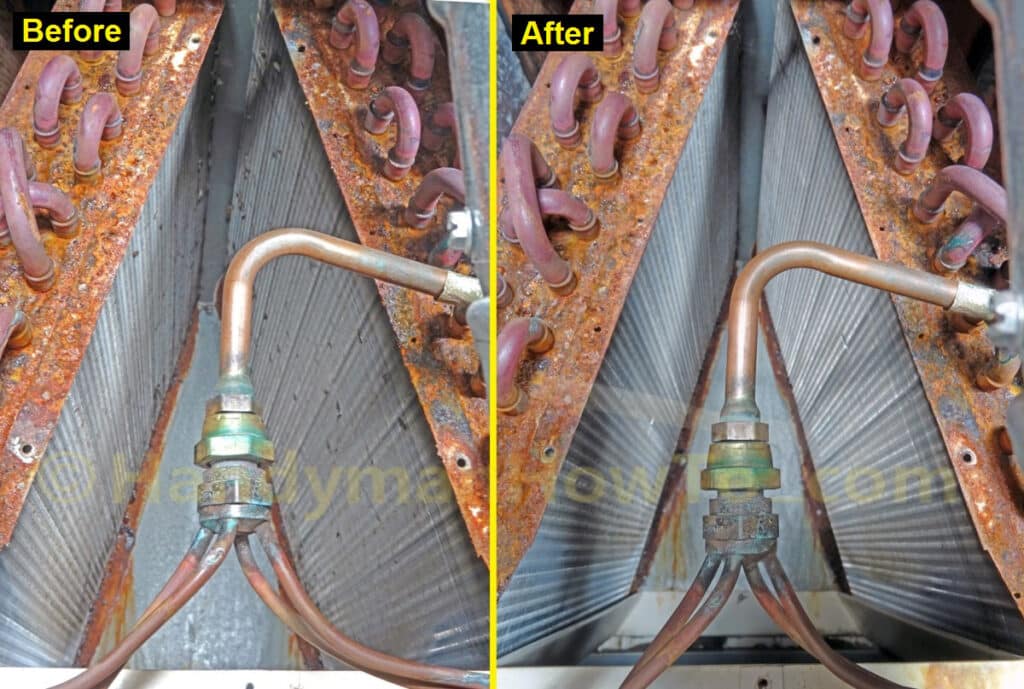
- Inspect the Coil: Once you have access to the coil, carefully inspect it for dirt, dust, mold, and other debris. Use a flashlight to get a good view. Note the extent of the buildup and any areas of concern.
- Vacuum the Coil: Use a vacuum cleaner with a hose attachment to remove loose dirt and debris from the coil. Gently vacuum the coil fins, being careful not to bend or damage them. Work from top to bottom.
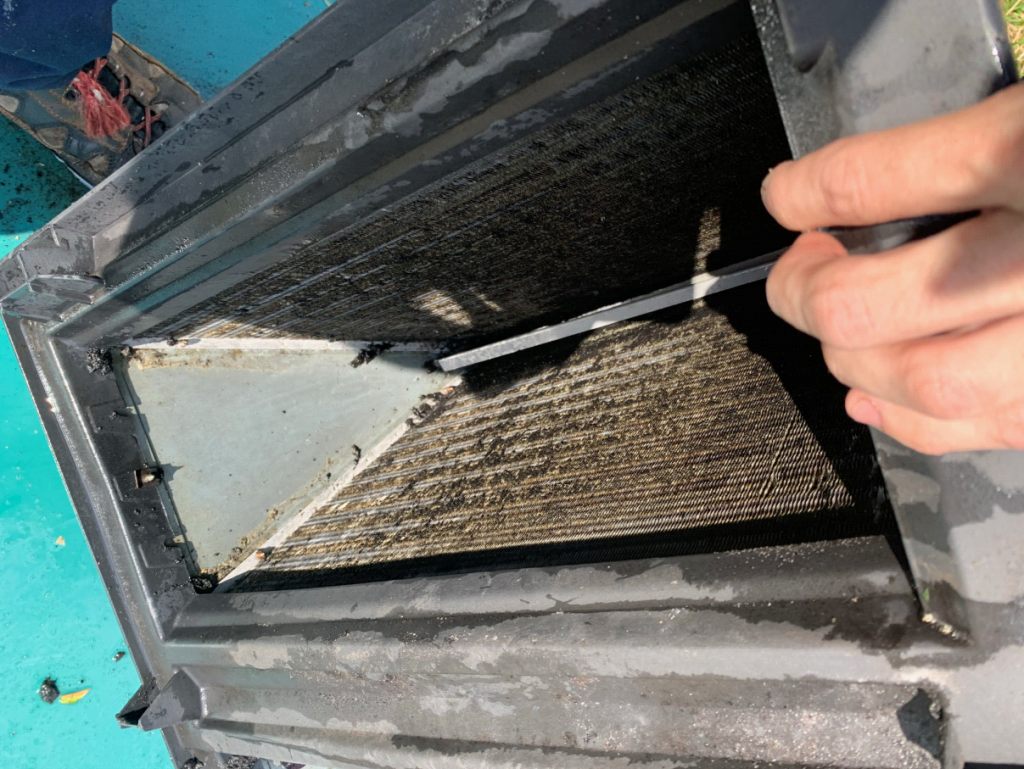
- Straighten Bent Fins (If Necessary): If the coil fins are bent, use a fin comb to straighten them. Gently slide the fin comb through the fins to realign them. This will improve airflow and the coil's efficiency.
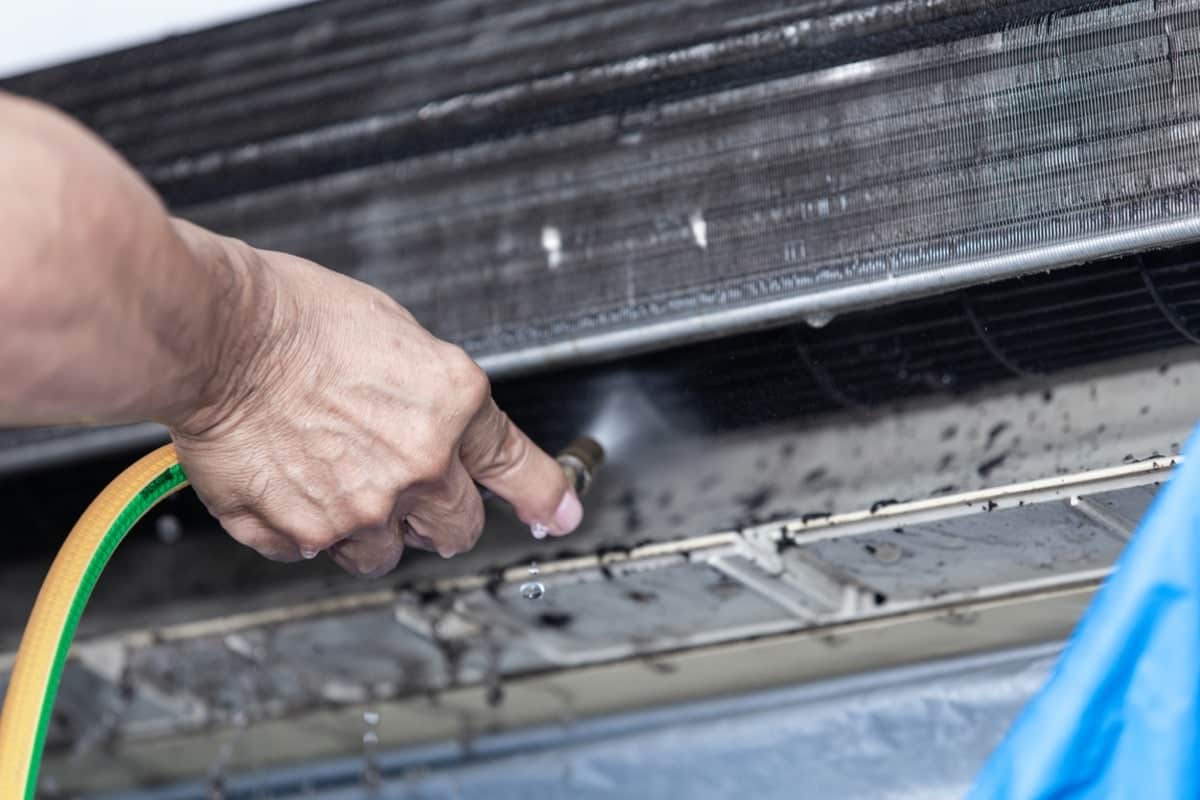
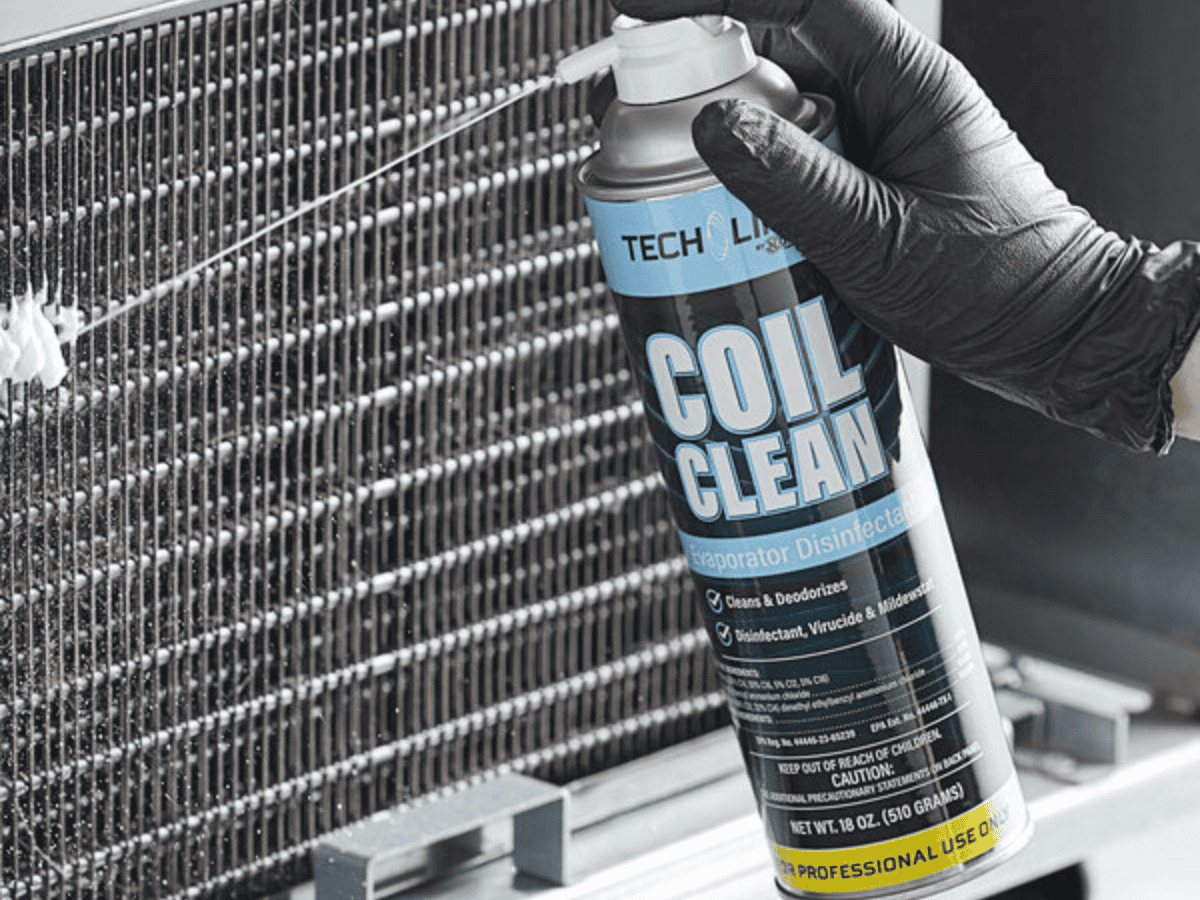
- Apply the Evaporator Coil Cleaner: Spray the evaporator coil cleaner evenly over the entire coil surface. Follow the manufacturer's instructions on the cleaner's label. Some cleaners require a specific dwell time before wiping, while others are no-rinse. Ensure proper ventilation while using the cleaner.
- Allow the Cleaner to Dwell (If Required): If the cleaner requires a dwell time, allow it to sit on the coil for the specified period. This will allow the cleaner to penetrate and loosen stubborn dirt and grime.
- Wipe the Coil (If Required): If the cleaner requires wiping, use clean cloths or rags to gently wipe the coil surface. Be careful not to damage the fins.
- Clean the Drain Pan and Drain Line: A clogged drain pan and drain line can lead to water leaks. Clean the drain pan with a mild detergent and water. You can also use a wet/dry vacuum to remove any standing water and debris. To clear the drain line, you can use a wet/dry vacuum or pour a cup of diluted bleach into the drain line opening (located near the evaporator coil) to kill any mold or algae. Always follow safety precautions when working with bleach.
- Reassemble the Unit: Once the coil is clean and dry, reassemble the AC unit by replacing the access panel and securing it with screws.
- Turn the Power Back On: Turn the circuit breaker back on to restore power to your AC unit.
- Test the System: Turn on your AC system and monitor its performance. You should notice improved cooling efficiency and airflow.
Choosing the Right Evaporator Coil Cleaner
Selecting the right evaporator coil cleaner is crucial for effective and safe cleaning. Here's what to consider:
- Type of Cleaner: Choose a cleaner specifically designed for evaporator coils. These are typically available in two types: no-rinse and rinse. No-rinse cleaners are generally easier to use, as they don't require rinsing after application. However, rinse cleaners may be more effective for heavily soiled coils.
- Ingredients: Avoid cleaners containing harsh chemicals or abrasive ingredients, as these can damage the coil. Look for cleaners that are environmentally friendly and safe for use around humans and pets.
- Reviews: Read online reviews to get an idea of the cleaner's effectiveness and ease of use.
- Manufacturer Recommendations: Consult your AC unit's manual for recommended cleaners.
When to Call a Professional
While cleaning your evaporator coil can be a DIY project, there are situations where it's best to call a professional HVAC technician. Consider these factors:
- Lack of Experience: If you're not comfortable working with electrical components or disassembling your AC unit, it's best to leave the cleaning to a professional.
- Extensive Mold Growth: If you notice extensive mold growth on the evaporator coil, it's important to have it professionally cleaned and sanitized. Mold can be harmful to your health, and professionals have the necessary equipment and expertise to remove it safely and effectively.
- Refrigerant Leaks: If you suspect a refrigerant leak, do not attempt to clean the coil yourself. Refrigerant is a hazardous substance, and leaks should be addressed by a qualified technician.
- Complex System: If you have a complex AC system with multiple components, it's best to call a professional to ensure the coil is cleaned properly and without damaging other parts of the system.
- Warranty Concerns: Cleaning the coil yourself might void the warranty of your AC unit. Check your warranty terms before attempting any DIY repairs.
A professional HVAC technician will have the necessary tools, equipment, and expertise to clean your evaporator coil safely and effectively. They can also inspect your entire AC system for other potential problems and make recommendations for maintenance and repairs.
Preventing Future Buildup
Once you've cleaned your evaporator coil, it's important to take steps to prevent future buildup. Here are some tips:
- Regularly Replace Air Filters: Replacing your air filters every 1-3 months is crucial for preventing dust and debris from entering your AC system and accumulating on the evaporator coil.
- Schedule Regular AC Maintenance: Schedule regular maintenance with a qualified HVAC technician. They can inspect your AC system, clean the evaporator coil, and identify any potential problems before they become major issues.
- Keep the Area Around the Outdoor Unit Clean: Keep the area around your outdoor AC unit free of debris, such as leaves, grass clippings, and branches. This will ensure proper airflow and prevent the unit from overheating.
- Consider UV Lights: Installing UV lights inside your air handler can help kill mold and bacteria that may grow on the evaporator coil.
By following these tips, you can help keep your evaporator coil clean and maintain the efficiency of your AC system for years to come.
Conclusion
Cleaning your evaporator coil is an important maintenance task that can significantly improve the performance and efficiency of your air conditioning system. By following the steps outlined in this guide, you can determine if it's a DIY project or if you need to call a professional. Remember to prioritize safety and take preventative measures to keep your coil clean in the future. A clean evaporator coil means a more efficient AC system, lower energy bills, and a more comfortable home.