How To Clean Evaporator Coil In Attic
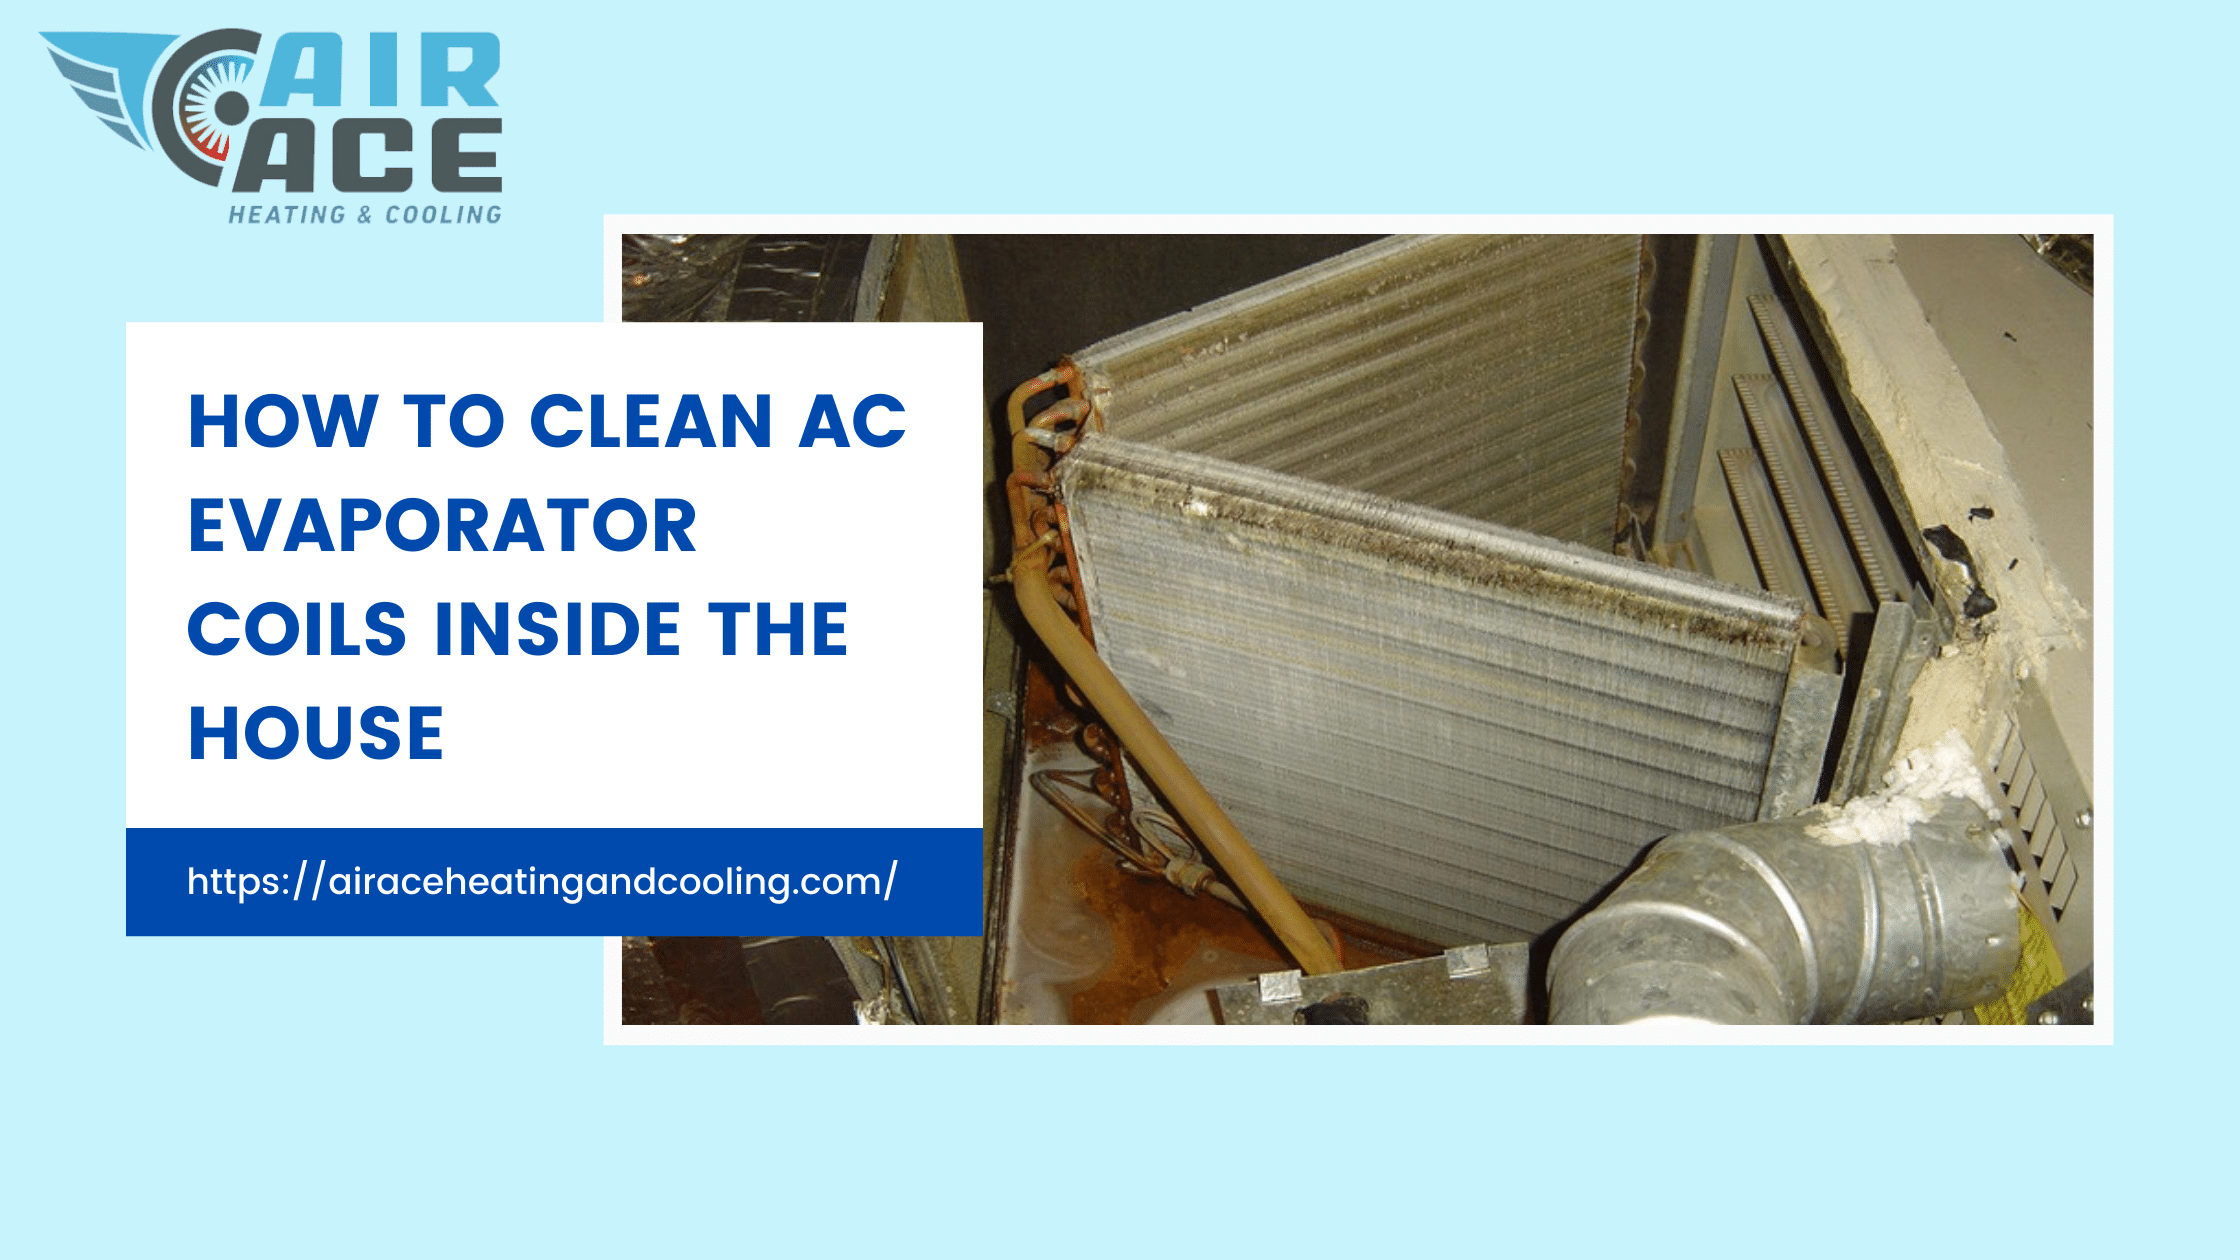
Why and How to Clean Your Attic Evaporator Coil: A Comprehensive Guide
Maintaining a clean evaporator coil is crucial for the efficient and effective operation of your HVAC system. When located in the attic, the evaporator coil is particularly susceptible to dust, debris, and even mold growth, which can significantly impact its performance and your indoor air quality. This guide will walk you through the importance of a clean evaporator coil, how to identify when it needs cleaning, and a step-by-step process for cleaning it yourself. We'll also touch on professional cleaning services and preventative measures you can take.
The Importance of a Clean Evaporator Coil
The evaporator coil is responsible for absorbing heat from your home's air. As warm air passes over the cold coil, refrigerant inside the coil absorbs the heat, cooling the air before it's circulated back into your living spaces. Over time, dust, dirt, pet dander, and other airborne particles can accumulate on the coil's surface, creating a layer of insulation. This insulation reduces the coil's ability to transfer heat, leading to several problems:
- Reduced Cooling Efficiency: A dirty coil requires your HVAC system to work harder to achieve the desired temperature, resulting in higher energy bills.
- Decreased Airflow: Accumulated debris can restrict airflow, making it difficult for your system to cool your home evenly.
- Frozen Coil: In severe cases, a dirty coil can cause the refrigerant to become excessively cold, leading to the formation of ice on the coil. A frozen coil significantly reduces cooling capacity and can damage the compressor.
- Poor Indoor Air Quality: Mold and bacteria can thrive on a dirty coil, releasing harmful spores and allergens into your home's air.
- Increased Wear and Tear: The strain on your system due to a dirty coil can shorten its lifespan and lead to costly repairs.
Signs Your Attic Evaporator Coil Needs Cleaning
Recognizing the signs of a dirty evaporator coil is essential for timely maintenance. Here are some common indicators:
- Reduced Cooling Performance: If your home isn't cooling as effectively as it used to, it could be a sign that your evaporator coil is dirty.
- Higher Energy Bills: A noticeable increase in your energy bills without a corresponding change in usage patterns may indicate that your HVAC system is working harder due to a dirty coil.
- Weak Airflow: If the airflow from your vents is weak or inconsistent, it could be a sign of restricted airflow due to a dirty coil.
- Musty Odor: A musty or moldy odor coming from your vents could indicate mold growth on the evaporator coil.
- Visible Dust and Debris: If you can see visible dust and debris on the coil when you inspect it, it's definitely time for a cleaning.
- Freezing: As mentioned before, ice on the coil.
Tools and Materials You'll Need
Before you begin cleaning your evaporator coil, gather the necessary tools and materials:
- Screwdrivers: You'll need screwdrivers to remove access panels and other components.
- Vacuum Cleaner with Brush Attachment: A vacuum cleaner is essential for removing loose dust and debris.
- Soft-Bristled Brush: A soft-bristled brush is needed to gently scrub the coil without damaging it.
- Fin Comb: A fin comb is used to straighten bent or damaged fins on the coil.
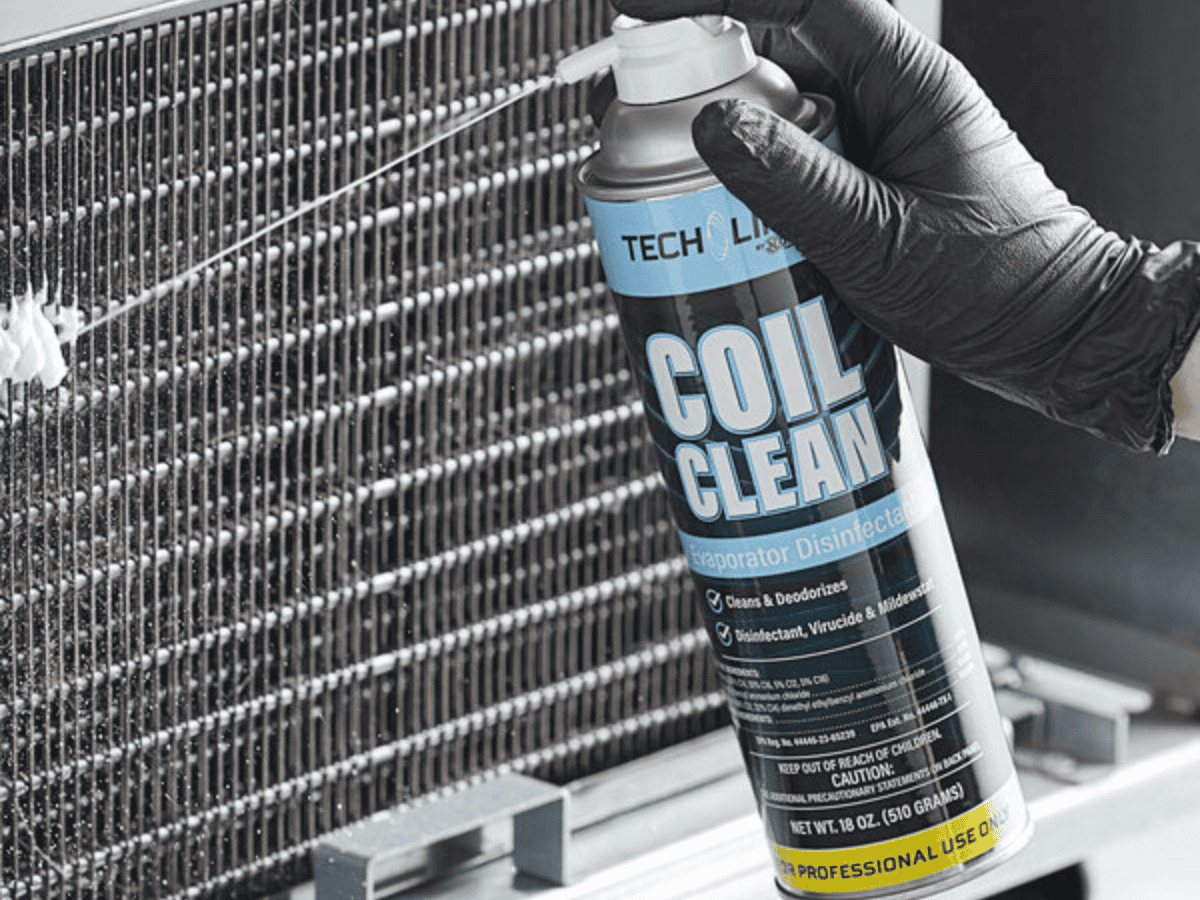
- Evaporator Coil Cleaner: Use a cleaner specifically designed for evaporator coils. These cleaners are available at most home improvement stores. Look for a no-rinse cleaner for ease of use.
- Spray Bottle: A spray bottle is needed to apply the cleaner to the coil.
- Protective Gear: Wear safety glasses, gloves, and a dust mask to protect yourself from dust, debris, and chemicals.
- Flashlight or Work Light: Good lighting is essential for seeing the coil and working safely in the attic.
- Ladder: If your unit is difficult to reach.
Step-by-Step Guide to Cleaning Your Attic Evaporator Coil
Safety First: Before you begin, turn off the power to your HVAC system at the breaker box. This is crucial to prevent electrical shock.
- Locate the Evaporator Coil: The evaporator coil is typically located inside the air handler unit in your attic. Look for a rectangular or square metal box with ductwork attached to it.
- Remove the Access Panel: Use a screwdriver to remove the access panel to the air handler. This will expose the evaporator coil.
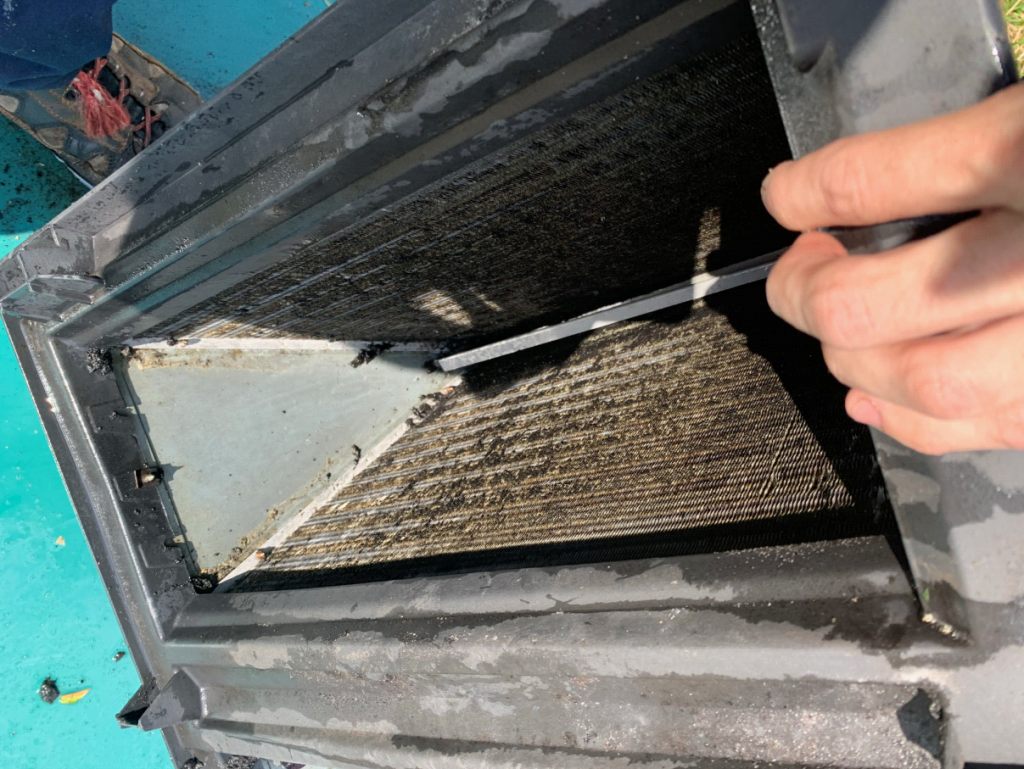
- Inspect the Coil: Carefully inspect the coil for dust, dirt, mold, and bent fins. Take note of the condition of the coil so you can assess the effectiveness of your cleaning.
- Vacuum the Coil: Use the brush attachment on your vacuum cleaner to gently remove loose dust and debris from the coil. Be careful not to damage the fins.
- Straighten Bent Fins: If you notice any bent fins, use a fin comb to carefully straighten them. This will improve airflow and the coil's efficiency.
- Apply Evaporator Coil Cleaner: Follow the instructions on the evaporator coil cleaner. Typically, you'll spray the cleaner onto the coil, ensuring that you cover all surfaces. Allow the cleaner to sit for the recommended time (usually 10-15 minutes).
- Wipe Down the Coil (If Necessary): If the cleaner requires rinsing, carefully rinse the coil with water. Some no-rinse cleaners are available, which save this step.
- Allow the Coil to Dry: Allow the coil to dry completely before reassembling the unit. This may take several hours.
- Replace the Access Panel: Once the coil is dry, replace the access panel and secure it with screws.
- Restore Power: Turn the power back on to your HVAC system at the breaker box.
- Test the System: Turn on your HVAC system and check to see if it is cooling properly. You should notice improved airflow and cooling performance.
When to Call a Professional
While cleaning your evaporator coil yourself can save you money, there are times when it's best to call a professional HVAC technician:
- Heavy Mold Growth: If you notice heavy mold growth on the coil, it's best to call a professional. They have the expertise and equipment to safely remove the mold and prevent it from spreading.
- Complex System: If you have a complex HVAC system or are not comfortable working with electrical components, it's best to leave the cleaning to a professional.
- Refrigerant Leaks: If you suspect a refrigerant leak, do not attempt to clean the coil yourself. Call a professional immediately.
- Lack of Experience: If you are unsure about any part of the cleaning process, it's always best to err on the side of caution and call a professional.
Professional Cleaning Services
Professional HVAC technicians use specialized equipment and cleaning solutions to thoroughly clean evaporator coils. They can also inspect your system for other potential problems, such as refrigerant leaks or damaged components. The cost of professional evaporator coil cleaning typically ranges from $100 to $300, depending on the complexity of the job and your location. The peace of mind and thorough cleaning may be worth the investment, especially if you haven't cleaned your unit in a long time.
Preventative Measures
Preventing your evaporator coil from getting dirty in the first place is the best way to ensure its long-term performance and efficiency. Here are some preventative measures you can take:
- Regularly Change Air Filters: Changing your air filters every 1-3 months is the most important step you can take to keep your evaporator coil clean. Clean filters trap dust and debris before they can reach the coil. Consider high-efficiency filters if you struggle with airborne allergies or pet dander.
- Seal Ductwork: Leaky ductwork can draw in dust and debris from the attic, which can accumulate on the evaporator coil. Seal any leaks in your ductwork with duct tape or mastic sealant.
- Professional Maintenance: Schedule regular professional maintenance for your HVAC system. A technician can inspect and clean your evaporator coil as part of their routine service.
- Consider UV Lights: Install UV lights in your air handler. These lights kill mold and bacteria that can grow on the evaporator coil, helping to keep it clean and prevent odors.
- Improve Attic Ventilation: Ensure your attic is properly ventilated to reduce moisture buildup, which can contribute to mold growth.
Evaporator Coil Cleaning and Energy Efficiency
Maintaining a clean evaporator coil is directly linked to the energy efficiency of your HVAC system. A clean coil allows for optimal heat transfer, reducing the strain on your system and lowering your energy bills. Remember that even a small amount of dirt buildup can significantly impact efficiency, so regular cleaning is crucial.
Conclusion
Cleaning your attic evaporator coil is an essential part of maintaining a healthy and efficient HVAC system. By following the steps outlined in this guide, you can keep your coil clean and prevent costly problems down the road. Whether you choose to clean the coil yourself or hire a professional, regular maintenance is the key to ensuring that your HVAC system operates at its best for years to come.