How To Clean Evaporator Coils On Ac Unit
How To Clean Evaporator Coils On Your AC Unit: A Homeowner's Guide
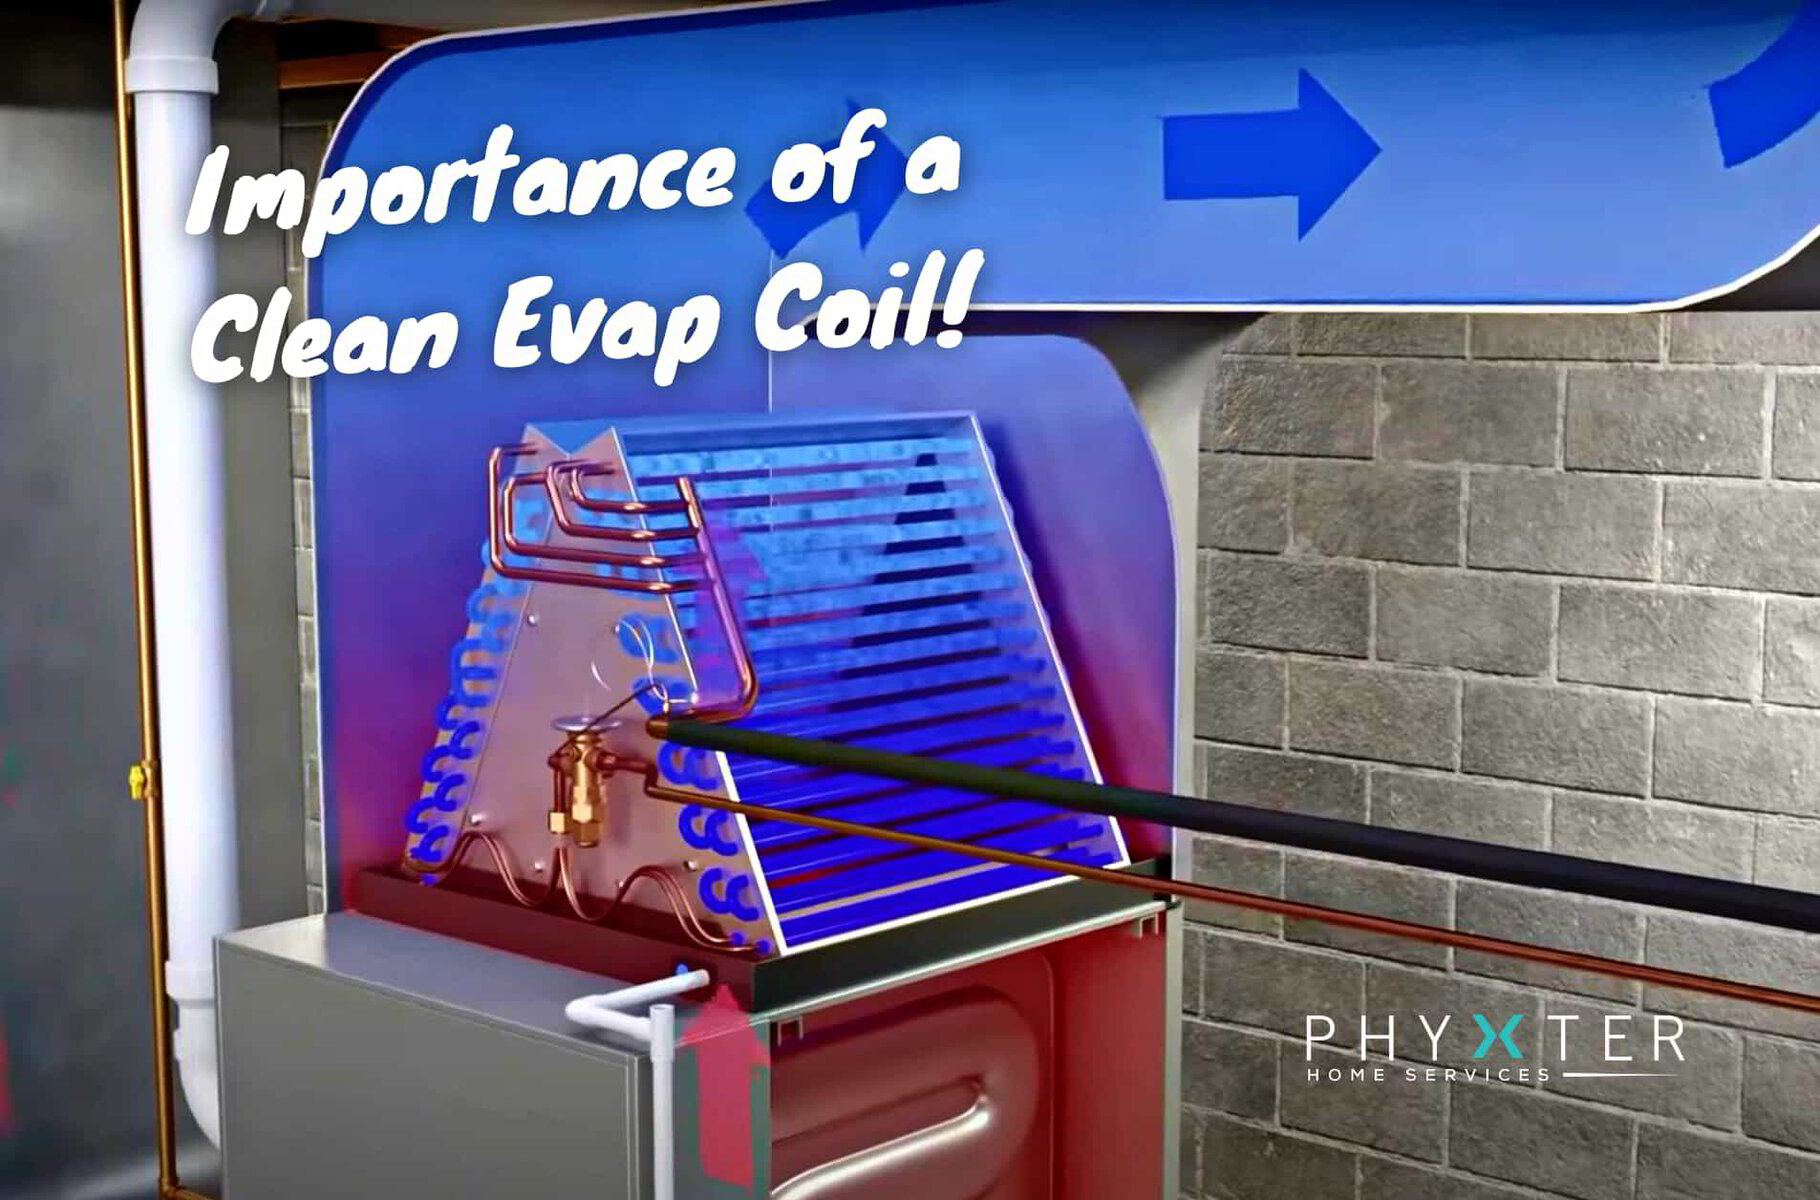
Your air conditioner's evaporator coils are crucial for keeping your home cool. When these coils get dirty, your AC unit's efficiency drops, leading to higher energy bills and potentially even system failure. Fortunately, cleaning your evaporator coils is a task many homeowners can tackle themselves. This guide provides a step-by-step approach to cleaning your AC's evaporator coils, helping you improve performance and potentially save money.
Safety First!
Before you begin any work on your AC unit, safety is paramount. Remember to:
- Turn off the power: Locate the breaker for your AC unit in your electrical panel and switch it off. Double-check to ensure no power is running to the unit.
- Wear protective gear: Gloves and eye protection are essential. You might encounter mold or other contaminants during the cleaning process.
- Work in a well-ventilated area: This is particularly important when using cleaning solutions.
Tools and Materials You'll Need
Gathering your tools and materials beforehand will streamline the cleaning process. Here's what you'll likely need:
- Screwdrivers (various sizes, including a Phillips head)
- Wrench (for disconnecting refrigerant lines, if necessary – proceed with extreme caution and consider professional help if unsure)
- Fin comb (for straightening bent coil fins)
- Vacuum cleaner with a brush attachment
- Soft-bristled brush (like a paintbrush)
- Spray bottle
- Evaporator coil cleaner (either a no-rinse cleaner or a mild detergent solution – avoid harsh chemicals)
- Clean cloths or rags
- Flashlight or work light
Step-by-Step Cleaning Process
Follow these steps to safely and effectively clean your evaporator coils:
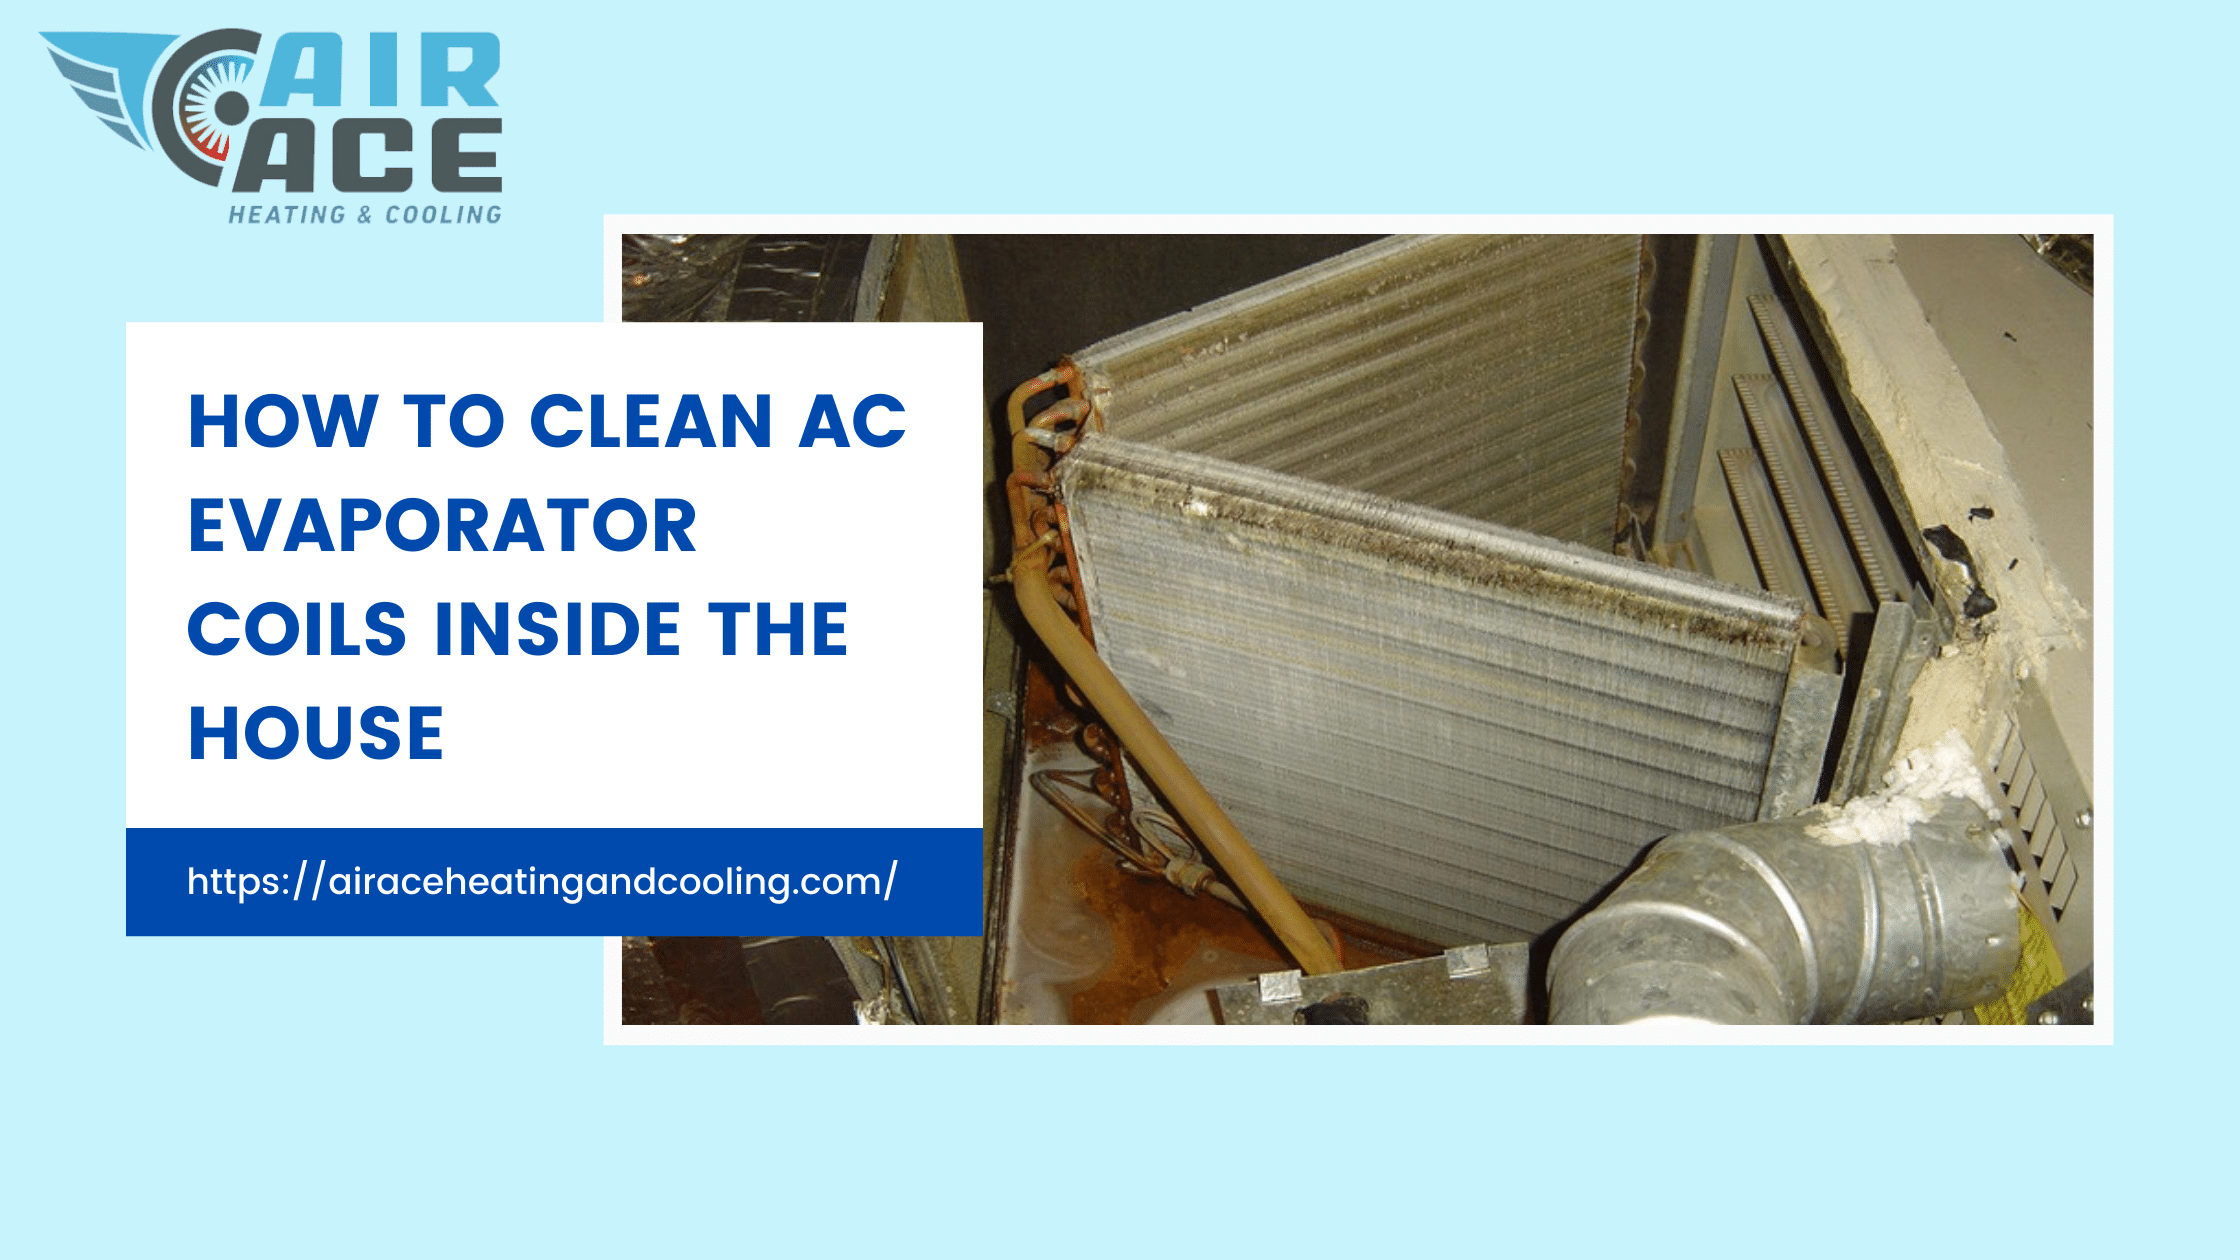
1. Locate the Evaporator Coil
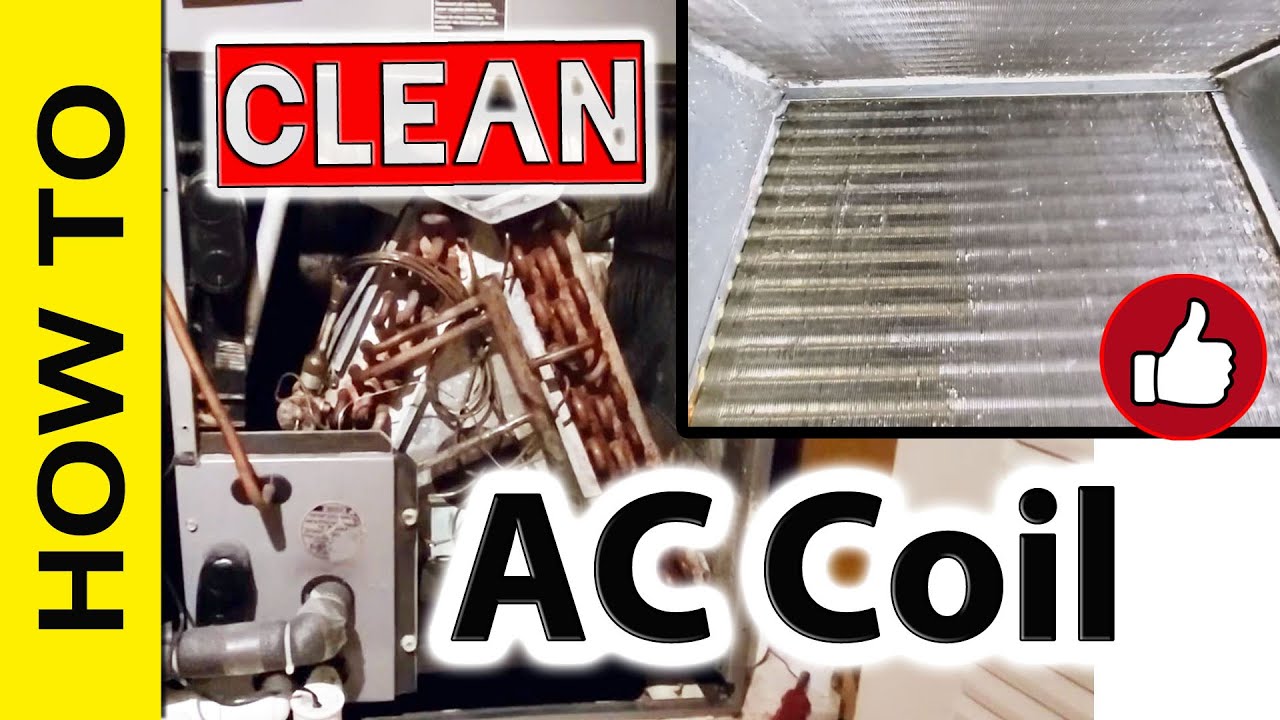
The evaporator coil is typically located inside the indoor air handler unit. This is usually a metal box connected to your furnace. You might need to remove an access panel to reach the coil. Consult your air handler's manual for the precise location and removal instructions. If you cannot find the indoor unit, call an HVAC professional.
2. Open the Access Panel
Use a screwdriver to remove the screws securing the access panel. Carefully detach the panel and set it aside. You should now have a clear view of the evaporator coil.
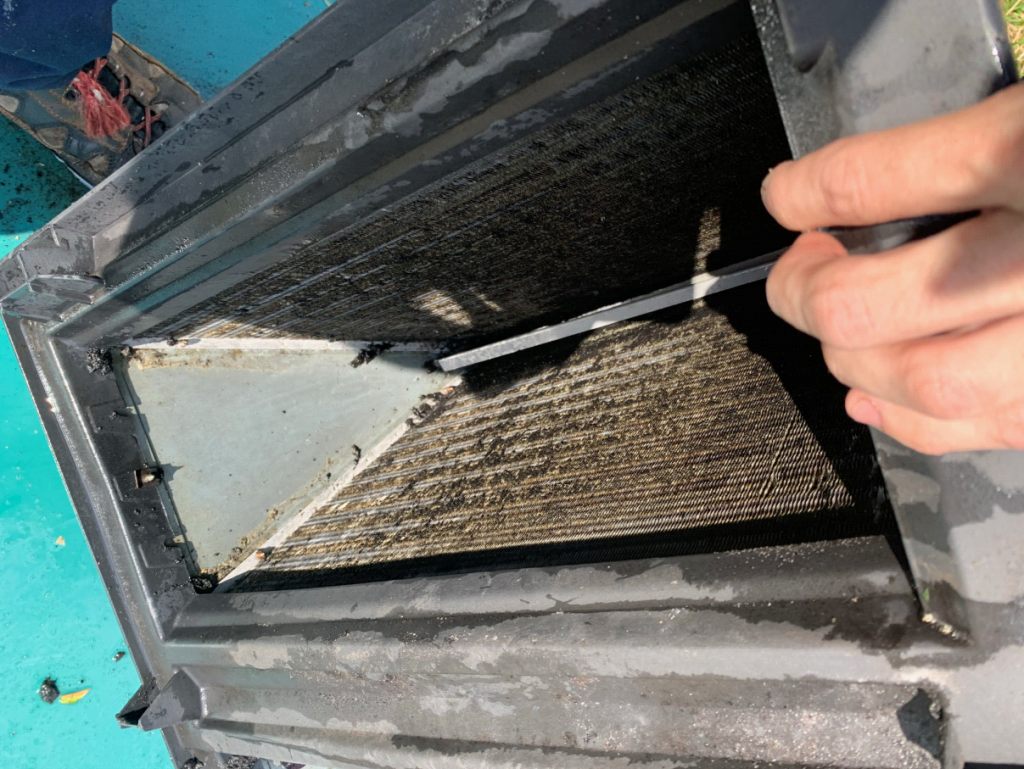
3. Inspect the Coil
Before you start cleaning, take a close look at the coil. Note the amount of dirt, dust, and any visible mold growth. Check for bent fins, which can restrict airflow. A strong flashlight helps with this.
4. Vacuum the Coil
Use the vacuum cleaner with the brush attachment to remove loose dust and debris from the coil's surface. Be gentle to avoid bending the fins. Focus on removing as much dry debris as possible before using any cleaning solutions.
5. Straighten Bent Fins
If you notice bent fins, use a fin comb to carefully straighten them. This tool is designed to gently realign the fins without causing further damage. Straightening the fins will improve airflow and increase the coil's efficiency.
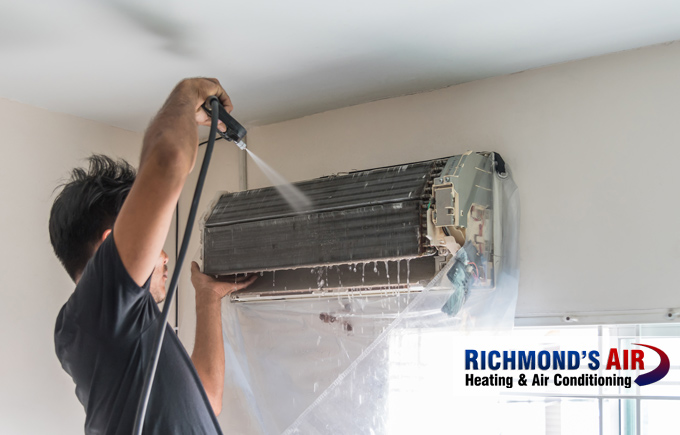
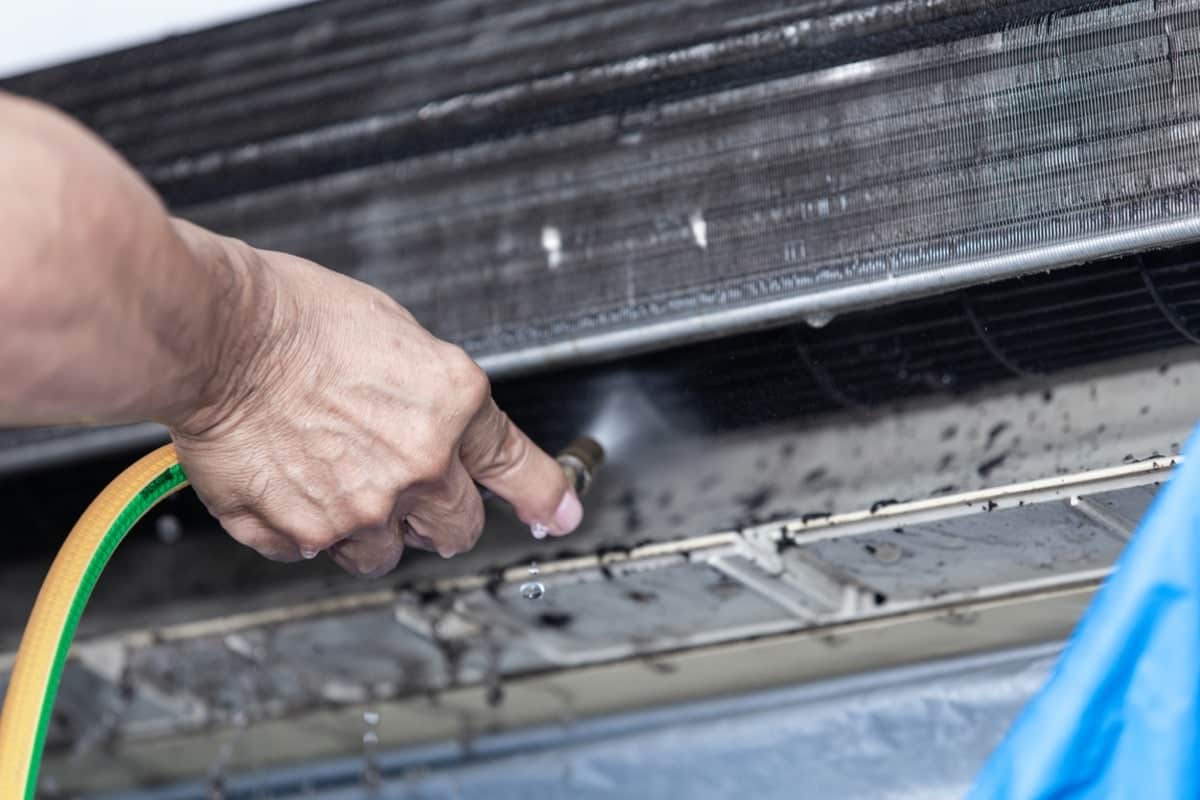
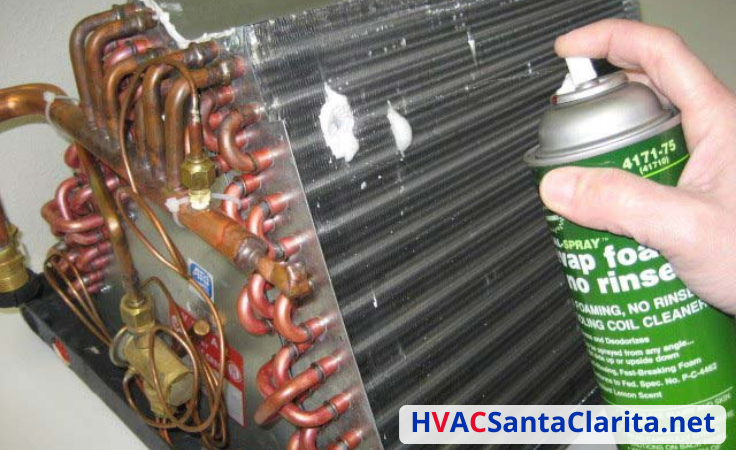
6. Apply the Cleaning Solution
Now, it's time to apply the evaporator coil cleaner. If you're using a no-rinse cleaner, follow the manufacturer's instructions. Typically, you'll spray the cleaner onto the coil, ensuring it's evenly coated. If you're using a mild detergent solution (such as dish soap diluted in water), spray it lightly onto the coil. Avoid over-saturating the coil.
7. Let the Cleaner Soak
Allow the cleaning solution to sit on the coil for the recommended time (usually 10-15 minutes). This will allow the cleaner to loosen any remaining dirt and grime. Do not let the solution dry completely. The cleaning solution must stay wet for effective cleaning.
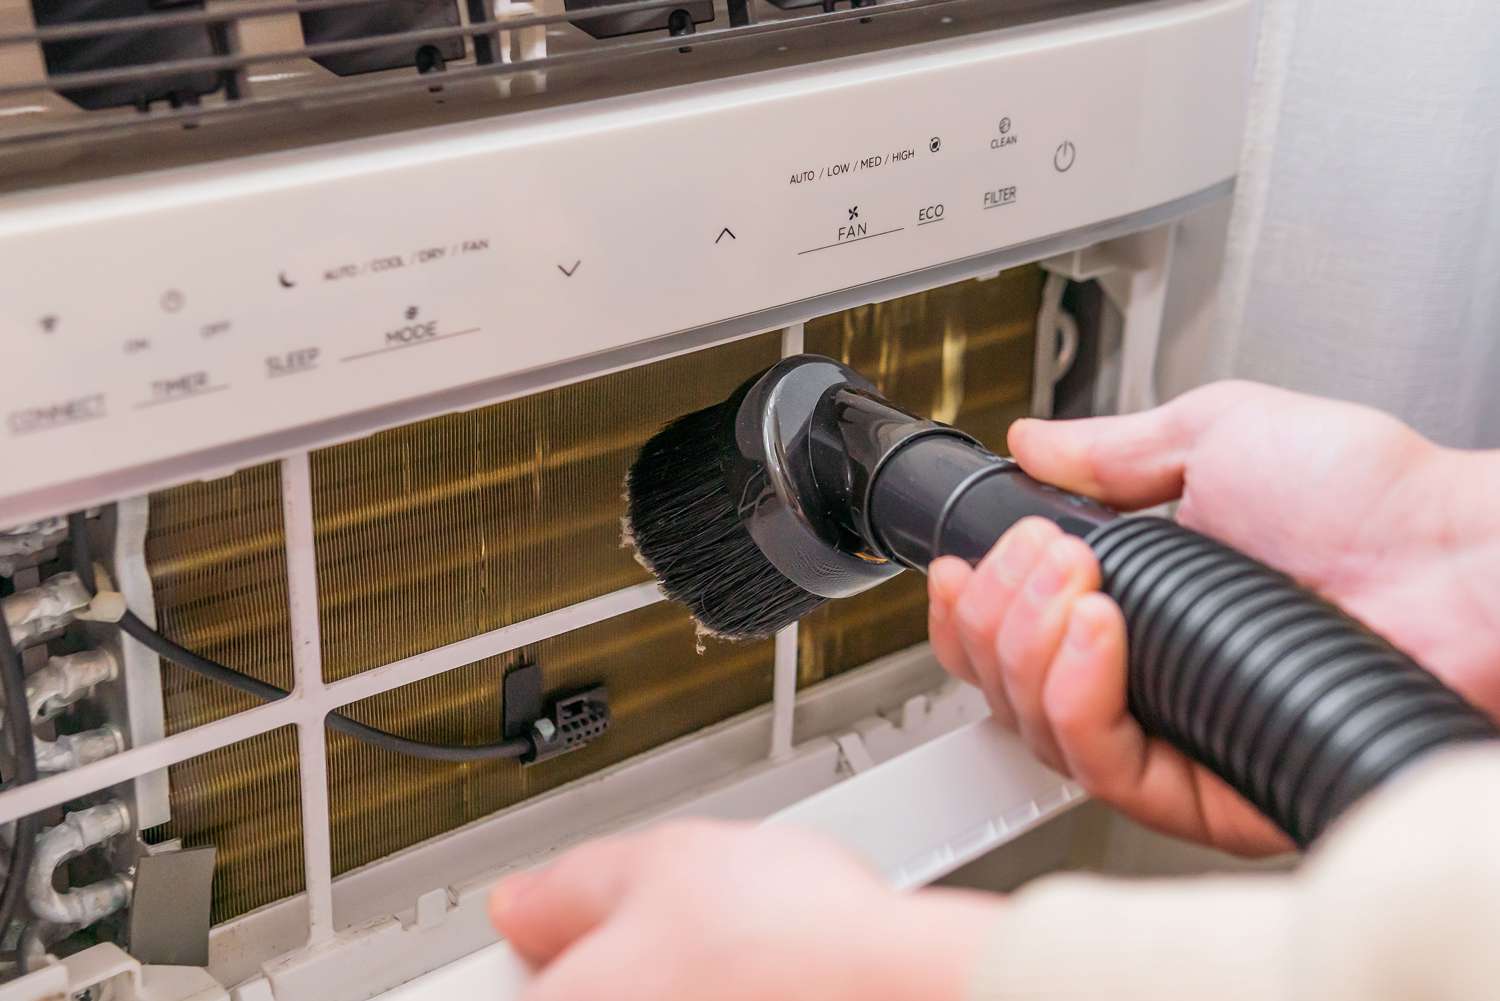
8. Gently Brush the Coil
After the soaking period, use a soft-bristled brush to gently scrub the coil. Pay attention to areas with heavy dirt buildup. Avoid using excessive force, as this could damage the delicate fins.
9. Rinse the Coil (If Necessary)
If you're not using a no-rinse cleaner, you'll need to rinse the coil with clean water. Use a spray bottle to gently rinse away the cleaning solution and any remaining dirt. Be careful not to get water on any electrical components. Ensure all water drains properly and does not pool within the air handler unit.
10. Dry the Coil (Partially)
Allow the coil to air dry as much as possible. You can use a clean cloth to gently dab away excess moisture. Ensure the area surrounding the coil is also dry before reassembling the unit.
11. Reassemble the Unit
Once the coil is dry, replace the access panel and secure it with the screws you removed earlier. Make sure the panel is properly sealed to prevent air leaks.
12. Restore Power
Go back to your electrical panel and switch the breaker for your AC unit back on.
13. Test the System
Turn on your AC unit and monitor its performance. You should notice improved airflow and cooling efficiency. Listen for any unusual noises, which could indicate a problem. After running the AC unit for 24 hours, monitor the drainage of the unit to ensure there are no blockages. Check the condensation pan, and ensure it is draining freely.
Common Issues and Troubleshooting
- Frozen Evaporator Coils: This can occur if the coil is extremely dirty or if there's a refrigerant leak. If you notice ice on the coil, turn off the AC and let it thaw completely before cleaning. If the problem persists, you likely need professional help.
- Mold Growth: If you find significant mold growth on the coil, consider hiring a professional HVAC technician to clean and sanitize the system. Mold can be a health hazard, and professional cleaning will ensure it's properly removed.
- Persistent Odors: If you notice unpleasant odors coming from your AC unit after cleaning, it could indicate mold or bacterial growth. A professional cleaning and sanitization service might be necessary.
- Lack of Airflow: If cleaning the coil doesn't improve airflow, there may be other issues, such as a dirty air filter or a problem with the blower motor. Check and replace your air filter regularly.
When to Call a Professional
While cleaning your evaporator coils can be a DIY project, there are situations where it's best to call a professional HVAC technician:
- If you're uncomfortable working with electrical components or refrigerant lines.
- If you suspect a refrigerant leak.
- If you find extensive mold growth.
- If you're unable to access the evaporator coil.
- If cleaning the coil doesn't resolve the issue.
Cost Considerations
Cleaning your evaporator coils yourself can save you money on professional service fees. However, keep in mind the cost of cleaning supplies and tools, such as a fin comb and evaporator coil cleaner. Professional evaporator coil cleaning can range from $100 to $300, depending on the complexity of the job and your location. If the technician finds other problems, like a refrigerant leak or a failing blower motor, the repair costs will be higher. Full HVAC system replacement costs can easily reach several thousands of dollars, depending on the size and efficiency of the unit. Routine maintenance, including coil cleaning, can help prevent costly repairs down the road.
Preventative Maintenance
Regular preventative maintenance is key to keeping your AC unit running efficiently. Consider these tips:
- Change your air filter every 1-3 months.
- Schedule annual professional maintenance for your AC unit.
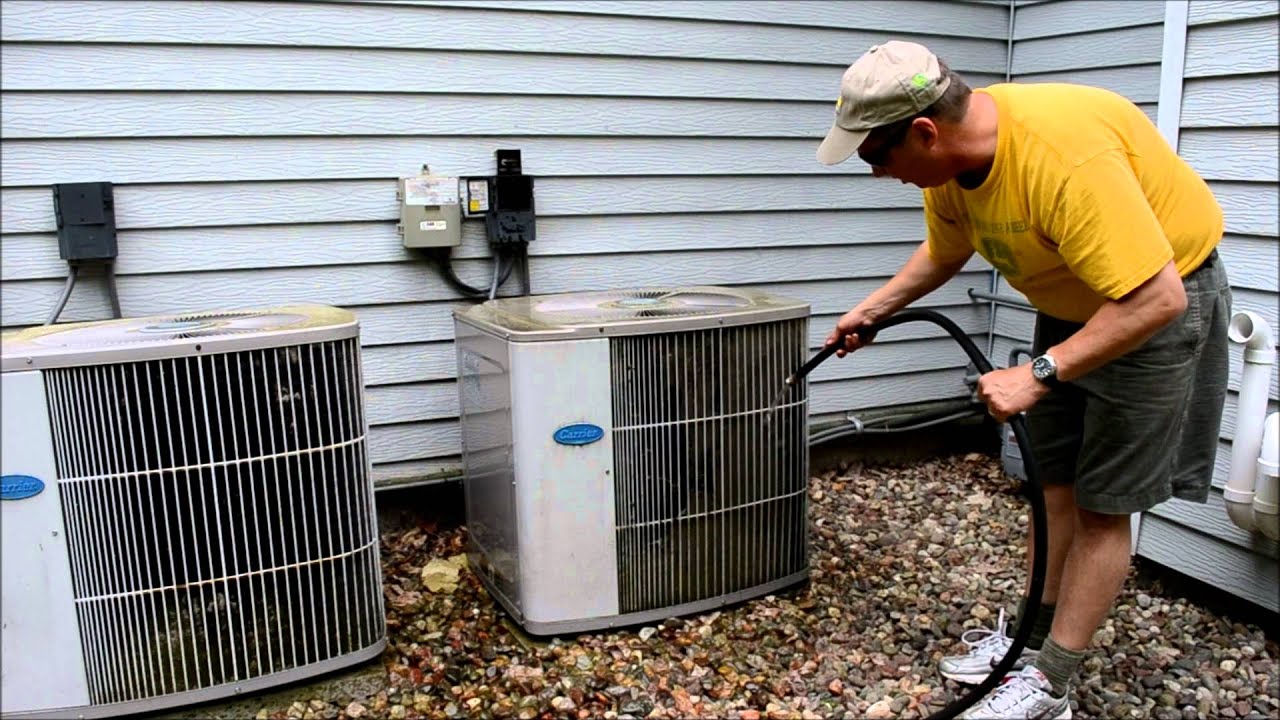
- Keep the area around your outdoor condenser unit clear of debris.
Disclaimer
This guide provides general information and should not be considered a substitute for professional advice. Always follow safety precautions and consult with a qualified HVAC technician if you have any concerns or are unsure about any aspect of the cleaning process. The author and publisher are not responsible for any damages or injuries that may result from following the instructions in this guide.
:max_bytes(150000):strip_icc()/CleaningAirConditionerCoils-7c523daa8342441381326474a3ce4f83.jpg)