How To Clean Mold Out Of Air Conditioner
That musty, unpleasant smell hitting you every time your air conditioner kicks on? It's more than just annoying – it could be mold. Mold loves dark, damp environments, and your air conditioner is practically a five-star resort for it. While a little dust is normal, persistent mold growth can impact your air quality and even your health. Fortunately, you can often tackle this issue yourself with a bit of know-how. This guide will walk you through diagnosing and cleaning mold in your air conditioner, helping you breathe easier and save money on potentially costly professional repairs.
Diagnosing the Mold Problem
Before you start scrubbing, it's crucial to confirm that mold is indeed the culprit. Here's how to investigate:
1. The Sniff Test (No Tools Required)
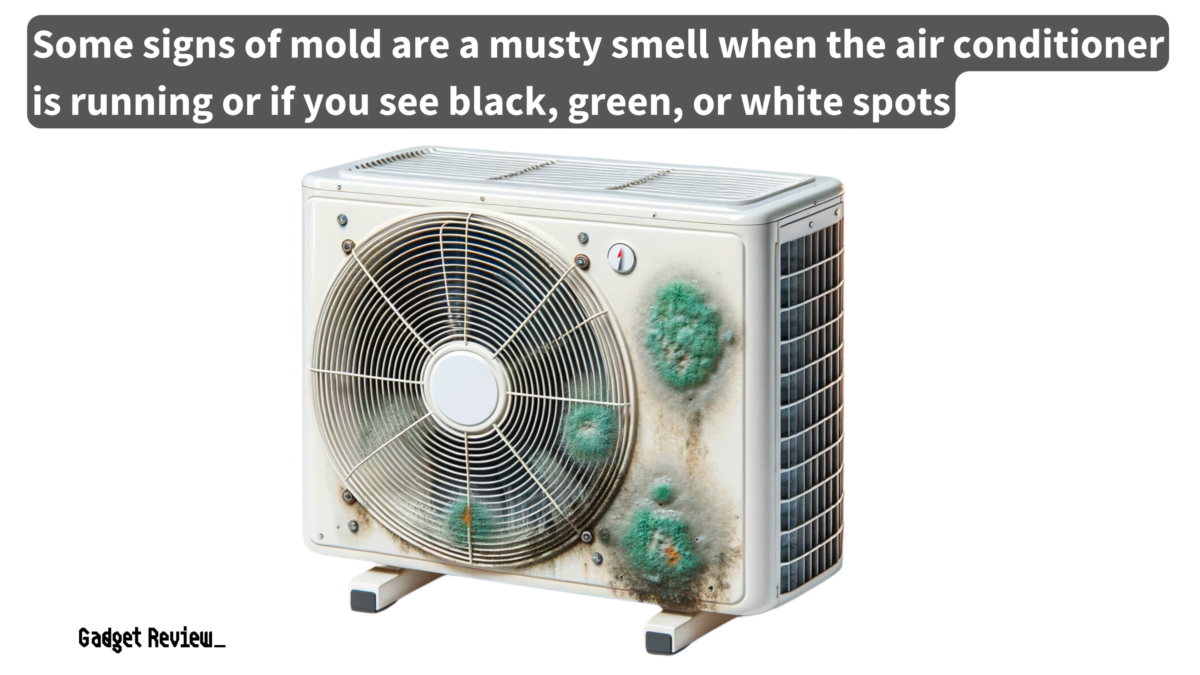
The most obvious sign is the distinct musty odor emanating from your vents when the AC is running. This smell is often described as damp, earthy, or even resembling old socks. If you notice this odor consistently, it's a strong indicator of mold.
2. Visual Inspection (No Tools Required - Flashlight Recommended)
Start with the easiest access points:
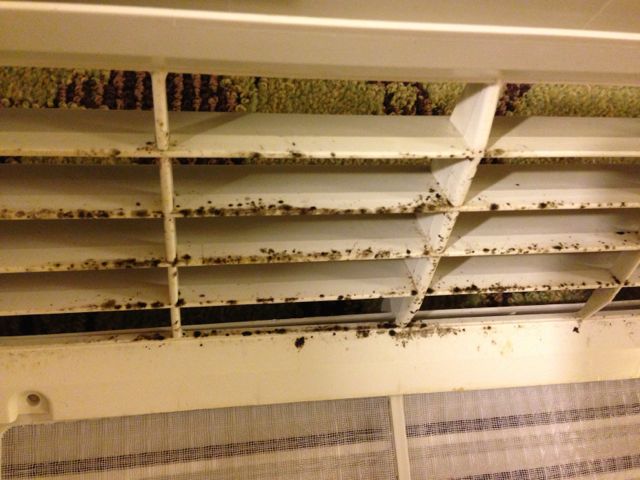
- Vents: Carefully examine the vents inside your home. Look for dark spots, discoloration, or fuzzy growth around the edges. Use a flashlight for better visibility.
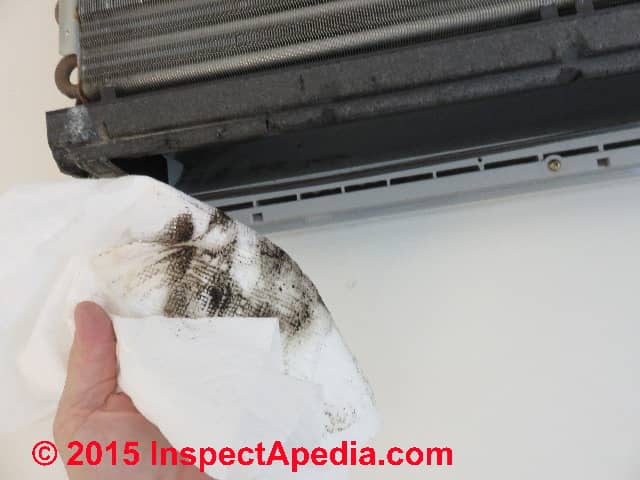
- Air Filter: Remove the air filter. A dirty filter is normal, but look for telltale mold signs – dark patches, a slimy texture, or the same musty odor. A heavily soiled or moldy filter is a definite red flag.
3. Checking the Outdoor Unit (HVAC Knowledge Optional)
While mold is less common in the outdoor unit due to better ventilation, it's worth a quick check. Look for mold growth on the exterior of the unit or around the fan blades. Never open the outdoor unit's casing unless you are completely confident in your HVAC knowledge and have disconnected the power.
4. Deeper Inspection (Basic Tools Required)
For a more thorough check, you'll need a few basic tools:
- Screwdriver: To remove access panels (after disconnecting power).
- Flashlight: To illuminate dark areas.
Important Safety Note: Always disconnect the power to your air conditioner at the circuit breaker before attempting any internal inspection or cleaning!
Checking the Evaporator Coils: The evaporator coils are a prime location for mold growth. They're typically located inside the indoor unit, behind an access panel.
- Disconnect Power: Turn off the AC at the circuit breaker.
- Remove Access Panel: Use the screwdriver to remove the panel covering the evaporator coils.
- Inspect: Shine your flashlight on the coils. Look for dark spots, discoloration, or mold growth between the fins. Be very careful not to bend the delicate fins.
If you find significant mold growth on the evaporator coils, it's a strong indicator that you need to clean your AC system.
DIY Mold Cleaning: Step-by-Step
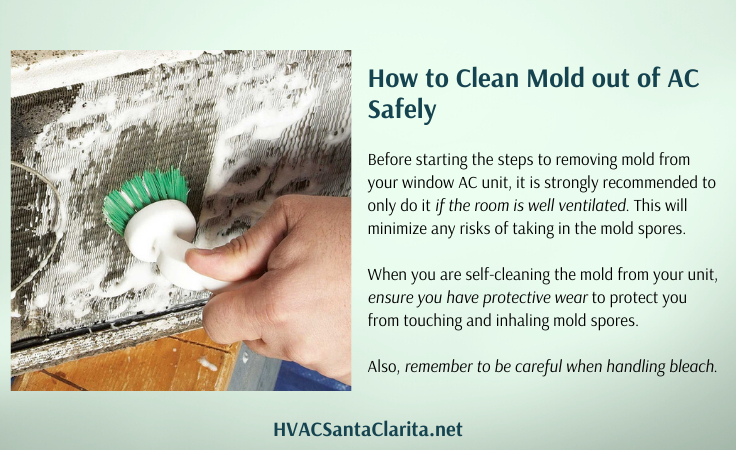
If you've confirmed the presence of mold and are comfortable proceeding, here's how to clean it yourself. Always wear gloves, a mask (N95 or better), and eye protection when handling mold.
1. Gather Your Supplies
- Protective Gear: Gloves, mask (N95 or better), eye protection.
- Cleaning Solutions: Choose *one* of the following:
- Mild Soap and Water: For light mold.
- Vinegar and Water (50/50 solution): A natural disinfectant.
- Commercial Mold Cleaner: Specifically designed for air conditioners (follow manufacturer's instructions carefully).
- Spray Bottle: For applying the cleaning solution.
- Soft Brush: A small brush, like a toothbrush or fin comb (for coils), to gently scrub away mold.
- Clean Cloths or Paper Towels: For wiping surfaces dry.
- Vacuum with HEPA Filter: To remove loose mold spores (optional).
2. Cleaning the Vents
- Remove Vents: Carefully remove the vents from the wall or ceiling.
- Wash Vents: Wash the vents with your chosen cleaning solution. Scrub gently with the brush to remove any mold or grime.
- Rinse Thoroughly: Rinse the vents with clean water.
- Dry Completely: Allow the vents to dry completely before reattaching them. You can use a clean cloth or paper towels to speed up the process.
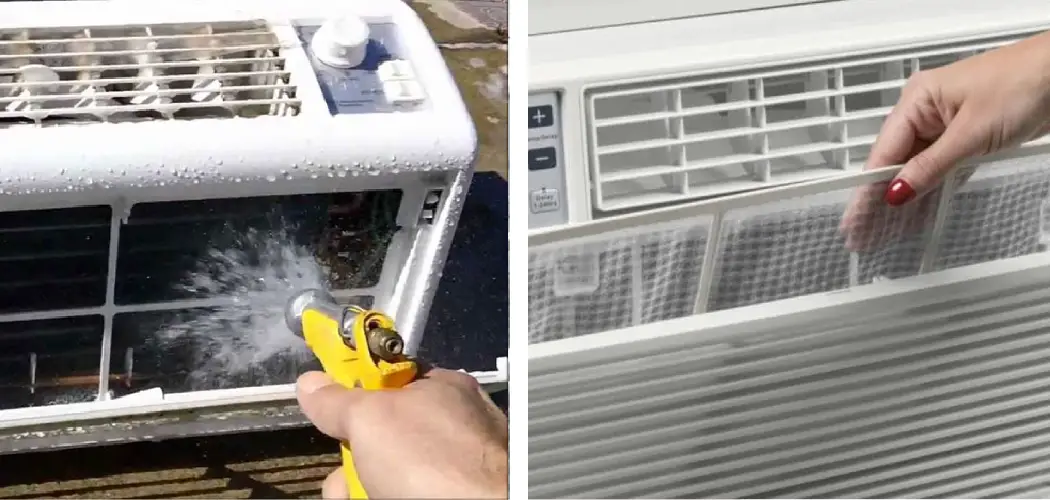
3. Cleaning the Air Filter Area
- Remove the Air Filter: Dispose of the old air filter properly (seal it in a plastic bag).
- Clean the Filter Housing: Spray the filter housing with your chosen cleaning solution. Wipe it down with a clean cloth or paper towel. Pay attention to any crevices where mold might be hiding.
- Install a New Air Filter: Once the housing is dry, install a new, clean air filter. Consider using a filter with mold-inhibiting properties.
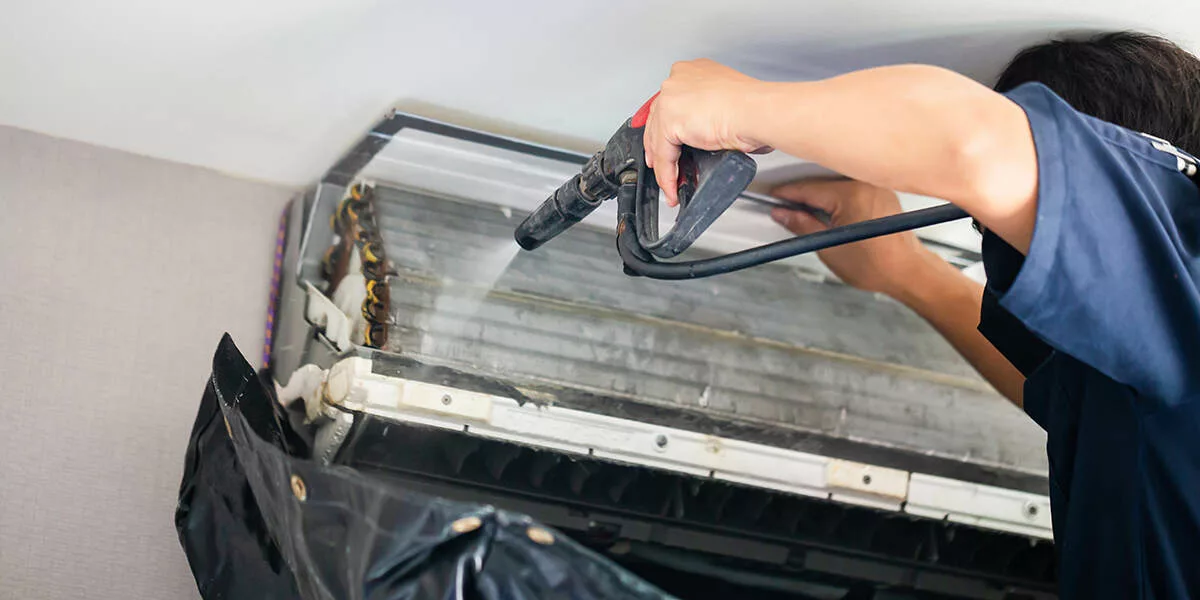
4. Cleaning the Evaporator Coils (Proceed with Caution!)
This step requires extra care. The evaporator coils are delicate, and improper cleaning can damage them. If you're not comfortable with this step, it's best to call a professional.
- Disconnect Power: Double-check that the power is still off at the circuit breaker.
- Access the Coils: Remove the access panel covering the evaporator coils.
- Prepare Cleaning Solution: Dilute your chosen cleaning solution according to the instructions (if using a commercial cleaner).
- Apply Cleaning Solution: Gently spray the cleaning solution onto the coils. Avoid oversaturating them.
- Clean the Coils: Use a soft brush (a fin comb is ideal) to gently scrub the coils. Work in the direction of the fins. Do not bend or damage the fins.
- Rinse the Coils (If Necessary): Some cleaning solutions require rinsing. If so, use a spray bottle filled with clean water to gently rinse the coils. Avoid using excessive water.
- Dry the Coils: Allow the coils to air dry completely before reassembling the unit. You can use a fan to speed up the drying process.
- Reassemble: Replace the access panel and secure it with the screws.
- Reconnect Power: Turn the power back on at the circuit breaker.
5. Cleaning the Drain Pan (Important for Preventing Future Mold Growth)
The drain pan collects condensation and can become a breeding ground for mold. Cleaning it is crucial for preventing future problems.
- Locate the Drain Pan: The drain pan is typically located beneath the evaporator coils.
- Remove Water: If there's standing water in the drain pan, use a wet/dry vacuum or a sponge to remove it.
- Clean the Drain Pan: Spray the drain pan with your chosen cleaning solution. Scrub it with a brush to remove any mold or grime.
- Rinse and Dry: Rinse the drain pan with clean water and allow it to dry completely.
- Pour Vinegar Down the Drain Line: Pour a cup of white vinegar down the drain line to help prevent future mold growth.
When to Call a Professional
While many mold problems can be addressed with DIY cleaning, there are times when calling a professional HVAC technician is the best course of action. Consider contacting a professional if:
- You're uncomfortable working with electrical components.
- The mold growth is extensive or difficult to reach.
- You suspect mold is present in the ductwork. Duct cleaning requires specialized equipment and expertise.
- You experience persistent health symptoms (coughing, wheezing, respiratory problems) that you believe are related to mold. A professional mold inspection and remediation may be necessary.
- The air conditioner is old or malfunctioning. Mold growth may be a symptom of a larger problem that requires professional attention.
- You've tried cleaning the mold yourself, but it keeps coming back. This could indicate a hidden moisture problem or a more serious underlying issue.
Ignoring a significant mold problem can lead to health issues, reduced air conditioner efficiency, and potentially costly repairs down the road. Don't hesitate to seek professional help if you're unsure about anything.
Preventing Future Mold Growth
Once you've cleaned the mold, it's important to take steps to prevent it from returning. Here are some tips:
- Regularly Replace Your Air Filter: Change your air filter every 1-3 months, or more frequently if you have pets or allergies.
- Keep the Area Around the Outdoor Unit Clean: Remove leaves, debris, and vegetation that can restrict airflow.
- Run Your AC Regularly: Even during cooler months, running your AC occasionally can help prevent moisture buildup.
- Address Moisture Problems: Fix any leaks or plumbing issues that could be contributing to moisture in your home.
- Consider a UV Light: UV lights installed in your HVAC system can help kill mold and bacteria. However, consult with a professional before installing one.
- Schedule Regular HVAC Maintenance: A professional tune-up can help identify and address potential problems before they become major issues.
By following these tips, you can keep your air conditioner clean and mold-free, ensuring clean air and a comfortable home for years to come. Remember, regular maintenance and prompt action are key to preventing mold growth and maintaining a healthy indoor environment.