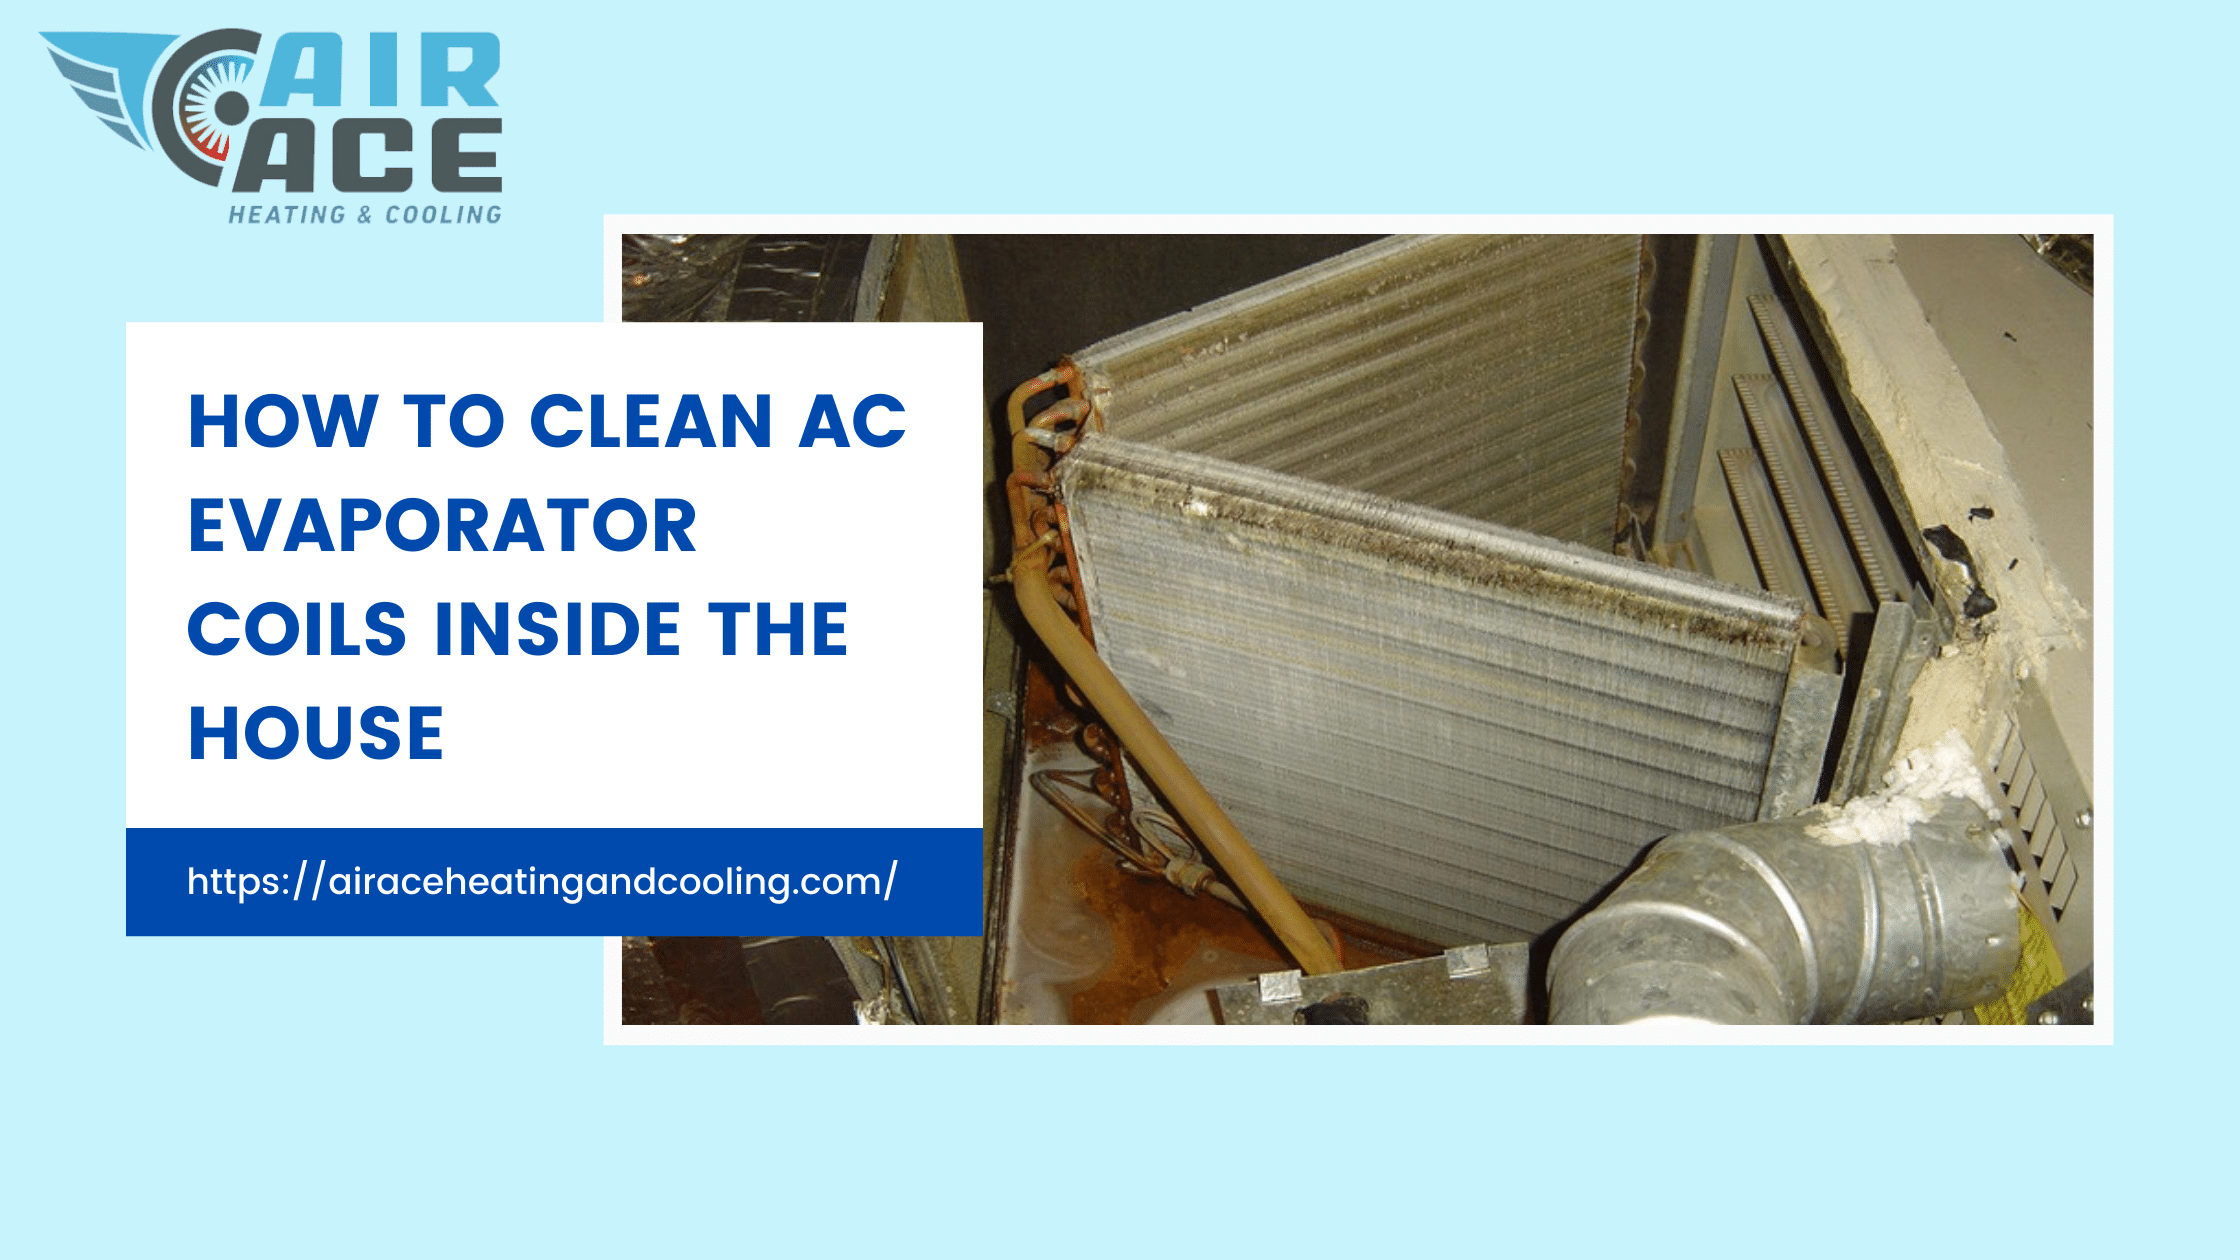
How To Clean The Evaporator Coil In Hvac
Maintaining an efficient HVAC system is crucial for both residential and commercial properties. One of the most important components to keep clean is the evaporator coil. A dirty evaporator coil reduces cooling efficiency, increases energy consumption, and can even lead to system failure. This article provides a comprehensive guide on how to clean an evaporator coil, aimed at HVAC students, experienced technicians, and employers alike.
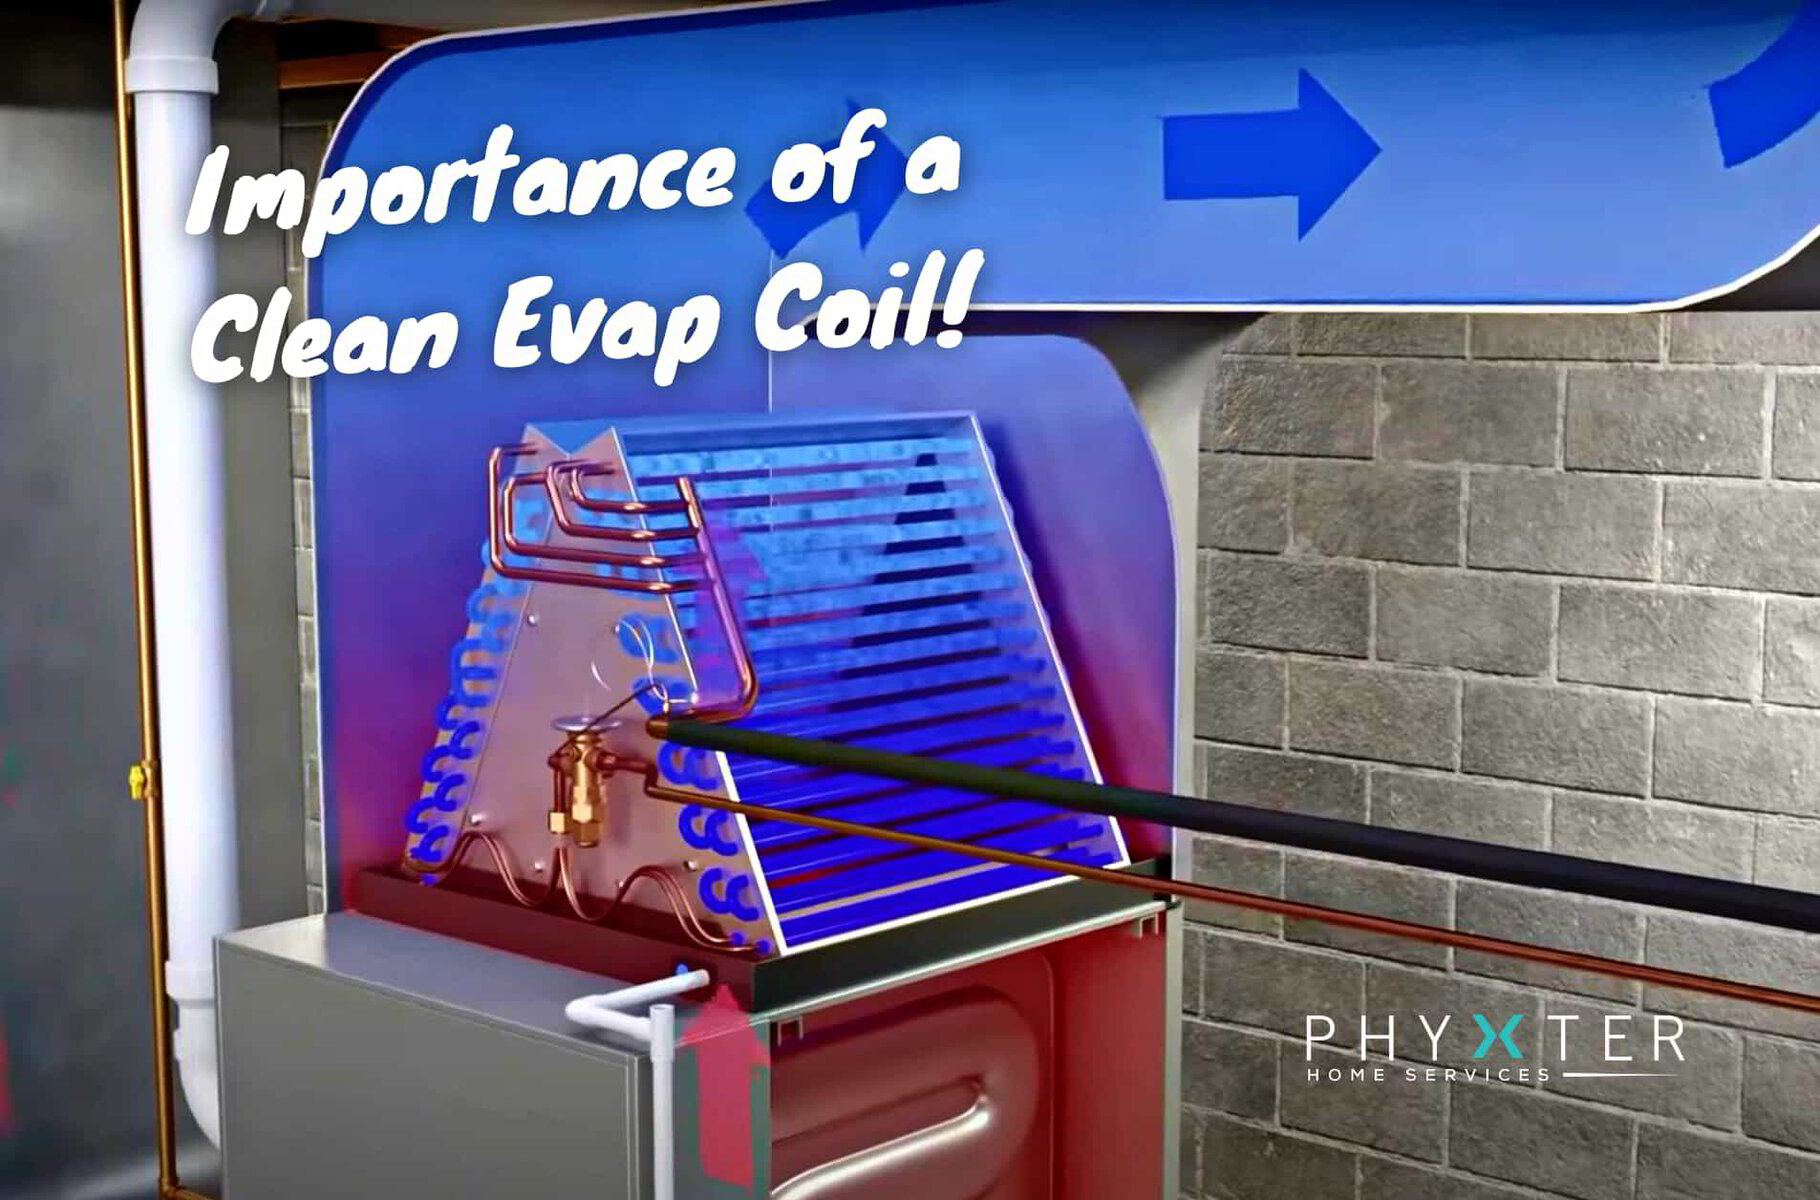
Understanding the Importance of a Clean Evaporator Coil
The evaporator coil is responsible for absorbing heat from the air inside your home or building. As refrigerant passes through the coil, it cools down, and a fan blows air across it, delivering cool air into the conditioned space. Over time, dust, dirt, mold, and other contaminants accumulate on the coil's surface, acting as an insulator. This insulation reduces the coil's ability to transfer heat, forcing the system to work harder and consume more energy. According to the U.S. Department of Energy, a dirty coil can reduce HVAC efficiency by as much as 30%, leading to significantly higher energy bills.
Beyond energy efficiency, a dirty evaporator coil can also impact indoor air quality. Mold and bacteria can thrive in the damp, dirty environment, releasing spores and allergens into the air. This can exacerbate respiratory problems and create an unhealthy indoor environment.
Tools and Materials Needed
Before you begin cleaning the evaporator coil, gather the necessary tools and materials:
- Safety Glasses: Protect your eyes from debris and cleaning solutions.
- Gloves: Protect your hands from chemicals and sharp edges.
- Screwdrivers: For accessing the evaporator coil.
- Fin Comb: To straighten bent coil fins.
- Vacuum Cleaner with Brush Attachment: For removing loose debris.
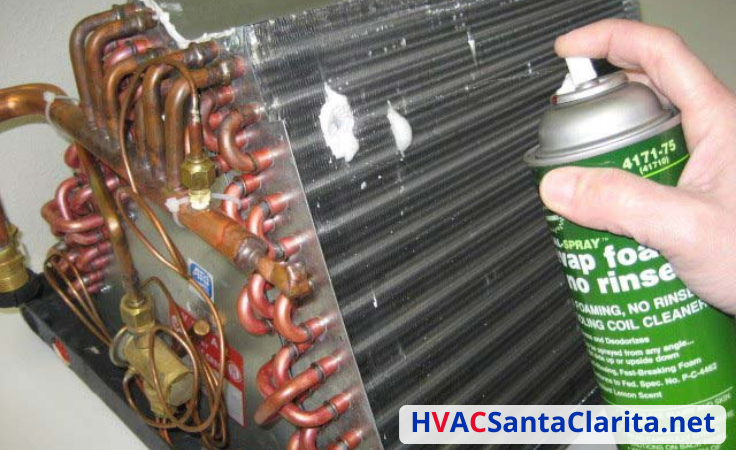
- Coil Cleaner: Choose a non-acidic coil cleaner specifically designed for evaporator coils. Options include foaming cleaners and no-rinse cleaners.
- Spray Bottle: For applying the coil cleaner.
- Soft Brush: For gently scrubbing the coil.
- Drip Pan: To catch any runoff.
- Flashlight or Work Light: To improve visibility.
Step-by-Step Guide to Cleaning an Evaporator Coil
1. Safety First: Power Down the System
The most important step is to disconnect the power to the HVAC system. Locate the circuit breaker for the unit and turn it off. This will prevent electrical shock and ensure your safety during the cleaning process.
2. Accessing the Evaporator Coil
The location of the evaporator coil varies depending on the type of HVAC system. In most residential split systems, the evaporator coil is located inside the indoor air handler, often above the furnace. Use a screwdriver to remove the access panel. Be careful not to damage any wiring or components. For packaged units, the evaporator coil may be located within the unit itself, requiring the removal of multiple panels.
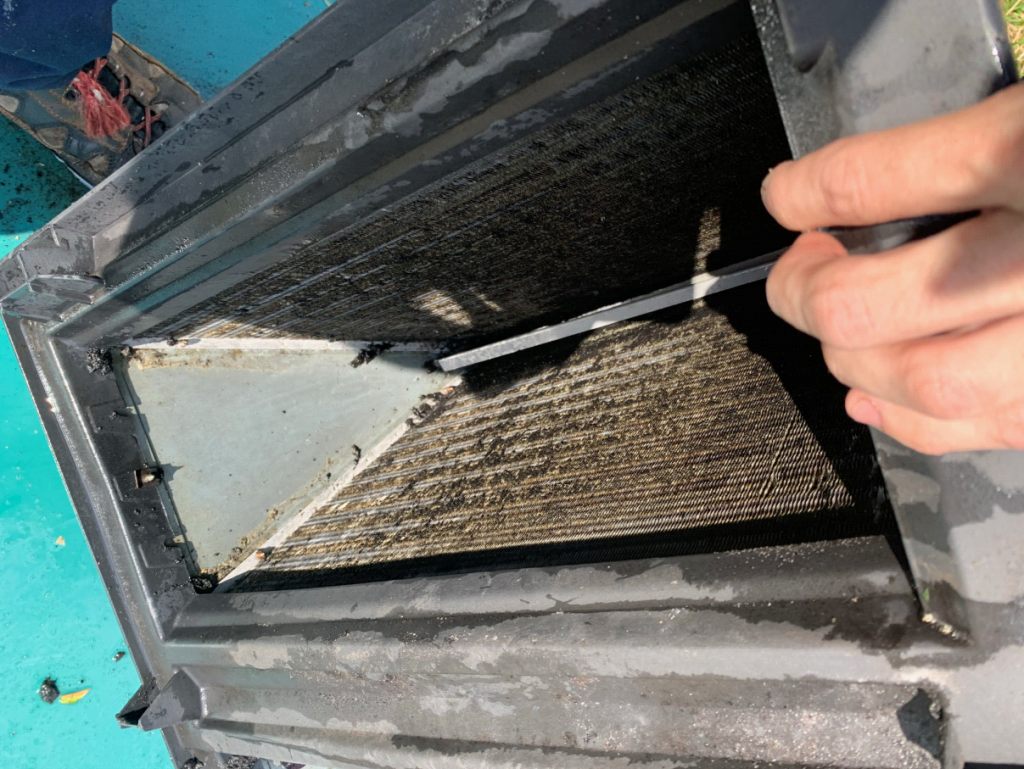
3. Visual Inspection and Initial Cleaning
Once you have access to the evaporator coil, visually inspect it for any obvious signs of dirt, mold, or damage. Use a vacuum cleaner with a brush attachment to remove any loose debris, dust, and cobwebs from the coil and surrounding area. Be gentle to avoid bending the delicate fins.
4. Straightening Bent Fins
Over time, the delicate fins of the evaporator coil can become bent or damaged. Use a fin comb to carefully straighten any bent fins. This will improve airflow and heat transfer efficiency.
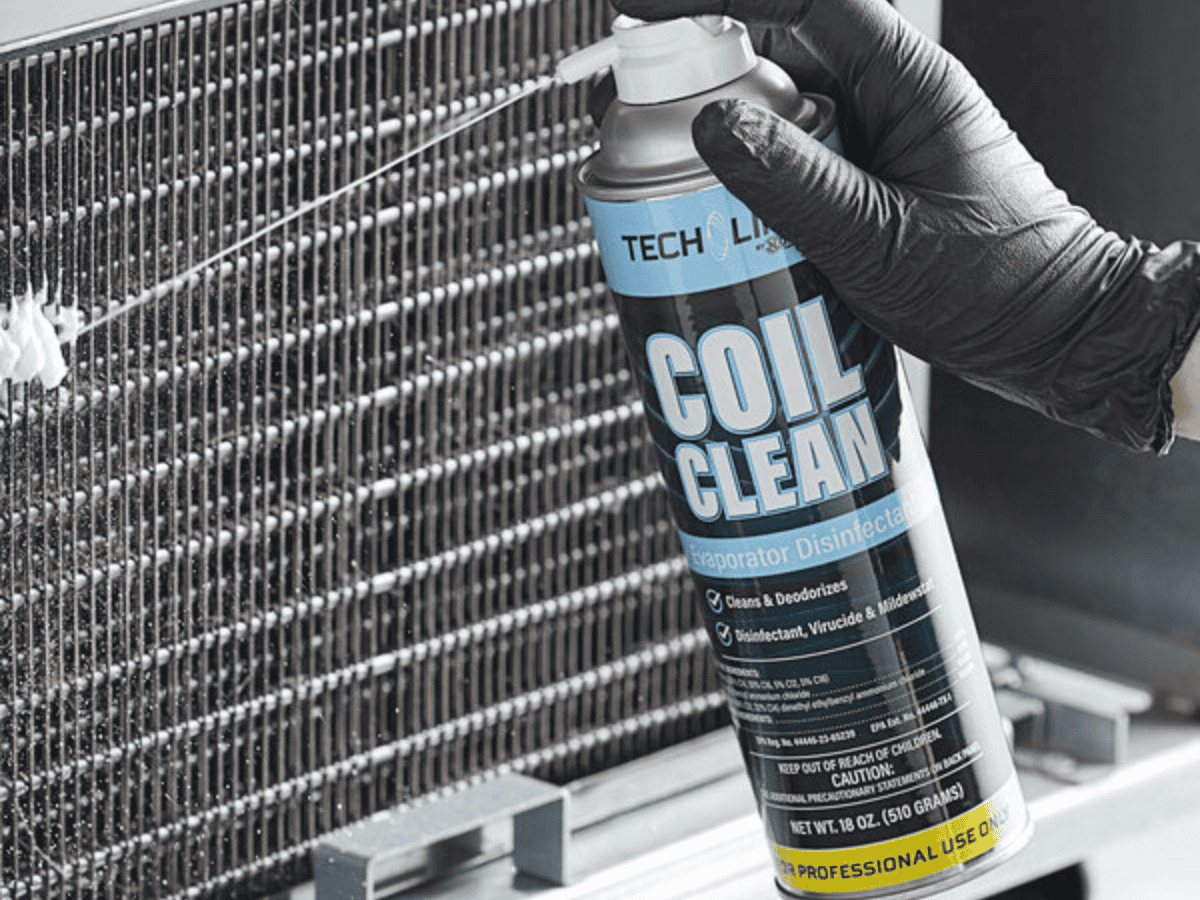
5. Applying the Coil Cleaner
Follow the manufacturer's instructions on the coil cleaner. In most cases, you will spray the cleaner onto the coil, ensuring that all surfaces are thoroughly coated. Allow the cleaner to dwell on the coil for the recommended time, typically 10-15 minutes. This allows the cleaner to penetrate and dissolve the dirt and grime.
6. Cleaning the Coil
After the dwell time, use a soft brush to gently scrub the coil. This will help to remove any stubborn dirt or grime. Be careful not to damage the fins. If using a foaming cleaner, the foam will typically drip down, carrying the dirt with it. If using a no-rinse cleaner, the cleaner will evaporate, leaving the coil clean.
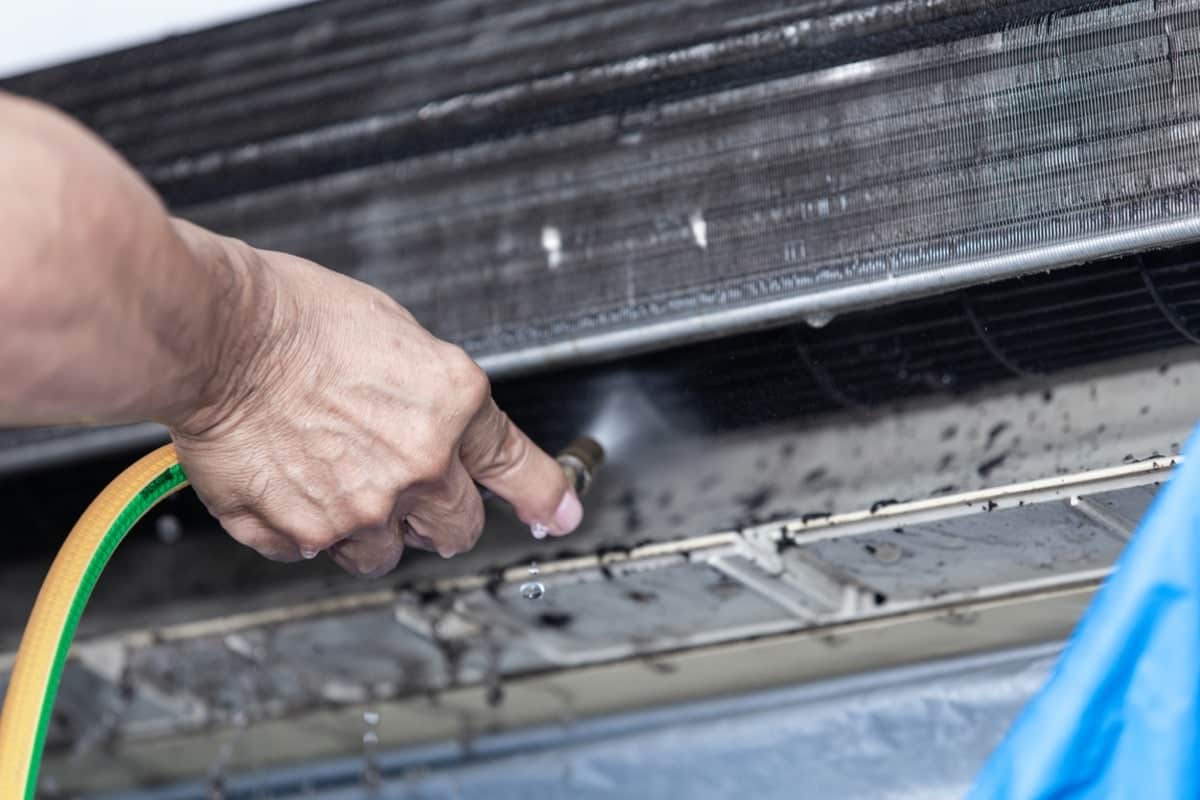
7. Rinsing the Coil (If Required)
Some coil cleaners require rinsing with water. If the manufacturer's instructions call for rinsing, use a spray bottle to gently rinse the coil with clean water. Be careful not to oversaturate the coil or allow water to drip onto sensitive electrical components. Ensure the drip pan is properly positioned to catch any runoff.
8. Reassembling the System
Once the coil is clean and dry, carefully reassemble the access panel. Ensure that all screws are tightened securely. Restore power to the HVAC system by turning the circuit breaker back on.
9. Testing the System
Turn on the HVAC system and allow it to run for a few minutes. Check for any unusual noises or smells. Verify that the system is cooling properly. Monitor the air temperature at the supply vents to ensure that it is within the expected range.
Professional Certifications and Career Opportunities
For HVAC professionals, obtaining certifications can significantly enhance career prospects and earning potential. Some of the most recognized certifications include:
- NATE (North American Technician Excellence): NATE certification demonstrates a technician's knowledge and skills in HVAC installation, service, and repair. NATE-certified technicians are highly sought after by employers and often command higher salaries.
- EPA Section 608 Certification: Required by the Environmental Protection Agency (EPA) for technicians who handle refrigerants. This certification ensures that technicians understand the proper procedures for handling refrigerants to prevent environmental damage.
- HVAC Excellence: Another reputable certification program that assesses technicians' competency in various HVAC areas.
The job outlook for HVAC technicians is excellent. According to the Bureau of Labor Statistics (BLS), the employment of HVAC mechanics and installers is projected to grow 6 percent from 2022 to 2032, about as fast as the average for all occupations. The BLS also indicates that the median annual wage for HVAC mechanics and installers was $59,620 in May 2023. The top 10 percent earned more than $86,720. Factors such as population growth, increasing construction activity, and the growing demand for energy-efficient HVAC systems are driving this demand.
Real-World Career Path Example: Consider Sarah, who started as an HVAC apprentice after completing a vocational program. She earned her NATE certification after two years of on-the-job training. Over the next five years, she gained experience working on various HVAC systems, including residential and commercial units. Sarah then pursued a specialization in energy-efficient HVAC technologies and became a lead technician, earning a salary in the top 10% for the field. Her career trajectory demonstrates the value of continuous learning and professional development in the HVAC industry.
Employer Considerations: Hiring and Training
For employers in the HVAC industry, hiring skilled and certified technicians is crucial for maintaining quality service and customer satisfaction. When hiring, prioritize candidates with relevant certifications, such as NATE and EPA 608. Investing in ongoing training and professional development for your technicians is also essential. This can include providing opportunities for certification upgrades, attending industry conferences, and offering in-house training programs on new technologies and best practices. Properly trained technicians are more efficient, knowledgeable, and better equipped to handle complex HVAC issues, leading to improved customer satisfaction and business growth.
Troubleshooting Common Issues
Even with careful cleaning, you might encounter issues. If the system isn't cooling efficiently after cleaning, check these:
- Refrigerant Levels: Low refrigerant can severely impact cooling. Consult a professional for refrigerant recharging.
- Airflow Obstructions: Ensure air filters are clean and ductwork is clear of obstructions.
- Compressor Issues: A malfunctioning compressor requires professional diagnosis and repair.
- Dirty Condenser Coil: Remember to clean the condenser coil, typically located outside, as well.
Conclusion
Cleaning the evaporator coil is a critical part of HVAC system maintenance. By following these steps, you can improve energy efficiency, enhance indoor air quality, and extend the life of your HVAC system. For HVAC students and apprentices, mastering this skill is essential for building a successful career. For experienced technicians, obtaining certifications and staying up-to-date on industry best practices is crucial for career advancement. And for employers, investing in skilled and well-trained technicians is essential for providing quality service and achieving business growth. The HVAC industry offers rewarding career opportunities for those who are dedicated to providing reliable and efficient heating and cooling solutions.