How To Clean Your Ac Ducts

Maintaining clean air ducts is crucial for the health of your HVAC system and the air quality within your home or building. Dust, pollen, mold, and other contaminants can accumulate inside ductwork, impacting system efficiency and potentially causing health problems. This guide provides a comprehensive approach to cleaning your AC ducts, suitable for homeowners, HVAC technicians, and facility managers.
Understanding Your AC Duct System
Before diving into the cleaning process, it's important to understand the components of your AC duct system. Typically, this includes:
- Supply ducts: These ducts carry cooled air from your AC unit to the vents in your rooms.
- Return ducts: These ducts draw air from your rooms back to the AC unit for cooling.
- Main trunk lines: These are the larger ducts that connect the AC unit to the smaller branch ducts.
- Registers and vents: These are the openings in your walls, floors, or ceilings where air enters or exits the duct system.
- Plenum: This is the large box connected directly to the air handler that helps distribute air.
The materials used in duct construction can vary, including sheet metal, fiberglass duct board, and flexible ducts. Each material has unique characteristics that affect cleaning methods. For example, flexible ducts are more prone to damage and require gentler cleaning techniques. Understanding the layout and materials of your specific duct system is critical for a successful cleaning.
When to Clean Your AC Ducts
Knowing when to clean your AC ducts is just as important as knowing how. Here are some key indicators that your ducts need cleaning:
- Visible dust or debris: If you can see dust or debris accumulating on your vents or registers, it's a sign that your ducts are dirty.
- Musty or moldy odors: These odors can indicate mold growth inside your ductwork.
- Increased allergy symptoms: Dirty ducts can circulate allergens throughout your home, exacerbating allergy symptoms.
- Inconsistent airflow: Reduced airflow from vents can be a sign of blockage in the ducts.
- Recent remodeling or construction: Construction activities can introduce dust and debris into your duct system.
- Infestation of rodents or insects: These can leave behind droppings and debris in the ducts.
As a general guideline, consider having your AC ducts inspected every two to three years and cleaned as needed. Regular maintenance can improve air quality and extend the lifespan of your HVAC system.
Tools and Equipment Needed
Cleaning AC ducts requires specific tools and equipment. Here's a list of essential items:
- High-efficiency particulate air (HEPA) vacuum: A HEPA vacuum is essential for capturing fine particles and preventing them from being recirculated into the air.
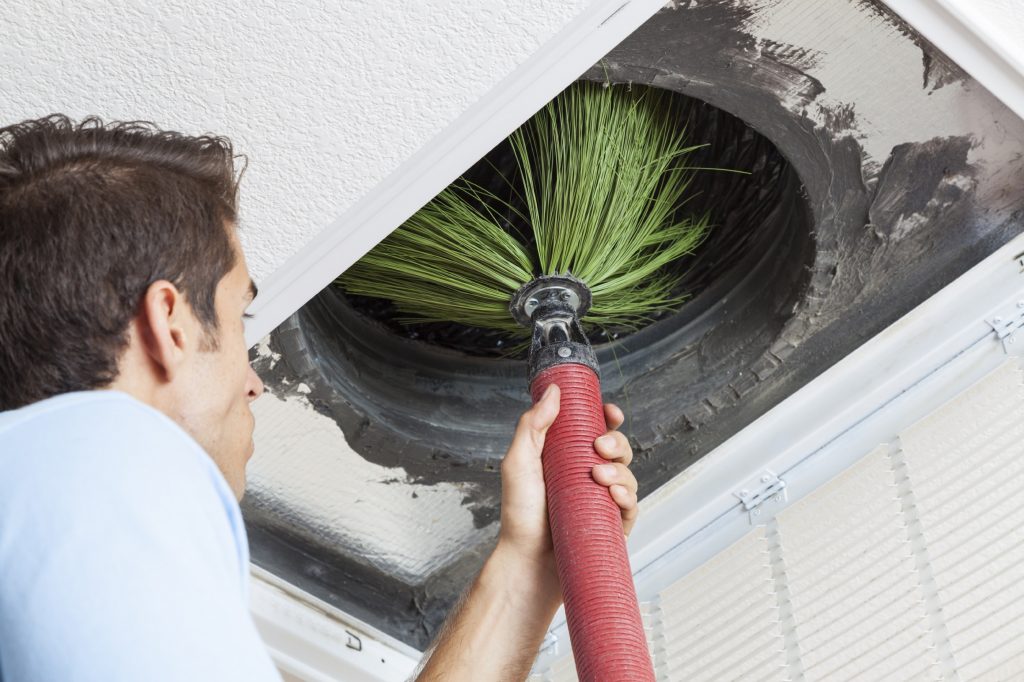
- Rotary brush system: A rotary brush system uses a rotating brush attached to a flexible cable to scrub the inside of the ducts.
- Air compressor: An air compressor is used to power the rotary brush system and other cleaning tools.
- Inspection camera: An inspection camera allows you to visually inspect the inside of the ducts for dust, debris, and mold growth.
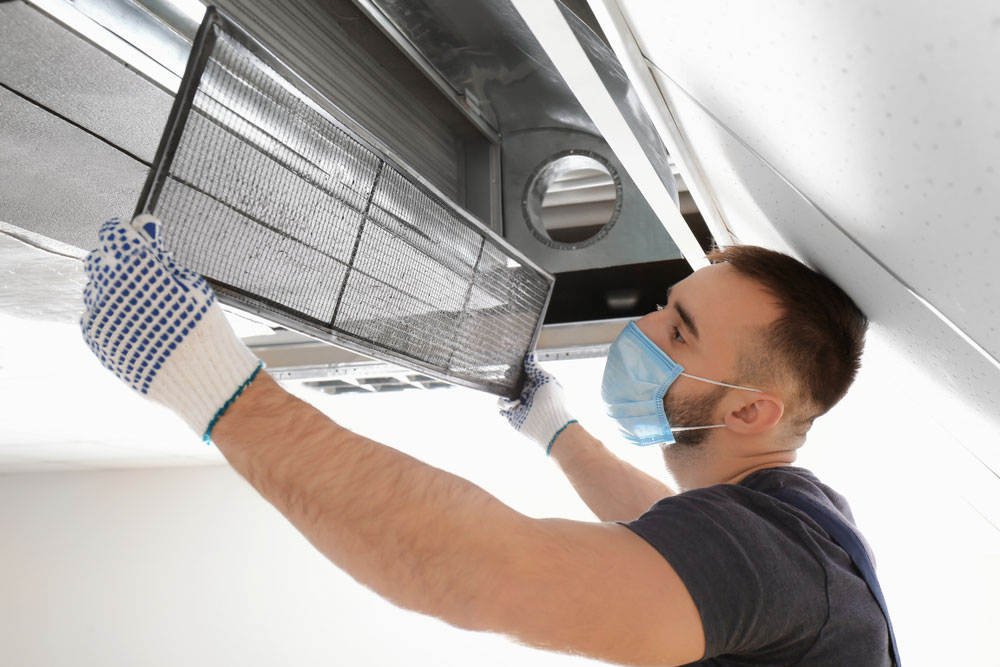
- Protective gear: This includes a respirator, gloves, and eye protection to protect yourself from dust and contaminants.
- Sealing materials: Duct tape or mastic sealant is needed to reseal any openings created during the cleaning process.
- Hand tools: Screwdrivers, pliers, and other hand tools may be needed to remove vents and access the ductwork.
- Antimicrobial sanitizers: These can be used to kill bacteria and mold inside the ducts. *Use with caution and always follow the manufacturer's instructions.*
The AC Duct Cleaning Process: A Step-by-Step Guide
This section outlines the detailed steps for cleaning AC ducts. It's recommended that homeowners hire a qualified HVAC professional to perform this task, as it requires specialized equipment and expertise. However, this guide provides a comprehensive overview of the process.
1. Preparation
Before you begin, take the following preparatory steps:
- Turn off the HVAC system: This is essential to prevent dust and debris from being circulated throughout the building during the cleaning process.
- Protect furniture and flooring: Cover furniture and flooring in the work area with plastic sheeting to prevent dust and debris from settling on them.
- Seal vents and registers: Seal all vents and registers in the rooms with plastic sheeting and tape, except for the ones you will be cleaning. This will prevent dust and debris from escaping into the rooms.
2. Inspect the Duct System
Use an inspection camera to thoroughly inspect the inside of the duct system. Pay close attention to areas where dust, debris, or mold growth are likely to accumulate, such as corners, joints, and near the air handler. Document your findings with photos or videos.
3. Cleaning the Air Handler
The air handler is a critical component of the HVAC system and should be cleaned thoroughly. Here are the steps:
- Remove access panels: Remove the access panels on the air handler to expose the blower motor, evaporator coil, and other components.
- Clean the blower motor: Use a HEPA vacuum to remove dust and debris from the blower motor blades and housing.
- Clean the evaporator coil: Use a coil cleaner to remove dirt and grime from the evaporator coil. *Be careful not to damage the delicate fins.*
- Clean the drain pan: The drain pan collects condensation from the evaporator coil. Clean it with a brush and a disinfectant solution to prevent mold growth.
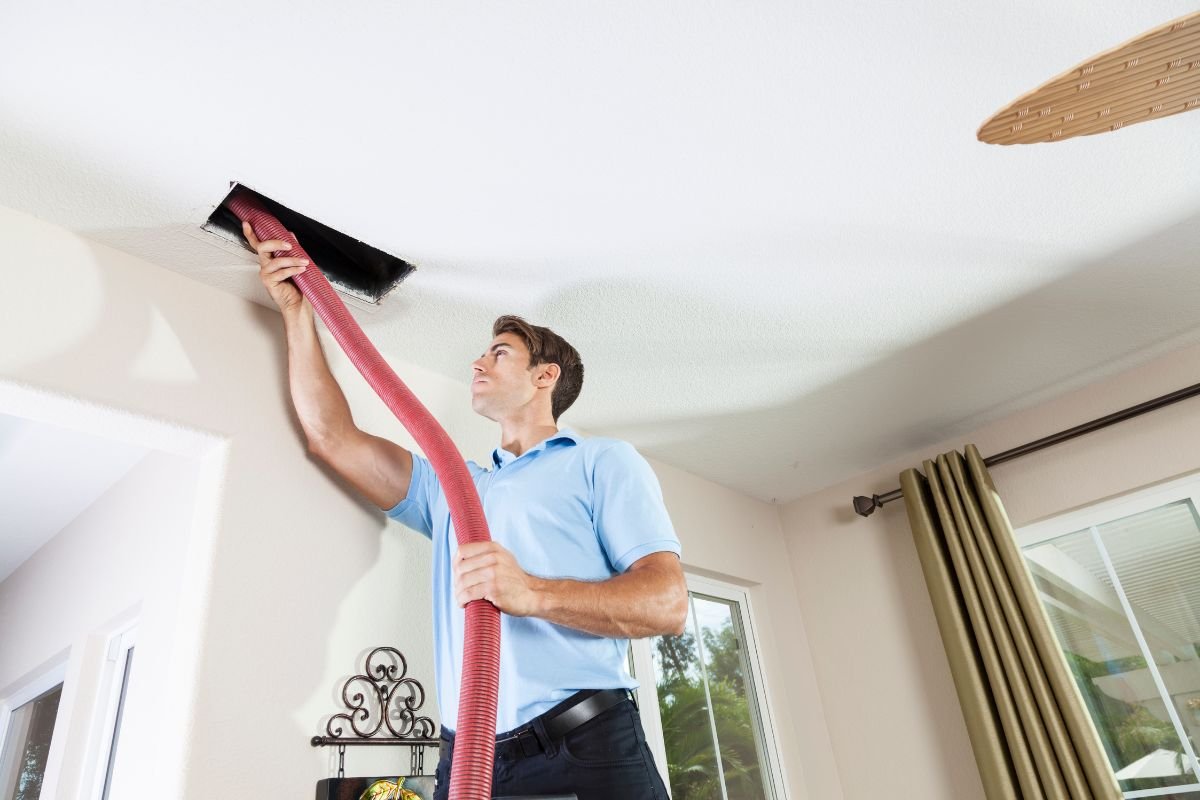
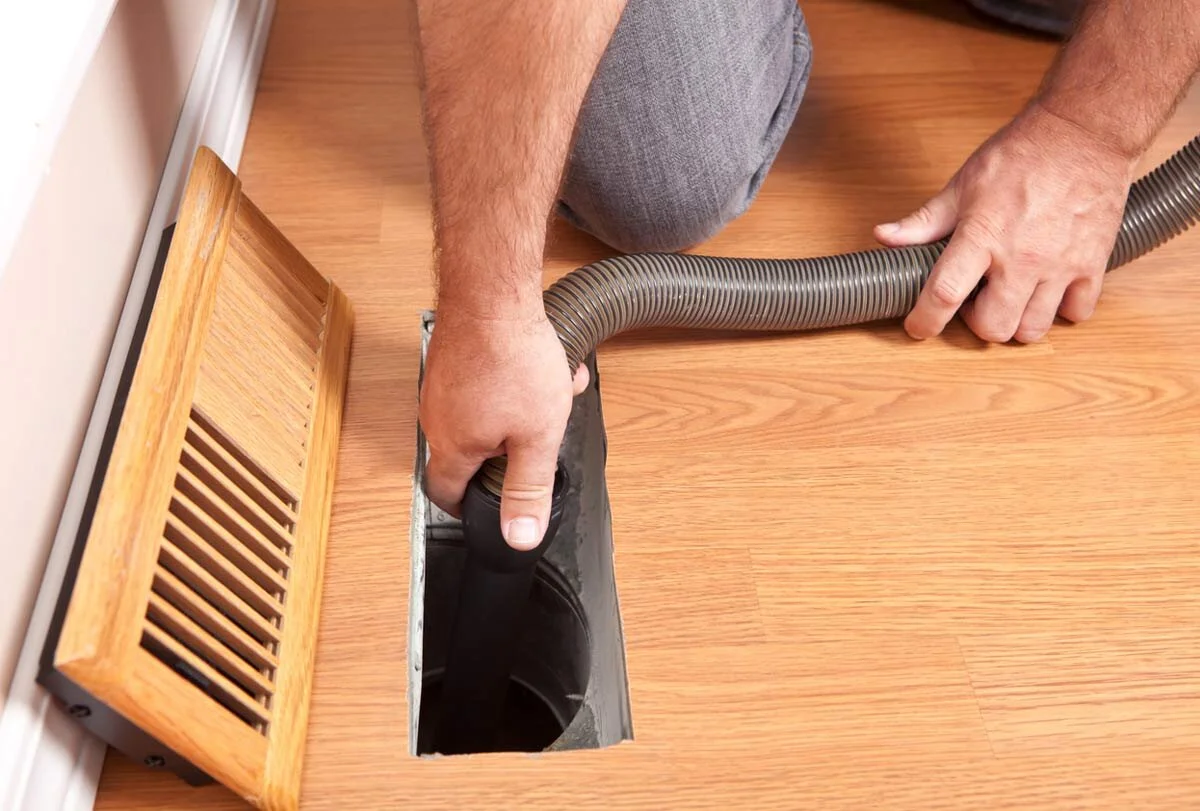
4. Cleaning the Ductwork
This is the most labor-intensive part of the process. Here's how to clean the ductwork:
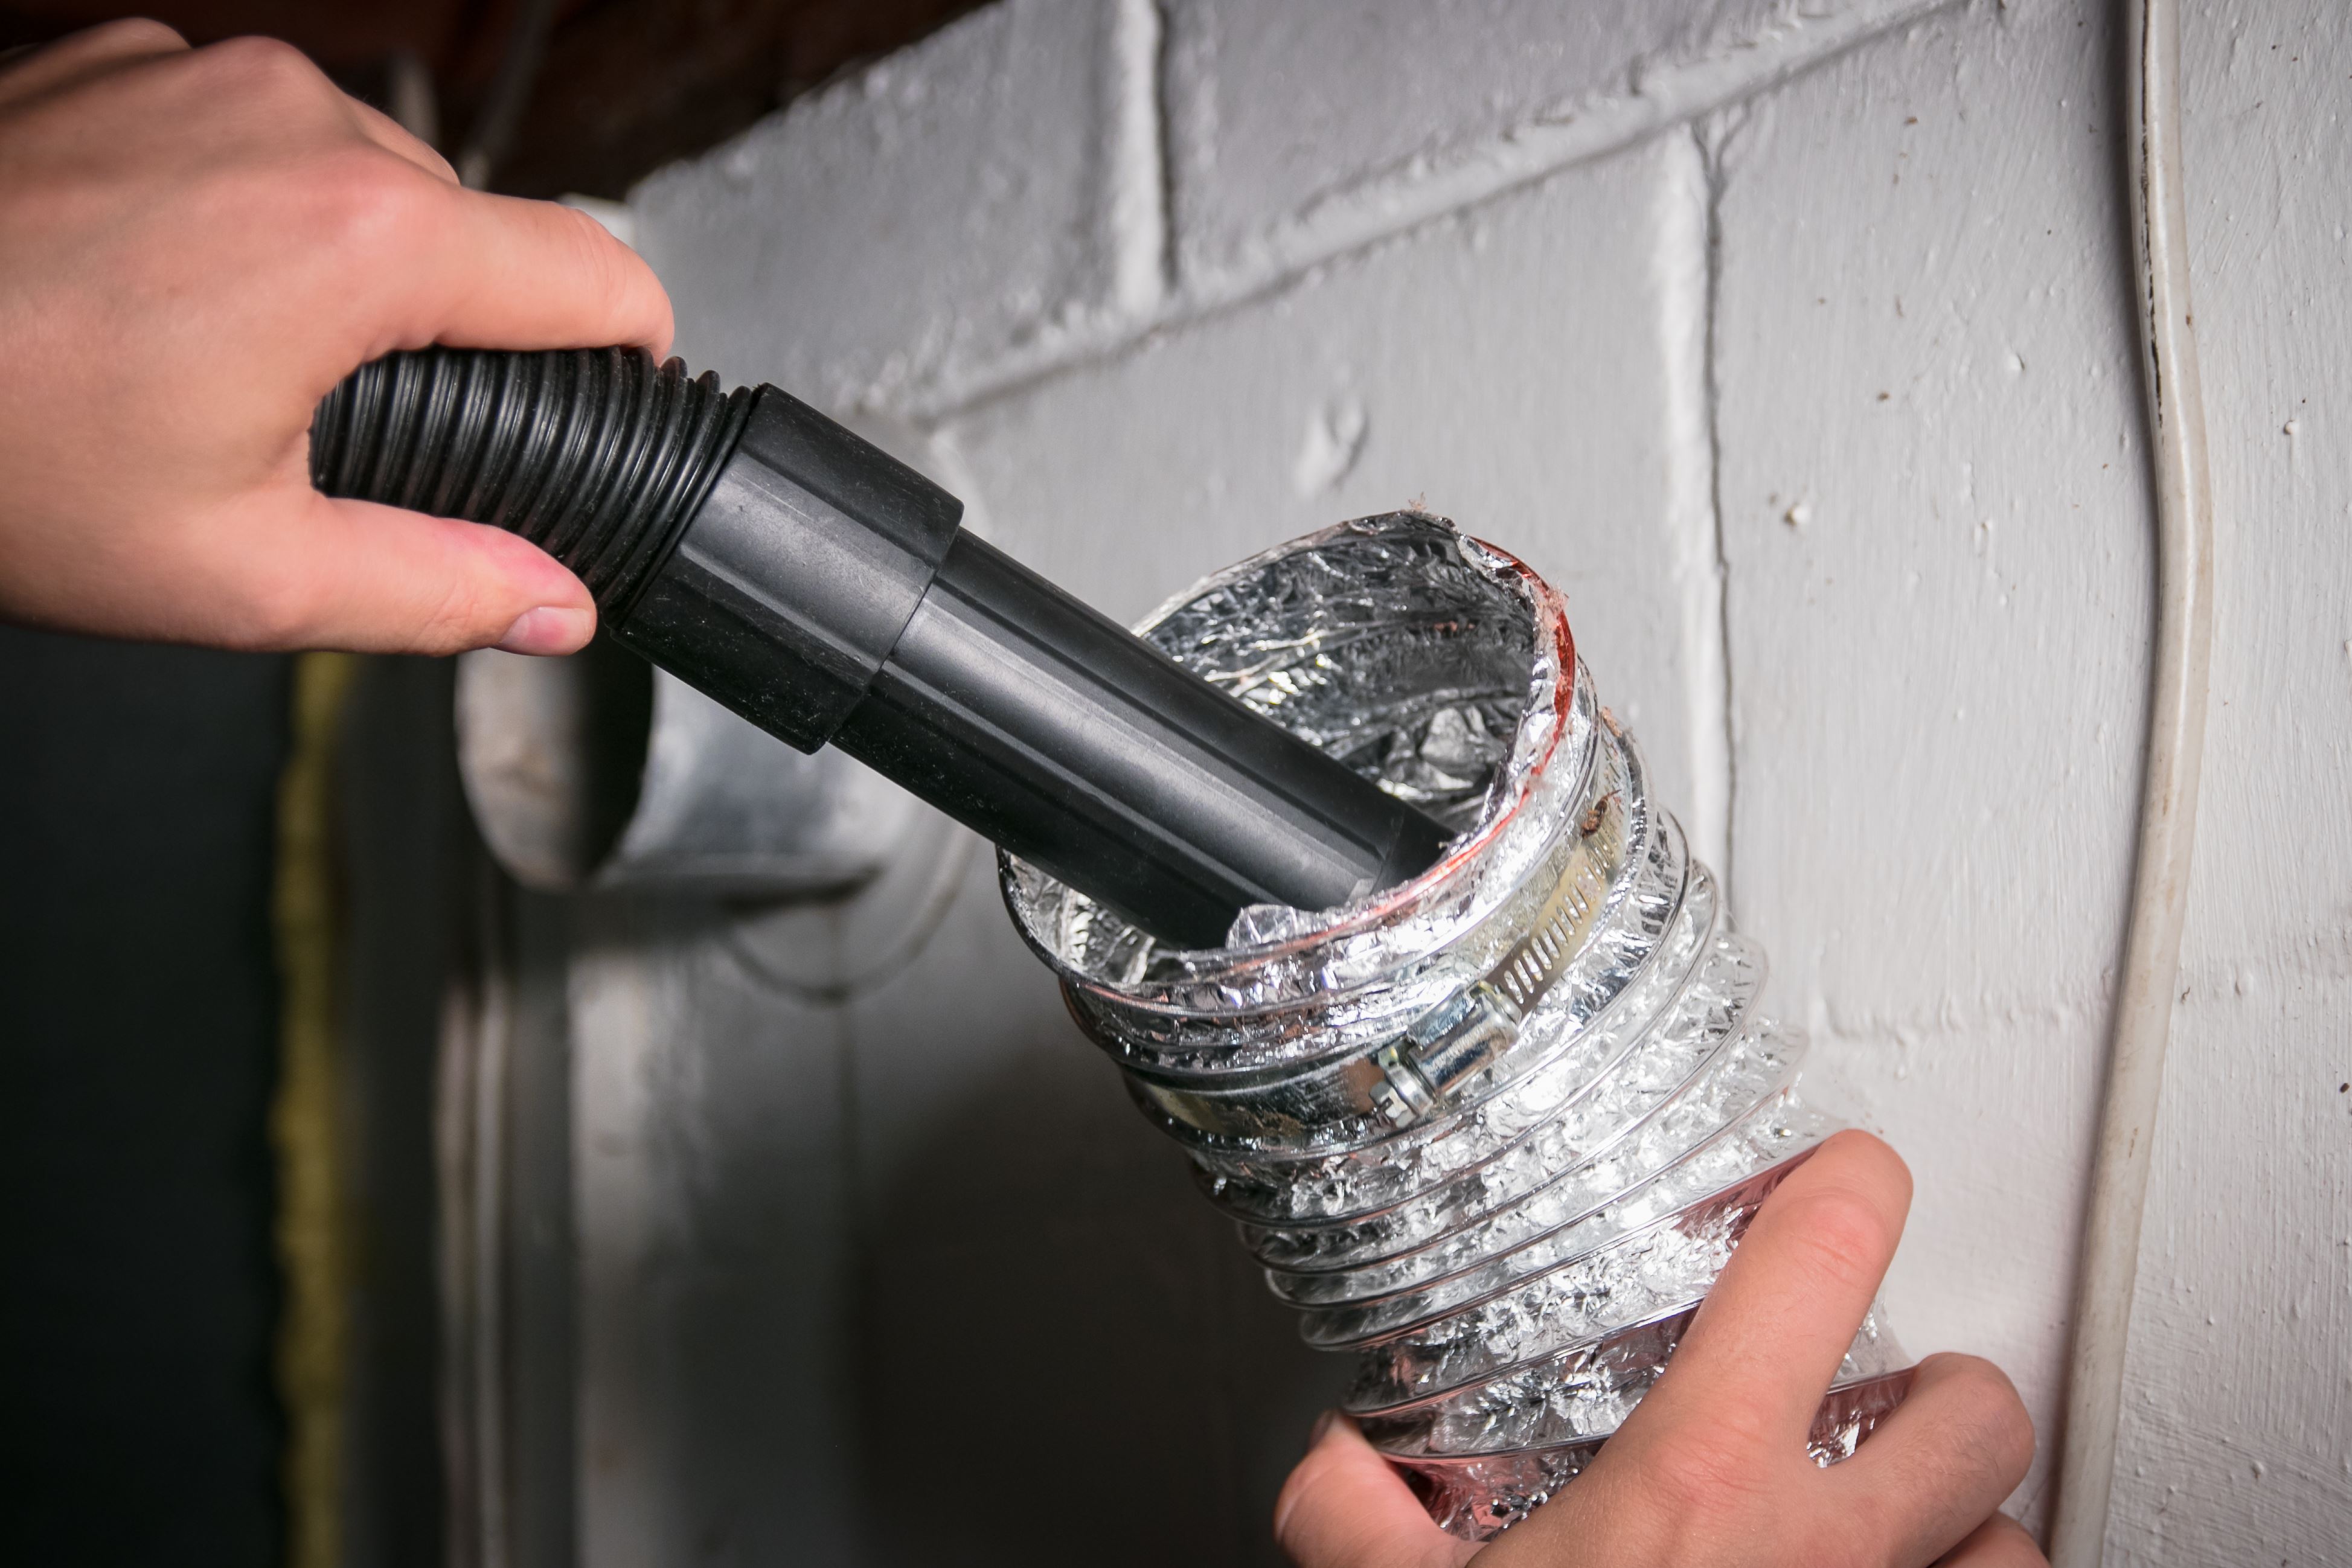
- Connect the rotary brush system: Connect the rotary brush system to an air compressor and insert the brush into the ductwork through an access opening.
- Clean the duct walls: Use the rotary brush to scrub the inside walls of the ducts, dislodging dust and debris. Move the brush slowly and methodically to ensure thorough cleaning.
- Vacuum the ducts: Use a HEPA vacuum to remove the dislodged dust and debris from the ducts. Position the vacuum nozzle close to the brush to capture as much debris as possible.
- Repeat the process: Repeat the brushing and vacuuming process several times to ensure that the ducts are thoroughly cleaned.
For flexible ducts, use a gentler cleaning method to avoid damaging the ductwork. Consider using a soft brush or a vacuum with a hose attachment.
5. Sanitizing the Ductwork (Optional)
If you suspect mold growth in your ductwork, you can sanitize it with an antimicrobial solution. Apply the sanitizer using a fogging machine or a spray bottle. *Always follow the manufacturer's instructions and wear appropriate protective gear.*
6. Sealing and Reassembly
After cleaning, it's essential to seal any openings created during the cleaning process and reassemble the HVAC system. Here's how:
- Seal access openings: Use duct tape or mastic sealant to seal any access openings created during the cleaning process. Ensure that the seals are airtight to prevent air leakage.
- Reinstall access panels: Reinstall the access panels on the air handler and secure them with screws.
- Remove plastic sheeting: Remove the plastic sheeting from the vents and registers and dispose of it properly.
7. Final Inspection and Testing
After reassembling the HVAC system, perform a final inspection to ensure that everything is in working order. Turn on the HVAC system and check for proper airflow from all vents and registers. Listen for any unusual noises or vibrations. Consider a final inspection with your inspection camera to verify that everything is satisfactory.
DIY vs. Professional Duct Cleaning
While it's possible for homeowners to clean their AC ducts themselves, it's generally recommended to hire a qualified HVAC professional. Here's a comparison of DIY and professional duct cleaning:
- Cost: DIY duct cleaning is typically less expensive than professional duct cleaning. However, you'll need to purchase or rent the necessary tools and equipment.
- Effectiveness: Professional duct cleaning is generally more effective than DIY duct cleaning. Professionals have the expertise and equipment to thoroughly clean the entire duct system.
- Time: DIY duct cleaning can be time-consuming, especially if you're not familiar with the process. Professional duct cleaning is typically faster and more efficient.
- Safety: DIY duct cleaning can be risky if you're not careful. You could damage the ductwork or expose yourself to harmful contaminants. Professional duct cleaning is typically safer, as professionals are trained to handle these risks.
Example: *A homeowner attempted to clean their ducts using only a vacuum cleaner with a hose attachment. While they removed some visible dust, the ducts remained significantly dirty. A professional cleaning, with proper agitation and vacuum tools, extracted a significant amount of unseen debris and mold.*
Cost Considerations
The cost of professional AC duct cleaning can vary depending on several factors, including:
- Size of the duct system: Larger duct systems typically cost more to clean.
- Complexity of the duct system: Duct systems with many bends and turns can be more difficult to clean.
- Level of contamination: Heavily contaminated duct systems may require more extensive cleaning.
- Location: Prices vary by region.
On average, professional AC duct cleaning can cost between $300 and $1,000. It's important to get quotes from multiple HVAC contractors and compare their prices and services before making a decision. When comparing prices, be sure to ask about the specific cleaning methods they use, the equipment they use, and whether they offer a guarantee.
Maintaining Clean Ducts
Once your AC ducts are cleaned, it's important to take steps to maintain their cleanliness. Here are some tips:
- Change your air filters regularly: Changing your air filters every one to three months can help prevent dust and debris from accumulating in your ducts. Use high-efficiency filters to capture more particles.
- Seal air leaks: Seal any air leaks in your ductwork to prevent dust and debris from entering.
- Control humidity: High humidity can promote mold growth in your ducts. Use a dehumidifier to control humidity levels in your home or building.
- Schedule regular inspections: Schedule regular inspections of your AC ducts to identify and address any potential problems early on.
By following these steps, you can help keep your AC ducts clean and maintain good indoor air quality.