How To Close Off A Chimney Permanently Diy

A chimney, once a vital component of homes with fireplaces, can become a source of problems when fireplaces are no longer in use. Leaving a chimney open allows heat to escape in the winter and hot air to enter during the summer, leading to higher energy bills. Furthermore, it can be a conduit for pests and moisture, potentially causing structural damage. Permanently closing off a chimney is a DIY project that can significantly improve your home's energy efficiency and prevent costly repairs.
Understanding the Task: Permanently Closing a Chimney
Closing off a chimney permanently is more involved than simply plugging the flue. It requires careful consideration of ventilation, moisture control, and the long-term integrity of the chimney structure. Improper closure can lead to condensation buildup, mold growth, and even structural deterioration. This guide provides a step-by-step approach to safely and effectively closing off your chimney, empowering you to complete the project yourself while emphasizing safety and proper techniques.
Safety First!
Before starting any DIY project involving heights or potentially dusty environments, prioritize safety. This includes:
- Wearing safety glasses to protect your eyes from falling debris.
- Using a dust mask or respirator to avoid inhaling dust, soot, and other particles.
- Wearing gloves to protect your hands from dirt and sharp edges.
- Setting up a stable ladder on a level surface. If you're uncomfortable working at heights, consider hiring a professional.
- Having a helper to assist you with lifting and handling materials.
Step 1: Inspection and Planning
Before you start, a thorough inspection of your chimney is crucial. This will help you determine the best approach for closing it off and identify any potential problems that need to be addressed. Remember, these steps are for chimneys that are no longer in use. If you intend to use your fireplace in the future, this is not the project for you.
- Inspect the Chimney Crown: The chimney crown is the concrete or mortar slab at the top of the chimney. Check for cracks, crumbling, or missing pieces. These issues need to be addressed before closing the chimney to prevent water intrusion.
- Inspect the Chimney Flue: Look for cracks, gaps, or deterioration in the flue liner. While you're closing off the chimney, consider having a professional inspect the entire flue for safety if you plan to sell the house later and a future buyer might want to use the chimney again.
- Check for Water Damage: Look for signs of water damage on the interior walls of the chimney and in the surrounding areas of your house. This could indicate leaks that need to be repaired before closing the chimney.
- Assess for Obstructions: Look for bird nests, debris, or other obstructions in the chimney flue. Remove any obstructions before proceeding.
Step 2: Choosing the Right Materials
Selecting the appropriate materials is essential for a long-lasting and effective chimney closure. Here are some options to consider:
- Expanding Foam: This is a good option for filling small gaps and sealing around the edges of your closure. Use a low-expansion foam specifically designed for this purpose.
- Rigid Insulation: Cut rigid insulation board (like foam board) to fit inside the flue. This will provide a significant barrier against heat loss and air infiltration.
- Mortar or Cement: Use mortar or cement to patch cracks in the chimney crown or to create a more permanent seal around the edges of your closure.
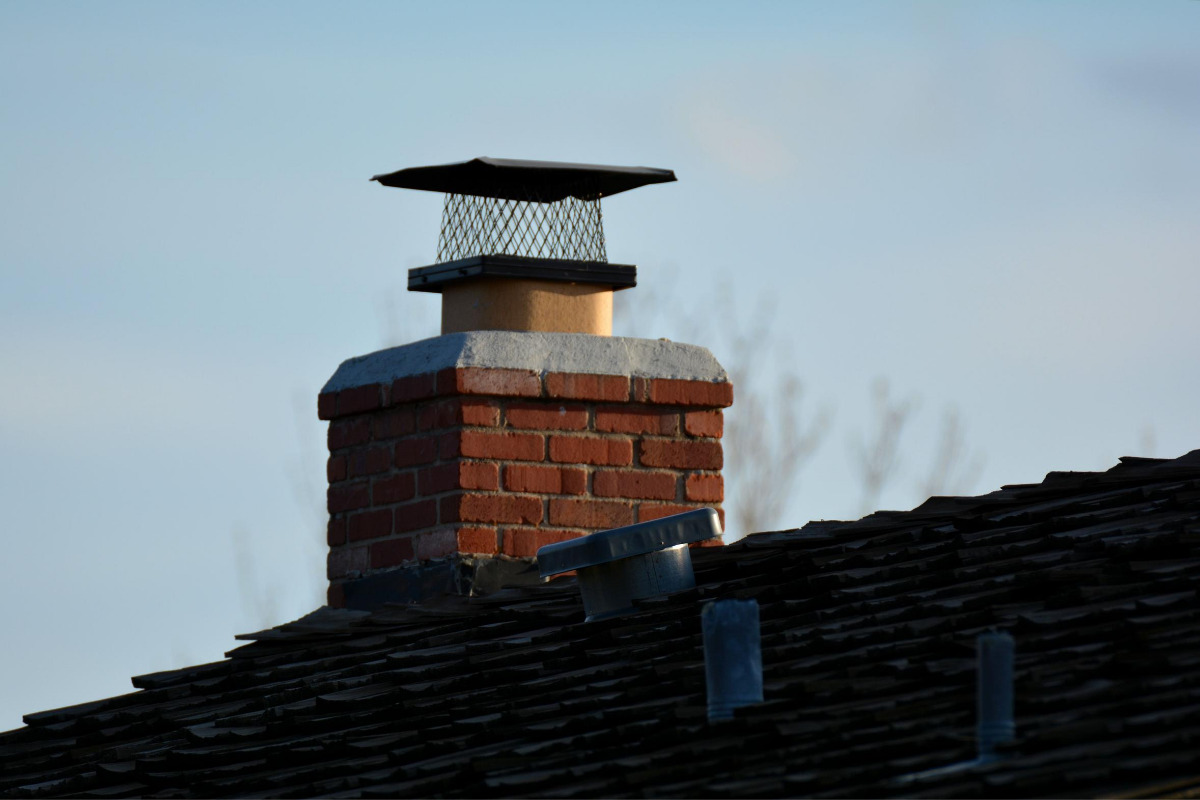
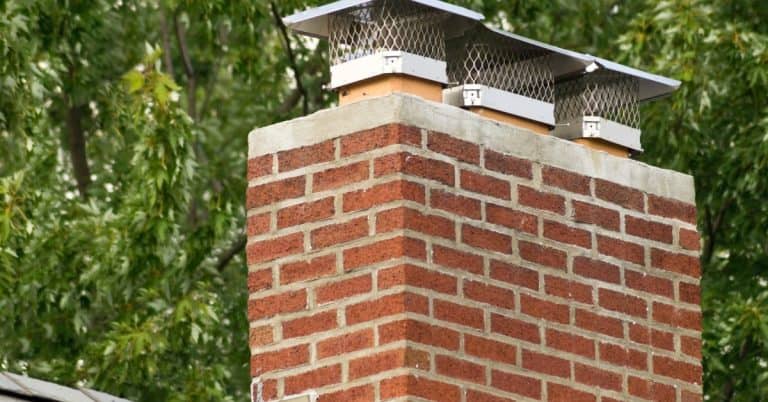
- Chimney Cap: While you're closing off the chimney from the inside, it's still a good idea to install a chimney cap with mesh to prevent animals and debris from entering from the top.
- Waterproof Sealant: Use a high-quality waterproof sealant to seal any gaps or cracks around the chimney crown and flashing.
Step 3: Sealing the Chimney from the Inside
This is the core of the project. You'll be creating a barrier inside the chimney to prevent air flow and moisture penetration.
- Clean the Flue: Use a wire brush to clean the inside of the flue a few feet down from the top. This will remove any loose soot or debris and create a better surface for sealing.
- Measure the Flue Opening: Carefully measure the inside dimensions of the flue opening. This will help you cut the rigid insulation to the correct size.
- Cut the Rigid Insulation: Cut the rigid insulation to fit snugly inside the flue opening. You may need to cut several pieces to completely fill the space.
- Install the Insulation: Insert the rigid insulation into the flue opening, making sure it fits tightly. You may need to use shims to fill any gaps.
- Seal the Edges: Use expanding foam to seal around the edges of the rigid insulation. Apply the foam in thin layers, allowing it to expand and cure completely between applications. This will create an airtight seal.
- Optional: Add a Second Layer: For added insulation and protection, you can add a second layer of rigid insulation and expanding foam.
Step 4: Addressing the Chimney Crown
The chimney crown is the first line of defense against the elements. Ensuring its integrity is crucial for preventing water damage.
- Clean the Crown: Thoroughly clean the chimney crown, removing any loose mortar, debris, or vegetation.
- Patch Cracks: Use mortar or cement to patch any cracks or holes in the chimney crown. Follow the manufacturer's instructions for mixing and applying the mortar.
- Apply Waterproof Sealant: Apply a high-quality waterproof sealant to the entire chimney crown, paying special attention to the edges and any areas where the crown meets the chimney flue.
- Install a Chimney Cap (Recommended): Even though you've sealed the chimney from the inside, installing a chimney cap with mesh will prevent animals and debris from entering the chimney from the top. Choose a cap that is the appropriate size and style for your chimney.
Step 5: Sealing the Flashing
The flashing is the metal sheeting that seals the gap between the chimney and the roof. Damaged or deteriorated flashing can allow water to leak into your home.
- Inspect the Flashing: Carefully inspect the flashing around the chimney for any signs of damage, such as rust, holes, or loose seams.
- Clean the Flashing: Clean the flashing with a wire brush to remove any rust, dirt, or debris.
- Seal Any Gaps: Use a waterproof sealant to seal any gaps or cracks in the flashing. Pay special attention to the seams where the flashing meets the chimney and the roof.
- Replace Damaged Flashing (If Necessary): If the flashing is severely damaged, it may need to be replaced. This is a more complex project that may require professional assistance.
Step 6: Interior Finishing (Optional)
If you've closed off the chimney flue from the inside, you may want to finish the interior of the fireplace opening to create a more aesthetically pleasing look.
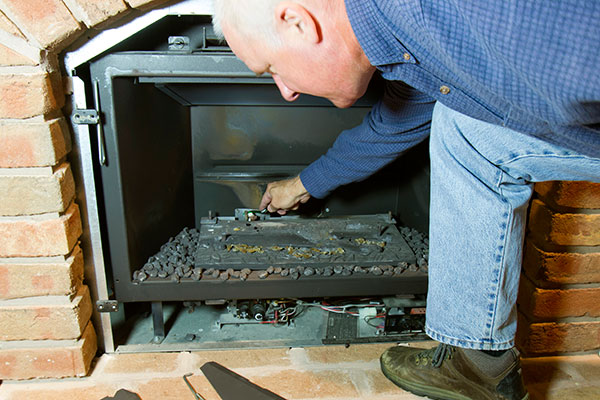
- Clean the Fireplace: Thoroughly clean the inside of the fireplace, removing any soot, ash, or debris.
- Install a Decorative Panel: You can install a decorative panel made of wood, metal, or other materials to cover the fireplace opening.
- Fill the Opening with Insulation: Fill the fireplace opening with insulation, such as fiberglass or mineral wool, to further improve energy efficiency.
- Seal the Opening: Seal the opening with drywall or plywood to create a smooth, finished surface.
- Paint or Wallpaper: Paint or wallpaper the finished surface to match the surrounding decor.
Important Considerations and Potential Problems
While this guide provides a comprehensive overview of how to permanently close off a chimney, there are some important considerations and potential problems to be aware of:
- Building Codes: Check with your local building department to see if there are any building codes or regulations that apply to closing off a chimney.
- Condensation: If the chimney is not properly ventilated, condensation can build up inside the flue, leading to mold growth and structural damage. To mitigate this risk, consider installing a vent at the base of the chimney to allow for air circulation.
- Structural Integrity: If the chimney is structurally unsound, closing it off may not be enough to prevent further deterioration. In this case, you may need to consult with a structural engineer to determine the best course of action.
- Resale Value: Permanently closing off a chimney may affect the resale value of your home. Be sure to weigh the benefits of closing off the chimney against the potential impact on your home's value. If you think a future buyer might want to use a fireplace, consult a professional about solutions that allow for future chimney use.
When to Call a Professional
While many of the steps outlined in this guide can be completed by a homeowner, there are certain situations where it's best to call a professional.
- Significant Chimney Damage: If the chimney is severely damaged, such as crumbling brickwork or a collapsed flue, it's best to consult with a professional chimney repair company.
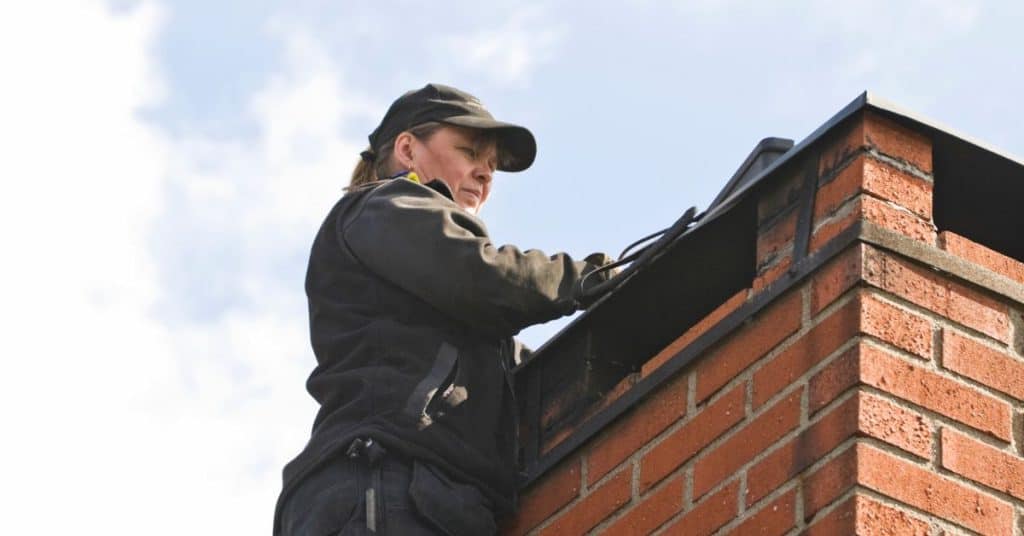
- Roof Work: If you're uncomfortable working on your roof, it's best to hire a professional to install the chimney cap and seal the flashing.
- Complex Flashing Repairs: Replacing damaged flashing can be a complex project that requires specialized tools and skills. If you're not experienced in this type of work, it's best to hire a professional.
- Uncertainty: If you're unsure about any aspect of the project, it's always best to err on the side of caution and consult with a professional.
Conclusion
Permanently closing off a chimney is a worthwhile DIY project that can improve your home's energy efficiency, prevent water damage, and reduce the risk of pest infestation. By following the steps outlined in this guide and taking the necessary safety precautions, you can successfully complete this project yourself. Remember to carefully inspect your chimney, choose the right materials, and address any potential problems before proceeding. If you're ever unsure about any aspect of the project, don't hesitate to call a professional.
By understanding the process and paying close attention to detail, you can confidently tackle this project and enjoy the benefits of a permanently sealed chimney. Good luck!