How To Find Furnace Exhaust Vent
Imagine waking up on a chilly morning only to discover your furnace isn't working. The house is getting colder, and you're not sure where to even begin. A common cause for furnace failure is related to the exhaust vent. This article provides a step-by-step guide on how to locate and troubleshoot your furnace exhaust vent, empowering you to identify potential problems and determine if a simple fix is possible before calling a professional.
Understanding Your Furnace and the Exhaust Vent
Before diving into troubleshooting, it's helpful to understand the basics. Your furnace burns fuel (natural gas, propane, or oil) to generate heat. As a byproduct of this combustion, it produces exhaust gases, including carbon monoxide. The exhaust vent, also known as a flue, is a critical component that safely directs these gases out of your home.
A blocked or damaged exhaust vent can lead to dangerous carbon monoxide buildup, which is why it's essential to ensure it's clear and functioning correctly. Common types of exhaust vents include:
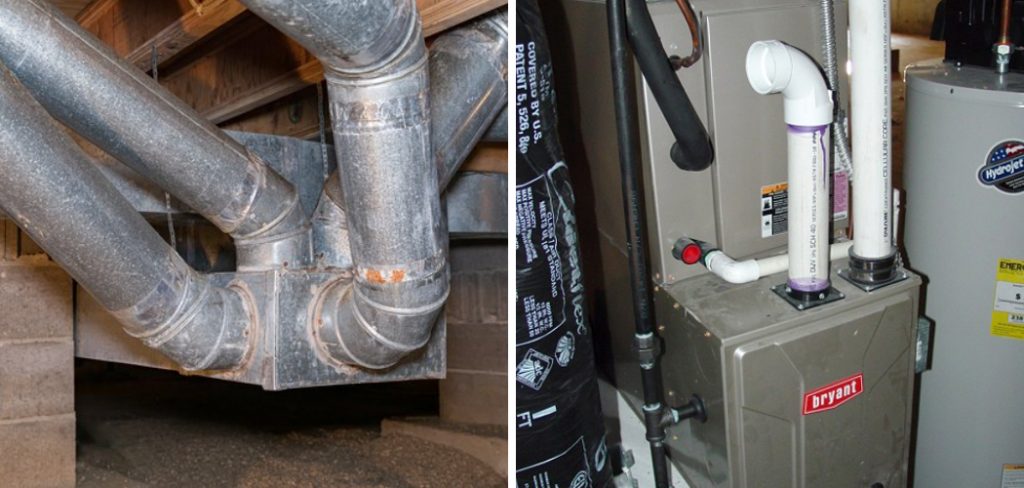
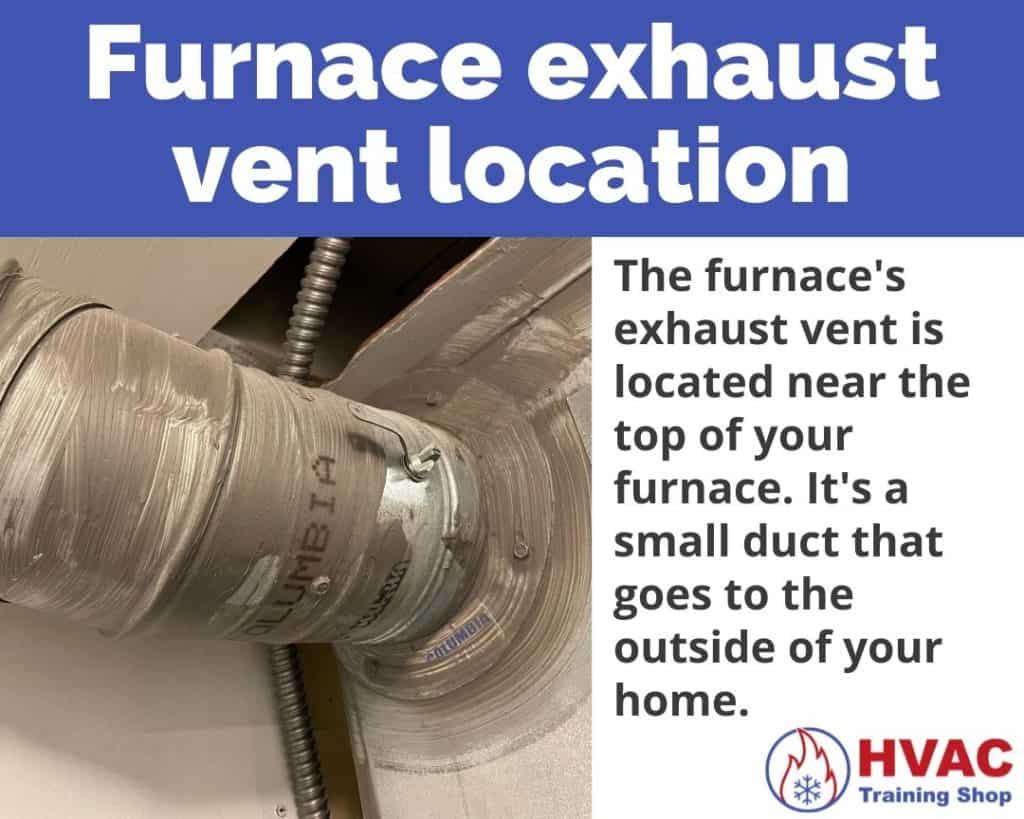
- Metal Vent Pipe (B Vent): Commonly used for older, conventional furnaces. These are double-walled metal pipes, usually found venting vertically through the roof.
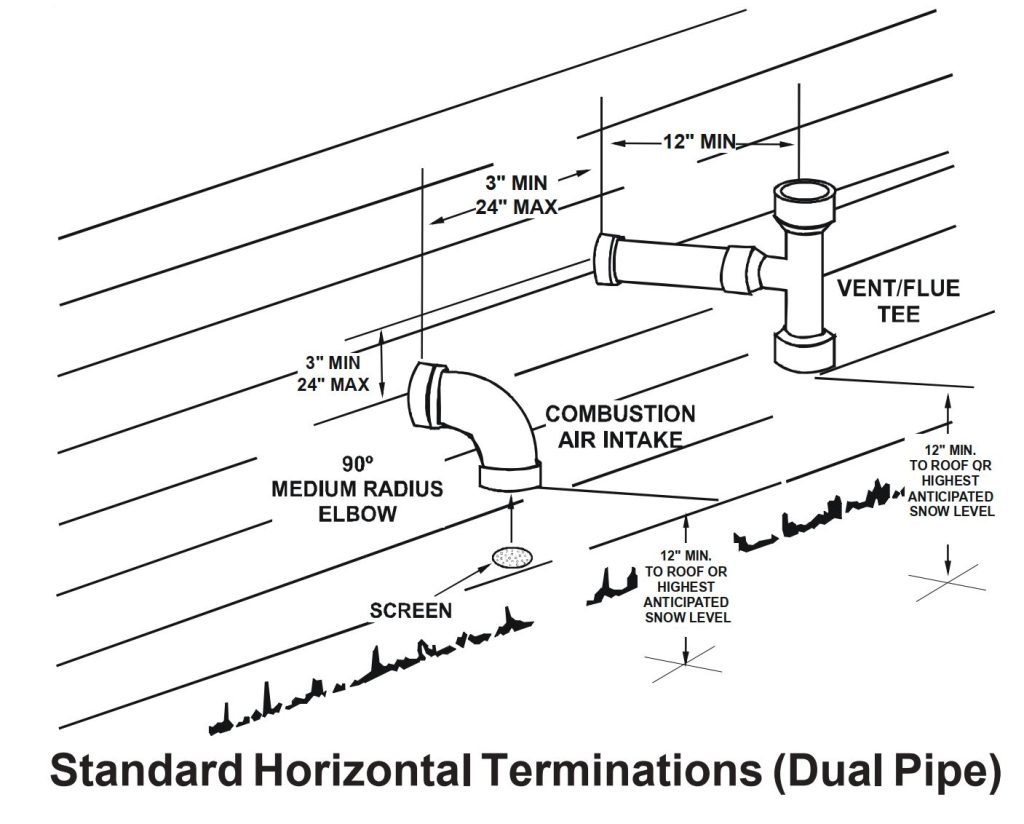
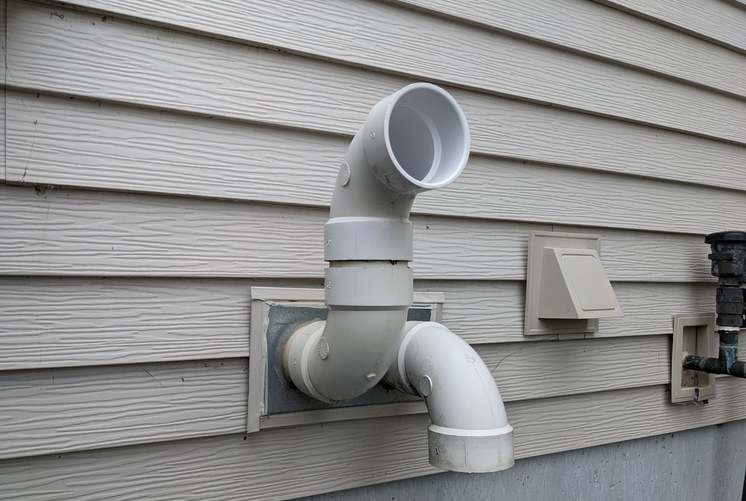
- PVC Vent Pipe: Used for high-efficiency furnaces. These are white or grey plastic pipes that may vent horizontally through a side wall or vertically through the roof.
This guide will help you locate your furnace exhaust vent, inspect it for common issues, and perform basic troubleshooting. Remember, safety is paramount. If you smell gas, evacuate the premises immediately and call your gas company or 911.
Step 1: Locating Your Furnace Exhaust Vent
Finding your exhaust vent is the first step. Here’s how:
A. Starting at the Furnace
Begin by locating your furnace itself. It's usually found in the basement, attic, utility closet, or garage.
- Follow the Vent: Once you find the furnace, look for a metal or PVC pipe connected to the top. This is your exhaust vent.
- Trace the Path: Carefully trace the path of the vent pipe from the furnace to where it exits your home. This could be through the roof, a side wall, or, in rare cases, another part of the building.
B. Identifying the Exit Point
Now, find where the vent exits your home. This is crucial for inspection.
- Roof Vent: Look for a metal or PVC pipe protruding from your roof, often near the center or highest point. Check that the cap is present and in good condition.
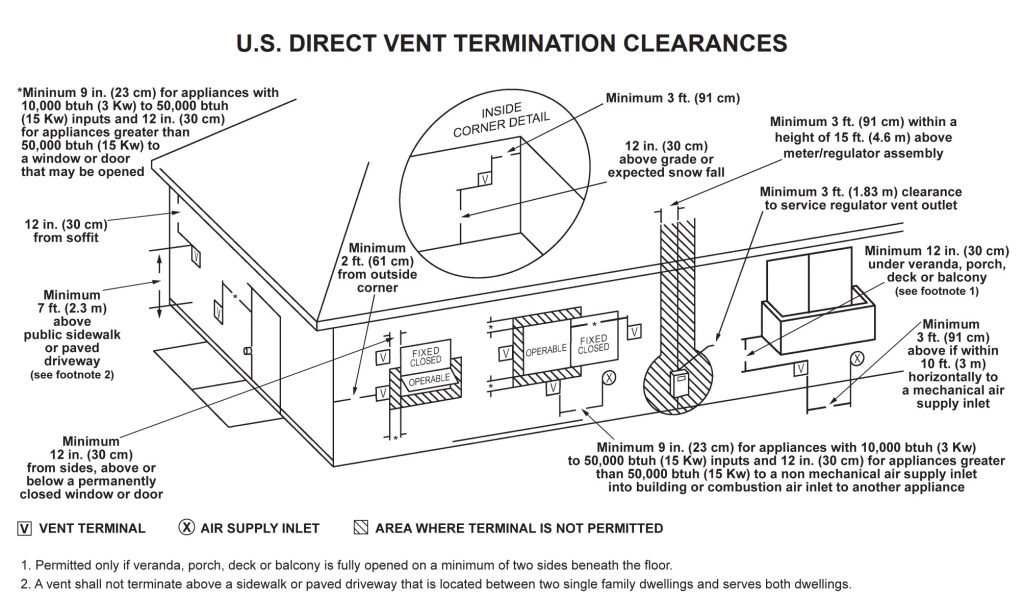
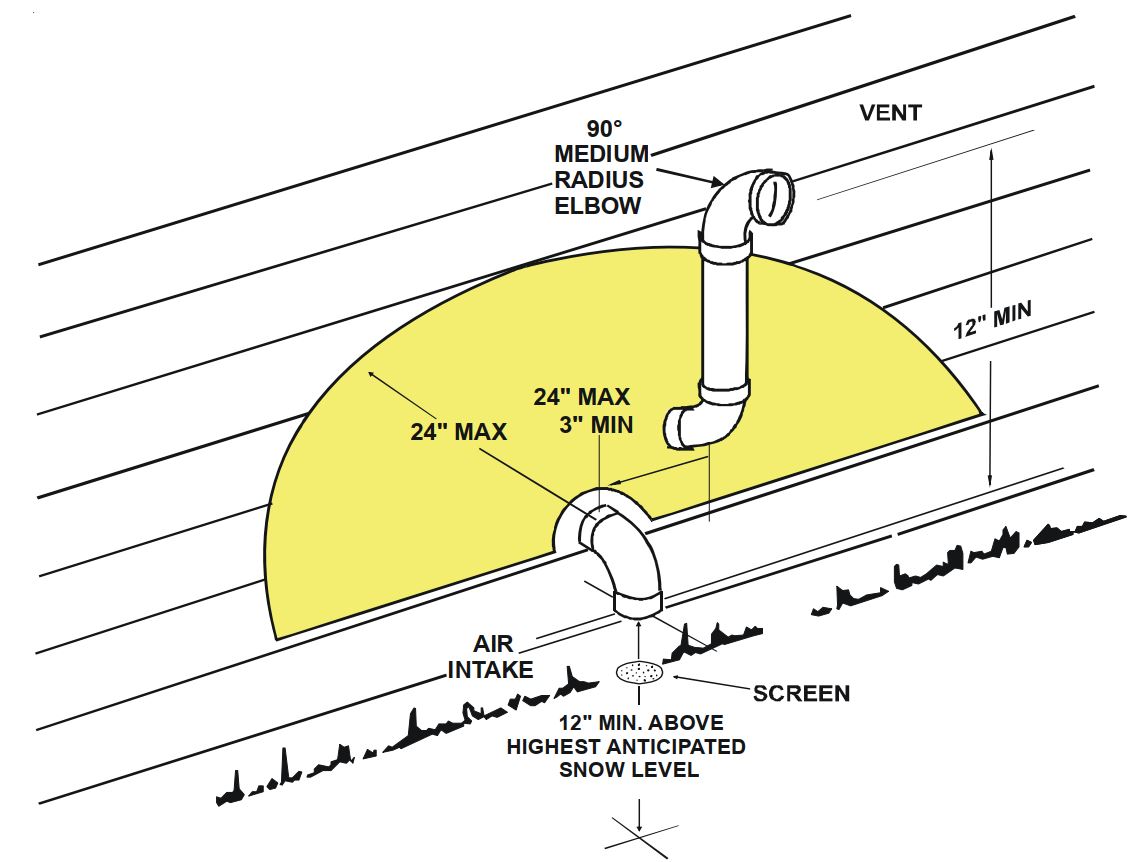
- Side Wall Vent: For high-efficiency furnaces, the vent might exit through a side wall. This is usually a PVC pipe with a screen or cap to prevent debris from entering. The location might also have a condensation drain.
Note: Some homes have multiple vents. Ensure you're tracing the one specifically connected to your furnace.
Step 2: Visual Inspection of the Exhaust Vent
Once you've located both ends of the exhaust vent, perform a thorough visual inspection.
A. Inspecting the Interior Section
Check the visible sections of the vent pipe inside your home.
- Rust and Corrosion: Look for signs of rust, corrosion, or damage, especially in metal vents.
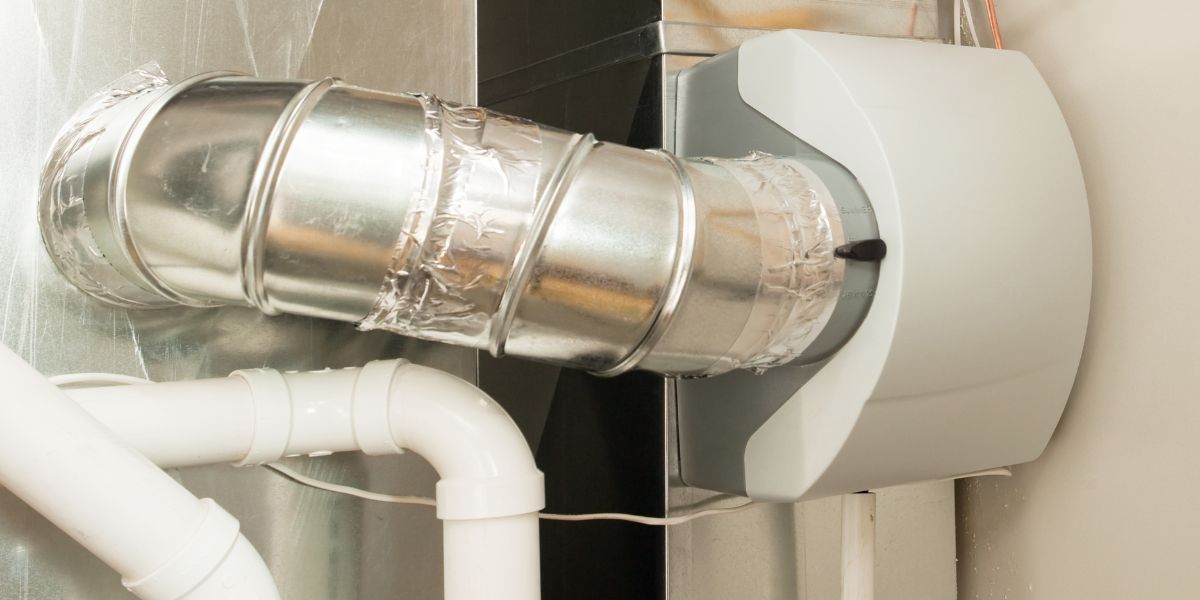
- Loose Connections: Ensure all connections are secure and properly sealed. Gaps can allow exhaust gases to leak into your home.
- Sagging: Check for any sagging or dips in the vent pipe, which can trap condensation and restrict airflow.
- Obstructions: Look for any visible obstructions, such as bird nests or debris, inside the pipe.
B. Inspecting the Exterior Section
The exterior section of the vent is exposed to the elements and requires careful inspection.
- Obstructions: Check for bird nests, leaves, snow, or ice blocking the vent opening.
- Damage: Look for cracks, dents, or other damage to the vent pipe or cap.
- Corrosion: Examine metal vents for rust and corrosion.
- Security: Ensure the vent is securely attached to the roof or wall.
Safety First: When inspecting a roof vent, use a sturdy ladder and take appropriate safety precautions. If you're uncomfortable working at heights, skip this step and contact a professional.
Step 3: Troubleshooting Common Exhaust Vent Problems
Based on your visual inspection, you can attempt some basic troubleshooting.
A. Clearing Obstructions
One of the most common issues is a blocked vent. If you find any obstructions, carefully remove them.
- Tools: Use a broom handle, garden hose, or similar tool to dislodge debris.
- Safety: Wear gloves and eye protection to avoid contact with debris.
- Caution: Avoid pushing debris further into the vent pipe.
B. Checking for Proper Vent Slope
The vent pipe should slope slightly upwards away from the furnace to allow condensation to drain properly. If you notice sagging or a reverse slope, this can cause problems.
- Support: Ensure the vent pipe is properly supported with straps or hangers.
- Minor Adjustments: In some cases, you might be able to adjust the supports to correct the slope. However, if the issue is significant or involves modifying the vent pipe itself, consult a professional.
C. Inspecting and Cleaning the Condensate Drain (High-Efficiency Furnaces)
High-efficiency furnaces produce condensation that needs to be drained away. A clogged condensate drain can cause the furnace to shut down.
- Location: Locate the condensate drain near the furnace. It's usually a small plastic tube leading to a floor drain or condensate pump.
- Inspection: Check for clogs or blockages in the drain tube.
- Cleaning: Disconnect the drain tube and flush it with warm water or vinegar to remove any debris. You can also use a wet/dry vacuum to clear the drain line.
- Condensate Pump: If your furnace uses a condensate pump, ensure it's working correctly. Listen for the pump running periodically. If it's not running, check the power supply and float switch.
Step 4: Simple DIY Fixes
Here are a few simple DIY fixes you can attempt, depending on the issues you've identified.
- Replacing a Vent Cap: If the vent cap is damaged or missing, you can usually replace it yourself. Purchase a compatible cap at a hardware store and attach it securely to the vent pipe.
- Sealing Minor Leaks: Use aluminum foil tape designed for HVAC systems to seal minor leaks or gaps in the vent pipe connections. Avoid using duct tape, as it's not heat-resistant and will eventually fail.
- Cleaning the Area Around the Vent: Remove any vegetation or debris that could obstruct the vent opening.
When to Call a Professional
While some exhaust vent issues can be addressed with DIY fixes, certain situations require the expertise of a qualified HVAC technician.
- Gas Leaks: If you suspect a gas leak (smell gas), evacuate immediately and call your gas company or 911.
- Carbon Monoxide Detection: If your carbon monoxide detector is sounding, evacuate and call the fire department or 911.
- Significant Damage: If the vent pipe is severely damaged, corroded, or collapsed, it needs to be replaced by a professional.
- Complex Repairs: If the issue involves modifying the vent pipe itself, such as rerouting or resizing it, consult a professional.
- Electrical Components: If the problem involves electrical components, such as the furnace control board or blower motor, it's best to leave it to a qualified electrician or HVAC technician.
- You're Unsure: If you're uncomfortable or unsure about any aspect of the troubleshooting or repair process, it's always best to err on the side of caution and call a professional.
Never attempt repairs involving gas lines or electrical components unless you are a qualified professional.
Safety Precautions
Before attempting any troubleshooting or repairs, keep these safety precautions in mind:
- Turn Off the Power: Before working on the furnace, turn off the power at the circuit breaker.
- Wear Protective Gear: Wear gloves and eye protection to protect yourself from debris and sharp objects.
- Work in a Well-Ventilated Area: If you're working inside, open windows and doors to ensure adequate ventilation.
- Never Block the Vent: Ensure the exhaust vent is never blocked or obstructed while the furnace is running.
- Install Carbon Monoxide Detectors: Ensure you have working carbon monoxide detectors installed throughout your home, especially near sleeping areas. Test them regularly.
Preventative Maintenance
To prevent exhaust vent problems and ensure your furnace operates safely and efficiently, consider these preventative maintenance tips:
- Annual Inspection: Have your furnace and exhaust vent inspected annually by a qualified HVAC technician.
- Regular Cleaning: Keep the area around the exhaust vent clear of debris and vegetation.
- Replace Filters: Change your furnace filter regularly to ensure proper airflow.
- Monitor Performance: Pay attention to any unusual noises, smells, or performance issues with your furnace.
By following these steps, you can effectively locate and troubleshoot your furnace exhaust vent, potentially saving yourself time and money while ensuring your home remains safe and warm. Remember to prioritize safety and call a professional when necessary.