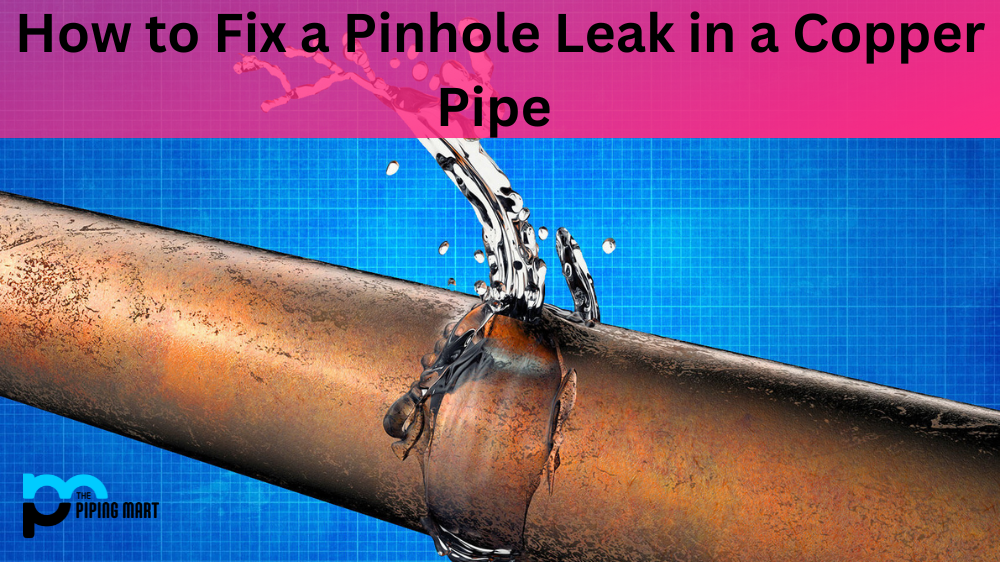
How To Fix A Copper Pipe Leak At The Joint

Discovering a leak, especially in a plumbing system, can be a homeowner's nightmare. While a major plumbing overhaul definitely requires a professional, you can often tackle smaller issues yourself. This article will guide you through troubleshooting and fixing a common problem: a leak at a copper pipe joint.
Safety First!
Before we begin, always prioritize safety. Water and electricity don't mix! If the leak is near any electrical components, immediately shut off the main power to the area. Wear appropriate safety glasses to protect your eyes from flying debris or water spray. Also, wearing gloves is recommended.
Understanding the Problem: Copper Pipe Joint Leaks
Copper pipes are a popular choice for plumbing due to their durability and resistance to corrosion. However, leaks can still occur at the joints, which are typically connected using soldering (sweating). Here's why these leaks might happen:
- Corrosion: Over time, corrosion can weaken the solder joint, leading to pinhole leaks or cracks.
- Improper Soldering: A poor initial soldering job is a common culprit. Insufficient heat, inadequate flux, or movement during the cooling process can create weak spots.
- Water Pressure: Excessively high water pressure can stress the joints, eventually causing them to fail.
- Physical Damage: Impact from accidental bumps or nearby construction can damage the joints.
- Freezing Temperatures: Water expands when it freezes, putting immense pressure on the pipes and joints, often leading to cracks.
Step-by-Step Troubleshooting Guide
Follow these steps to diagnose and potentially fix the leak yourself. Remember, if at any point you feel uncomfortable or unsure, stop and call a licensed plumber.
1. Identify the Source of the Leak
This might seem obvious, but carefully pinpoint the exact location where the water is escaping. Is it directly at the soldered joint? Or is it coming from a pinhole in the pipe itself (near the joint)? Use a clean cloth to dry the area completely, then watch closely to see where the water reappears. Identifying the exact leak location is critical for a successful repair.
2. Turn Off the Water Supply
Crucially, before attempting any repair, shut off the water supply to the affected pipe. Locate the main water shut-off valve for your house (usually in the basement, garage, or near the water meter). Turn it off completely. Then, open a faucet downstream from the leak to relieve any pressure in the pipes.
3. Clean and Inspect the Joint
Use a wire brush or emery cloth to thoroughly clean the copper pipe and the fitting around the joint. Remove any corrosion, dirt, or old solder. This will allow you to better inspect the joint and determine the extent of the damage. Look for:
- Cracks: Even hairline cracks can leak.
- Pinhole Leaks: Tiny holes that may be difficult to spot.
- Gaps in the Solder: Areas where the solder didn't properly bond to the pipe and fitting.
- Discoloration: Unusual discoloration can indicate corrosion or a weak spot.
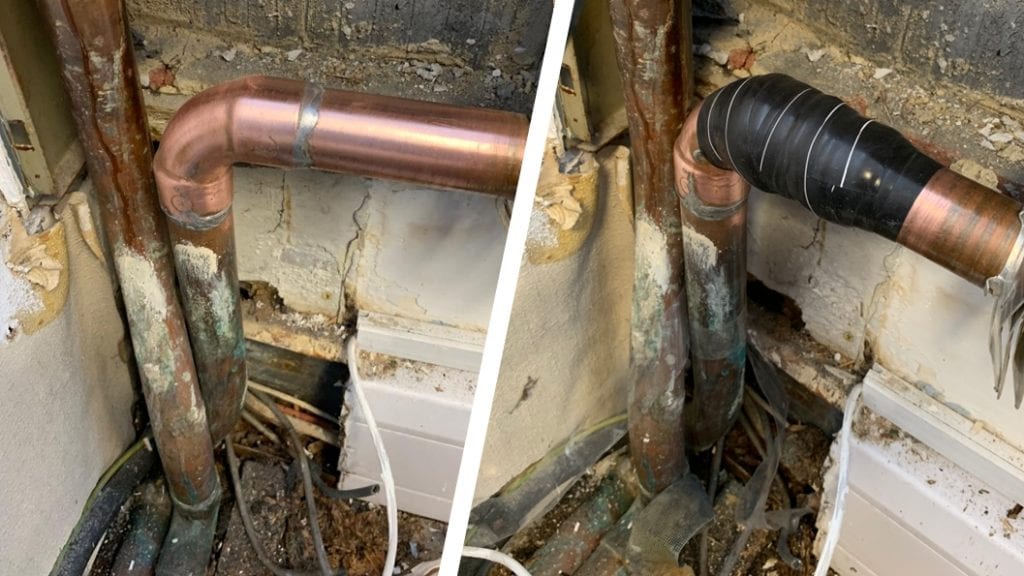
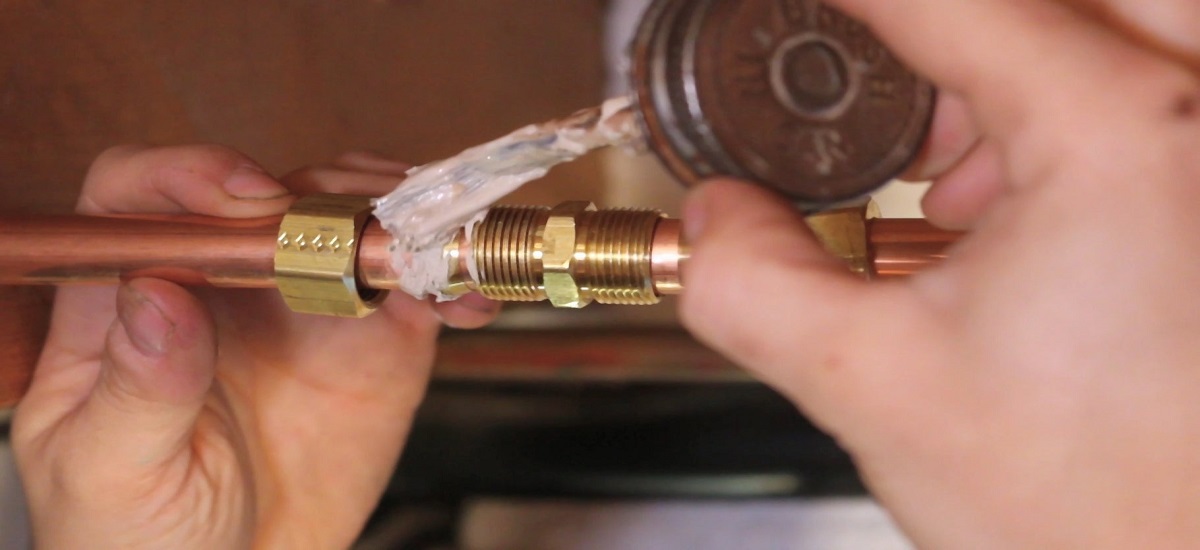
4. Attempt a Simple Repair: Epoxy Putty (Temporary Fix)
For small leaks or pinholes, a temporary fix using epoxy putty designed for plumbing repairs can sometimes work. This is not a permanent solution but can buy you time until you can perform a proper repair or call a plumber. Follow these steps:
- Dry the Area: Ensure the area around the leak is completely dry. Use a heat gun on a low setting or a clean cloth.
- Prepare the Epoxy: Knead the two-part epoxy putty according to the manufacturer's instructions until it's a uniform color.
- Apply the Epoxy: Press the putty firmly onto the leak, completely covering the damaged area. Mold it smoothly around the pipe and fitting.
- Allow to Cure: Let the epoxy cure completely according to the manufacturer's instructions (usually several hours).
- Test the Repair: Slowly turn the water supply back on and check for leaks. If the leak persists, the epoxy may not have sealed properly, or the damage may be too extensive.
Important Note: Epoxy putty is a temporary fix. It’s best to use it as a way to manage the leak until a more permanent solution can be implemented.
5. More Permanent Solution: Soldering (If You Have Experience)
If you have experience soldering copper pipes, you can attempt to repair the joint yourself. However, if you're not comfortable with soldering, or if the leak is significant, it's best to call a plumber. Improper soldering can create a worse leak and potentially damage your plumbing system.
Tools and Materials Needed:
- Propane torch
- Lead-free solder
- Flux
- Flux brush
- Emery cloth or wire brush
- Safety glasses
- Gloves
- Flame-resistant cloth or shield
Soldering Steps:
- Prepare the Joint: Thoroughly clean the pipe and fitting with emery cloth or a wire brush to remove any corrosion or old solder.
- Apply Flux: Apply a thin, even layer of flux to both the inside of the fitting and the outside of the pipe. Flux helps the solder flow and bond properly.
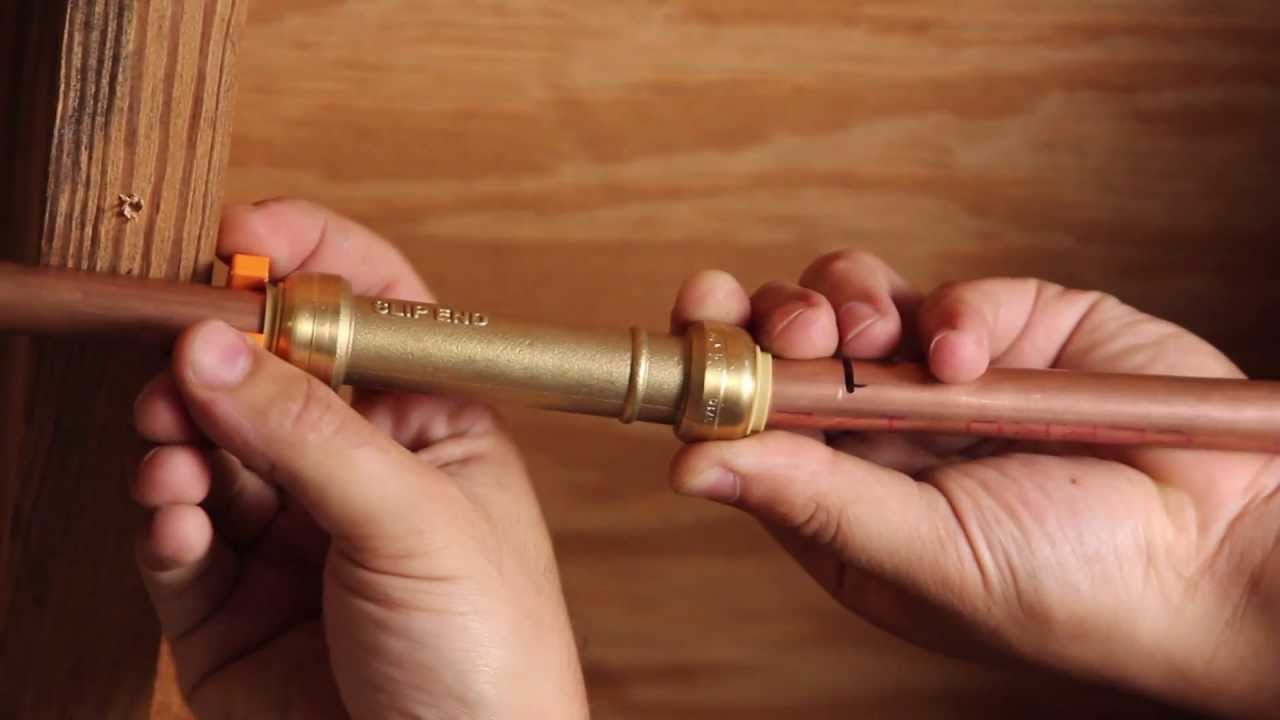
- Assemble the Joint: Slide the fitting onto the pipe, ensuring a snug fit.
- Heat the Joint: Using a propane torch, heat the fitting evenly. Apply the flame to the fitting itself, not directly to the solder.
- Apply Solder: Once the fitting is hot enough (you can test by briefly touching the solder to the fitting – it should melt instantly), apply the solder to the joint where the pipe and fitting meet. The solder should be drawn into the joint by capillary action.
- Remove Heat and Allow to Cool: Remove the torch and allow the joint to cool naturally. Do not touch the joint while it's hot.
- Clean the Joint: After the joint has cooled, use a damp cloth to wipe away any excess flux.
- Test the Repair: Slowly turn the water supply back on and check for leaks. If the leak persists, you may need to repeat the soldering process or consider replacing the fitting.
Important Soldering Tips:
- Use Enough Heat: Insufficient heat is a common cause of soldering failures. The fitting needs to be hot enough to melt the solder instantly.
- Don't Overheat: Overheating can burn the flux and weaken the solder joint.
- Apply Solder Evenly: Apply the solder around the entire circumference of the joint to ensure a complete seal.
- Allow to Cool Properly: Avoid moving or disturbing the joint while it's cooling.
6. When to Call a Professional Plumber
While some leaks can be addressed with DIY methods, there are situations where calling a professional plumber is essential. These include:
- Significant Leaks: If the leak is large or spraying water, it's best to call a plumber immediately to prevent water damage.
- Extensive Corrosion: If the pipes are heavily corroded, it may be necessary to replace a larger section of the plumbing system.
- Multiple Leaks: If you're experiencing multiple leaks in your plumbing system, it could indicate a more serious underlying problem.
- Difficulty Accessing the Leak: If the leak is located in a hard-to-reach area, a plumber will have the tools and expertise to access and repair it.
- Lack of Experience: If you're not comfortable with soldering or other plumbing repairs, it's best to leave it to a professional.
- Suspected Frozen Pipes: If you suspect your pipes have frozen, do not attempt to thaw them yourself with a torch. Call a plumber immediately, as improper thawing can cause pipes to burst.
- If the Leak is near the Water Meter: Repairs near the water meter or main water shutoff may require special permits or coordination with your local water utility.
Preventing Future Leaks
Taking preventative measures can help reduce the risk of future copper pipe joint leaks:
- Maintain Water Pressure: Excessive water pressure can stress the joints. Consider installing a pressure regulator to maintain a safe pressure level.
- Insulate Pipes: Insulating pipes, especially in unheated areas like basements and crawl spaces, can help prevent freezing and bursting.
- Regular Inspections: Periodically inspect your plumbing system for signs of corrosion or leaks. Catching problems early can prevent them from escalating.
- Proper Installation: If you're installing new copper pipes, ensure they are properly soldered and supported.
Conclusion
Fixing a copper pipe leak at the joint can be a manageable DIY project if you approach it safely and methodically. By following the troubleshooting steps outlined in this article, you can assess the situation, attempt a repair, and potentially save yourself the cost of a plumber. However, remember that your safety and the integrity of your plumbing system are paramount. When in doubt, always consult a qualified professional. Good luck!