How To Fix A Lasko Fan

One of the most frustrating experiences for homeowners, especially during the peak of summer or the dead of winter, is discovering their Lasko fan isn't working correctly. Whether it's a simple oscillating fan meant to circulate air or a more advanced tower fan with multiple settings, a malfunctioning fan can quickly turn a comfortable room into an unbearable space. This article provides a step-by-step guide to troubleshoot and potentially fix common Lasko fan issues, empowering you to tackle basic repairs while knowing when to call in the professionals.
Diagnosing the Problem: A Systematic Approach
Before you reach for any tools, it's crucial to systematically diagnose the problem. Start by observing the fan’s behavior and identifying any specific symptoms. This will help narrow down the potential causes and make the troubleshooting process more efficient.
Step 1: Power Supply Check (No Tools Required)
This is the most basic, yet often overlooked, step. It's surprising how often the issue stems from a simple power problem.
- Confirm Power Source: Is the fan plugged into a functioning outlet? Try plugging another device into the same outlet to verify it's receiving power.
- Check the Power Cord: Carefully inspect the power cord for any visible damage, such as cuts, fraying, or exposed wires. Never operate a fan with a damaged power cord.
- Test Another Outlet: If the outlet seems fine, try plugging the fan into a different outlet altogether. This eliminates the possibility of a faulty outlet on a different circuit.
- Reset Circuit Breaker/Check Fuse: If multiple outlets aren't working in the same area, check your circuit breaker panel or fuse box. A tripped breaker or blown fuse can cut power to the outlet.
Step 2: Initial Observations (No Tools Required)
Pay close attention to what the fan *is* doing (or not doing) and note any unusual noises or smells.
- Does the Fan Turn On At All? If the fan is completely unresponsive, the problem is likely power-related (as addressed in Step 1) or a more serious internal issue.
- Is the Fan Motor Humming? A humming sound, even if the blades aren't spinning, often indicates that the motor is receiving power but is struggling to turn the blades. This could be due to obstruction or a failing motor.
- Are There Unusual Noises? Grinding, squealing, or rattling noises can indicate worn bearings, loose parts, or obstructions within the fan assembly.
- Is There a Burning Smell? A burning smell is a serious warning sign. Immediately unplug the fan and do *not* attempt to use it. This could indicate a motor overheating or electrical issue. Professional repair is required.
- Check the Fan Blades: Visually inspect the fan blades for any physical damage, such as cracks, bends, or breaks. Also, check if the blades are obstructed by dust, debris, or objects caught in the fan guard.
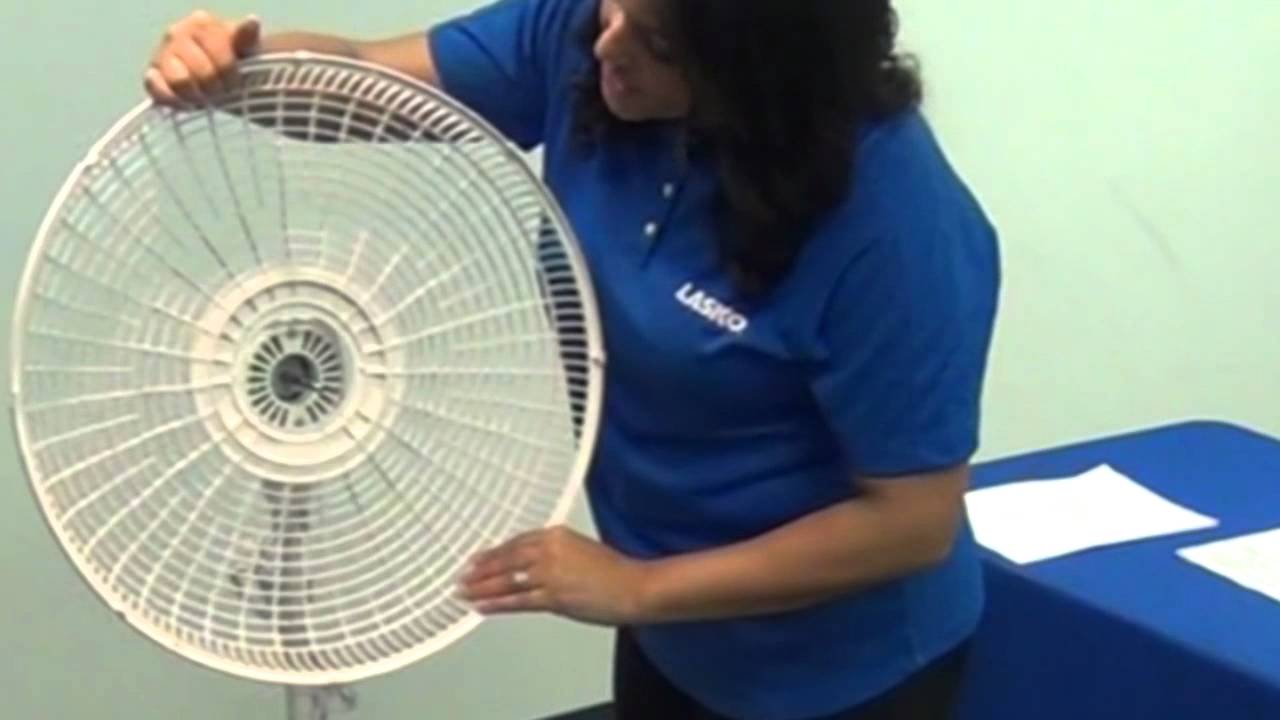
Step 3: Cleaning and Obstruction Removal (No Tools Required Initially)
Dust and debris buildup is a common cause of fan malfunctions. Cleaning the fan can often resolve issues like slow blade rotation or unusual noises.
- Unplug the Fan: Always unplug the fan from the power outlet before attempting any cleaning or maintenance.
- Clean the Fan Blades: Use a soft cloth or vacuum cleaner with a brush attachment to remove dust from the fan blades. For stubborn dirt, you can use a slightly damp cloth with mild soap and water. Ensure the blades are completely dry before reassembling the fan.
- Clean the Fan Guard: Use a vacuum cleaner or a damp cloth to clean the fan guard, removing any dust or debris that may be obstructing airflow.
- Check for Obstructions: Carefully inspect the fan blades and motor housing for any obstructions that may be preventing the fan from rotating freely. This could include small objects, tangled wires, or excessive dust buildup.
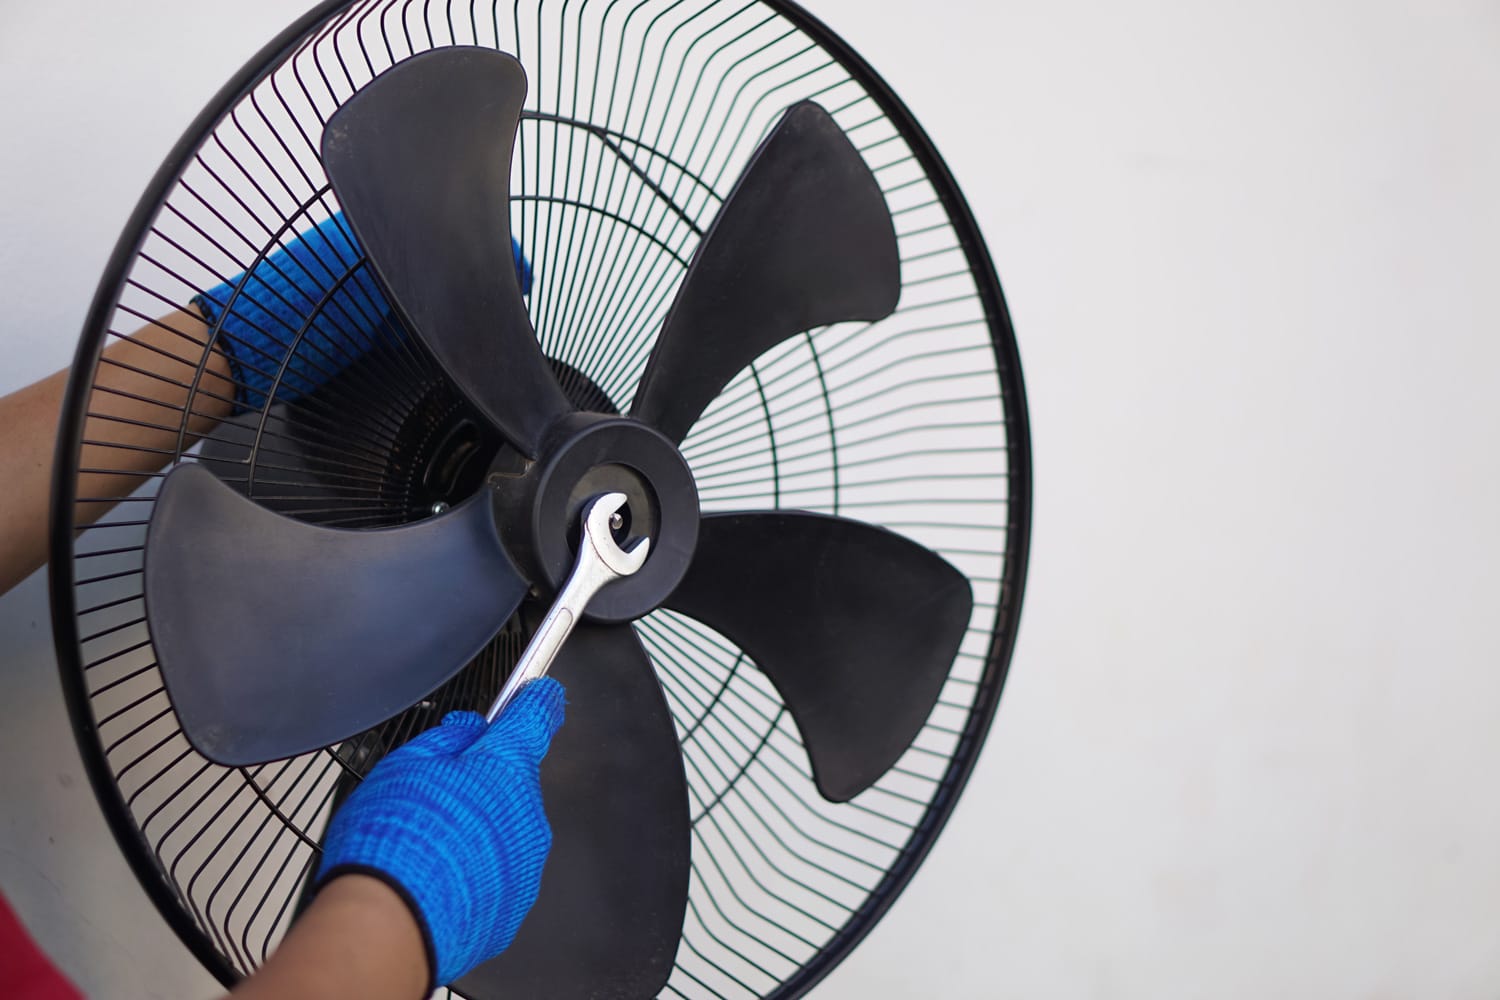
Step 4: Internal Inspection (Requires Basic Tools - Screwdriver)
If the external checks don't reveal the problem, it may be necessary to carefully inspect the fan's internal components. This requires basic tools and a degree of caution. If you're uncomfortable with this step, it's best to consult a qualified technician.
- Unplug the Fan: Again, ensure the fan is unplugged.
- Disassemble the Fan: Using a screwdriver, carefully disassemble the fan according to the manufacturer's instructions (if available) or by carefully observing how the components fit together. Typically, this involves removing screws from the fan guard and the motor housing. Take pictures as you disassemble to aid in reassembly.
- Inspect the Motor: Visually inspect the motor for any signs of damage, such as burnt wiring, loose connections, or excessive rust.
- Check the Bearings: The motor bearings allow the fan shaft to rotate freely. Spin the fan shaft by hand. If it feels rough or makes grinding noises, the bearings may be worn out and need to be lubricated or replaced.
- Lubrication (If Accessible): Some fan motors have oil ports for lubricating the bearings. If you find these ports, use a few drops of electric motor oil to lubricate the bearings. Do not use WD-40, as it is not a lubricant.
- Bearing Replacement (More Advanced): Replacing the bearings is a more complex repair that typically requires specialized tools and knowledge. If you suspect worn bearings and are not comfortable with this repair, it's best to consult a professional.
- Examine the Wiring: Carefully inspect all the wiring connections inside the fan housing for any loose or disconnected wires. Reconnect any loose wires, ensuring they are securely attached.
- Check the Switch: If the fan has multiple speed settings, the switch could be faulty. If you have a multimeter, you can test the continuity of the switch in each position. A lack of continuity indicates a faulty switch that needs to be replaced.
Step 5: Testing and Reassembly
After performing any repairs or maintenance, it's essential to test the fan before reassembling it completely.
- Partial Reassembly: Reassemble enough of the fan to allow you to plug it in and test its functionality (e.g., just the motor housing).
- Test the Fan: Plug the fan into a functioning outlet and turn it on. Check if the fan blades rotate smoothly and quietly. Test all speed settings to ensure they are working correctly.
- Final Reassembly: If the fan is working correctly, unplug it and carefully reassemble all the components, ensuring all screws are tightened securely.
Specific Problem Scenarios and Solutions
Here's a breakdown of some common Lasko fan problems and their potential solutions, based on the troubleshooting steps outlined above:
Problem: Fan Won't Turn On At All
- Possible Causes: No power, faulty power cord, tripped circuit breaker, blown fuse, faulty switch, burnt-out motor.
- Solutions: Follow Steps 1 and 4. If the power cord is damaged, it needs to be replaced. If the motor is burnt out, the fan may need to be replaced (depending on the cost of a new motor versus a new fan). If the switch is bad, you can try to replace it (see below).
Problem: Fan Turns On But Blades Rotate Slowly or Erratically
- Possible Causes: Obstruction, dust buildup, worn bearings, low voltage.
- Solutions: Follow Steps 3 and 4. Clean the fan thoroughly. Lubricate the bearings if possible. If the blades are still rotating slowly, check the voltage at the outlet with a multimeter. Low voltage can cause the fan to run sluggishly.
Problem: Fan Makes Unusual Noises (Grinding, Squealing, Rattling)
- Possible Causes: Worn bearings, loose parts, obstruction.
- Solutions: Follow Steps 3 and 4. Clean the fan and lubricate the bearings. Tighten any loose screws or bolts. Check for any objects caught in the fan blades or motor housing.
Problem: Fan Oscillates Intermittently or Not At All
- Possible Causes: Faulty oscillation mechanism, obstruction, loose connections.
- Solutions: Unplug the fan and carefully inspect the oscillation mechanism. Look for any broken parts, obstructions, or loose connections. If you find a loose connection, reconnect it securely. Replacing the oscillation mechanism is often a complex repair and may require professional assistance.
Problem: Fan Has a Burning Smell
- Possible Causes: Overheating motor, electrical short.
- Solutions: Immediately unplug the fan and do not attempt to use it. A burning smell indicates a serious problem that requires professional HVAC service. Continued use could pose a fire hazard.
Replacing a Faulty Switch (DIY with Caution)
Replacing a faulty switch can be a straightforward repair, but it's essential to proceed with caution and ensure you have the correct replacement part.
- Identify the Correct Switch: Take the old switch to an electronics supply store or appliance repair shop to find an exact replacement. Ensure the new switch has the same voltage and amperage ratings as the old one.
- Unplug the Fan: Always unplug the fan before working on the electrical components.
- Disassemble the Fan: Disassemble the fan to access the switch.
- Disconnect the Wires: Carefully disconnect the wires from the old switch. Note the position of each wire to ensure you reconnect them correctly to the new switch. You may want to take a picture before disconnecting.
- Install the New Switch: Connect the wires to the new switch, matching the positions of the wires on the old switch.
- Reassemble the Fan: Reassemble the fan and test its functionality.
When to Call a Professional
While this guide provides steps for basic Lasko fan troubleshooting and repair, some issues are best left to qualified professionals. Call a licensed HVAC technician or appliance repair specialist if:
- You are uncomfortable working with electricity.
- The fan has a burning smell.
- The motor is burnt out or severely damaged.
- The fan requires complex internal repairs, such as replacing the motor or the oscillation mechanism.
- You are unsure how to proceed with any of the steps outlined above.
Attempting repairs beyond your skill level can be dangerous and may void the fan's warranty. When in doubt, it's always best to seek professional assistance.
Preventative Maintenance for Longer Fan Life
Preventative maintenance is key to extending the lifespan of your Lasko fan and avoiding costly repairs. Here are a few simple tips:
- Regular Cleaning: Clean the fan blades and guard regularly to remove dust and debris.
- Proper Storage: When not in use, store the fan in a dry, dust-free environment.
- Avoid Overloading: Do not overload the fan by placing heavy objects on it or using it in a way that it was not intended.
- Inspect Regularly: Periodically inspect the fan for any signs of damage or wear and tear. Address any issues promptly to prevent them from escalating.
By following these troubleshooting steps and preventative maintenance tips, you can keep your Lasko fan running smoothly and efficiently for years to come, ensuring a comfortable and enjoyable environment in your home.