How To Fix A Leaking Shut Off Valve
One of the most frustrating and common problems homeowners face, especially during the peak heating and cooling seasons, is inconsistent temperature control throughout their home. You might find one room is comfortably warm while another is freezing, or that your AC struggles to cool certain areas. While there can be many reasons for this, a frequently overlooked culprit is a leaking shut-off valve on your HVAC system's water lines.
These valves control the flow of water to your radiators, baseboard heaters, or other components of your HVAC system. A leak, even a small one, can impact water pressure, introduce air into the system, and ultimately reduce its efficiency. It can also lead to water damage and mold growth if left unchecked. This article will walk you through a simple, safe, and methodical approach to diagnosing and fixing minor leaks in shut-off valves. We’ll cover what you can check without tools and when it's time to call a professional.
Diagnosing a Leaking Shut-Off Valve
Before jumping to conclusions, it's important to confirm that the shut-off valve is actually the source of the leak. Water can travel, making it seem like the leak is coming from one place when it's actually originating from somewhere else. Follow these steps to pinpoint the problem:
Step 1: Visual Inspection (No Tools Required)
This is the first and easiest step. Grab a flashlight and carefully examine the entire valve. Look for:
- Visible water droplets: Even a single drop can indicate a slow leak. Pay close attention to the valve stem (the part that turns), the valve body (the main part of the valve), and the connections to the pipes.
- Signs of corrosion: Rust or mineral deposits around the valve or on the surrounding pipes are telltale signs of a past or present leak. The corrosion may appear as white, green, or brown residue.
- Dampness or discoloration: Feel around the area with your hand (wear gloves if you prefer). Check for any dampness on the surrounding surfaces, including the floor, walls, or insulation. Discoloration of these surfaces can also indicate a leak.
- Puddles: Even small puddles underneath the valve are a serious sign of a leak.
If you see any of these signs, proceed to the next step.
Step 2: Drying and Observation (No Tools Required)
If you're unsure if the leak is new or old, or if it's a very slow leak, try this:
- Thoroughly dry the area: Use a clean cloth or paper towels to completely dry the valve, the surrounding pipes, and any surfaces that appear damp.
- Observe for 15-30 minutes: Return to the area after 15-30 minutes and carefully examine it again. Look for any new water droplets or dampness.
If you see new water appearing, it confirms that the valve is actively leaking.
Step 3: Identifying the Leak Source (No Tools Required Initially, then Simple Tools)
Now that you've confirmed a leak, try to pinpoint its exact origin. There are a few common places where shut-off valves tend to leak:
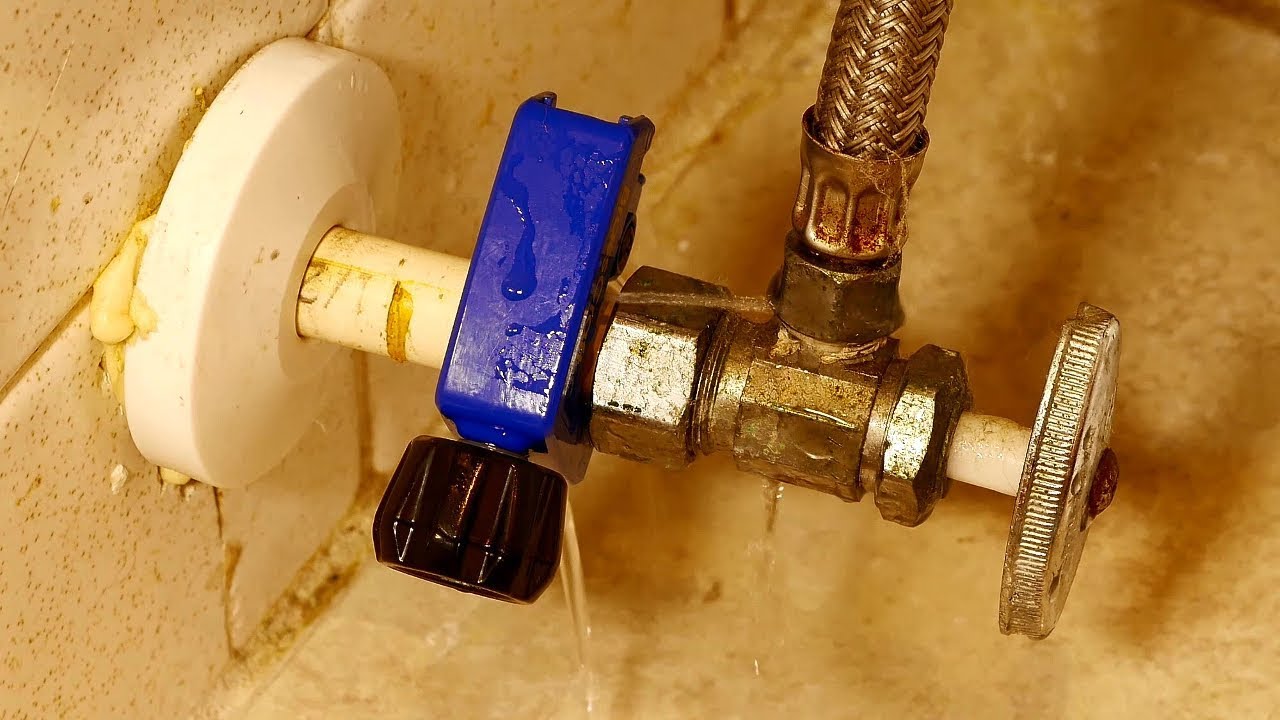
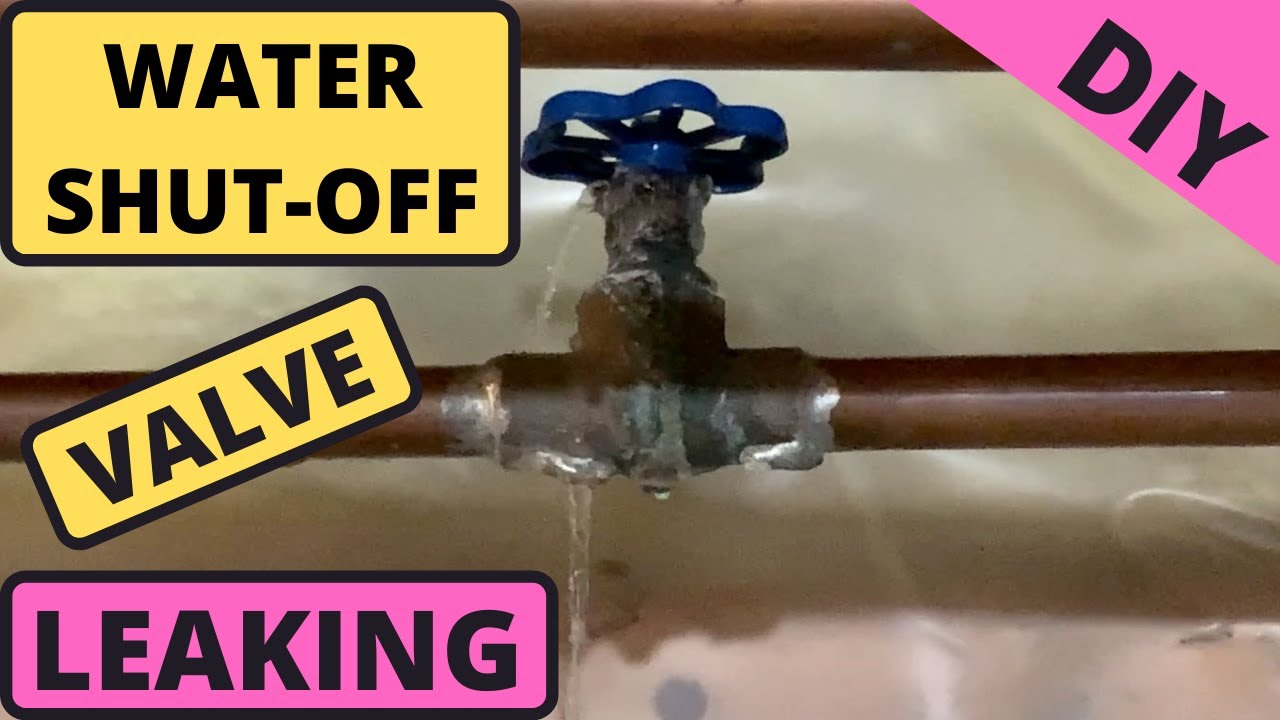
- Valve Stem: This is the most common area for leaks. Water often seeps out around the stem where it enters the valve body.
- Packing Nut: The packing nut is the nut that holds the packing material in place around the valve stem. It may be located directly around the handle.
- Pipe Connections: The joints where the valve connects to the pipes are also prone to leaks.
- Valve Body: Cracks in the valve body itself are less common but can occur, especially in older valves.
Here’s how to check each area:
- Valve Stem: Slowly turn the valve handle back and forth a few times. If water is leaking from the stem, you should see it immediately.
- Packing Nut (Requires an Adjustable Wrench): Gently tighten the packing nut a very small amount (no more than a quarter turn). This may compress the packing material and stop the leak. Do not overtighten, as this can damage the valve or strip the threads. If the leak stops, you've found the culprit. If not, proceed to the next step.
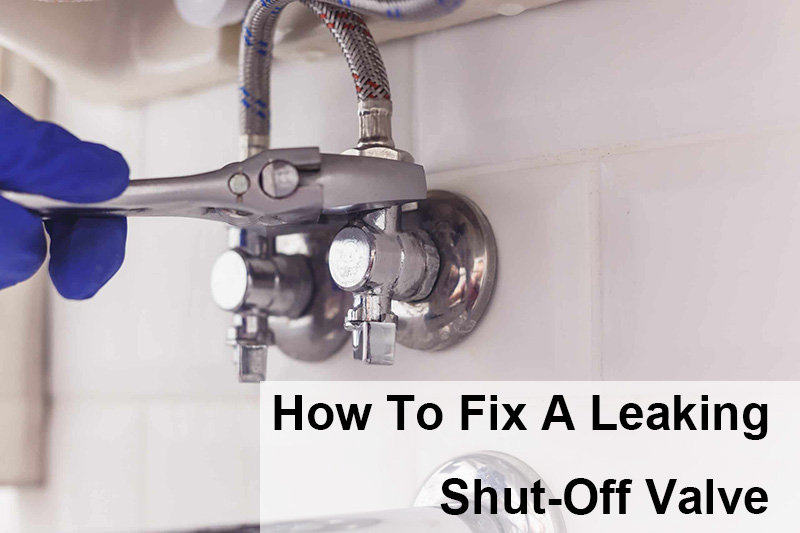
- Pipe Connections (Requires Two Wrenches – One to Hold, One to Tighten): Carefully check the threaded connections where the valve meets the pipes. If you see signs of leakage, try gently tightening the connection using two wrenches. Use one wrench to hold the pipe steady and the other to tighten the fitting slightly. Do not overtighten, as this can damage the pipes or valve.
- Valve Body: Closely inspect the valve body for any visible cracks or damage. If you find any cracks, the valve needs to be replaced.
DIY Fixes for Minor Leaks
Once you've identified the source of the leak, you can attempt some simple DIY fixes. Remember to always prioritize safety. Turn off the water supply to the valve before attempting any repairs, if possible. If you are not comfortable with any of these steps, it is best to call a professional.
Fix #1: Tightening the Packing Nut (Tools: Adjustable Wrench)
As mentioned earlier, gently tightening the packing nut can often stop a leak around the valve stem. Here’s a recap:
- Locate the Packing Nut: It's the nut located directly around the valve stem, often just behind the handle.
- Use an Adjustable Wrench: Place the wrench on the packing nut.
- Tighten Slightly: Very gently tighten the nut, no more than a quarter turn.
- Check for Leaks: Turn the water back on (if you turned it off) and observe the valve for any leaks. If the leak persists, try tightening the nut a little bit more, but be extremely careful not to overtighten.
- If the leak stops after tightening, you've successfully fixed the problem! If not, proceed to the next fix or consider calling a professional.
Fix #2: Replacing the Packing Material (Tools: Adjustable Wrench, Screwdriver, Packing Material – Graphite or Teflon)
If tightening the packing nut doesn't solve the problem, the packing material itself may be worn out. Replacing it is a slightly more involved but still manageable DIY task.
- Turn Off the Water Supply: This is crucial! Locate the main water shut-off valve for your home or the shut-off valve specifically for the affected zone and turn it off. Open a nearby faucet to relieve any pressure in the pipes.
- Loosen the Packing Nut: Use an adjustable wrench to loosen the packing nut completely.
- Remove the Old Packing Material: You may need to use a small screwdriver or pick to carefully remove the old packing material. It might be crumbly or stuck.
- Clean the Area: Clean the area around the valve stem to remove any debris or old packing material.
- Install New Packing Material: Wrap the new packing material (graphite or Teflon packing tape) around the valve stem. Use enough material to fill the space where the old packing was.
- Tighten the Packing Nut: Tighten the packing nut back down, but don't overtighten it.
- Turn On the Water Supply: Slowly turn the water supply back on and check for leaks. If there are leaks, gradually tighten the packing nut until they stop.
Fix #3: Tightening Pipe Connections (Tools: Two Wrenches)
Leaks at the pipe connections can often be resolved by gently tightening the fittings. Remember to use two wrenches – one to hold the pipe steady and the other to tighten the fitting.
- Identify the Leaking Connection: Pinpoint the exact location where the leak is occurring at the pipe connection.
- Use Two Wrenches: Place one wrench on the pipe fitting closest to the valve and the other wrench on the valve connection.
- Tighten Gently: Use the wrench on the valve connection to gently tighten it. The wrench on the pipe fitting should remain stationary, preventing the pipe from twisting.
- Check for Leaks: Turn the water back on (if you turned it off) and observe the connection for any leaks. If the leak persists, try tightening the connection a little bit more, but be extremely careful not to overtighten.
When to Call a Professional HVAC Technician
While these DIY fixes can address many minor leaks, there are situations where it's essential to call a qualified HVAC technician. Ignoring these signs can lead to more significant problems and costly repairs.
- Cracked Valve Body: If you find any cracks in the valve body itself, do not attempt to repair it. The valve needs to be replaced by a professional. A cracked valve can burst under pressure, causing significant water damage.
- Stripped Threads: If you strip the threads on the packing nut or pipe connections while trying to tighten them, you'll need a professional to replace the valve.
- Persistent Leaks: If you've tried tightening the packing nut, replacing the packing material, and tightening the pipe connections, and the leak still persists, it's time to call a professional. The problem may be more complex than you can handle on your own.
- Frozen or Corroded Valves: If the valve is heavily corroded or frozen in place, attempting to force it can damage the pipes. A professional has the tools and expertise to safely remove and replace the valve.
- Lack of Experience or Confidence: If you're not comfortable working with plumbing or you're unsure about any of the steps outlined in this article, it's always best to err on the side of caution and call a professional. Water damage can be expensive to repair, and a professional can ensure the job is done correctly and safely.
- Complex System: If the leaking valve is part of a complex or specialized HVAC system (e.g., a multi-zone system with multiple pumps and controls), it's best to leave the repair to a professional.
Attempting to fix a problem beyond your skill level can lead to further damage, injuries, and more expensive repairs in the long run.
Prevention is Key
While this article focuses on fixing leaks, preventing them in the first place is always the best approach. Here are a few tips:
- Regular Inspections: Periodically inspect your shut-off valves for any signs of leaks or corrosion.
- Operate Valves Regularly: Occasionally turn the valves fully open and then fully closed. This helps to prevent them from becoming seized and can also help to dislodge any sediment that may be building up inside.
- Proper Insulation: Ensure that your pipes and valves are properly insulated, especially in areas that are prone to freezing temperatures.
- Professional Maintenance: Have your HVAC system professionally inspected and maintained at least once a year. A technician can identify and address potential problems before they become major issues.
By following these tips and taking a proactive approach, you can help to prevent leaks and keep your HVAC system running efficiently.
Addressing a leaking shut-off valve doesn't have to be daunting. With careful observation, basic tools, and a clear understanding of your own capabilities, you can often resolve minor issues yourself. However, knowing when to call a professional is just as important. By following the steps outlined in this article, you can confidently diagnose the problem and take the appropriate action, ensuring a comfortable and efficient home environment.