How To Fix A Shower That Goes Hot And Cold
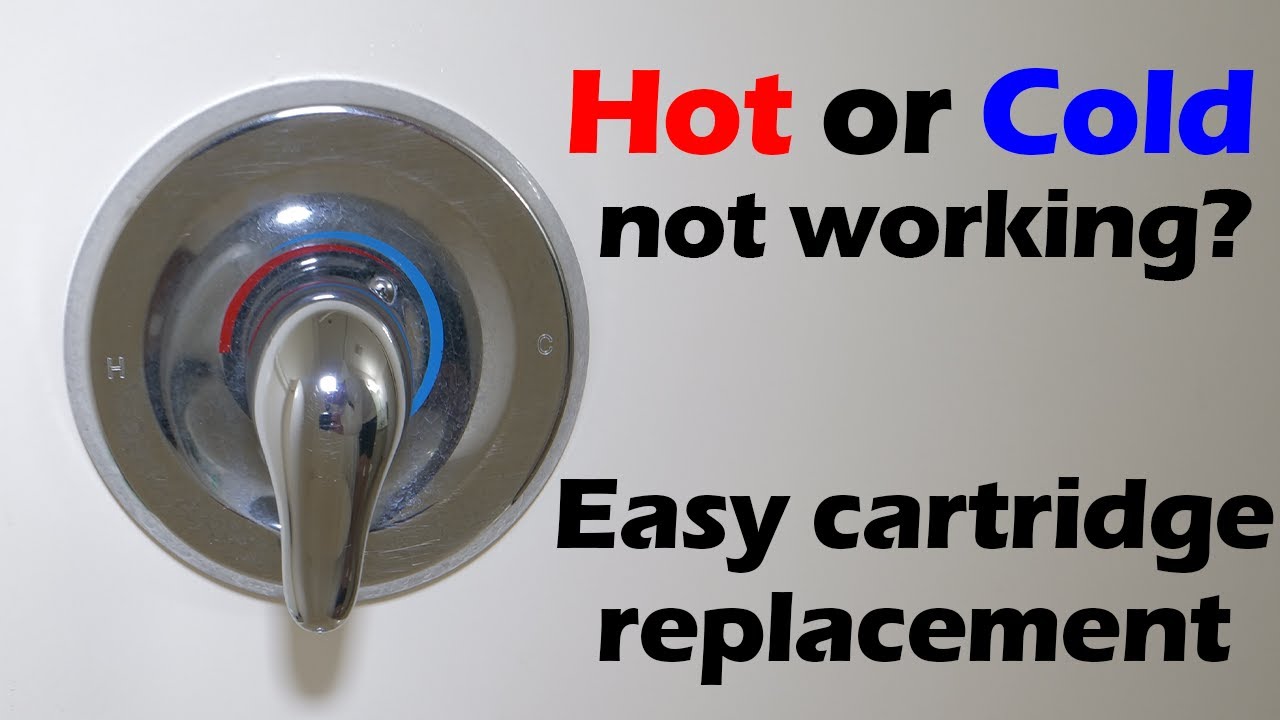
Having a shower that suddenly alternates between scalding hot and freezing cold is a common and incredibly frustrating plumbing problem. Nobody wants to be jolted awake by icy water or burned unexpectedly. This article will guide you through a systematic troubleshooting process to diagnose the cause of your temperature fluctuations and provide safe, DIY solutions. However, remember that plumbing work can be complex, and there's a point where calling a professional is the smartest course of action. We'll help you determine that point.
Understanding the Problem: Why the Temperature Swings?
Before diving into the fixes, it's important to understand what might be causing your shower's temperature instability. Several factors can contribute, and accurately identifying the root cause will make the repair process much smoother.
- Pressure Imbalances: This is the most frequent culprit. When someone flushes a toilet, runs the washing machine, or uses another water fixture in the house while you're showering, it can temporarily reduce the cold water pressure to your shower, causing a surge of hot water.
- Thermostatic Mixing Valve (TMV) Issues: If your shower has a TMV (designed to maintain a constant water temperature), it may be malfunctioning. The TMV could be clogged with mineral deposits, or the internal components might be worn or broken.
- Cartridge Problems: In many showers, a cartridge controls the flow and mixing of hot and cold water. Over time, cartridges can degrade, become clogged, or break, leading to inconsistent water temperatures.
- Water Heater Problems: While less common, a failing or undersized water heater can also cause temperature fluctuations, especially if it's struggling to keep up with the demand.
- Cross-Connections: Occasionally, a cross-connection in your plumbing system can allow hot and cold water to mix inappropriately, causing temperature instability. This is a more serious issue that usually requires professional intervention.
Step-by-Step Diagnosis and DIY Fixes
Now let's get our hands dirty (metaphorically, for now!). We'll proceed systematically, starting with the simplest checks and working our way toward more complex solutions.
Step 1: Rule Out Simultaneous Water Use
This is the easiest and most common cause to eliminate. Have someone else in your household flush a toilet or run a faucet while you're in the shower. Observe if the temperature changes coincide with these actions.
Solution: If the temperature swings only occur when other water fixtures are in use, pressure imbalances are the likely cause. There are several options to mitigate this. You can try to adjust your showering habits (e.g., avoid showering during peak water usage times). Consider installing a pressure-balancing valve in your shower (see below under 'When to Call a Professional').
Step 2: Check the Showerhead
A clogged showerhead can restrict water flow, impacting water pressure and potentially exacerbating temperature fluctuations. Mineral deposits are the usual suspect.
Diagnosis: Observe the water flow from the showerhead. Is it weak, uneven, or spraying in odd directions?
Solution:
- Remove the showerhead: Carefully unscrew the showerhead from the shower arm. Use a wrench if necessary, but protect the finish with a cloth.
- Clean the showerhead: Soak the showerhead in a solution of equal parts white vinegar and water for at least 30 minutes (longer if heavily clogged). Use an old toothbrush or a pin to dislodge any remaining debris from the spray nozzles.
- Rinse and reassemble: Thoroughly rinse the showerhead with clean water and reattach it to the shower arm, making sure it's securely tightened.
- Test: Run the shower and see if the water flow has improved and the temperature fluctuations have diminished.
Step 3: Inspect and Clean the Shower Valve Cartridge
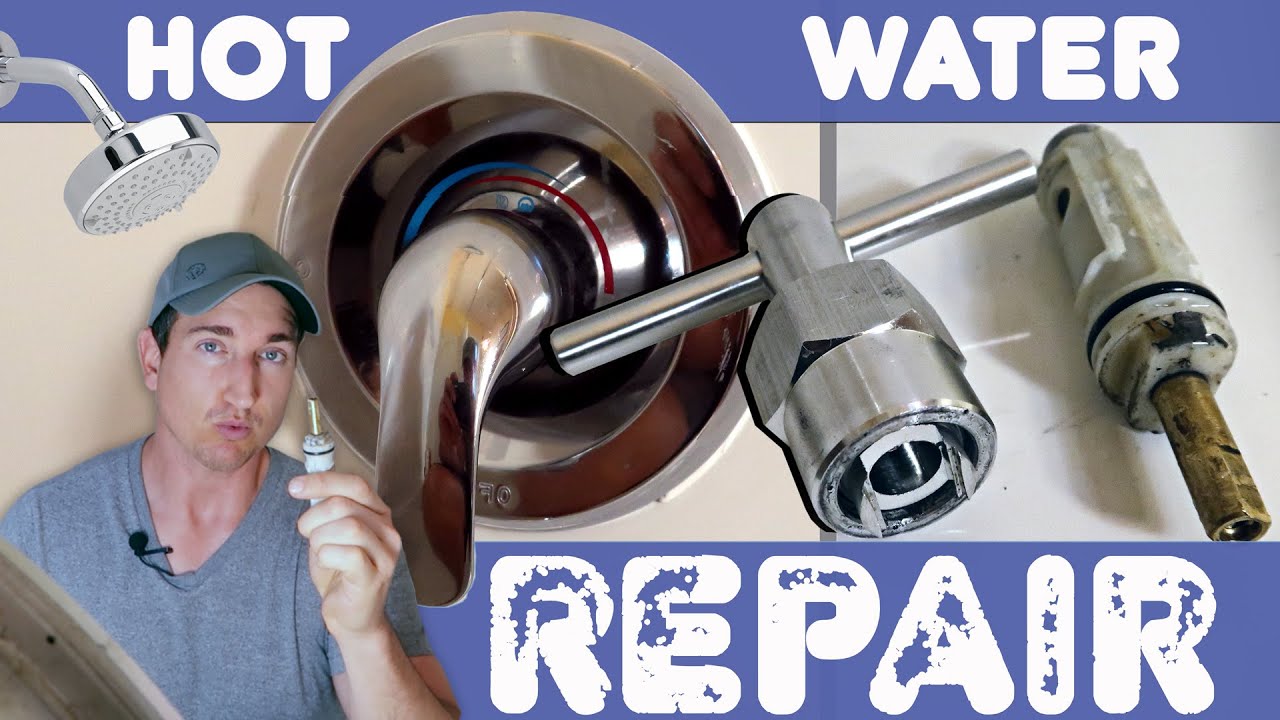
The cartridge is the heart of your shower valve, controlling water flow and mixing. It's a common source of problems. Turn off the water supply before proceeding!
Diagnosis: This step involves a little disassembly. First, identify your shower valve's make and model. This information is often printed on the valve escutcheon (the decorative plate behind the handle). Having this information will be crucial for finding the correct replacement cartridge if needed.
Steps:
- Turn off the water supply: Locate the shut-off valves for the hot and cold water lines leading to your shower. These are usually located behind an access panel in the wall behind the shower or in the basement/crawl space below. Turn both valves completely off.
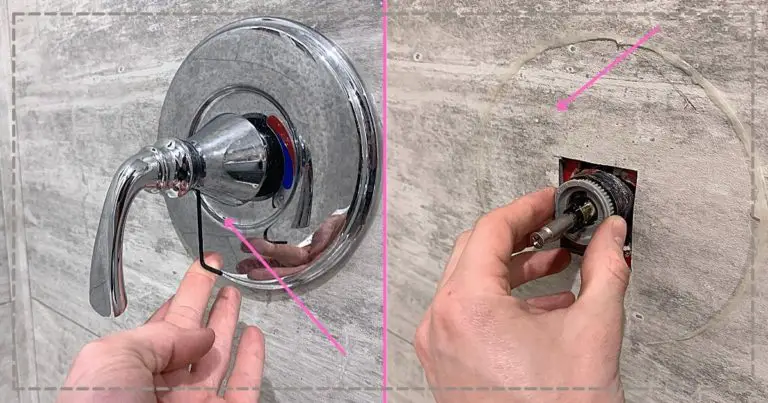
- Remove the handle: Depending on your shower valve, you may need to remove a screw (often hidden under a cap) to detach the handle.
- Remove the escutcheon plate: Unscrew or pry off the escutcheon plate. Be careful not to damage the surrounding tile.
- Remove the retaining clip/nut: You'll likely find a retaining clip or nut holding the cartridge in place. Carefully remove it.
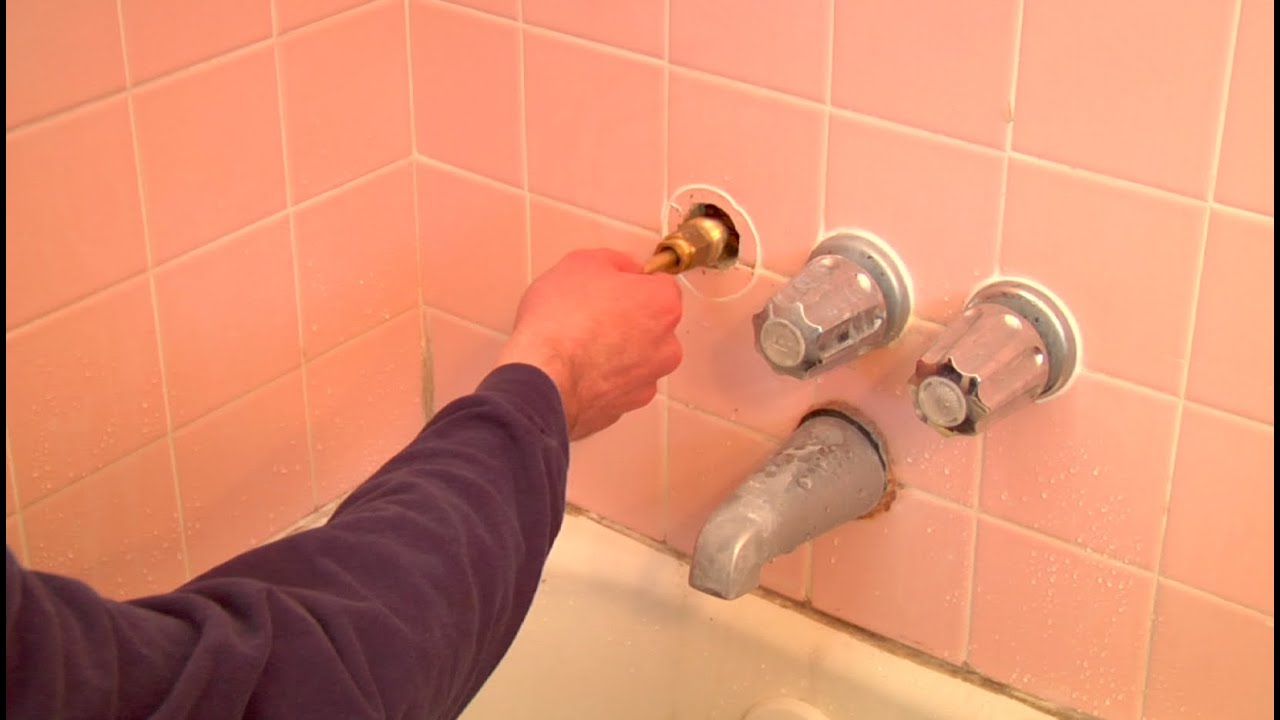
- Remove the cartridge: Gently pull the cartridge straight out. It may require some wiggling. Note the cartridge's orientation before removing it – you'll need to reinstall the new one the same way.
- Inspect the cartridge: Look for signs of damage, wear, or mineral buildup. Even small cracks or deposits can cause problems.
- Clean the cartridge (if possible): Some cartridges can be cleaned by soaking them in vinegar and gently scrubbing them. However, cleaning is often a temporary fix. If the cartridge is visibly worn or damaged, replacement is usually the best option.
- Reassemble or replace the cartridge: If you cleaned the cartridge, reinsert it into the valve body, ensuring it's properly aligned. Replace the retaining clip/nut, escutcheon plate, and handle. If you're replacing the cartridge, use a direct replacement part (same make and model).
- Turn the water supply back on: Slowly open the hot and cold water shut-off valves.
- Test: Run the shower and observe if the temperature is now stable.
Step 4: Check the Water Heater Thermostat
While less likely to be the sole cause of shower temperature fluctuations, an improperly set or malfunctioning water heater thermostat can contribute to the problem.
Diagnosis: Check the temperature setting on your water heater. It should typically be set between 120°F and 140°F (49°C and 60°C). If it's set too low, you might experience temperature drops during peak water usage. If it's set too high, it could lead to scalding water followed by a drop as the tank depletes.
Solution:
- Adjust the thermostat: If the thermostat is set too low, carefully increase the temperature setting slightly. Do not exceed 140°F (60°C) to avoid scalding hazards.
- Test: Wait a few hours for the water heater to reach the new temperature setting, then test the shower.
If adjusting the thermostat doesn't resolve the issue, the thermostat itself may be faulty and require replacement. This is generally a task best left to a professional.
When to Call a Professional Plumber
While many shower temperature problems can be resolved with DIY troubleshooting, there are certain situations where calling a professional plumber is the safest and most effective course of action:
- You're uncomfortable working with plumbing: Plumbing involves water and potential risks. If you're not confident in your abilities, don't hesitate to call a professional.
- You can't identify the problem: If you've followed the troubleshooting steps and are still unsure what's causing the temperature fluctuations, a plumber can diagnose the issue.
- The problem is complex: Issues like cross-connections, damaged water pipes, or problems with the water heater itself are best left to the experts.
- You're dealing with a Thermostatic Mixing Valve (TMV): TMVs require specialized knowledge and tools for proper diagnosis and repair. Improper repair can lead to scalding or dangerously cold water.
- You need to install a pressure-balancing valve: A pressure-balancing valve (also known as a thermostatic valve) is designed to maintain a consistent water temperature by automatically adjusting the hot and cold water mix when pressure changes occur in the water supply lines. This installation typically requires modifying the plumbing lines within the wall, which is best left to a qualified plumber. They can ensure proper installation and compliance with local plumbing codes.
- You've tried DIY fixes and they haven't worked: If you've replaced the cartridge, cleaned the showerhead, and checked the water heater thermostat, and the problem persists, it's time to call a professional.
- You notice signs of water damage: If you see water stains, mold, or other signs of water damage around the shower or in the wall behind it, it's crucial to address the issue immediately to prevent further damage. A plumber can assess the extent of the damage and recommend appropriate repairs.
Safety First!
Always remember these safety precautions when working on plumbing:
- Turn off the water supply: This is crucial before working on any plumbing fixture.
- Wear safety glasses: Protect your eyes from debris.
- Use appropriate tools: Don't force anything. If a tool doesn't fit, use the right one.
- Be careful with hot water: Avoid getting burned. Let the water cool down before working on hot water lines.
- Consult a professional: When in doubt, call a plumber.
By following these steps, you can confidently diagnose and potentially fix your shower's temperature problems. Remember to prioritize safety and seek professional help when needed. A comfortable and consistent shower experience is well worth the effort!