How To Fix Aircon Dripping Water

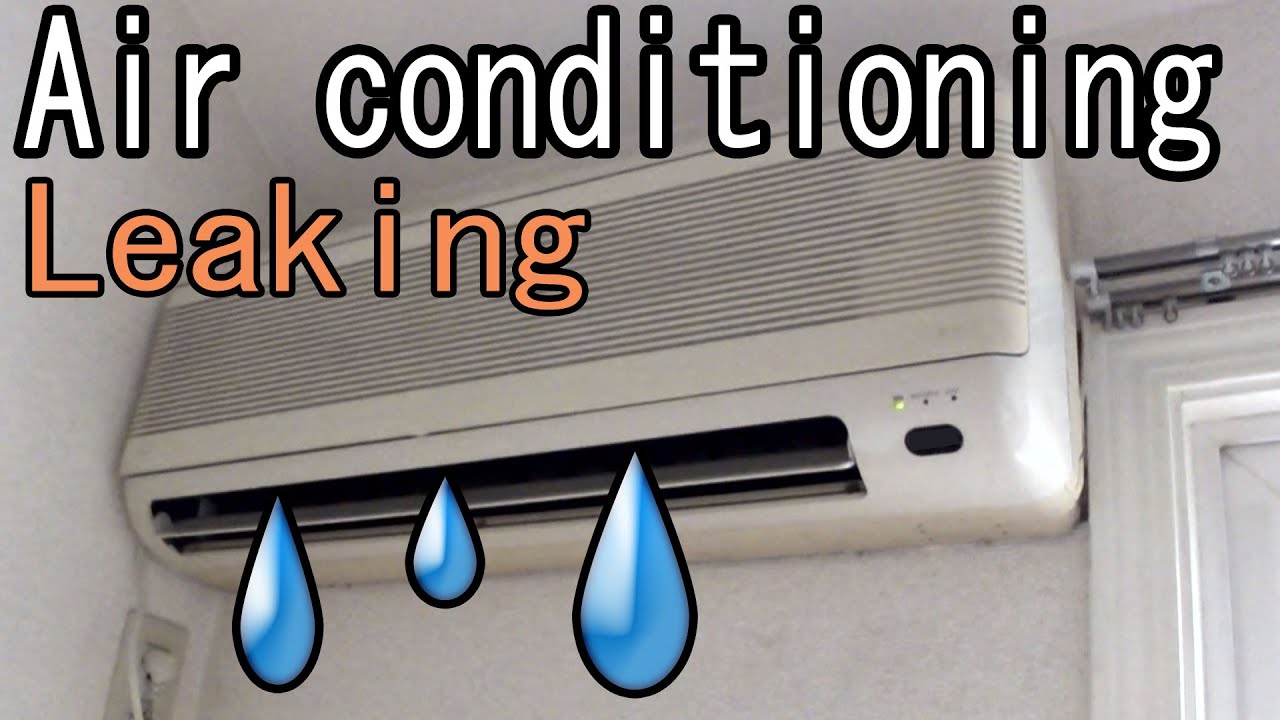
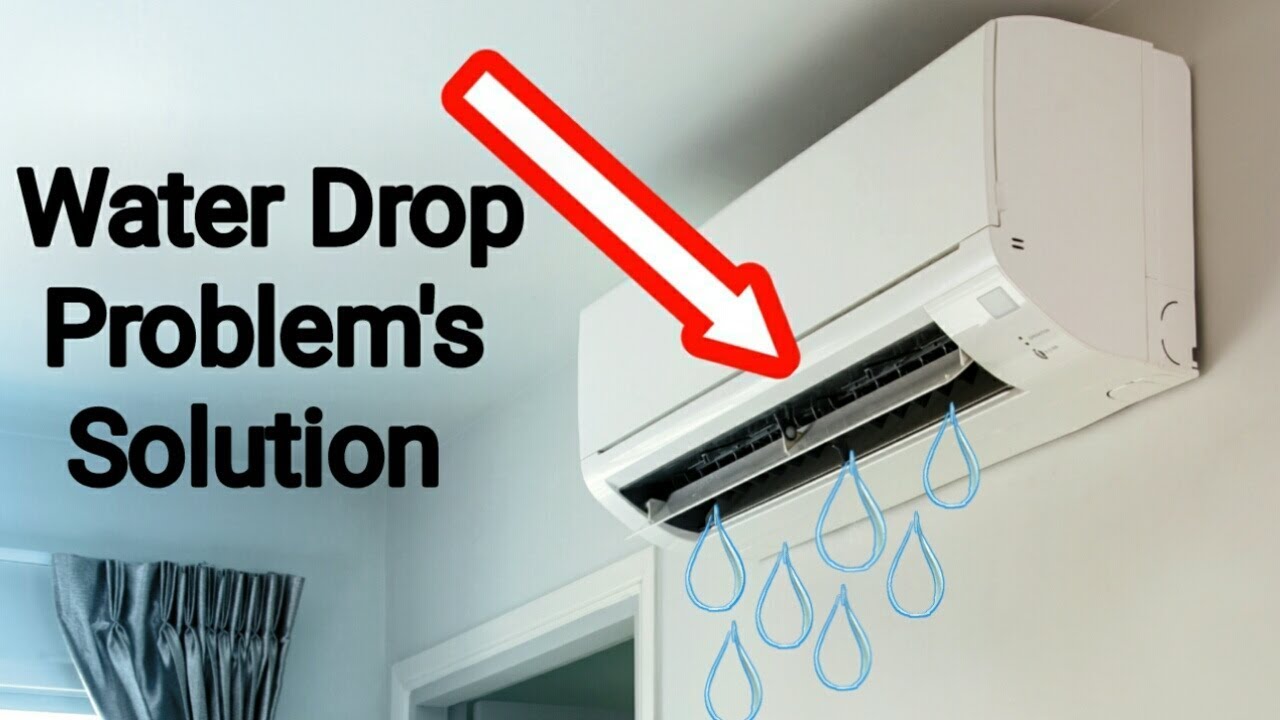
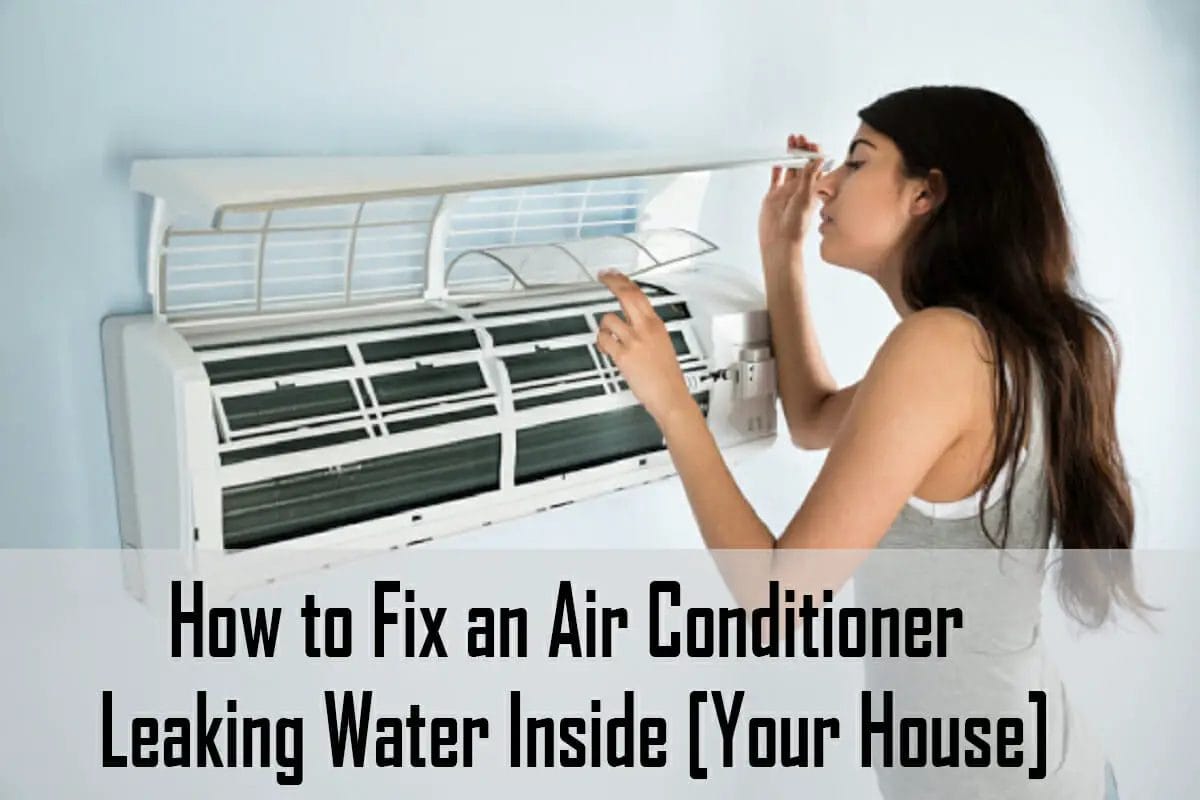
One of the most frustrating issues homeowners face, especially during sweltering summer months, is a dripping air conditioner. That persistent drip, drip, drip can indicate a larger problem lurking beneath the surface, and ignoring it can lead to water damage, mold growth, and decreased cooling efficiency. Before calling a professional, there are several troubleshooting steps you can take to diagnose and potentially fix the issue yourself. This guide provides a calm, methodical approach to tackling a dripping AC, empowering you with actionable steps while clearly indicating when professional help is needed.
Diagnosis: Where is the Water Coming From?
Before diving into potential fixes, pinpointing the source of the drip is crucial. This will help narrow down the possible causes and save you time and effort. Here's how:
- Observe Carefully: Note where the water is dripping from. Is it coming from the indoor unit, the outdoor unit, or somewhere along the refrigerant lines?
- Check the Air Filter: A severely clogged air filter can restrict airflow, causing the evaporator coil to freeze and, upon thawing, drip excessively.
- Inspect the Drain Pan: Located inside the indoor unit, the drain pan collects condensation. Examine it for cracks, rust, or overflows.
- Listen for Unusual Sounds: Gurgling or bubbling noises from the indoor unit can indicate a clogged drain line.
Step-by-Step Troubleshooting Guide
Once you've identified the likely source of the drip, follow these steps in order. Remember to always turn off the air conditioner at the breaker before attempting any repairs. Safety first!
1. Check and Replace the Air Filter
A dirty air filter is often the culprit behind a dripping AC. When airflow is restricted, the evaporator coil (the part that cools the air) can get too cold and freeze over. When the ice melts, it overwhelms the drain pan.
Steps:
- Locate the Air Filter: It's usually located in the indoor unit or in a wall or ceiling vent. Consult your air conditioner's manual if needed.
- Remove the Old Filter: Note the direction of the airflow arrow on the old filter.
- Install a New Filter: Make sure the airflow arrow on the new filter points in the same direction as the old one.
Prevention is Key: Replace your air filter every 1-3 months, depending on usage and air quality.
2. Clear the Condensate Drain Line
The condensate drain line carries water away from the drain pan. Over time, algae, mold, and debris can clog this line, causing the drain pan to overflow.
Tools You'll Need:
- Wet/Dry Vacuum
- Stiff Wire or Pipe Cleaner
- Vinegar or Bleach Solution (Optional)
Steps:
- Locate the Drain Line: It's usually a PVC pipe extending from the indoor unit to the outside.
- Find the Drain Opening: Look for the end of the drain line outside your house. It's usually near the outdoor unit.
- Use a Wet/Dry Vacuum: Connect the vacuum hose to the drain opening and seal it tightly with your hand or duct tape. Turn on the vacuum and let it run for several minutes to suck out any clogs.
- Use a Wire or Pipe Cleaner: If the vacuum doesn't work, try snaking a stiff wire or pipe cleaner into the drain line to break up any stubborn blockages.
- Flush with Vinegar or Bleach Solution (Optional): Pour a cup of vinegar or a diluted bleach solution (1 part bleach to 10 parts water) down the drain line to kill algae and prevent future clogs. Let it sit for 30 minutes, then flush with water. Caution: Never mix bleach and vinegar, as this creates toxic fumes.
3. Check and Clean the Drain Pan
The drain pan itself can become clogged with debris or damaged, leading to leaks.
Steps:
- Locate the Drain Pan: It's located inside the indoor unit, beneath the evaporator coil. You may need to remove an access panel to reach it.
- Inspect for Cracks or Damage: Look for any signs of cracks, rust, or other damage. If the pan is damaged, it will need to be replaced by a professional.
- Clean the Drain Pan: Remove any standing water with a wet/dry vacuum or sponge. Clean the pan with a brush and a mild detergent solution. Remove any debris or sludge.
4. Level the Air Conditioner
If your air conditioner isn't level, the condensate water might not drain properly. This is more common with window units, but can also happen with improperly installed split systems.
Tools You'll Need:
- Level
- Shims (for window units)
Steps:
- Place a Level on the Unit: Check the level both horizontally and vertically.
- Adjust the Level: For window units, use shims to adjust the unit until it's level. For split systems, this requires professional intervention.
5. Inspect the Evaporator Coils
While less common, extremely dirty evaporator coils can also contribute to dripping. Dirt and grime can insulate the coils, causing them to freeze more easily.
Caution: This step is more involved and requires some technical knowledge. If you're not comfortable working with the internal components of your air conditioner, it's best to call a professional.
Tools You'll Need:
- Screwdriver
- Fin Comb
- Evaporator Coil Cleaner (Specifically designed for AC units)
Steps:
- Access the Evaporator Coils: This usually involves removing an access panel on the indoor unit. Consult your air conditioner's manual.
- Inspect the Coils: Look for excessive dirt, dust, and grime.
- Straighten Bent Fins: Use a fin comb to straighten any bent or damaged fins.
- Clean the Coils: Spray the coils with an evaporator coil cleaner, following the manufacturer's instructions. Let it soak for the recommended time, then rinse with water (if required by the cleaner).
When to Call a Professional
While the steps above can address many common causes of a dripping air conditioner, there are situations where professional help is absolutely necessary. Attempting to fix these issues yourself can be dangerous and may void your warranty.
- Refrigerant Leaks: If you suspect a refrigerant leak (indicated by hissing sounds, poor cooling performance, or visible oil spots), do not attempt to repair it yourself. Refrigerant handling requires specialized equipment and training. Leaking refrigerant is also an environmental hazard.
- Electrical Issues: If you suspect an electrical problem (burning smells, sparking, or tripped breakers), immediately turn off the air conditioner at the breaker and call an electrician or HVAC technician.
- Damaged Compressor: The compressor is the heart of your air conditioner. If it's damaged, the entire unit may need to be replaced. Diagnosis and repair require specialized knowledge and equipment.
- Frozen Evaporator Coils (Recurring): If your evaporator coils are freezing repeatedly, even after cleaning the air filter and drain line, there may be a more serious underlying issue, such as low refrigerant or a faulty blower motor.
- Drain Pan Replacement: Replacing a severely damaged drain pan can be a complex task that requires disassembling parts of the AC unit. It is best handled by a professional.
- Split System Leveling: Adjusting the leveling of a split system requires specialized knowledge. A professional can ensure the unit is properly leveled without causing damage.
Remember: If you're uncomfortable with any of these troubleshooting steps, or if the problem persists after trying these fixes, it's always best to err on the side of caution and call a qualified HVAC technician. They have the expertise and tools to diagnose and repair more complex issues, ensuring your air conditioner is running safely and efficiently.
Prevention: Keeping Your AC Running Smoothly
Preventing a dripping air conditioner is often easier than fixing one. Here are some simple steps you can take to keep your AC running smoothly:
- Regular Air Filter Replacement: This is the single most important thing you can do to maintain your air conditioner.
- Annual Professional Maintenance: Schedule annual maintenance with a qualified HVAC technician. They can inspect and clean your system, identify potential problems early, and ensure optimal performance.
- Clear Debris from the Outdoor Unit: Keep the area around the outdoor unit clear of leaves, grass clippings, and other debris. This will ensure proper airflow and prevent overheating.
- Flush the Drain Line Regularly: Pour a cup of vinegar down the drain line every few months to prevent algae and mold growth.
By following these simple steps, you can keep your air conditioner running efficiently and prevent those annoying drips from becoming a major headache. Stay cool!