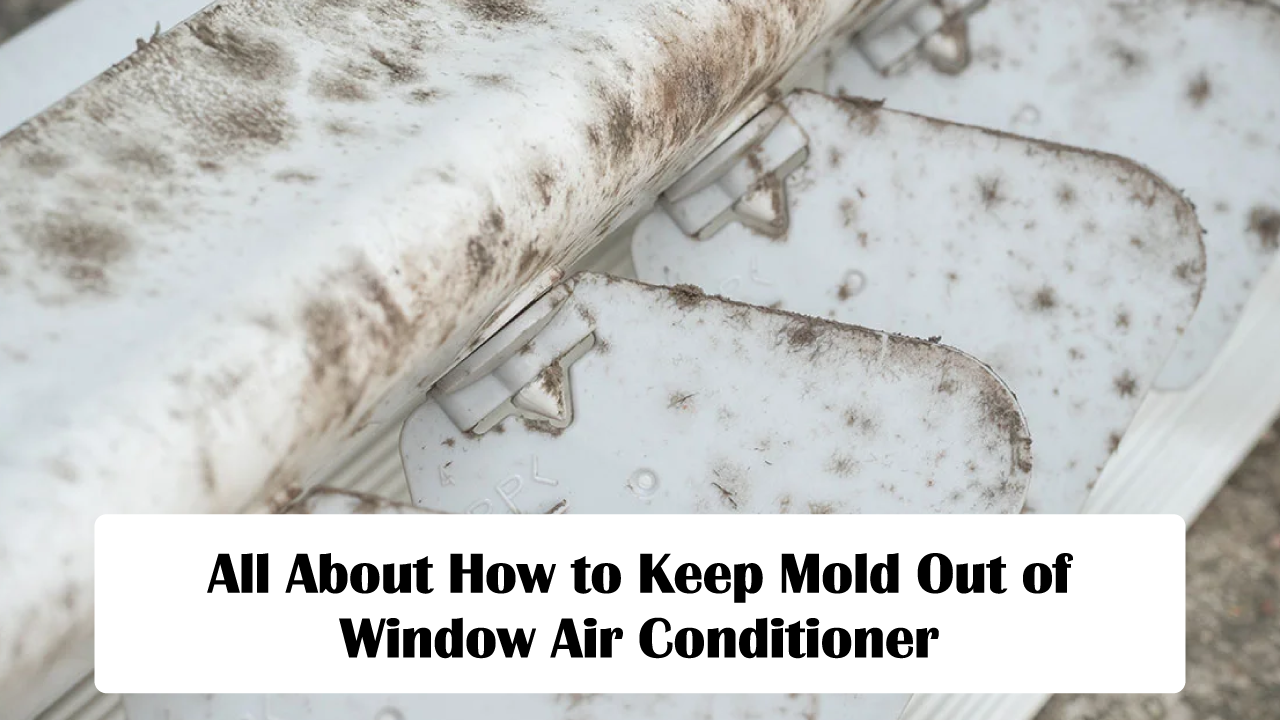
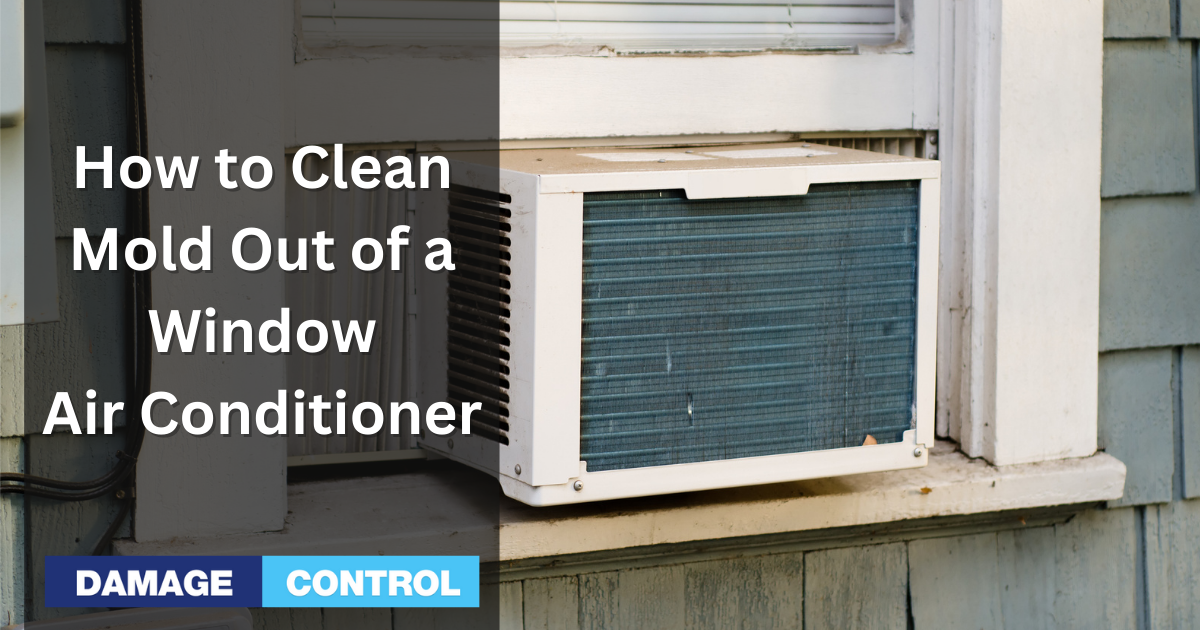
How To Get Mold Out Of A Window Air Conditioner

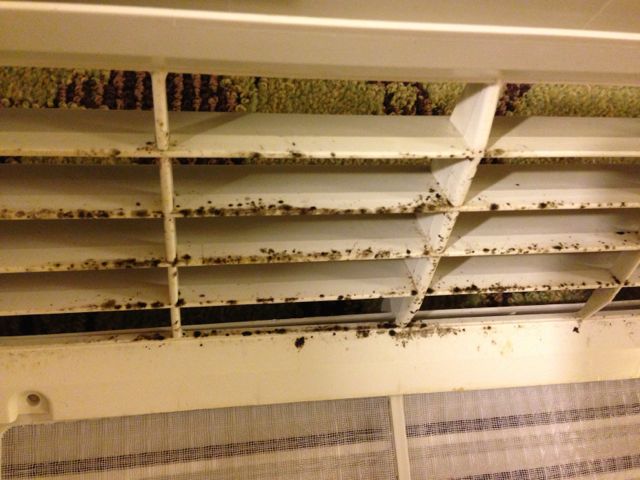
Mold in your window air conditioner isn't just unsightly; it can also trigger allergies, asthma, and other respiratory problems. Cleaning it out is essential for a healthy home environment. This guide provides a step-by-step approach to safely and effectively remove mold from your window AC unit.
Understanding the Problem: Why Mold Grows in AC Units
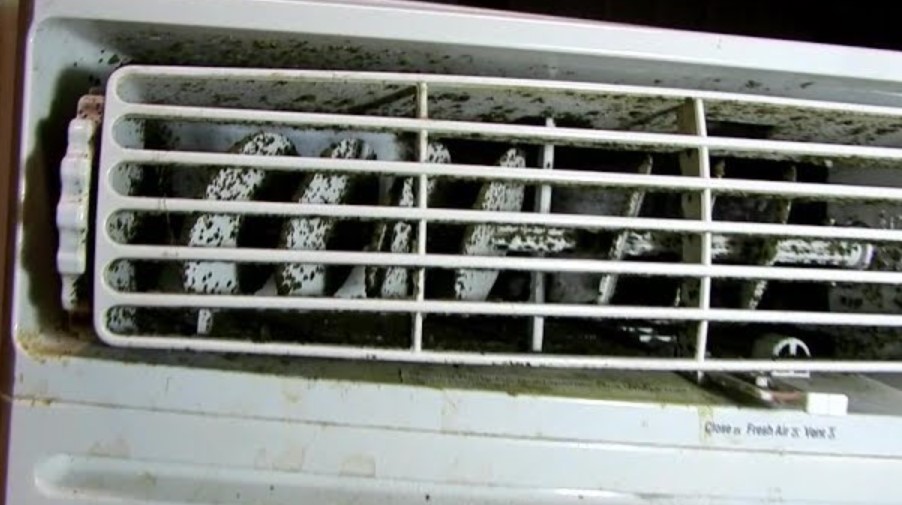
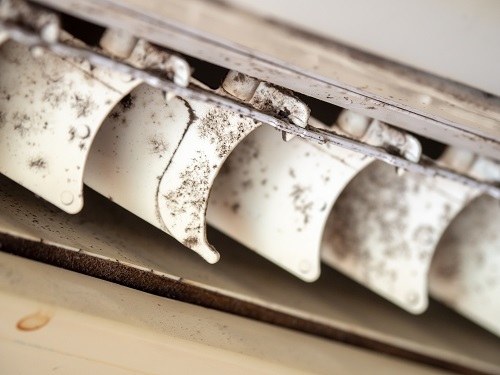
Mold thrives in dark, damp environments. Your window AC unit, with its condensation and limited airflow, provides the perfect breeding ground. Spores are everywhere in the air, and they only need a little moisture and organic material (like dust or dirt) to start growing.
Key factors contributing to mold growth include:
- Humidity: AC units generate condensation, creating a humid environment.
- Dust and Dirt: These provide food for mold.
- Lack of Sunlight: Mold prefers dark places.
- Infrequent Cleaning: Allows mold to establish itself.
Ignoring mold growth can lead to:
- Health problems: Allergies, asthma, respiratory infections.
- Reduced AC efficiency: Mold can clog vents and cooling coils.
- Unpleasant odors: A musty or mildewy smell.
Safety First: Preparing for Mold Removal
Before you start cleaning, prioritize your safety. Mold exposure can be harmful, especially for sensitive individuals.
Essential Safety Precautions:
- Wear protective gear: A NIOSH-approved N-95 respirator is crucial to prevent inhaling mold spores. Also, wear gloves and eye protection.
- Ventilate the area: Open windows and doors to improve airflow. A fan can help circulate air.
- Protect your skin and clothing: Wear long sleeves and pants, and consider using disposable clothing. Wash clothes immediately after cleaning.
- Work in a well-lit area: Good lighting makes it easier to see and remove mold.
Tools and Materials You'll Need
Gathering the right tools and cleaning solutions will make the job much easier and more effective.
Essential Supplies:
- Screwdriver: To disassemble the AC unit.
- Vacuum cleaner with a HEPA filter: HEPA filters trap mold spores, preventing them from spreading.
- Soft brush or toothbrush: For scrubbing away mold.
- Spray bottle: For applying cleaning solutions.
- Cleaning solutions:
- Mild soap and water: For general cleaning.
- Vinegar and water solution (1:1): A natural mold killer.
- Commercial mold cleaner: Use according to the manufacturer's instructions (ensure it's safe for use on AC components).
- Bleach solution (1 part bleach to 10 parts water): Use with extreme caution and only if necessary. Never mix bleach with ammonia or other cleaning products. Ensure adequate ventilation.
- Clean cloths or paper towels: For wiping surfaces dry.
- Garbage bags: For disposing of moldy materials.
- Optional: Fin comb (to straighten bent fins on the cooling coils).
Step-by-Step Guide to Cleaning Your Window AC Unit
Now, let's get to the cleaning process. Follow these steps carefully to ensure thorough mold removal.
Step 1: Disconnect and Remove the AC Unit
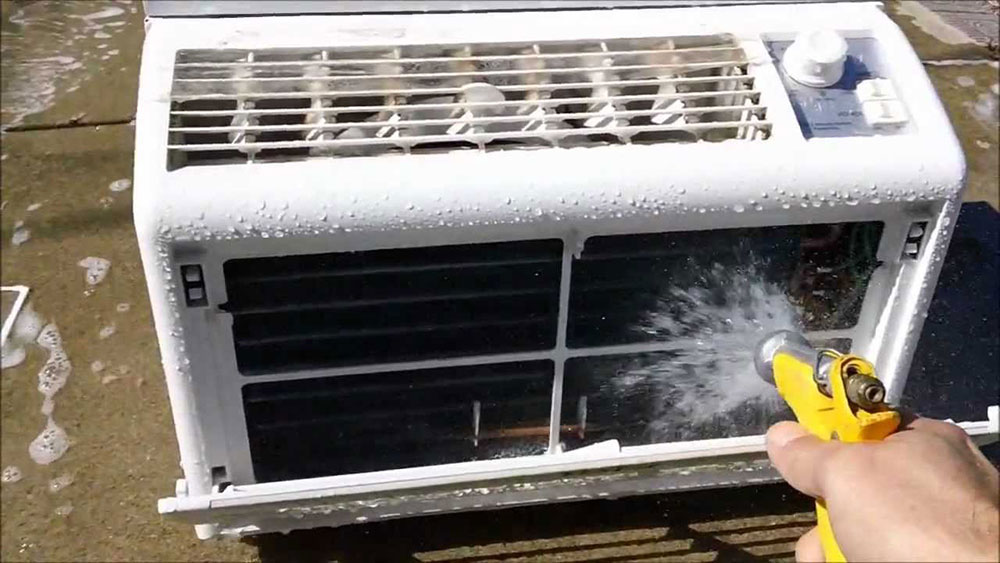
Never clean an AC unit while it's plugged in. Disconnect the power cord from the outlet. Carefully remove the AC unit from the window. It can be heavy, so get help if needed. Place it on a protected surface (like a tarp or drop cloth) in a well-ventilated area.
Step 2: Disassemble the AC Unit
Use a screwdriver to remove the outer casing. Consult your AC unit's manual for specific instructions on disassembly. Typically, you'll need to remove screws from the sides, top, and back. Take photos as you disassemble it. This will help you remember how to put it back together.
Step 3: Vacuum the Interior
Use a vacuum cleaner with a HEPA filter to remove loose dust, dirt, and mold spores from all interior components. Pay special attention to the cooling coils, fan blades, and drain pan.
Step 4: Clean the Cooling Coils
The cooling coils are the most likely place for mold to grow. These coils are responsible for cooling the air. Think of refrigerant as the "blood" of your AC system, carrying heat from inside to outside via the coils. Carefully spray the coils with your chosen cleaning solution (vinegar and water or a commercial mold cleaner). Let it sit for a few minutes to loosen the mold. Use a soft brush or toothbrush to gently scrub the coils. Be careful not to bend the fins. If the fins are bent, use a fin comb to straighten them. Wipe the coils clean with a damp cloth.
Step 5: Clean the Fan Blades
Dust and mold can accumulate on the fan blades, reducing airflow. Wipe each blade with a damp cloth and your chosen cleaning solution. If the blades are heavily soiled, you may need to remove them for more thorough cleaning. Make sure they are completely dry before reassembling.
Step 6: Clean the Drain Pan
The drain pan collects condensation, making it a prime location for mold growth. Remove the drain pan (if possible) and wash it with soap and water. If the drain pan is not removable, spray it with your cleaning solution, scrub it with a brush, and wipe it clean. Ensure the drain hole is clear of any obstructions.
Step 7: Clean the Air Filter
The air filter traps dust and debris, preventing them from entering the AC unit. Remove the air filter and wash it with soap and water. If the filter is heavily soiled or damaged, replace it with a new one. Let the filter dry completely before reinstalling it.
Step 8: Clean the Casing
Wipe down the interior and exterior of the AC unit's casing with a damp cloth and your chosen cleaning solution. Pay attention to any crevices or corners where mold may be hiding.
Step 9: Disinfect (Optional, but Recommended)
After cleaning, disinfect the components to kill any remaining mold spores. Spray all surfaces with a disinfectant solution (like a diluted bleach solution - use with caution!) and let it air dry completely.
Step 10: Reassemble the AC Unit
Carefully reassemble the AC unit, referring to the photos you took during disassembly. Make sure all components are securely in place. Ensure all parts are completely dry before reassembling to prevent new mold growth.
Step 11: Test the AC Unit
Before reinstalling the AC unit in the window, plug it in and test it to make sure it's working properly. Check that the fan is blowing air and that the unit is cooling effectively.
Step 12: Reinstall the AC Unit
Carefully reinstall the AC unit in the window, ensuring it's securely mounted. Seal any gaps around the unit with weather stripping to prevent air leaks and moisture from entering.
Preventing Future Mold Growth
Once you've removed the mold, take steps to prevent it from returning.
Preventive Measures:
- Regular Cleaning: Clean your AC unit at least once a month, or more often if you live in a humid environment.
- Air Filter Maintenance: Replace or clean the air filter regularly.
- Control Humidity: Use a dehumidifier to reduce humidity levels in your home.
- Proper Ventilation: Ensure adequate ventilation in the room where the AC unit is located.
- Run the Fan: Run the AC fan for a while after turning off the cooling function to dry out the interior of the unit.
- Consider UV Light: Some AC units come with UV lights that kill mold and bacteria. You can also purchase aftermarket UV lights for your AC unit.
- Professional Cleaning: Consider having your AC unit professionally cleaned and serviced annually. Professionals have specialized equipment and knowledge to thoroughly clean and maintain your AC unit.
When to Call a Professional
While you can often remove mold yourself, there are times when it's best to call a professional.
Signs You Need Professional Help:
- Extensive mold growth: If the mold is widespread and difficult to remove.
- Health problems: If you experience respiratory problems or other health issues while cleaning.
- Lack of confidence: If you're not comfortable disassembling and cleaning the AC unit yourself.
- Persistent mold: If the mold keeps returning despite your efforts to clean it.
- Refrigerant Leaks: If you suspect a refrigerant leak (the system won't cool or there's a hissing sound), do not attempt to repair it yourself. Refrigerant handling requires specialized equipment and certification.
A qualified HVAC technician can thoroughly clean and disinfect your AC unit, identify and address the underlying causes of mold growth, and ensure that your AC unit is operating safely and efficiently.
Disposal of Moldy Materials
Properly dispose of any moldy materials to prevent the spread of mold spores.
Disposal Guidelines:
- Seal moldy materials in plastic bags: Double-bag the materials to prevent spores from escaping.
- Dispose of the bags in a sealed trash can: Keep the trash can away from living areas.
- Wash your hands thoroughly after handling moldy materials: Even with gloves, washing your hands is crucial.
By following these steps, you can effectively remove mold from your window AC unit and create a healthier living environment. Remember to prioritize safety, use the right tools and materials, and take preventive measures to keep mold from returning. When in doubt, consult a professional.