How To Get More Air Flow From Vents Upstairs

Is your upstairs feeling stuffy and uncomfortable, while the downstairs stays nice and cool? Poor airflow to your upstairs vents is a common problem, and before you call a professional, there are several things you can check yourself. This guide will walk you through troubleshooting steps to potentially improve your upstairs airflow.
Understanding the Problem: A Common Appliance Failure Analogy
Think of your HVAC system like a car. If your car is struggling to climb a hill, it could be a simple issue like low tire pressure or a more complex problem with the engine. Similarly, poor airflow upstairs can stem from simple blockages or more significant issues within your HVAC system.
Just like a car's air filter needs changing to maintain performance, your HVAC system relies on clean filters and unobstructed pathways to efficiently deliver air. Neglecting these basics can lead to reduced airflow and strain on your system.
Troubleshooting: Step-by-Step Guide
Step 1: Check the Air Filter (The Easiest Fix!)
A dirty air filter is the most common culprit behind poor airflow. A clogged filter restricts airflow to the entire system, but the upstairs vents, being furthest from the unit, are often the first to suffer.
- Location: Find your air filter, usually located near the blower unit (often in the furnace or air handler). It may be behind a removable panel or within the return air vent.
- Inspection: Remove the filter and hold it up to the light. If you can't see light clearly through it, it's time for a change. A visibly dirty filter indicates significant blockage.
- Replacement: Replace the old filter with a new one of the correct size and type. The size is usually printed on the filter's frame. Using the wrong size can damage the system.
- Frequency: Aim to replace your air filter every 1-3 months, depending on usage and the level of dust and allergens in your home.
Safety Tip: Turn off your HVAC system before removing or replacing the air filter.
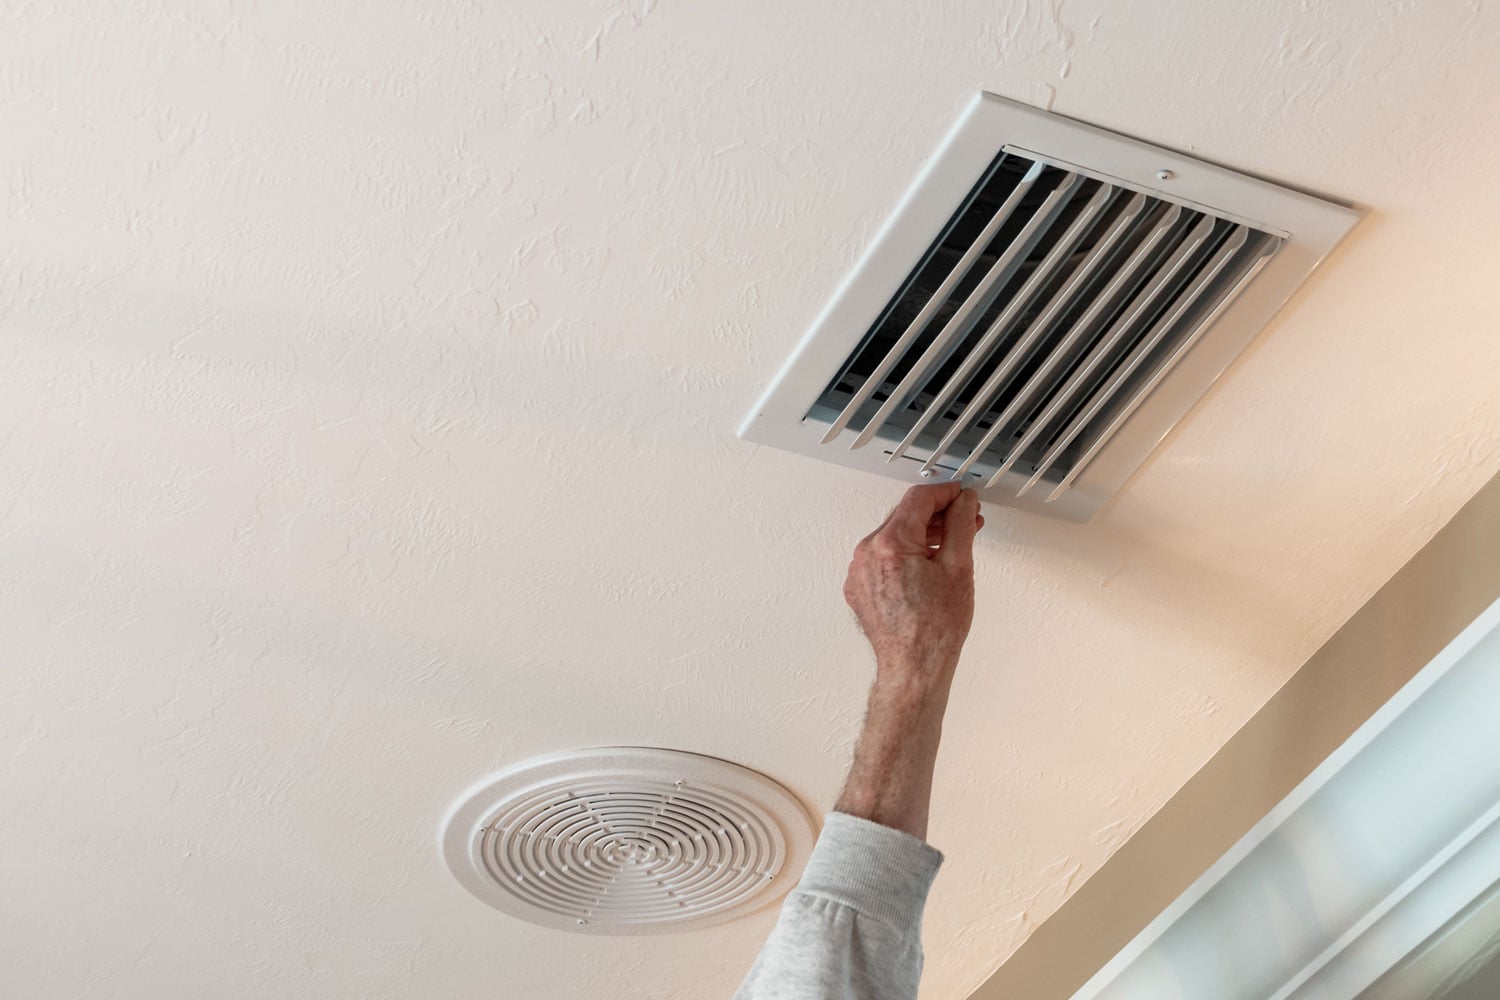
Step 2: Inspect the Vents and Registers
Next, check the vents and registers in each room, both upstairs and downstairs.
- Obstructions: Ensure that furniture, rugs, or curtains are not blocking the vents. Even partial blockage can significantly reduce airflow.
- Register Direction: Make sure the vent fins are directed upwards in the winter (to circulate warm air) and downwards in the summer (to circulate cool air).
- Closed Vents: Ensure that all vents, especially those in rooms you use frequently, are fully open.
- Dust and Debris: Use a vacuum cleaner with a hose attachment to remove any dust or debris buildup inside the vents and registers.
Step 3: Check for Obstructed Return Air Vents
Return air vents are just as important as supply vents. They allow air to flow back to the HVAC system for heating or cooling. If they're blocked, your system can't efficiently circulate air.
- Location: Return air vents are usually larger than supply vents and are often located in hallways or central areas.
- Obstructions: Ensure that furniture, rugs, or other objects are not blocking the return air vents.
- Cleaning: Vacuum the return air vents to remove dust and debris.
Step 4: Examine the Ductwork (Visual Inspection Only)
While you likely can't access all your ductwork, a visual inspection of the exposed sections can reveal potential problems.
- Visible Leaks: Look for any obvious holes, tears, or disconnections in the ductwork, especially in the attic or basement.
- Crushed or Kinked Ducts: Check for sections of ductwork that are crushed, kinked, or severely bent, as this can restrict airflow.
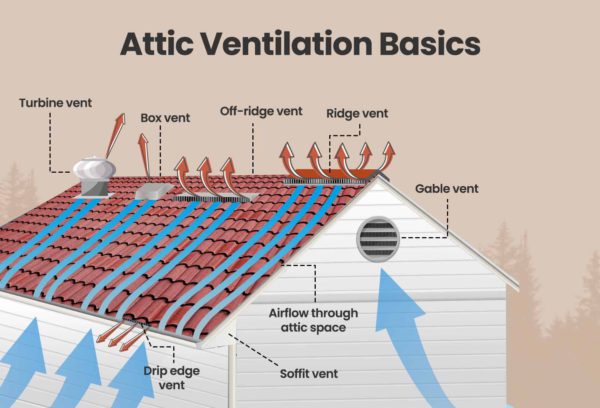
- Proper Insulation: Ensure that the ductwork is properly insulated, especially in unconditioned spaces like the attic.
Important: If you find significant damage or leaks in your ductwork, it's best to call a professional HVAC technician. They have the tools and expertise to properly seal and repair the ductwork.
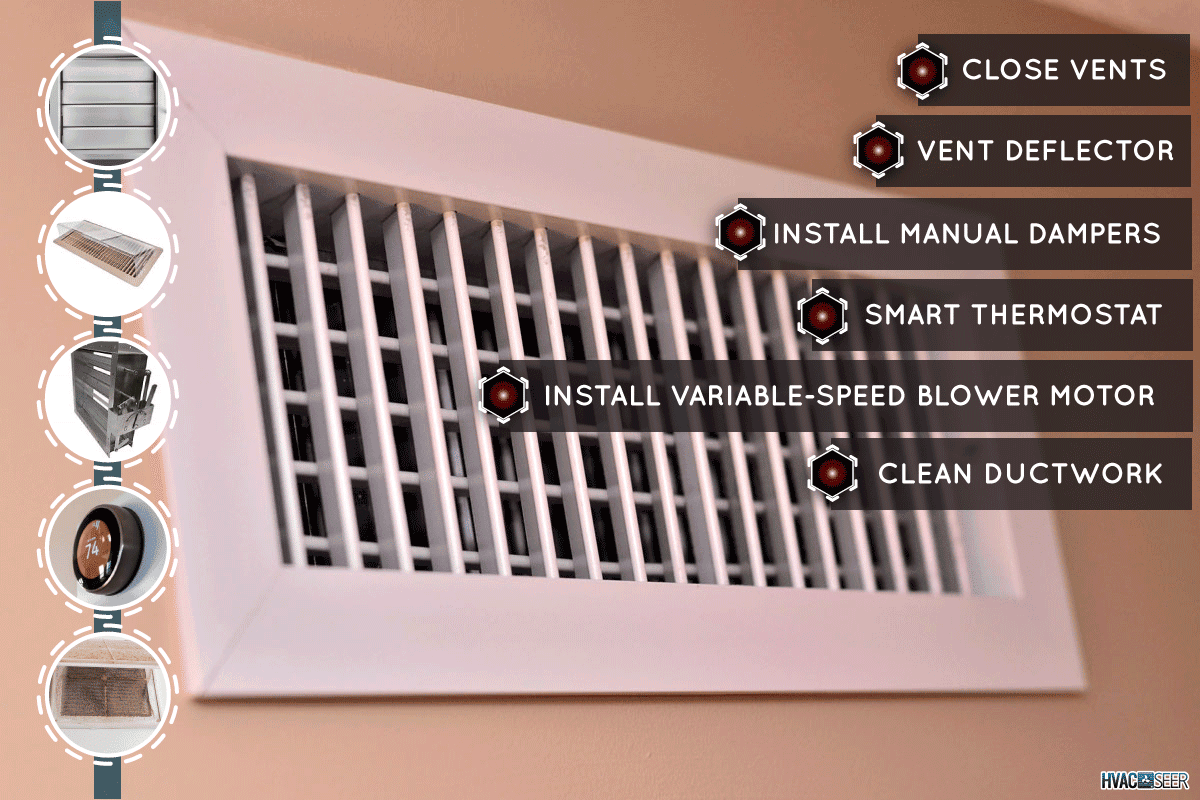
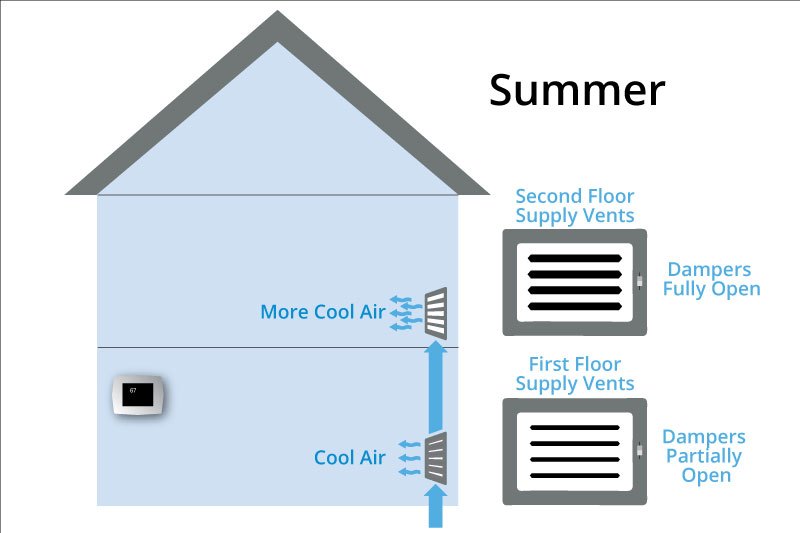
Step 5: Balance the Airflow (Adjusting Dampers)
Most HVAC systems have dampers within the ductwork that can be adjusted to balance the airflow to different areas of the house. These are usually located near the main duct trunk, where the ducts branch off to different zones or rooms.
- Location: Look for small levers or handles on the sides of the ductwork near where it branches off.
- Adjustment: To increase airflow upstairs, try partially closing the dampers on the ducts leading to the downstairs rooms. This will force more air to flow to the upstairs vents. Make small adjustments and wait a few hours to see the effect before making further changes.
- Experimentation: Balancing airflow takes some trial and error. Keep track of your adjustments so you can return to the original settings if needed.
Caution: Be careful when adjusting dampers, as over-closing them can put strain on your HVAC system. If you're unsure about how to adjust the dampers, consult with an HVAC professional.
Step 6: Check the Blower Motor
The blower motor is responsible for moving air through your HVAC system. If it's not functioning properly, it can lead to reduced airflow.
- Listen: Listen to the blower motor while the system is running. If it's making unusual noises (squealing, grinding, or rattling), it may be failing.
- Visual Inspection: (If you're comfortable and know how to safely disconnect the power) Visually inspect the blower motor for any signs of damage, such as burnt wires or a cracked housing.
- Capacitor: The blower motor uses a capacitor to start and run. A failing capacitor can cause the motor to run weakly or not at all. This is a common repair.
Warning: Working with electrical components can be dangerous. If you suspect a problem with the blower motor or its capacitor, it's best to call a qualified HVAC technician. They have the proper tools and training to diagnose and repair electrical issues safely.
Step 7: Evaluate Your Ductwork Design
Sometimes, the problem isn't a fault, but a design issue. The ductwork may simply be undersized for the square footage of your home, or the layout may be inefficient for delivering air to the upstairs rooms.
- Long Runs: Very long duct runs to the upstairs vents can cause significant pressure loss, resulting in reduced airflow.
- Sharp Turns: Numerous sharp turns in the ductwork can also restrict airflow.
- Undersized Ducts: If the ducts are too small, they may not be able to deliver enough air to properly heat or cool the upstairs rooms.
Recommendation: If you suspect a design issue, consult with an HVAC professional. They can evaluate your ductwork and recommend solutions, such as adding booster fans, resizing the ducts, or redesigning the ductwork layout.
Step 8: Consider a Zoned System
If you consistently struggle with uneven temperatures between the upstairs and downstairs, you might consider installing a zoned HVAC system. A zoned system uses dampers and multiple thermostats to control the temperature in different areas of the house independently.
- Benefits: Zoned systems can improve comfort, reduce energy waste, and provide more consistent temperatures throughout your home.
- Professional Installation: Zoned systems require professional installation and programming.
When to Call a Professional
While many of these troubleshooting steps are DIY-friendly, some issues require the expertise of a qualified HVAC technician. Here are some situations where you should call a professional:
- Electrical Problems: If you suspect any electrical issues with your HVAC system, such as a faulty blower motor or capacitor.
- Gas Leaks: If you smell gas near your furnace or other gas-powered HVAC equipment. This is an emergency! Evacuate the area and call your gas company immediately.
- Refrigerant Leaks: If you suspect a refrigerant leak in your air conditioner or heat pump.
- Complex Ductwork Problems: If you find significant damage or leaks in your ductwork, or if you suspect a design issue.
- Blower Motor Replacement: Replacing a blower motor can be complicated and requires specialized tools and knowledge.
- If the Simple Fixes Don't Work: If you've tried all the DIY troubleshooting steps and are still experiencing poor airflow upstairs, it's time to call a professional.
Safety First!
Always prioritize safety when working with your HVAC system. Remember these important safety precautions:
- Turn Off the Power: Always turn off the power to your HVAC system at the circuit breaker before performing any maintenance or repairs.
- Wear Protective Gear: Wear gloves and eye protection when working with ductwork or other HVAC components.
- Don't Work on Gas Appliances: Never attempt to repair gas-powered HVAC equipment yourself. This is extremely dangerous!
- Call a Professional When in Doubt: If you're unsure about any step, it's always best to call a qualified HVAC technician.
Conclusion
Improving airflow to your upstairs vents can significantly improve your home's comfort and energy efficiency. By following these troubleshooting steps, you may be able to resolve the issue yourself. However, remember to prioritize safety and call a professional when necessary. With a little effort, you can get your upstairs feeling just right!