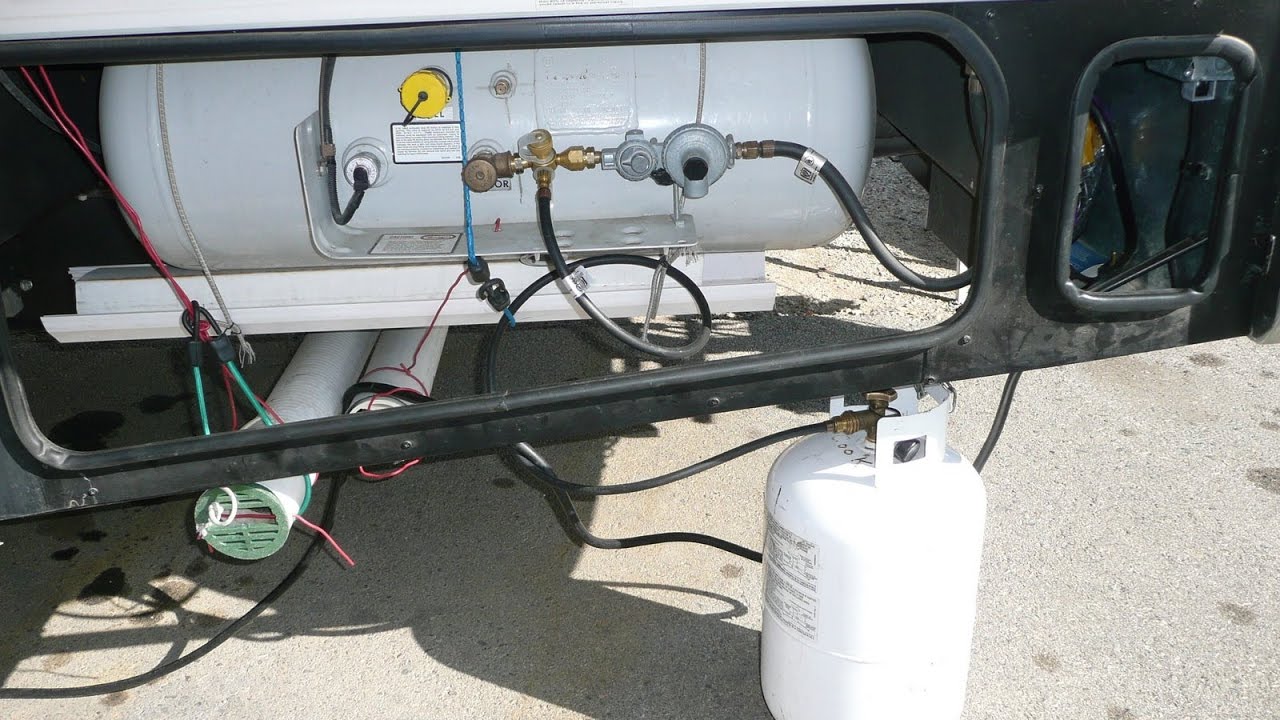
How To Hook Up Gas Line To Propane Tank
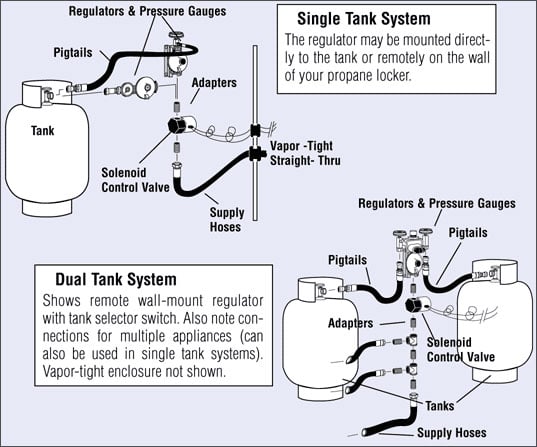
Frequently Asked Questions: Connecting a Gas Line to a Propane Tank
Propane is a versatile and efficient fuel source for various household and commercial applications, from heating and cooking to powering appliances. Connecting a gas line to a propane tank might seem daunting, but understanding the basics can make the process much smoother and safer. This FAQ aims to address the most common questions and provide straightforward answers to help you navigate this task.
Question 1: Is it safe for me to connect a gas line to a propane tank myself?
Safety should always be your top priority when dealing with propane. While some minor connections might seem straightforward, working with gas lines can be dangerous if not done correctly. Propane is highly flammable, and leaks can lead to fires or explosions. It's strongly recommended to hire a licensed and qualified professional to handle the connection. They have the expertise, tools, and knowledge to ensure the connection is done safely and according to local codes.
However, if you are determined to proceed yourself, you MUST:
- Thoroughly research all applicable local codes and regulations.
- Obtain any necessary permits.
- Understand the proper procedures for leak testing.
- Have access to the correct tools and safety equipment (e.g., gas leak detector, pipe joint compound rated for propane).
- Be prepared to shut down the gas supply immediately if you detect any problems.
Even with these precautions, consulting with a professional before starting is highly advised. Your safety and the safety of your property are paramount.
Question 2: What tools and materials do I need to connect a gas line to a propane tank?
Assuming you are confident in your ability to safely make the connection (and have consulted with a professional), you will need the following tools and materials:
- Wrench(es): You'll need appropriately sized wrenches to tighten fittings and connections. Using the correct size is critical to avoid damaging the fittings.
- Pipe joint compound (approved for propane): This sealant helps create a gas-tight seal on threaded connections. Do not use Teflon tape unless it is specifically rated for propane use.
- Gas leak detector (soap solution or electronic detector): Essential for testing the connections for leaks after installation. A simple soap solution can be made by mixing water with dish soap.
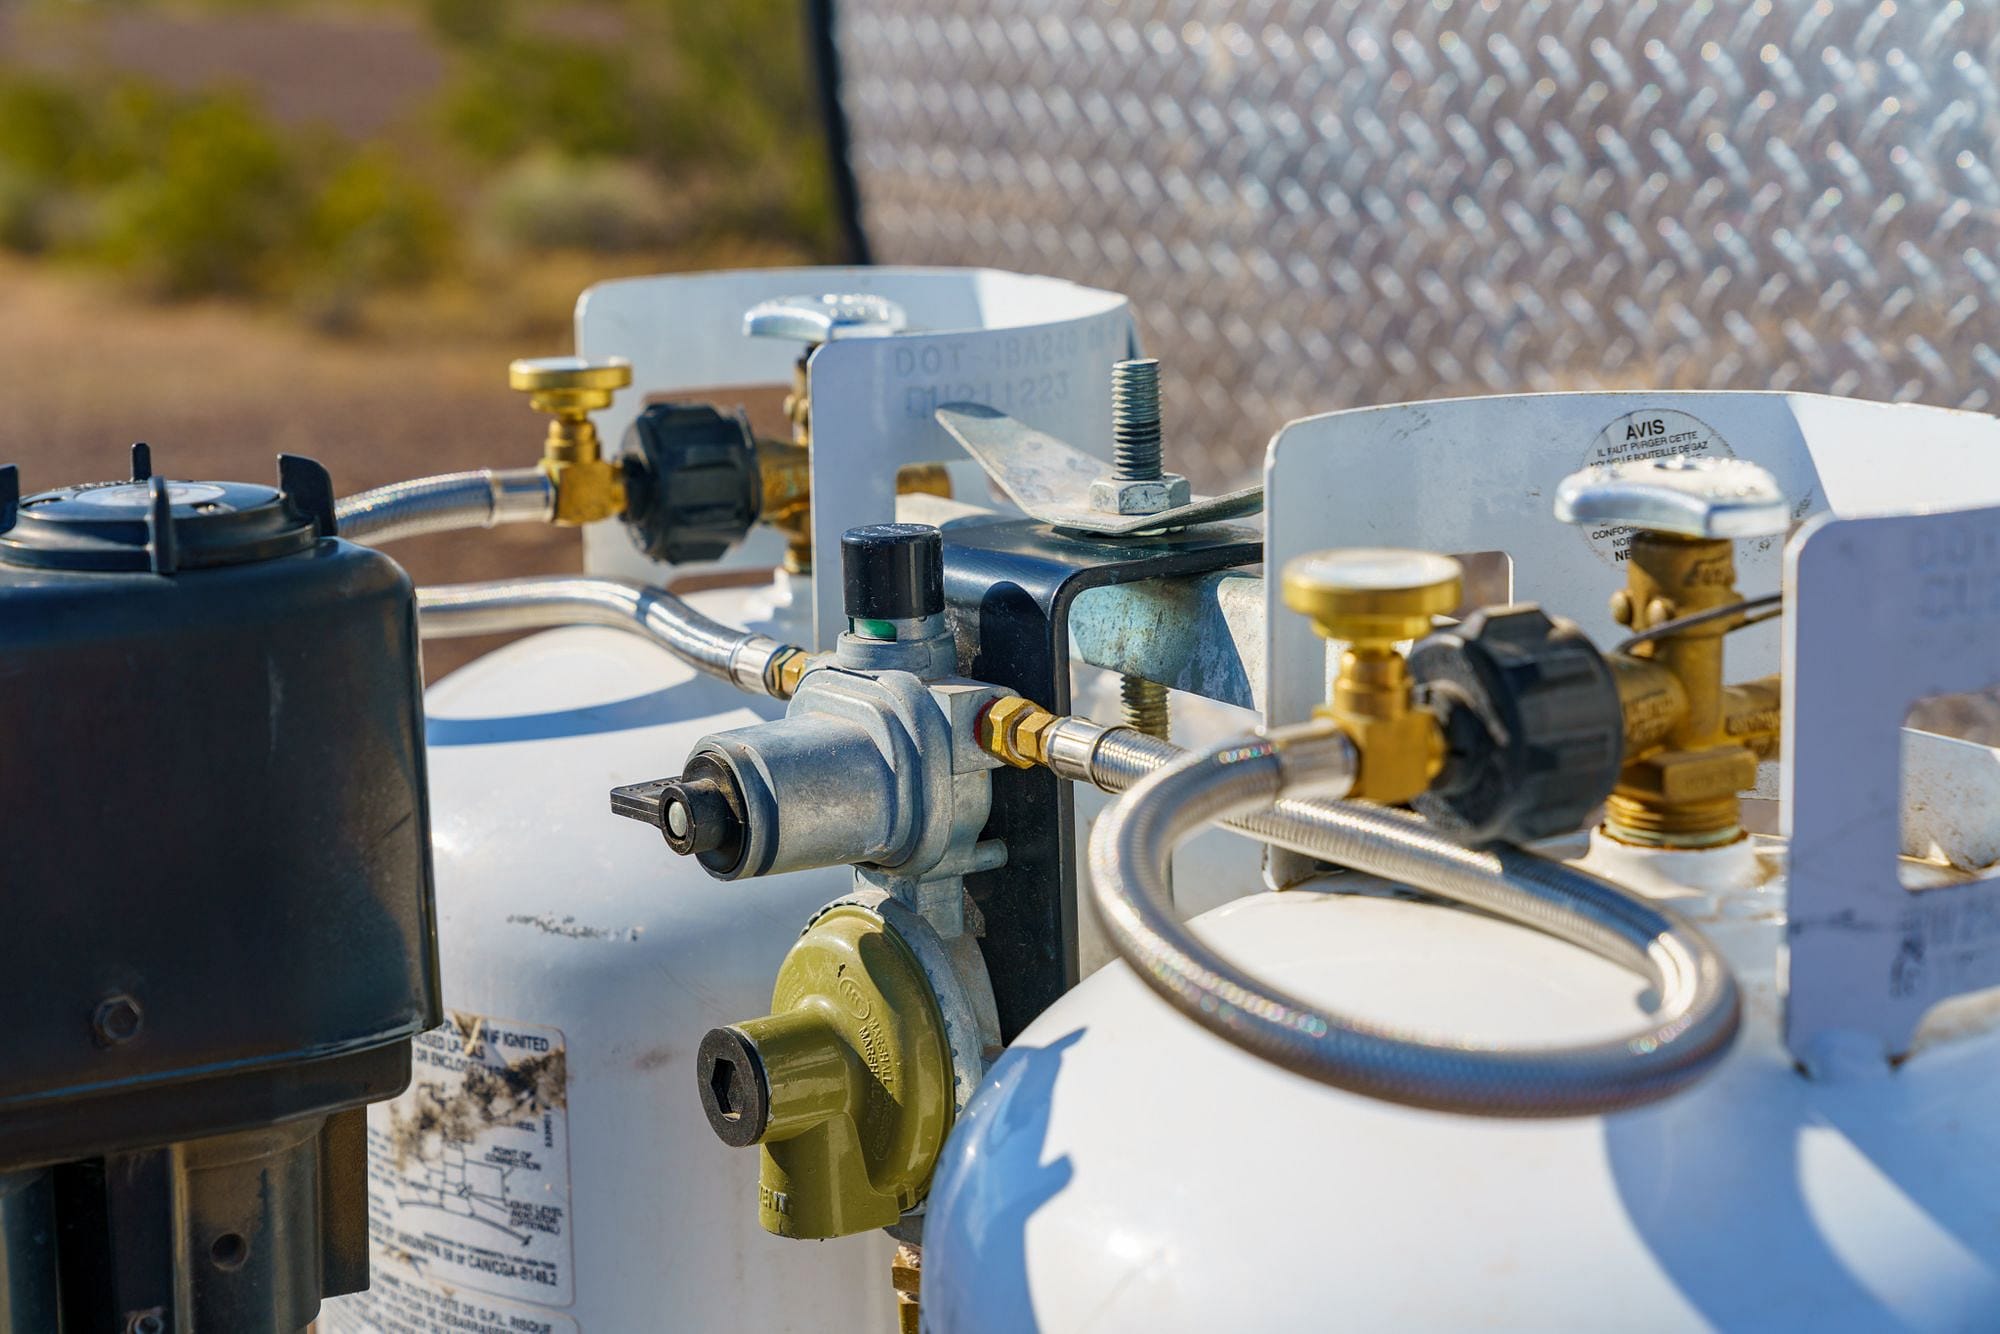
- Propane-rated regulator: This device reduces the high pressure of the propane in the tank to a usable pressure for your appliances. Make sure the regulator is compatible with the type of propane tank and the requirements of your appliances.
- Propane-rated hose or pipe: The hose or pipe must be specifically designed for propane use and rated for the pressure it will be subjected to. Do not use hoses or pipes that are not explicitly rated for propane.
- Fittings: You will need various fittings, such as adapters, connectors, and couplings, to connect the gas line to the tank and appliances. Ensure these fittings are compatible with propane and the pipe or hose you are using.
- Screwdrivers (various sizes): May be needed for securing clamps or adjusting regulators.
- Gloves and safety glasses: For personal protection during the installation process.
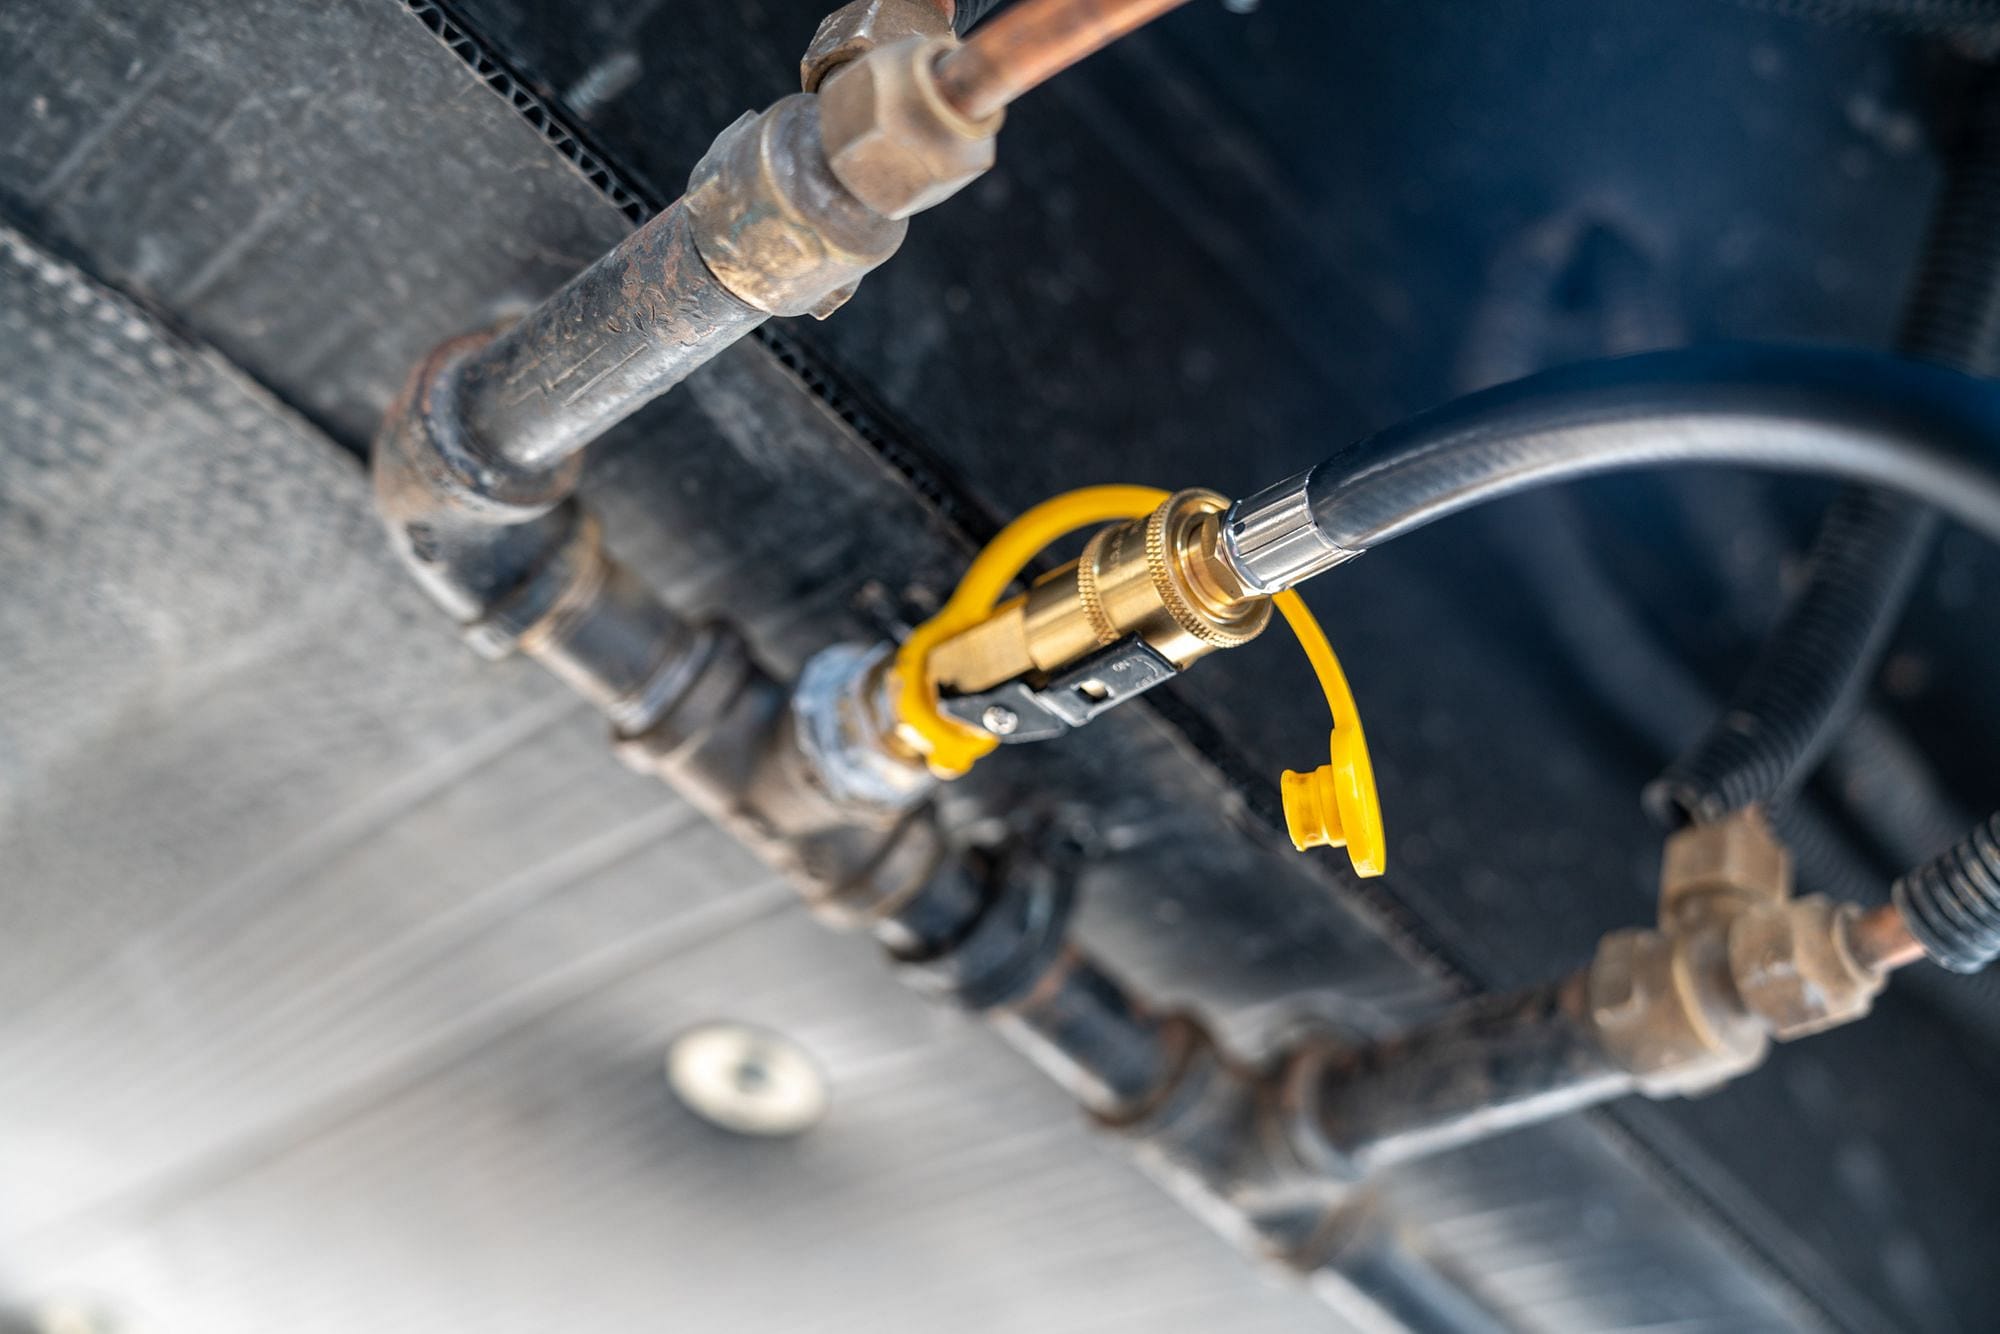
- Emergency shut-off valve: Install an easily accessible shut-off valve upstream of your appliance for safety purposes.
Important Note: Always use materials specifically designed and rated for propane. Using incorrect materials can lead to leaks, fires, or explosions.
Question 3: What type of propane regulator do I need, and how does it work?
The type of propane regulator you need depends on the pressure requirements of your appliances and the type of propane tank you are using. There are primarily two types of regulators:
- Single-stage regulators: These regulators reduce the tank pressure (which can be very high) to the operating pressure of your appliances in a single step. They are commonly used for smaller applications like grills and portable heaters.
- Two-stage regulators: These regulators reduce the tank pressure in two steps, providing a more consistent and stable outlet pressure, especially when the tank is nearly empty. They are often used for larger applications like whole-house heating and multiple appliances.
How Regulators Work:
A propane regulator works by controlling the flow of propane from the tank to the appliance. Inside the regulator, a diaphragm responds to pressure changes. When the pressure on the outlet side of the regulator drops (because an appliance is turned on and consuming propane), the diaphragm opens a valve, allowing more propane to flow from the tank. Conversely, when the pressure on the outlet side rises (because the appliance is turned off), the diaphragm closes the valve, reducing or stopping the flow of propane.
Choosing the Right Regulator:
- Check the appliance's pressure requirements: The appliance's manual should specify the required propane pressure, usually measured in inches of water column (WC).
- Consider the total BTU load: If you are connecting multiple appliances, you need a regulator that can handle the combined BTU (British Thermal Units) demand of all the appliances.
- Choose a regulator with sufficient capacity: Select a regulator with a capacity that meets or exceeds the appliance's requirements.
- Ensure compatibility with the tank fitting: Propane tanks use different types of fittings, so make sure the regulator's inlet fitting matches the tank's outlet fitting.
Warning: Installing the wrong type of regulator can damage your appliances or create a dangerous situation. If you are unsure which regulator to choose, consult with a qualified professional.
Question 4: How do I connect the gas line to the propane tank and appliances?
While the exact steps may vary slightly depending on the specific components you are using, the general procedure is as follows:
- Turn off the propane tank valve: Ensure the tank valve is completely closed before starting any work.
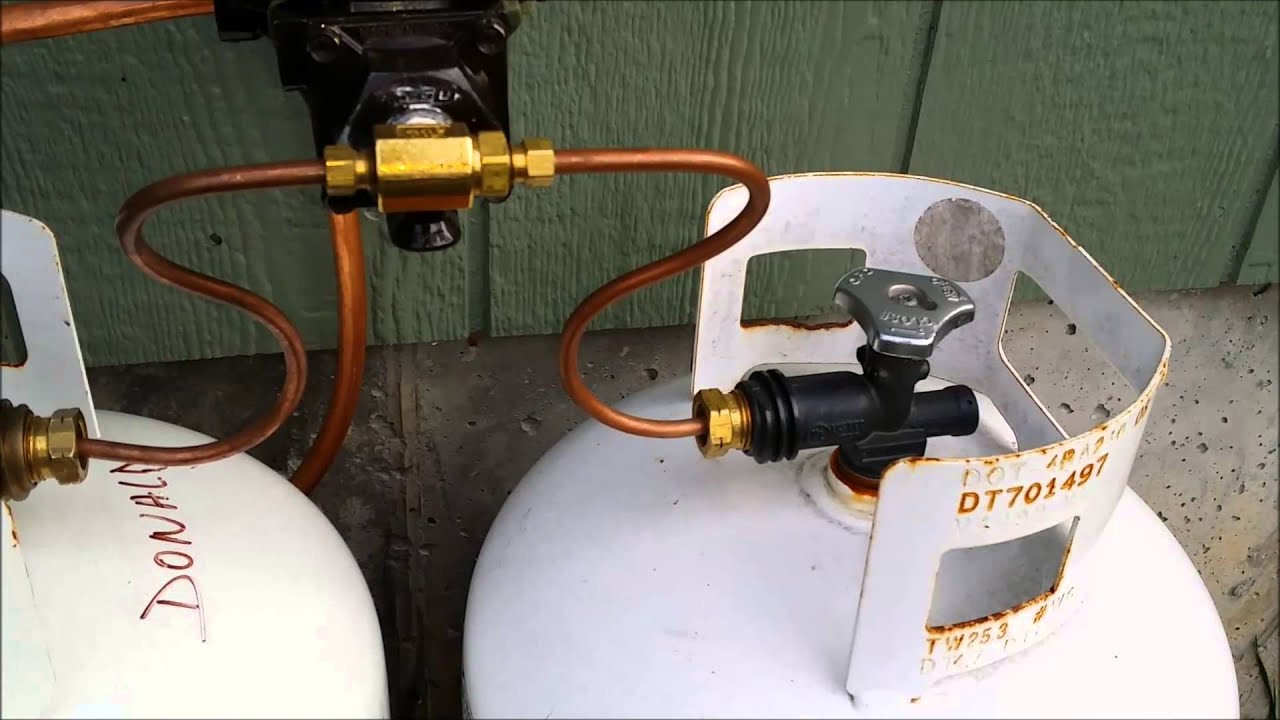
- Connect the regulator to the tank: Attach the propane regulator to the tank's POL (Prest-O-Lite) valve. Tighten the connection securely using a wrench, but avoid overtightening, which can damage the fitting.
- Connect the gas line to the regulator: Connect the propane-rated hose or pipe to the outlet of the regulator. Use pipe joint compound on the threaded connections to ensure a gas-tight seal.
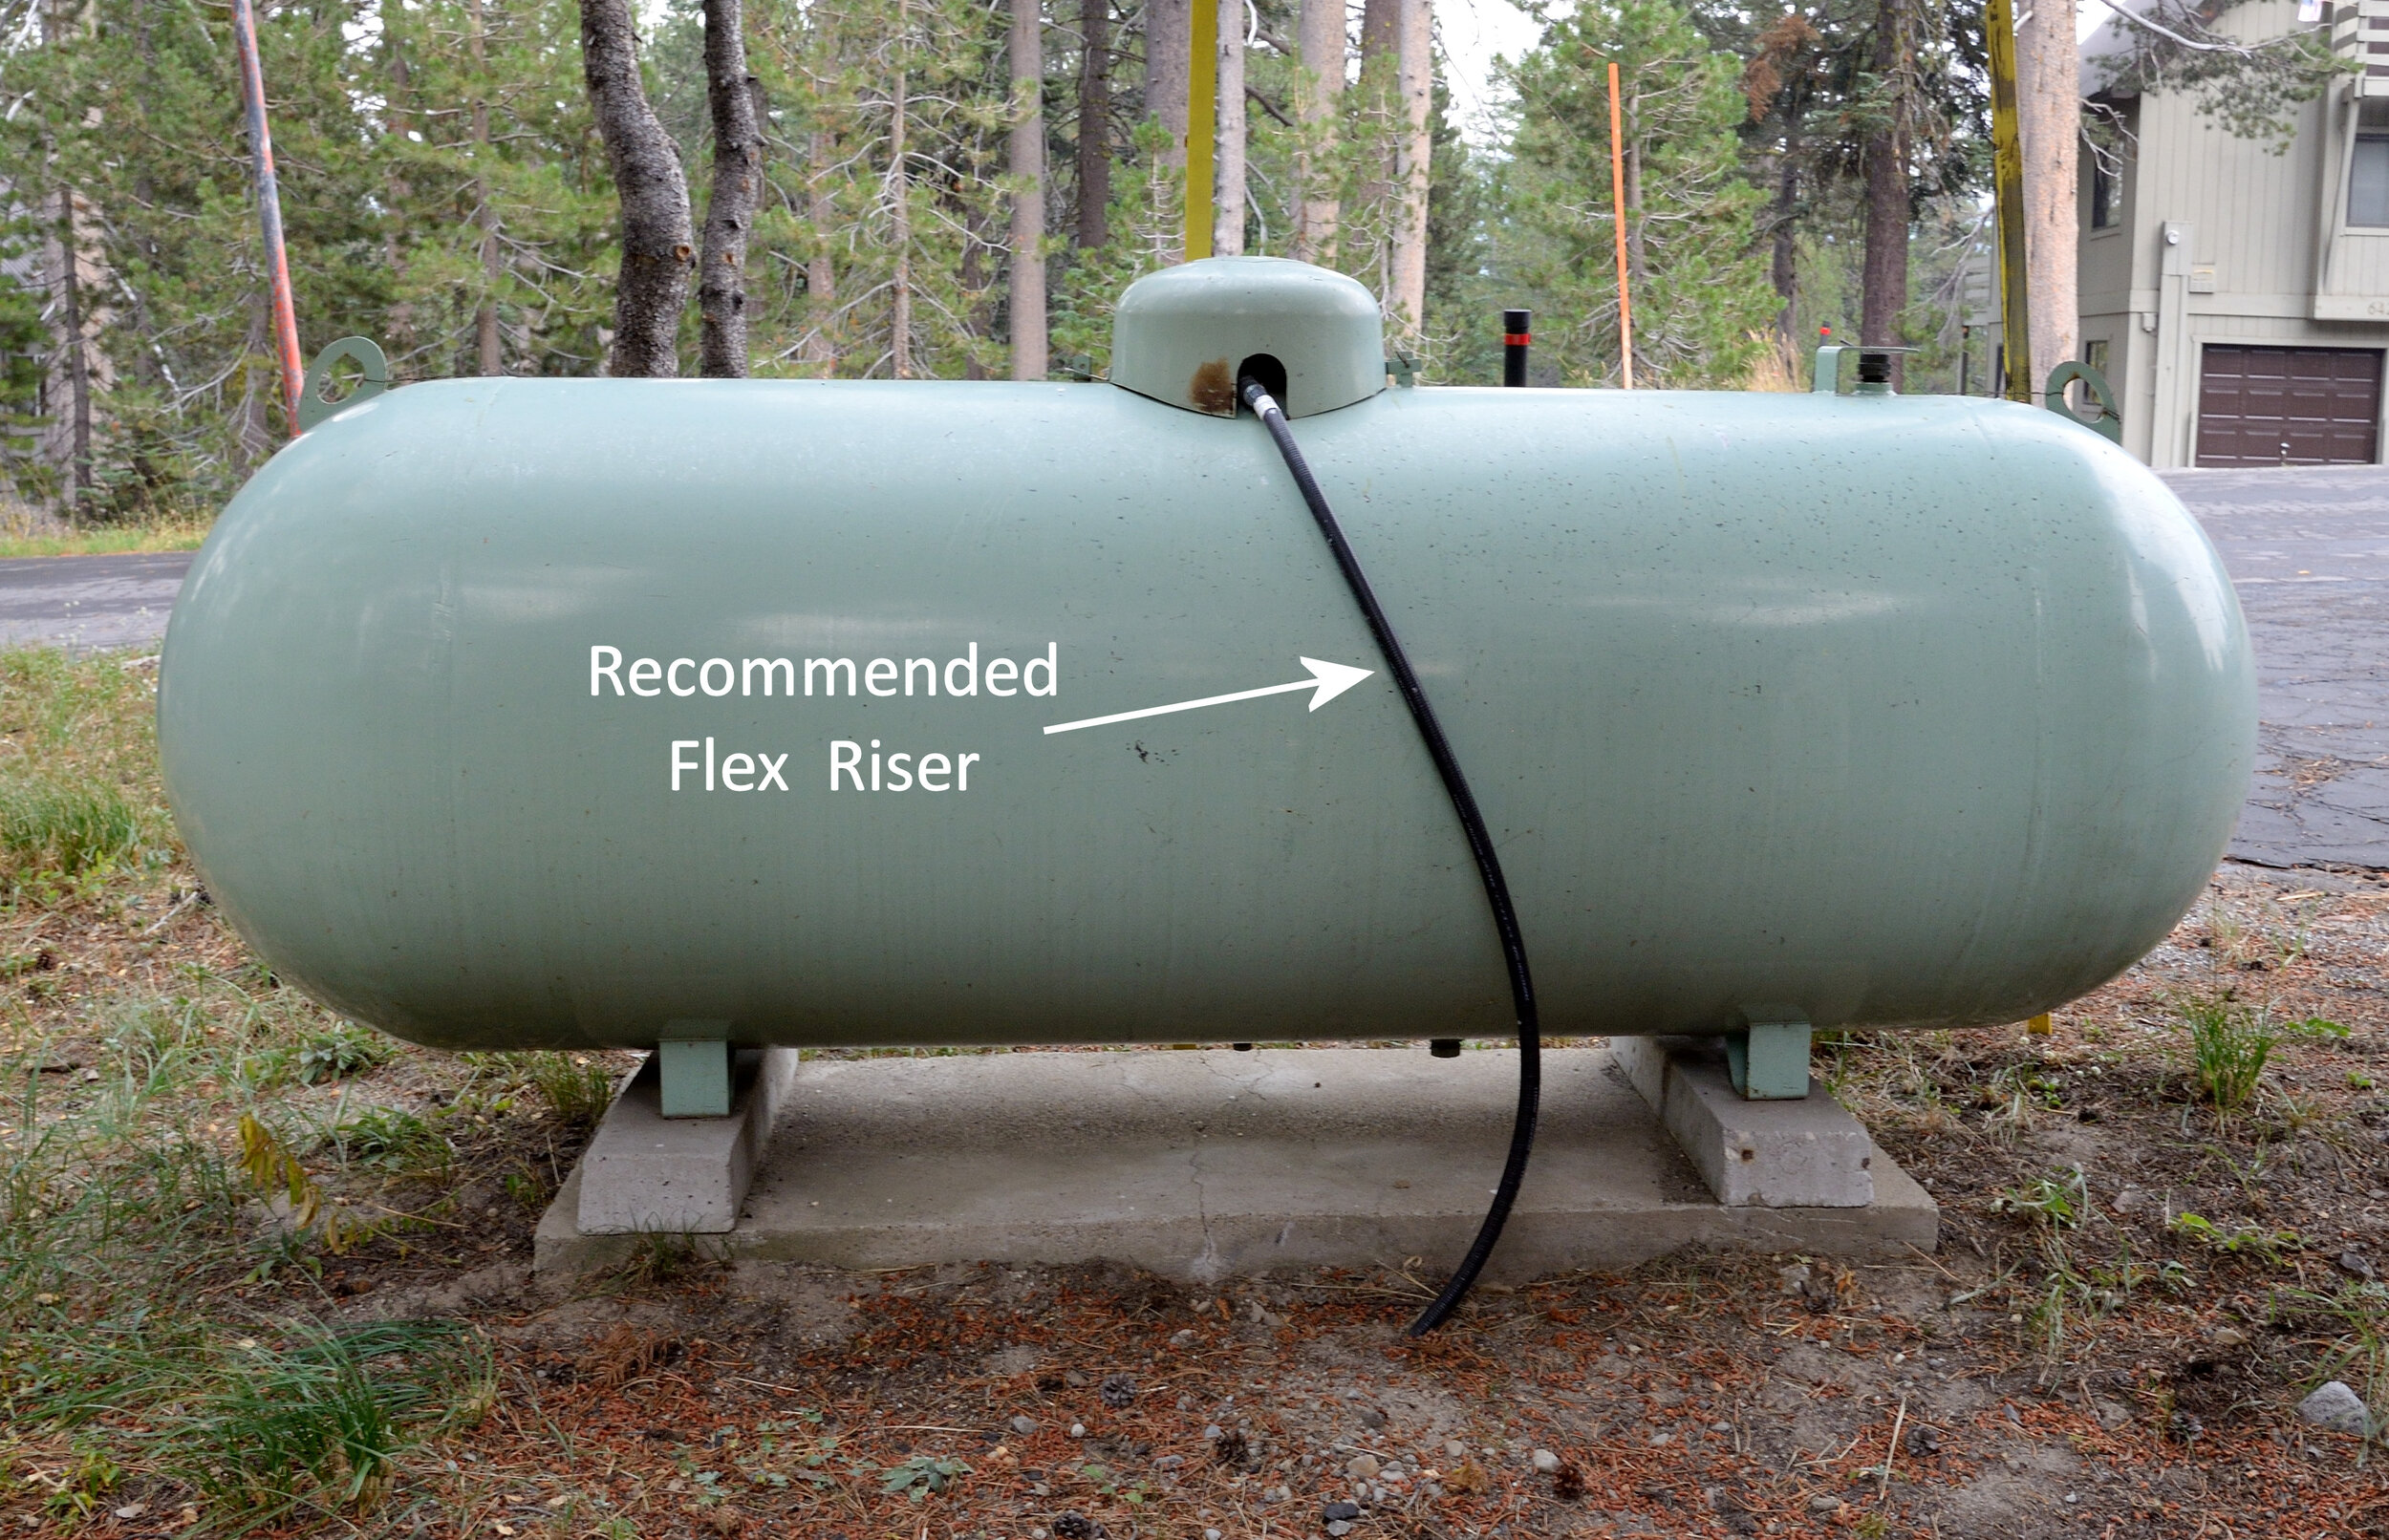
- Route the gas line to the appliance: Carefully route the gas line to the location of the appliance, ensuring it is protected from damage and does not create a tripping hazard.
- Install an emergency shut-off valve: Install a shut-off valve in the gas line near the appliance. This will allow you to quickly shut off the gas supply in case of an emergency.
- Connect the gas line to the appliance: Connect the gas line to the appliance's gas inlet, using pipe joint compound on the threaded connections.
- Test for leaks: After all connections are made, carefully test for leaks using a gas leak detector (soap solution or electronic detector). Apply the solution to all connections and look for bubbles. If you detect a leak, immediately turn off the propane tank valve and tighten the connection or replace the fitting.
Important Considerations:
- Proper Threading: Always ensure proper threading on all connections. Do not force connections, as this can damage the threads and create leaks.
- Grounding: If you are using a metal pipe for the gas line, ensure it is properly grounded to prevent static electricity buildup.
- Support: Properly support the gas line to prevent it from sagging or becoming damaged.
- Ventilation: Ensure adequate ventilation in the area where the propane tank and appliances are located.
Question 5: How do I test for gas leaks after making the connections?
Testing for leaks is a crucial step after connecting a gas line to a propane tank. Here's how to do it safely and effectively:
- Prepare a leak detection solution: Mix equal parts of water and dish soap in a spray bottle or small container. The soap should create visible bubbles when applied to a leak.
- Turn on the propane tank valve slowly: Open the valve gradually, listening for any hissing sounds that might indicate a major leak.
- Apply the leak detection solution: Spray or brush the solution onto all connections, including the tank valve, regulator connections, gas line connections, and appliance connections.
- Observe for bubbles: Carefully observe each connection for the formation of bubbles. Even small bubbles indicate a gas leak.
- If you find a leak:
- Immediately turn off the propane tank valve.
- Tighten the connection that is leaking.
- Reapply the leak detection solution and check again.
- If the leak persists, disassemble the connection, inspect the fittings for damage, and reapply pipe joint compound before reassembling.
- If the leak still persists, replace the fitting or consult with a qualified professional.
- Repeat the process: After fixing any leaks, repeat the testing process to ensure that all connections are gas-tight.
Alternative Leak Detection Method:
An electronic gas leak detector can also be used to detect propane leaks. These devices are more sensitive than soap solutions and can detect even small leaks. Follow the manufacturer's instructions for using the electronic leak detector.
Important Safety Precautions:
- Never use an open flame to test for gas leaks. This is extremely dangerous and can cause a fire or explosion.
- If you smell propane gas, immediately turn off the tank valve, evacuate the area, and call your local fire department or propane supplier.
Question 6: What are some common mistakes to avoid when connecting a gas line to a propane tank?
To ensure a safe and reliable connection, avoid these common mistakes:
- Using incorrect materials: Always use hoses, pipes, fittings, and regulators specifically rated for propane use. Using materials not designed for propane can lead to leaks and failures.
- Overtightening or undertightening connections: Overtightening can damage fittings and cause leaks, while undertightening can also result in leaks. Use the correct size wrench and tighten connections securely but not excessively.
- Using Teflon tape instead of pipe joint compound: While Teflon tape can be used for some gas applications, it is not always suitable for propane. Always use pipe joint compound that is specifically rated for propane on threaded connections.
- Forgetting to test for leaks: Failing to test for leaks after making connections is a major safety hazard. Always test for leaks using a leak detection solution or an electronic gas leak detector.
- Ignoring local codes and regulations: Make sure you are aware of and comply with all local codes and regulations regarding propane installations.
- Working without proper ventilation: Ensure adequate ventilation in the area where you are working to prevent the buildup of propane gas.
- Lack of shut-off valve: Not installing a shut-off valve near the appliance can make it difficult to quickly stop the gas flow in an emergency.
- Improper grounding: Not grounding a metal gas line can lead to static electricity buildup, which can be a fire hazard.
- Using damaged components: Inspect all hoses, pipes, fittings, and regulators for damage before use. Replace any damaged components immediately.
By avoiding these common mistakes, you can significantly reduce the risk of accidents and ensure a safe and reliable propane connection.
Question 7: How often should I inspect my propane tank and gas line connections?
Regular inspections are crucial for maintaining the safety and efficiency of your propane system. Here's a recommended inspection schedule:
- Monthly:
- Visually inspect the propane tank for any signs of damage, rust, or leaks.
- Check the regulator for any signs of damage or corrosion.
- Inspect the gas line for any kinks, cracks, or abrasions.
- Ensure that all connections are tight and secure.
- Annually:
- Have a qualified professional inspect the entire propane system, including the tank, regulator, gas line, and appliances.
- Perform a leak test using a leak detection solution or an electronic gas leak detector.
- Check the pressure of the propane regulator.
- Ensure that the propane tank is properly supported and protected from the elements.
- After any maintenance or repairs:
- Always inspect the connections and test for leaks after performing any maintenance or repairs on the propane system.
Signs that warrant immediate inspection:
- Smell of propane gas.
- Unusual noises from the propane tank or regulator.
- Visible damage to the propane tank, regulator, or gas line.
- Sudden drop in propane pressure.
- Appliance malfunction.
Remember: Regular inspections can help identify potential problems before they become serious, preventing costly repairs and ensuring the safety of your home or business. If you are unsure about anything regarding your propane system, consult with a qualified professional.