How To Increase Air Flow In Hvac

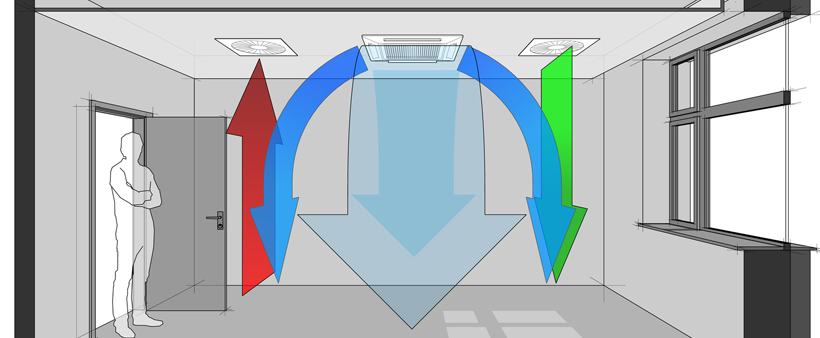
Is your home feeling stuffy, unevenly heated, or poorly cooled? Are certain rooms consistently warmer or colder than others, even with the thermostat set to a comfortable temperature? You're likely experiencing a common HVAC problem: restricted airflow. Poor airflow not only compromises comfort but also forces your HVAC system to work harder, leading to increased energy bills and potential premature equipment failure.
Fortunately, many airflow issues can be diagnosed and addressed with a few simple steps. This guide will walk you through the process, helping you identify the source of the problem and implement effective solutions. We'll cover checks you can perform with no tools, basic tasks that require simple equipment, and, most importantly, when it's time to call in a professional.
Step 1: Gather Information and Observe
Before you start tinkering, take a moment to gather information. The more you know, the easier it will be to pinpoint the problem.
- Note the specific symptoms: Are certain rooms consistently uncomfortable? Is the system running constantly without reaching the set temperature? Do you hear unusual noises coming from the vents or the HVAC unit itself?
- Check the thermostat setting: Is it set to the correct mode (heating or cooling)? Is the temperature setting appropriate for the season?
- Consider recent changes: Have you recently made any changes to your home, such as renovations, furniture placement, or the addition of insulation? Any of these could impact airflow.
Step 2: Perform a Visual Inspection (No Tools Required)
The first step is a simple visual inspection. You'd be surprised how often a quick look can reveal the culprit.
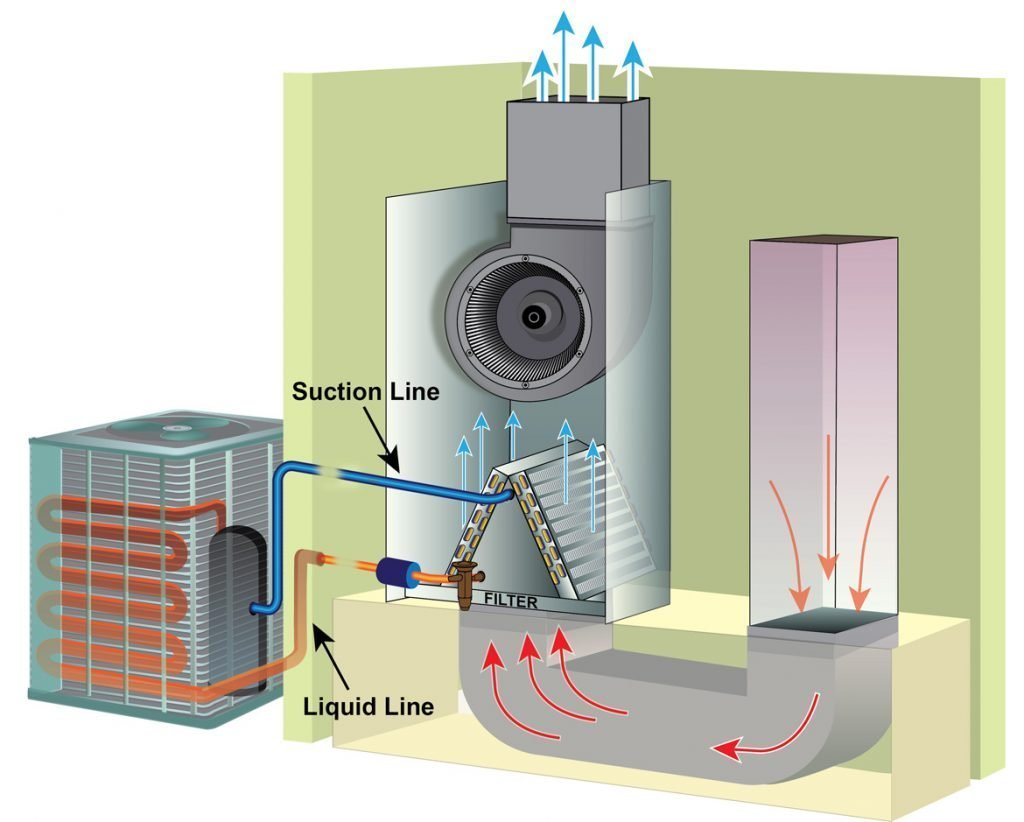
1. Air Filter Check
This is the most critical and often overlooked step. A dirty air filter restricts airflow, forcing your HVAC system to work harder and reducing its efficiency.
Action: Locate your air filter (usually near the blower unit inside the furnace or air handler). Remove it and hold it up to the light. If you can't see light clearly through the filter, it's time to replace it. Even if it *looks* okay, if it's been a while, replace it anyway.
Frequency: Change your air filter every 1-3 months, depending on the type of filter and the air quality in your home. Homes with pets or allergy sufferers may need more frequent changes.
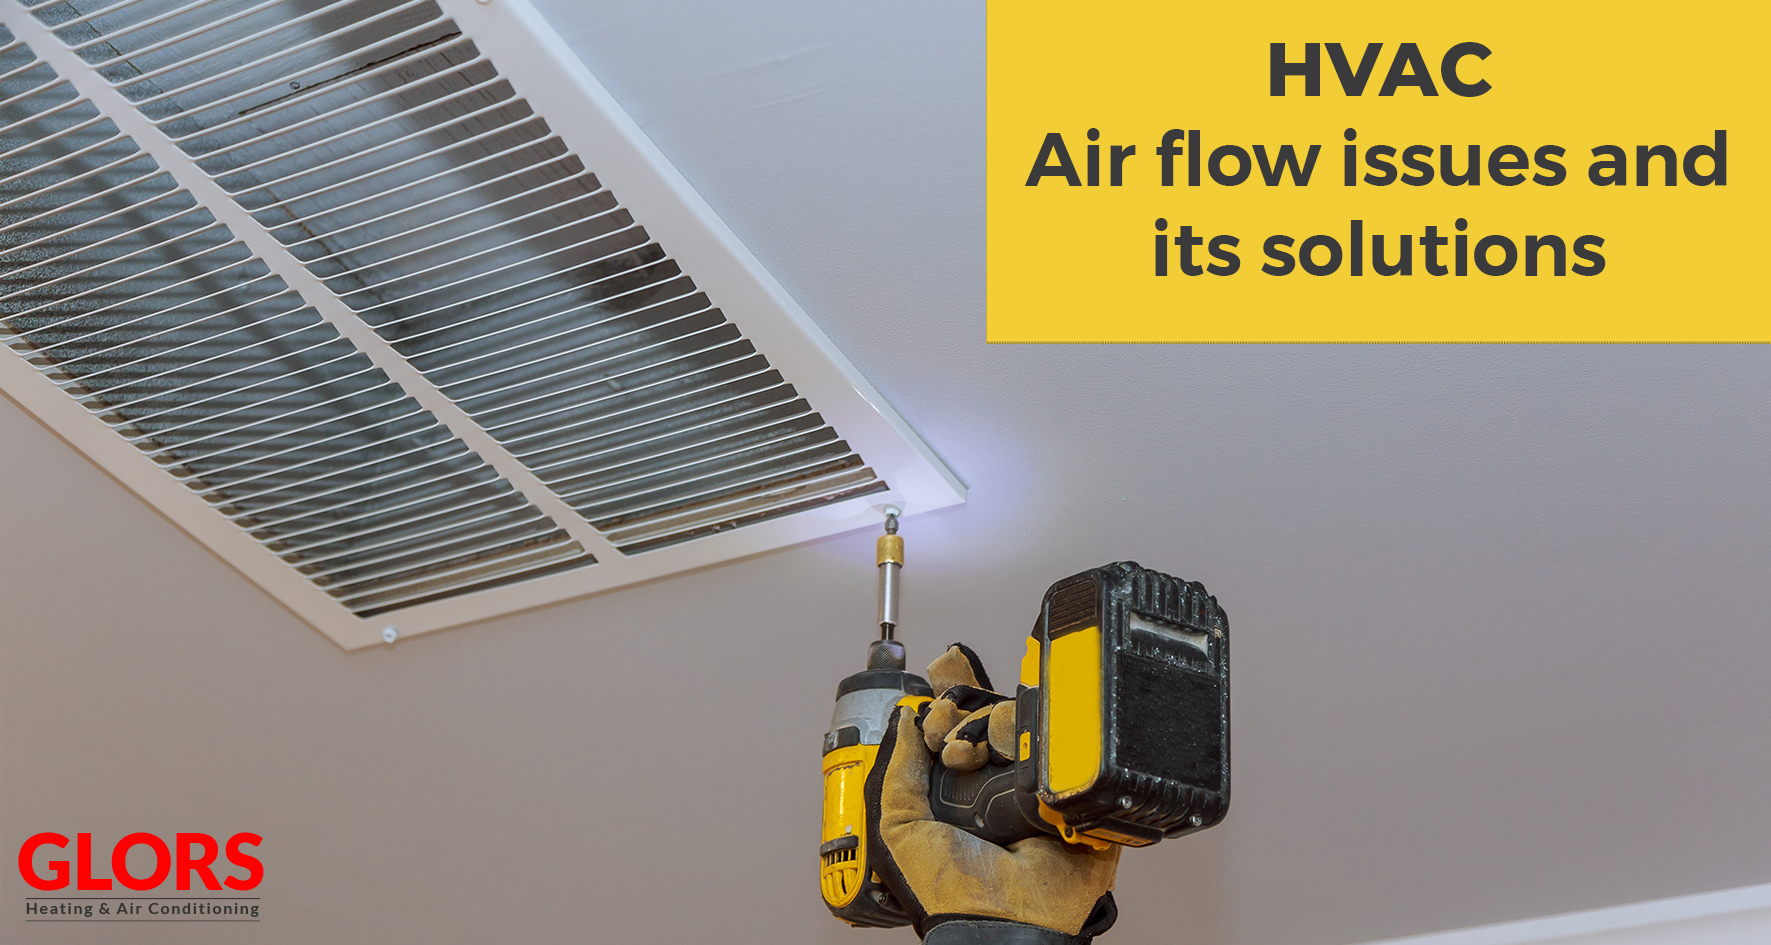
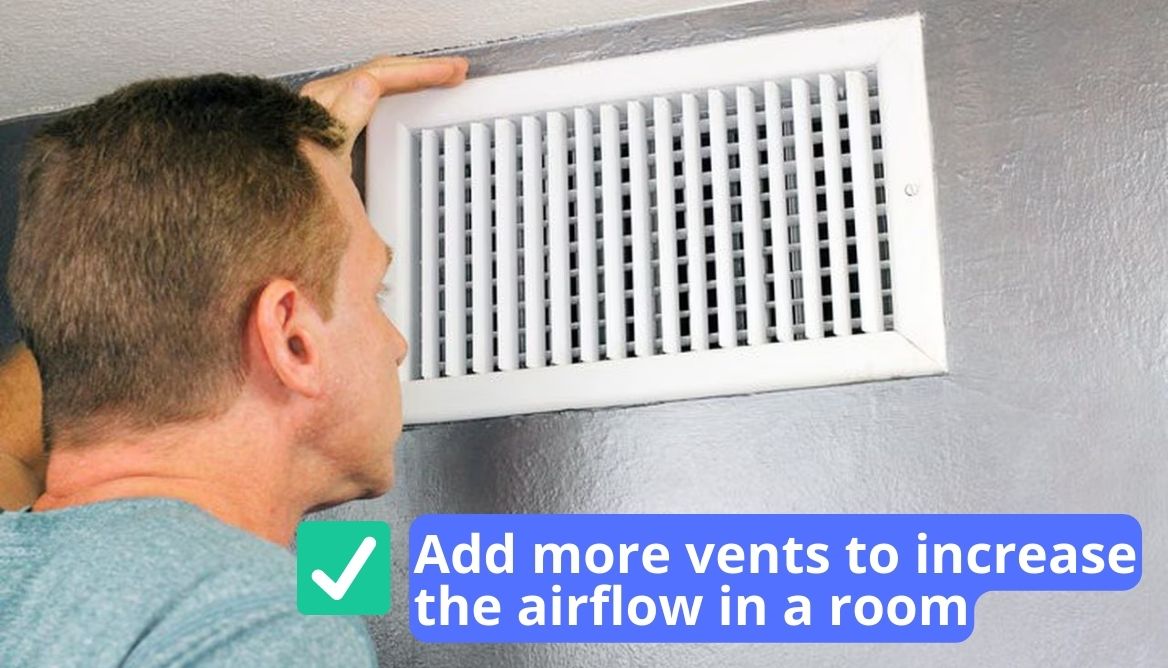
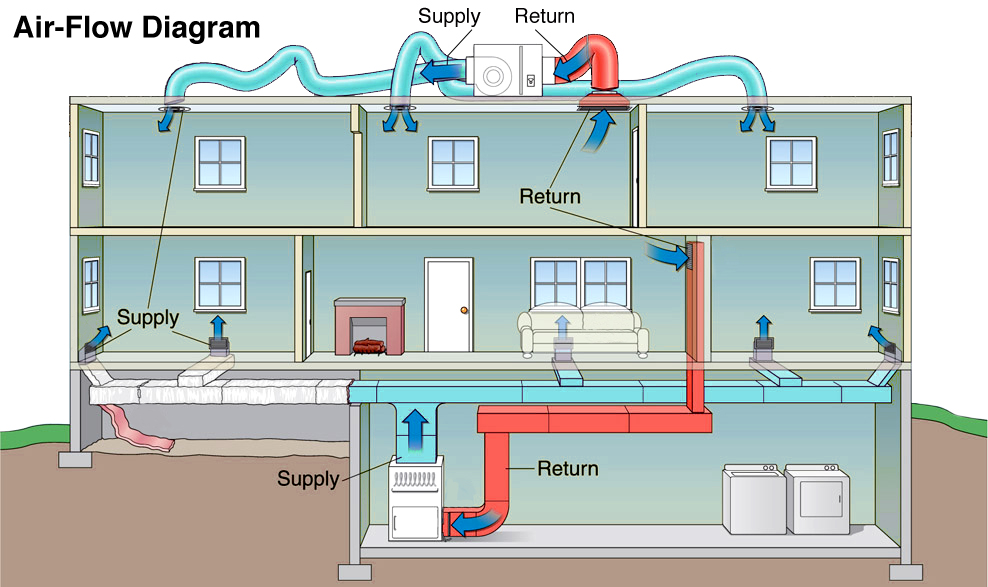
2. Supply and Return Vents
Obstructions at supply and return vents can significantly impede airflow.
Action: Walk through your home and check each supply vent (the ones that blow air into the room) and return vent (the larger ones that draw air back to the system). Ensure they are not blocked by furniture, rugs, curtains, or other objects. Make sure the vent louvers (the adjustable slats) are open.
Action: Check that return vents are not being blocked by area rugs. Especially large rugs, as they can severely cut off airflow to the HVAC system.
3. Outdoor Unit (if applicable)
If you have a central air conditioning system, the outdoor unit (condenser) needs adequate airflow to function properly.
Action: Inspect the area around the outdoor unit. Remove any leaves, branches, or other debris that may be blocking the unit. Ensure that plants are trimmed back to allow for proper airflow. The area around the unit should be clear by at least two feet on all sides.
Step 3: Basic Diagnostics (Simple Tools Required)
If the visual inspection doesn't reveal the problem, you might need to do some basic diagnostics.
1. Airflow Measurement (Tissue Test)
This simple test can help you gauge the airflow coming from each supply vent.
Tool: A sheet of tissue paper.
Action: Hold a tissue paper near each supply vent. Observe how strongly the air blows the tissue. Vents with weak airflow may indicate a blockage in the ductwork or a problem with the blower motor.
Observation: Note any significant differences in airflow between vents. This will help you narrow down the source of the problem.
2. Duct Inspection (Flashlight and Ladder)
Leaky or disconnected ducts can waste energy and reduce airflow to certain areas of your home.
Tools: Flashlight, ladder (if needed).
Action: Inspect the visible ductwork in your basement, attic, or crawlspace. Look for any obvious leaks, tears, or disconnections. Pay particular attention to joints and seams.
Action: Use your hand to feel for air leaking from the ducts while the HVAC system is running. You can sometimes hear or feel a distinct draft.
3. Blower Motor Inspection (Visual Check - **Safety First!**)
The blower motor is responsible for circulating air throughout your home. A malfunctioning blower motor can significantly reduce airflow.
Important Safety Note: Before inspecting the blower motor, turn off the power to your HVAC system at the breaker panel. This is crucial to prevent electric shock. If you are not comfortable working with electrical components, do not attempt this step and call a professional.
Tools: Screwdriver (to remove access panels).
Action: Once the power is off, locate the blower motor (usually inside the furnace or air handler). Remove the access panel and visually inspect the motor. Look for any signs of damage, such as burnt wires, loose connections, or a build-up of dust and debris.
Action: Gently try to spin the blower wheel by hand (with the power off!). It should spin freely. If it's difficult to turn or makes a grinding noise, the blower motor may be failing.
Step 4: DIY Solutions
Based on your diagnosis, here are some simple DIY solutions you can try:
- Replace the Air Filter: As mentioned earlier, this is the most common and easiest fix.
- Clean Vents and Registers: Use a vacuum cleaner with a brush attachment to remove dust and debris from vents and registers.
- Seal Duct Leaks: For small leaks, you can use aluminum foil tape (not duct tape!) to seal them. Make sure the surface is clean and dry before applying the tape. For larger leaks or disconnections, it's best to call a professional.
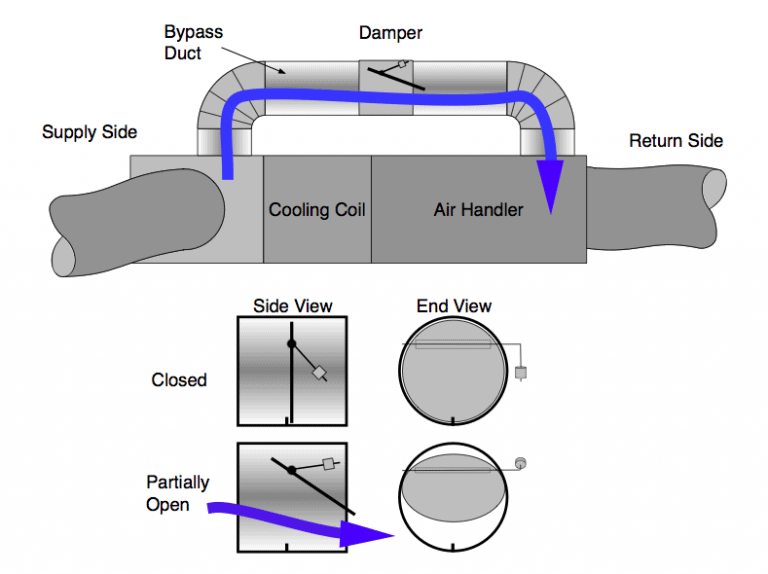
- Balance Dampers: Dampers are adjustable metal plates inside your ductwork that control the airflow to different areas of your home. If you know where your dampers are located, you can try adjusting them to improve airflow to specific rooms. However, be careful not to close them off completely, as this can damage your HVAC system. Mark the original position before making any adjustments.
- Clean the Blower Wheel: If the blower wheel is dirty, you can try cleaning it with a soft brush and a vacuum cleaner. Be careful not to damage the wheel.
Step 5: When to Call a Professional
While many airflow problems can be resolved with DIY solutions, some issues require the expertise of a qualified HVAC technician. Here are some situations where you should call a professional:
- You suspect a refrigerant leak: Refrigerant leaks can significantly reduce cooling capacity and can be harmful to the environment.
- The blower motor is malfunctioning: Replacing a blower motor requires specialized knowledge and tools.
- You suspect a problem with the compressor: The compressor is the heart of the air conditioning system, and repairs should only be performed by a qualified technician.
- You have extensive ductwork damage: Major ductwork repairs or replacements should be handled by a professional.
- You are uncomfortable working with electrical components: Safety should always be your top priority. If you are not comfortable working with electrical components, call a professional.
- After trying the above steps, the airflow problem persists: If you've tried everything and the airflow problem is still not resolved, it's time to call in a professional to diagnose the issue and recommend the appropriate solution.
- Your HVAC system is old or inefficient: A professional can evaluate your system and recommend upgrades or replacements that can improve energy efficiency and comfort.
Specifically, avoid these tasks unless you are a trained professional:
- Working with refrigerant lines.
- Opening the sealed components of the compressor.
- Any electrical work on the main power supply to the unit.
- Duct work that requires permits or specialized knowledge of building codes.
Preventative Maintenance
The best way to prevent airflow problems is to perform regular maintenance on your HVAC system. Here are some tips:
- Change the air filter regularly.
- Schedule annual maintenance with a qualified HVAC technician. They will inspect your system, clean the coils, lubricate moving parts, and check for any potential problems.
- Keep the area around the outdoor unit clear of debris.
- Seal any leaks in your ductwork.
- Consider upgrading to a more efficient HVAC system.
By following these steps, you can improve the airflow in your home, increase the efficiency of your HVAC system, and enjoy a more comfortable living environment. Remember to prioritize safety and consult a professional when needed. Good luck!