How To Install A Air Conditioner

Air Conditioner Installation: A Comprehensive Guide
Installing a new air conditioner is a significant investment that can dramatically improve your home's comfort and value. Whether you're replacing an aging unit or adding cooling to a newly constructed space, understanding the installation process is crucial. This guide provides a detailed overview of how to install an air conditioner, covering everything from preparation to testing.
Types of Air Conditioners and Installation Considerations
Before diving into the installation steps, it's important to understand the different types of air conditioners available and their specific installation requirements.
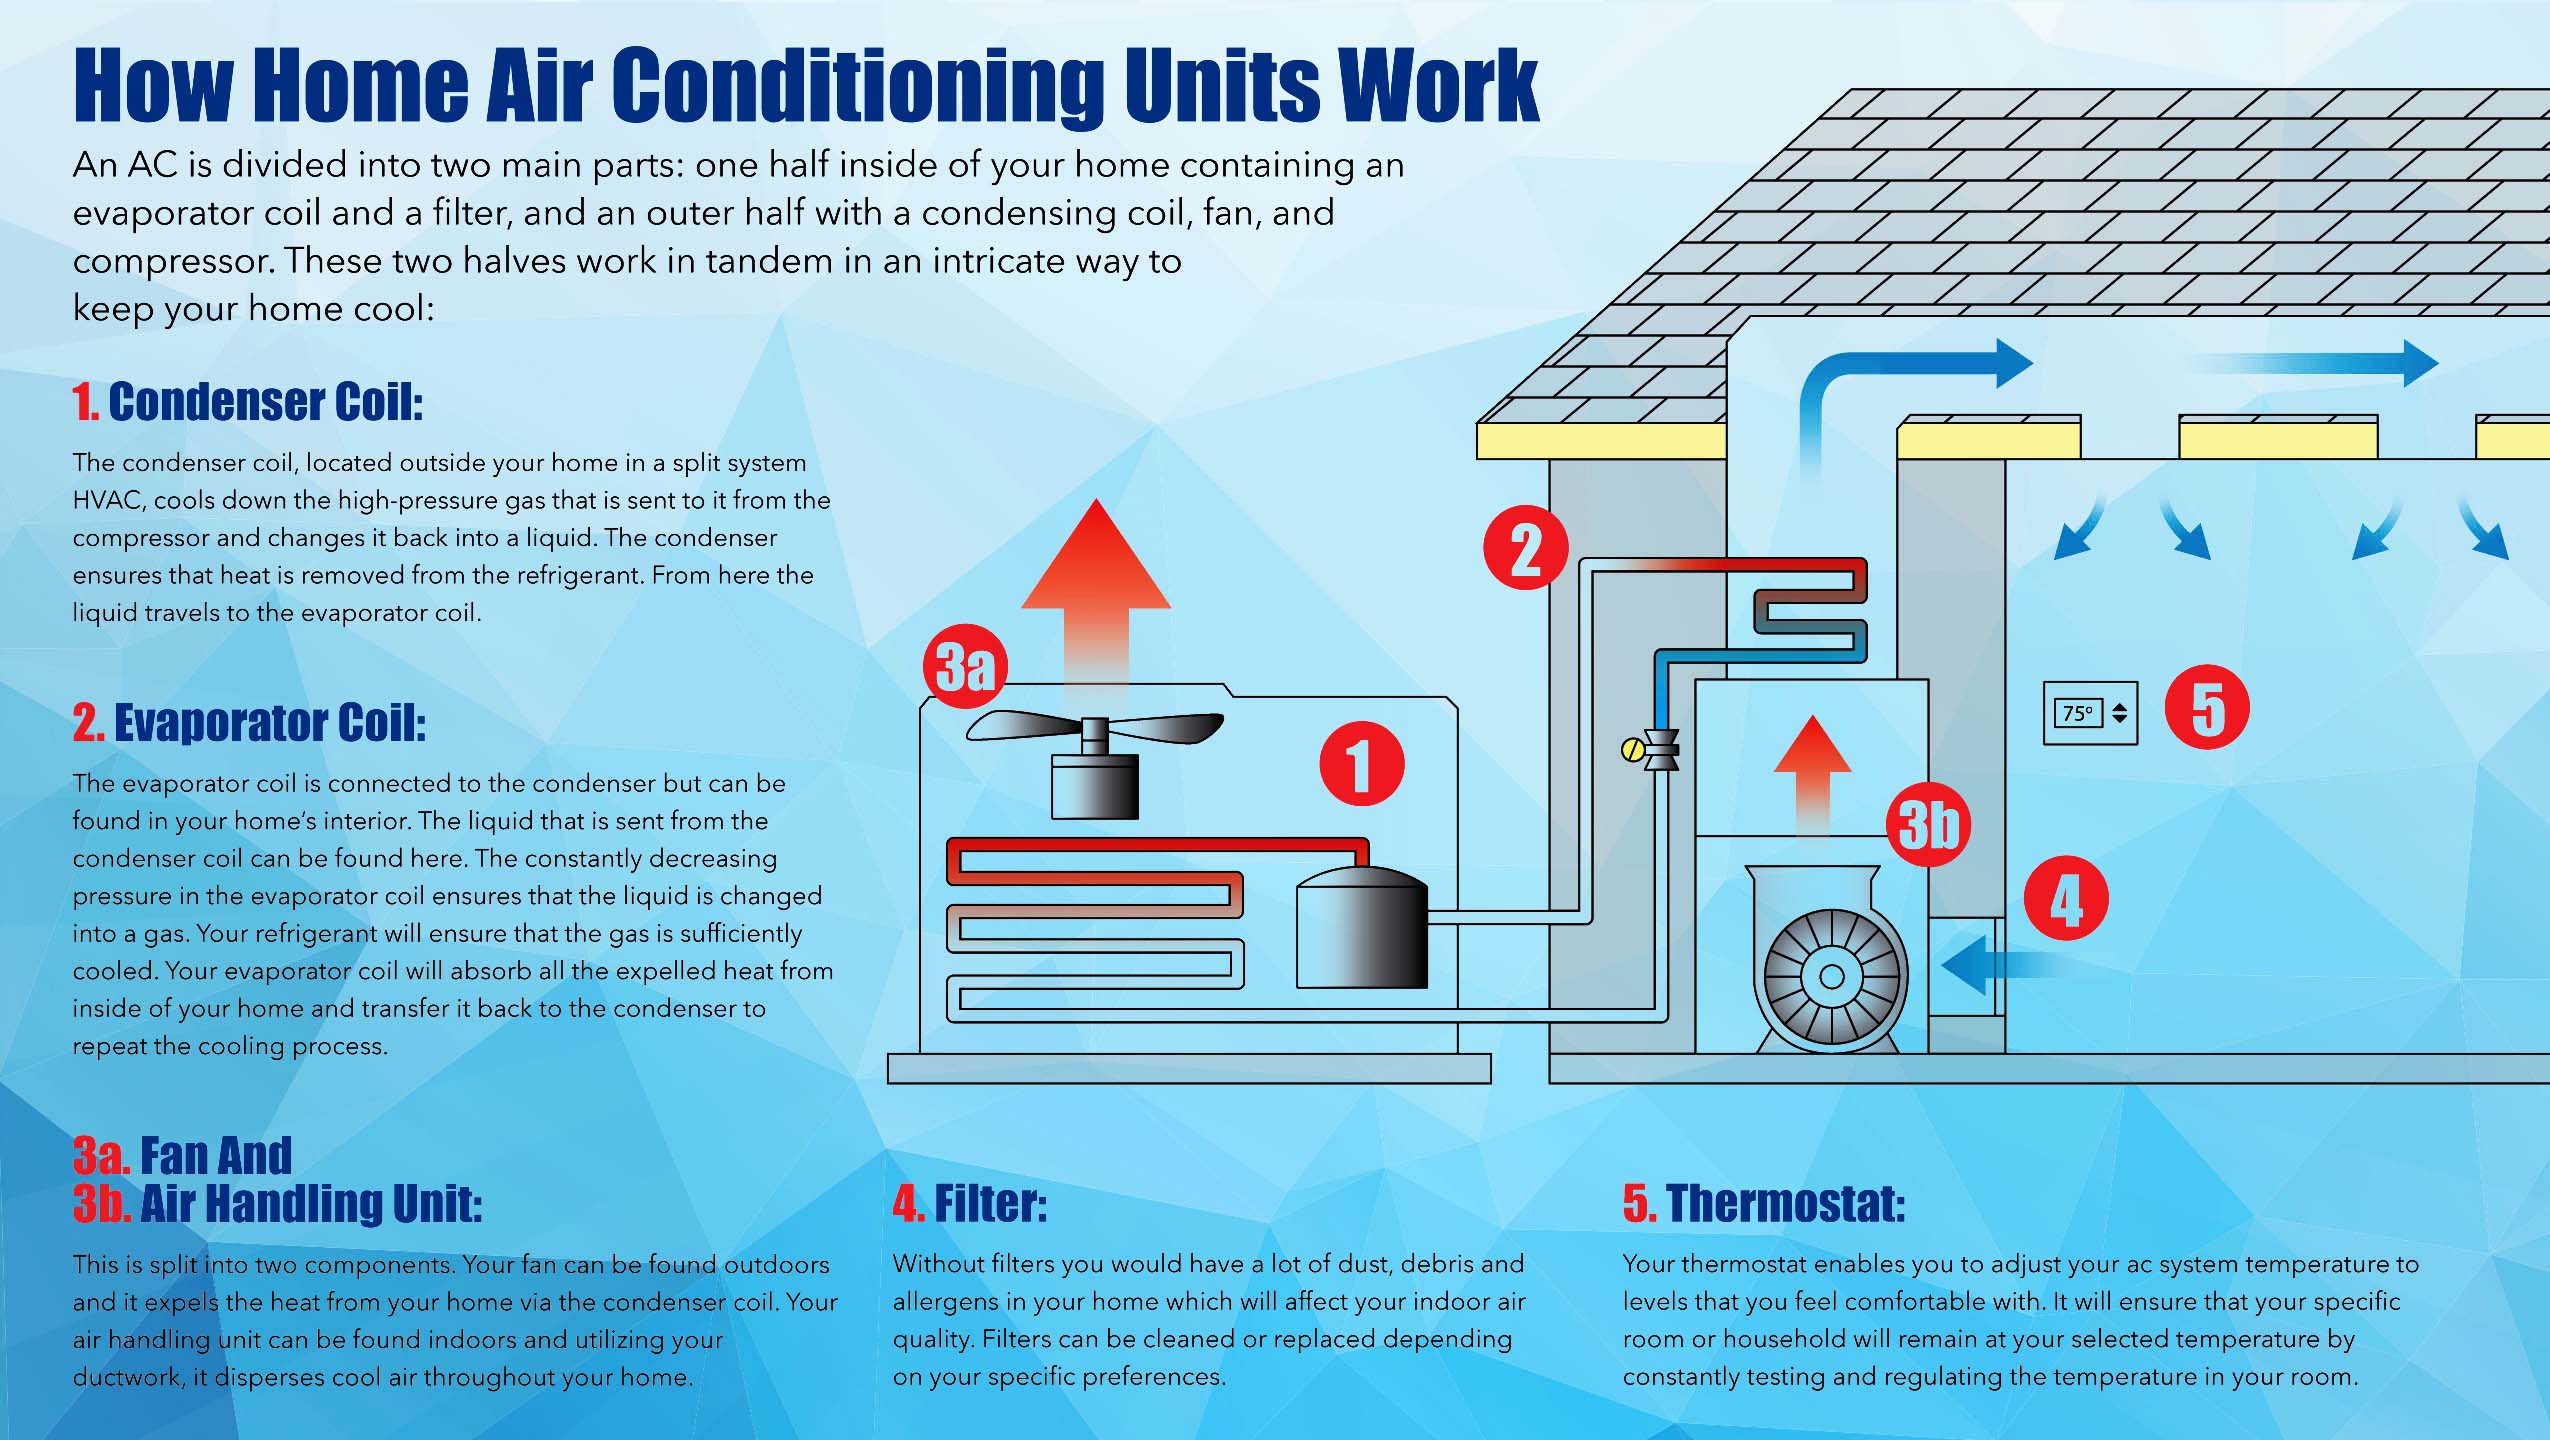
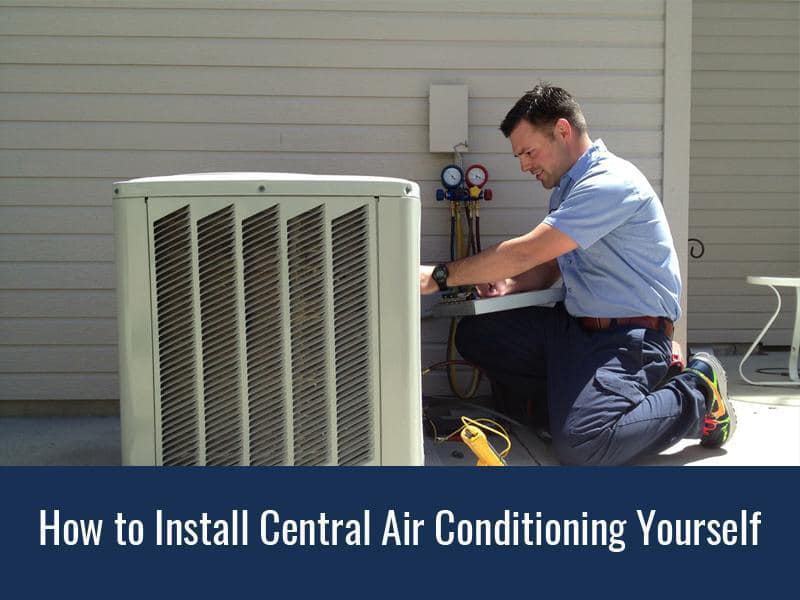
- Central Air Conditioners: These systems cool an entire home through a network of ducts. Installation involves connecting the outdoor condenser unit to the indoor evaporator coil and ductwork. Professional installation is highly recommended due to the complexity of the ductwork and refrigerant lines.
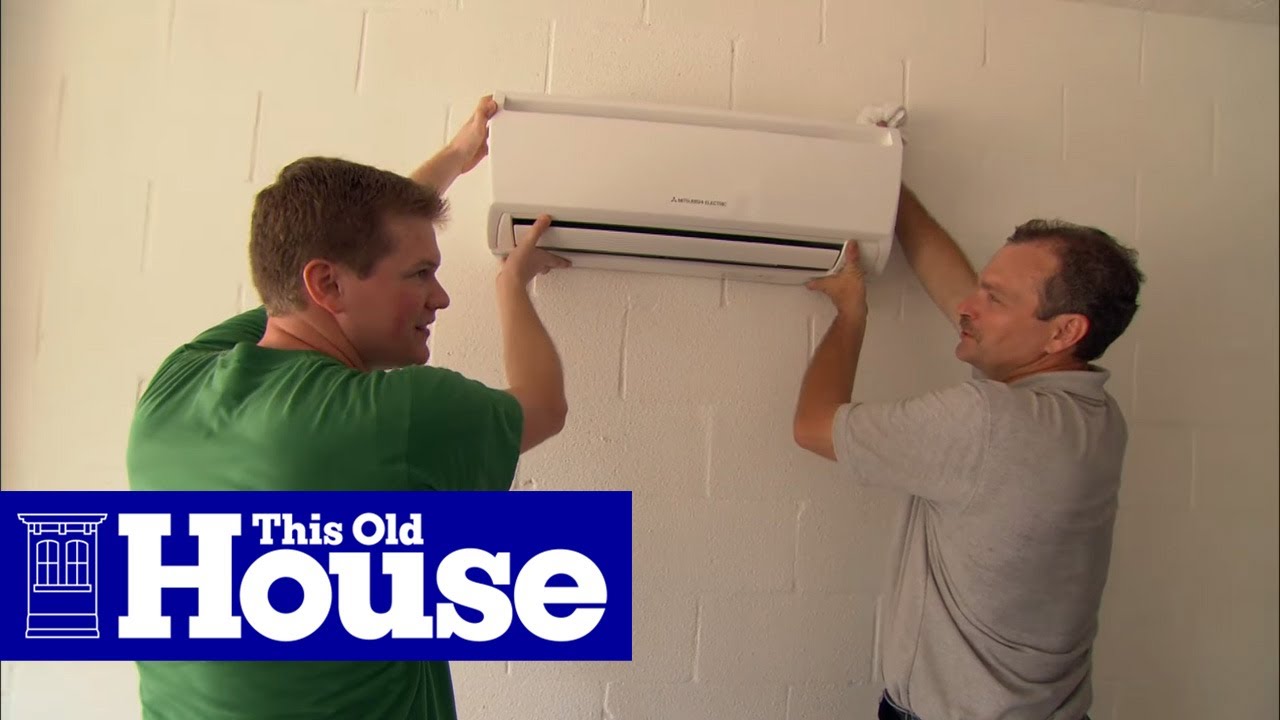
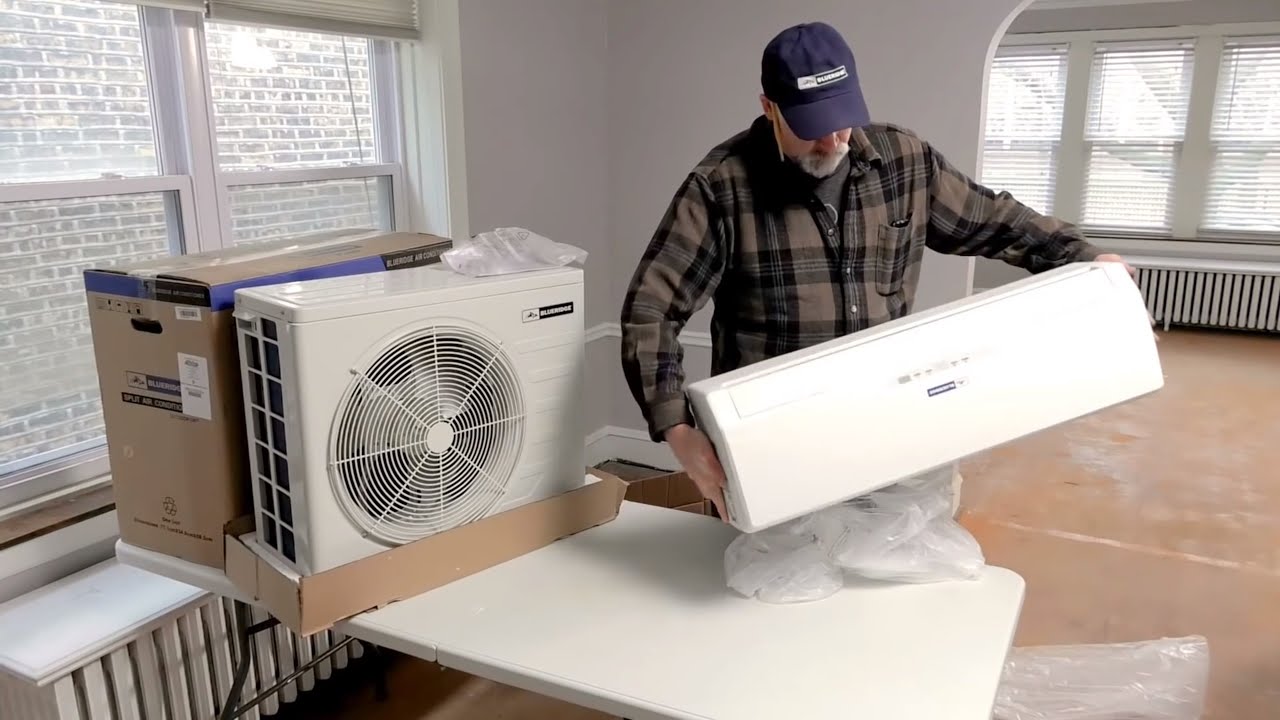
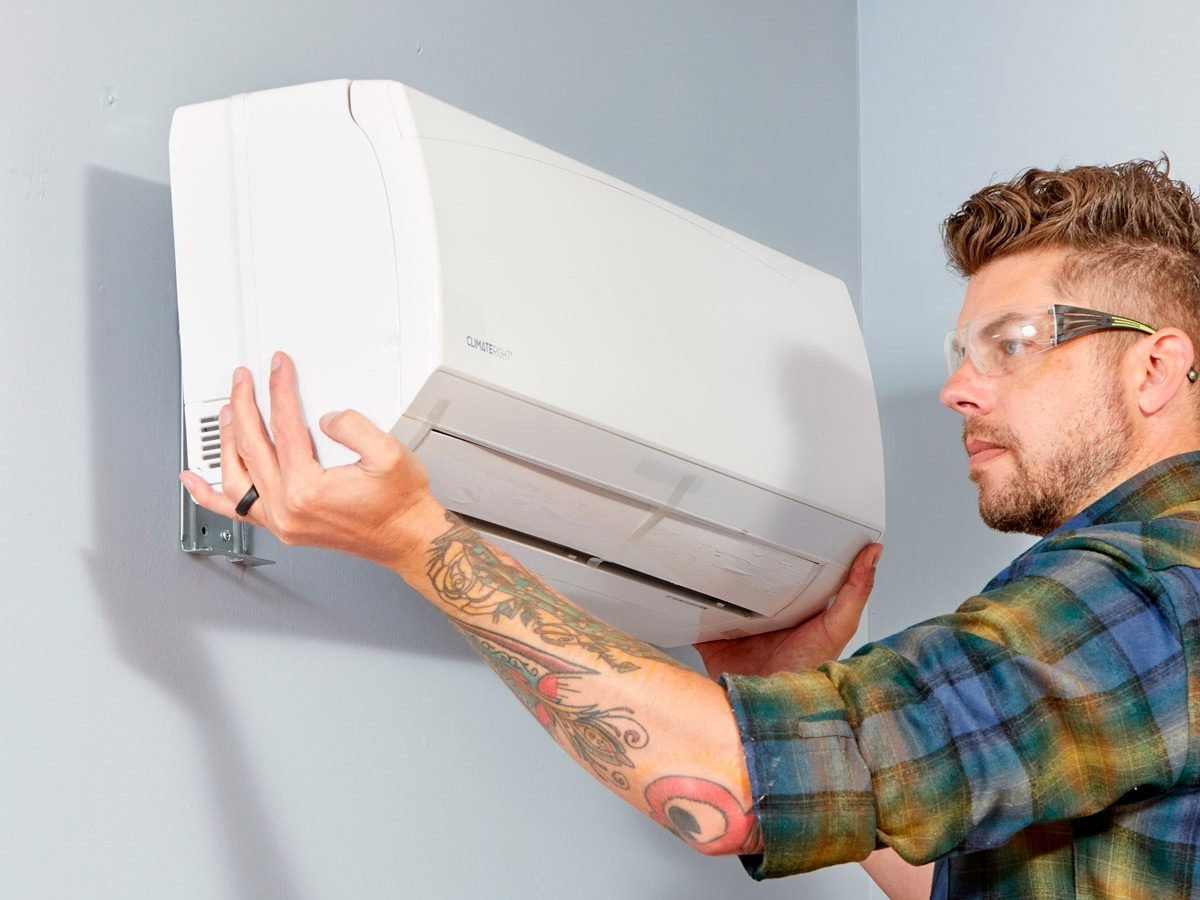
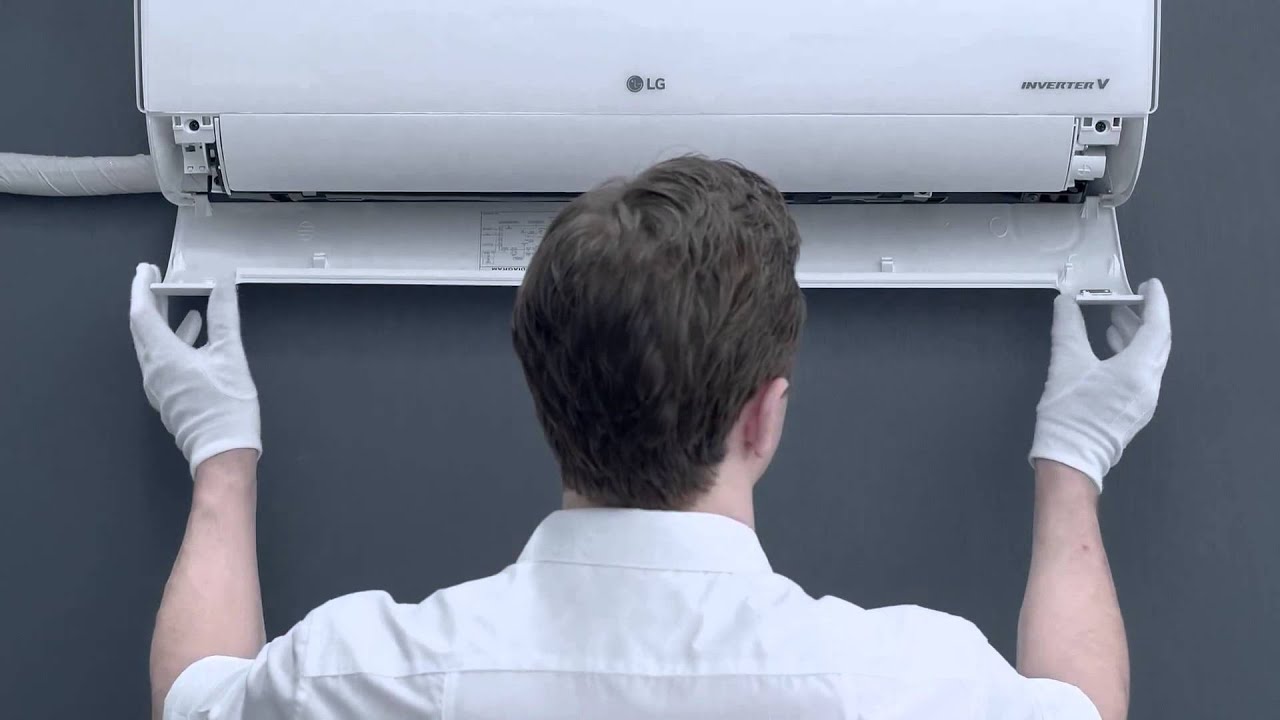
- Ductless Mini-Split Systems: These systems offer zoned cooling, allowing you to control the temperature in individual rooms. Installation involves mounting an indoor unit on the wall and connecting it to an outdoor condenser unit via refrigerant lines and electrical wiring. While some DIY installation kits are available, professional installation is often preferred to ensure proper refrigerant charging and electrical connections.
- Window Air Conditioners: These are the simplest to install, typically requiring only placement in a window and plugging into an electrical outlet. However, they are only suitable for cooling small areas.
- Portable Air Conditioners: These units are self-contained and can be moved from room to room. Installation is minimal, usually involving venting the exhaust hose out a window.
This guide will primarily focus on central air conditioners, as they represent the most common and complex type of installation.
Preparing for Installation
Proper preparation is key to a smooth and successful air conditioner installation. Here's what you need to do:
1. Determine the Correct Size
An undersized air conditioner won't effectively cool your home, while an oversized unit will cycle on and off too frequently, leading to energy waste and reduced lifespan. The proper size, measured in British Thermal Units (BTUs), depends on factors such as:
- Square footage of your home
- Climate zone
- Insulation levels
- Number of windows and doors
- Orientation of your home
Consult with an HVAC professional to perform a Manual J load calculation to determine the precise cooling needs of your home.
2. Select the Right Equipment
Choosing the right air conditioner involves considering factors such as SEER (Seasonal Energy Efficiency Ratio), brand reputation, features, and budget. Higher SEER ratings indicate greater energy efficiency. Some popular brands include:
- Carrier: Known for their high-efficiency models and advanced features.
- Trane: Offers a wide range of reliable and durable air conditioners.
- Lennox: Focuses on innovative technology and energy-saving solutions.
- Goodman: Provides affordable options without sacrificing performance.
When comparing models, pay attention to features like variable-speed blowers, smart thermostats, and noise levels.
3. Gather Necessary Tools and Materials
Installing a central air conditioner requires a variety of tools and materials, including:
- Refrigerant gauges and vacuum pump
- Copper tubing cutter and flaring tool
- Electrical wiring and connectors
- Piping insulation
- Level
- Wrenches and screwdrivers
- Safety glasses and gloves
It's crucial to have all the necessary tools and materials on hand before starting the installation process.
4. Obtain Permits and Inspections
In many areas, a permit is required to install a new air conditioner. Check with your local building department to determine the specific requirements in your area. Inspections are typically required after the installation is complete to ensure compliance with building codes.
Air Conditioner Installation Steps
These are general steps. Always consult the manufacturer's instructions for your specific model.
1. Installing the Outdoor Condenser Unit
The condenser unit should be placed on a level surface, such as a concrete pad, away from obstructions. Ensure there is adequate clearance around the unit for proper airflow. Connect the refrigerant lines and electrical wiring according to the manufacturer's instructions.
2. Installing the Indoor Evaporator Coil
The evaporator coil is typically installed inside the air handler or furnace. Ensure the coil is properly aligned and connected to the ductwork. Connect the refrigerant lines and condensate drain line.
3. Connecting the Refrigerant Lines
Connecting the refrigerant lines requires precision and expertise. Use a copper tubing cutter to cut the lines to the correct length and a flaring tool to create a flared connection. Connect the lines to the condenser unit and evaporator coil, ensuring a tight and leak-free seal. Improper refrigerant handling can be dangerous and illegal.
4. Evacuating the Refrigerant Lines
Before charging the system with refrigerant, it's essential to evacuate the refrigerant lines to remove any air or moisture. Use a vacuum pump to pull a vacuum on the lines for at least 30 minutes.
5. Charging the System with Refrigerant
Charging the system with refrigerant requires precise measurements and specialized equipment. Use refrigerant gauges to monitor the pressure and charge the system according to the manufacturer's specifications. Overcharging or undercharging the system can affect its performance and lifespan.
6. Connecting the Electrical Wiring
Connect the electrical wiring to the condenser unit and air handler, ensuring proper polarity and grounding. Use appropriate connectors and follow all electrical codes.
7. Testing the System
After completing the installation, thoroughly test the system to ensure it's functioning properly. Check the airflow, temperature, and refrigerant pressure. Inspect for any leaks or malfunctions.
Air Conditioner Maintenance and Warranties
Proper maintenance is essential for extending the lifespan of your air conditioner and maintaining its efficiency. Regular maintenance tasks include:
- Cleaning or replacing air filters: Dirty air filters restrict airflow and reduce efficiency.
- Cleaning the condenser coils: Dirty coils reduce the system's ability to dissipate heat.
- Inspecting and cleaning the condensate drain line: A clogged drain line can cause water damage.
- Checking refrigerant levels: Low refrigerant levels can indicate a leak.
Most air conditioner manufacturers offer warranties on their products. Read the warranty carefully to understand the terms and conditions. Warranties typically cover defects in materials and workmanship, but may not cover labor costs. Some manufacturers, like Trane and Carrier, offer extended warranties for added protection.
Professional Installation vs. DIY
While some homeowners may be tempted to install their own air conditioner to save money, professional installation is generally recommended, especially for central air conditioners. Professionals have the expertise, tools, and training to ensure the installation is done correctly and safely.
Pros of Professional Installation:
- Ensures proper installation and performance
- Reduces the risk of errors and malfunctions
- Provides warranty protection
- Complies with building codes and regulations
Cons of DIY Installation:
- Requires specialized knowledge and tools
- Increases the risk of errors and safety hazards
- May void the warranty
- May not comply with building codes
Cost Considerations
The cost of air conditioner installation varies depending on the type of system, size, brand, and installation complexity. Central air conditioner installation typically ranges from $3,000 to $7,000 or more. Ductless mini-split systems can cost $2,000 to $5,000 per zone. Window and portable air conditioners are the most affordable options, ranging from $100 to $500.
When budgeting for air conditioner installation, consider the following costs:
- Equipment costs
- Installation labor costs
- Permit and inspection fees
- Ductwork modifications (if needed)
- Electrical upgrades (if needed)
Energy-efficient air conditioners with higher SEER ratings may have a higher upfront cost, but they can save you money on energy bills over the long term. Consider factors such as AFUE (Annual Fuel Utilization Efficiency) if your system includes heating. Look for rebates and tax credits to help offset the cost of upgrading to a more efficient system.
Conclusion
Installing a new air conditioner is a significant investment that requires careful planning and execution. By understanding the different types of systems, preparing properly, following the installation steps, and considering professional installation, you can ensure a smooth and successful installation that provides years of reliable cooling. Remember to prioritize safety, comply with building codes, and maintain your system regularly to maximize its lifespan and efficiency.