How To Install A Ductless Air Conditioner
Ductless mini-split air conditioners are gaining popularity for their energy efficiency, ease of installation, and zoning capabilities. These systems offer a compelling alternative to traditional central AC, especially for homeowners and businesses looking to reduce energy consumption and improve comfort. Here's a detailed guide on how to install a ductless air conditioner, covering everything from planning to final setup.
Understanding Ductless Mini-Split Systems
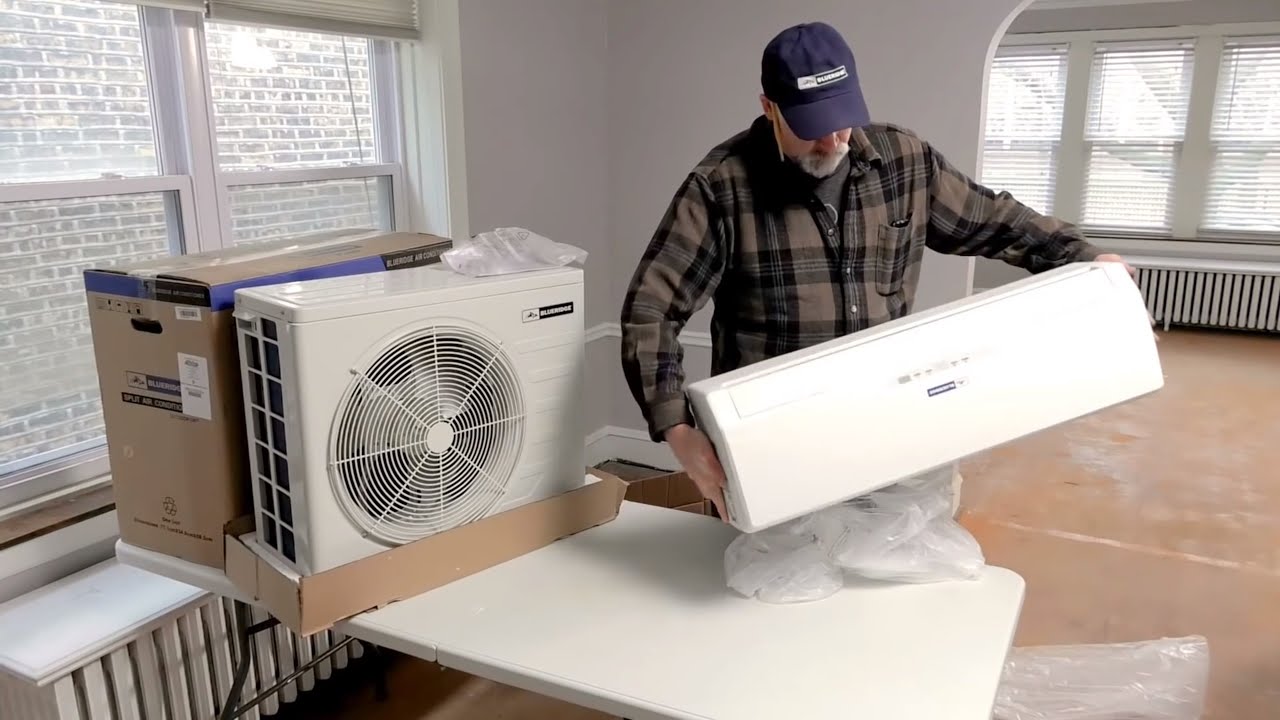
Before diving into the installation process, it's essential to understand the components of a ductless mini-split system. A typical system consists of two main units:
- Outdoor Unit (Condenser): This unit houses the compressor, condenser coil, and fan. It's responsible for rejecting heat from the refrigerant.
- Indoor Unit (Air Handler): This unit contains the evaporator coil and fan, which cools the air in the room.
These units are connected by a conduit containing refrigerant lines, power cables, and a condensate drain line. The conduit typically passes through a small hole in the wall.
Planning Your Ductless AC Installation
Proper planning is crucial for a successful ductless AC installation. Consider these factors:
1. Sizing the System
The cooling capacity of your ductless AC should match the size and insulation of the room or area you want to cool. Undersized units will struggle to maintain the desired temperature, while oversized units can cycle on and off frequently, leading to discomfort and wasted energy. Consult a professional HVAC technician for a load calculation to determine the appropriate BTU (British Thermal Units) rating for your system. As a general rule of thumb, you may need around 20 BTU per square foot, but factors like ceiling height, window area, and insulation levels can significantly affect this estimate. Energy Star recommends choosing an appropriately sized unit to maximize energy savings and comfort.
2. Choosing the Location
Selecting the right location for both the indoor and outdoor units is vital for optimal performance and aesthetics.
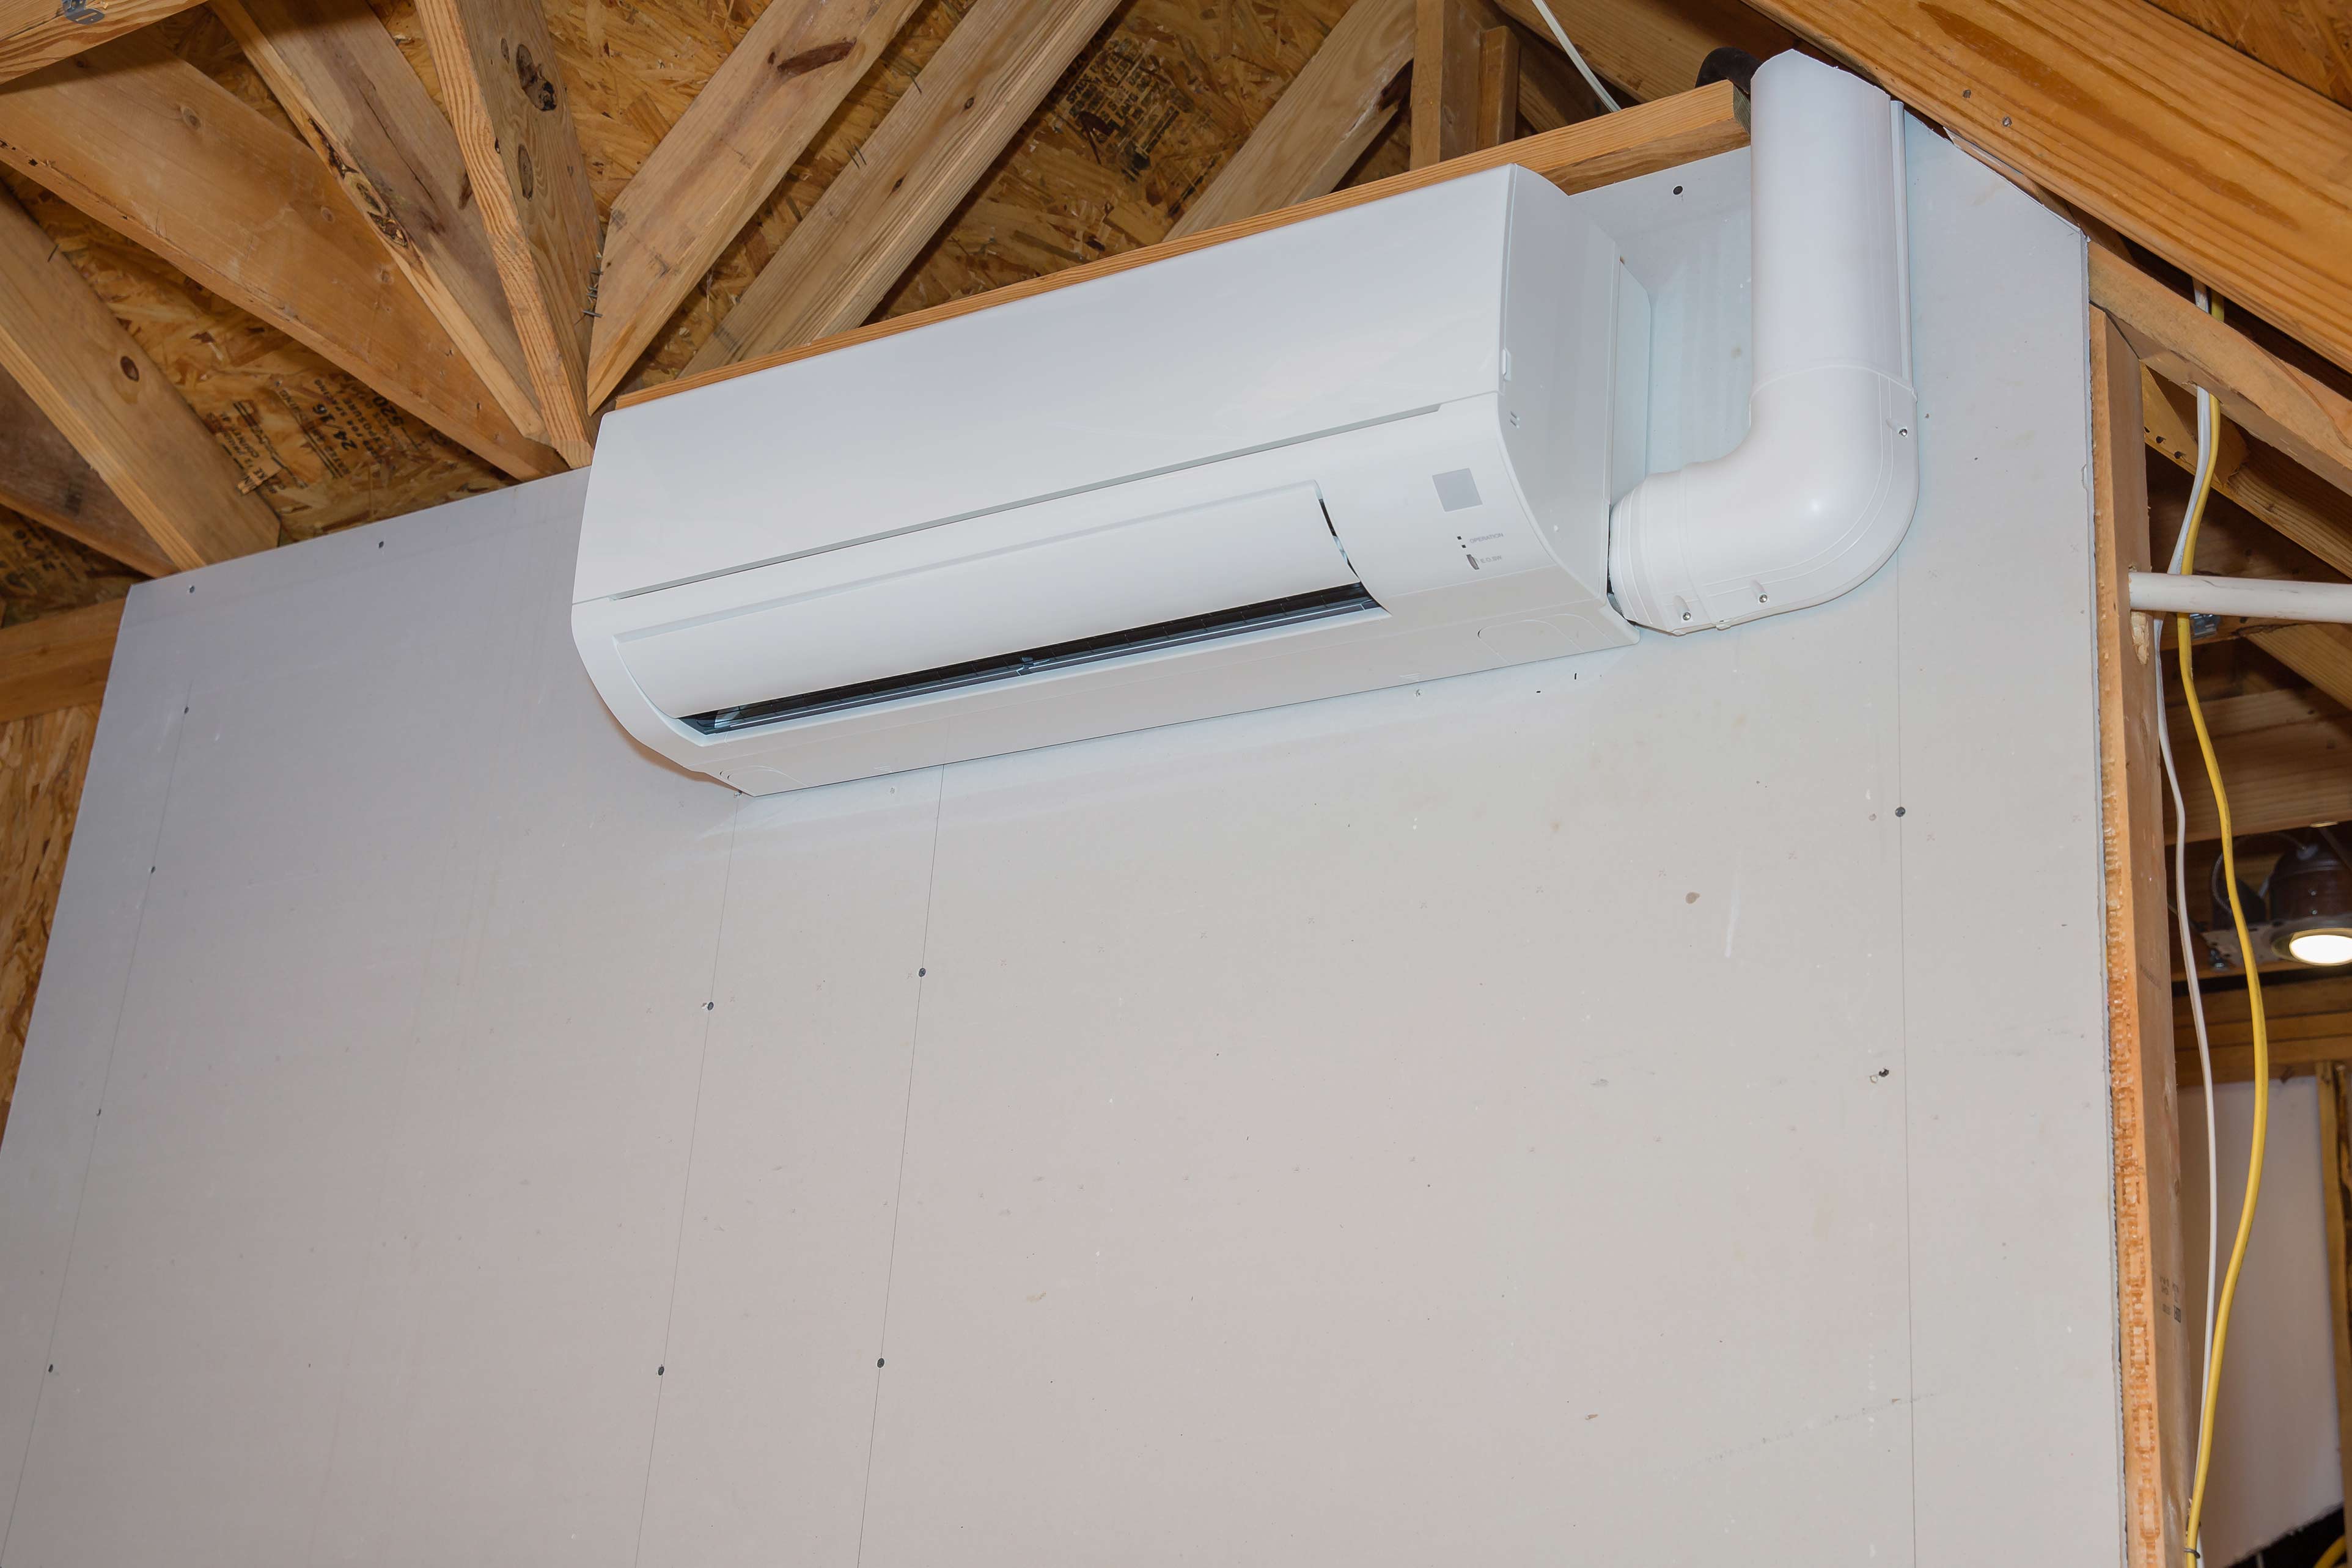
- Indoor Unit: Choose a location on an exterior wall that allows for easy access to the outside for refrigerant lines and condensate drain. Ensure the unit is mounted high on the wall, at least 7 feet from the floor, to maximize airflow. Avoid placing it near heat sources or obstructions that could impede airflow.
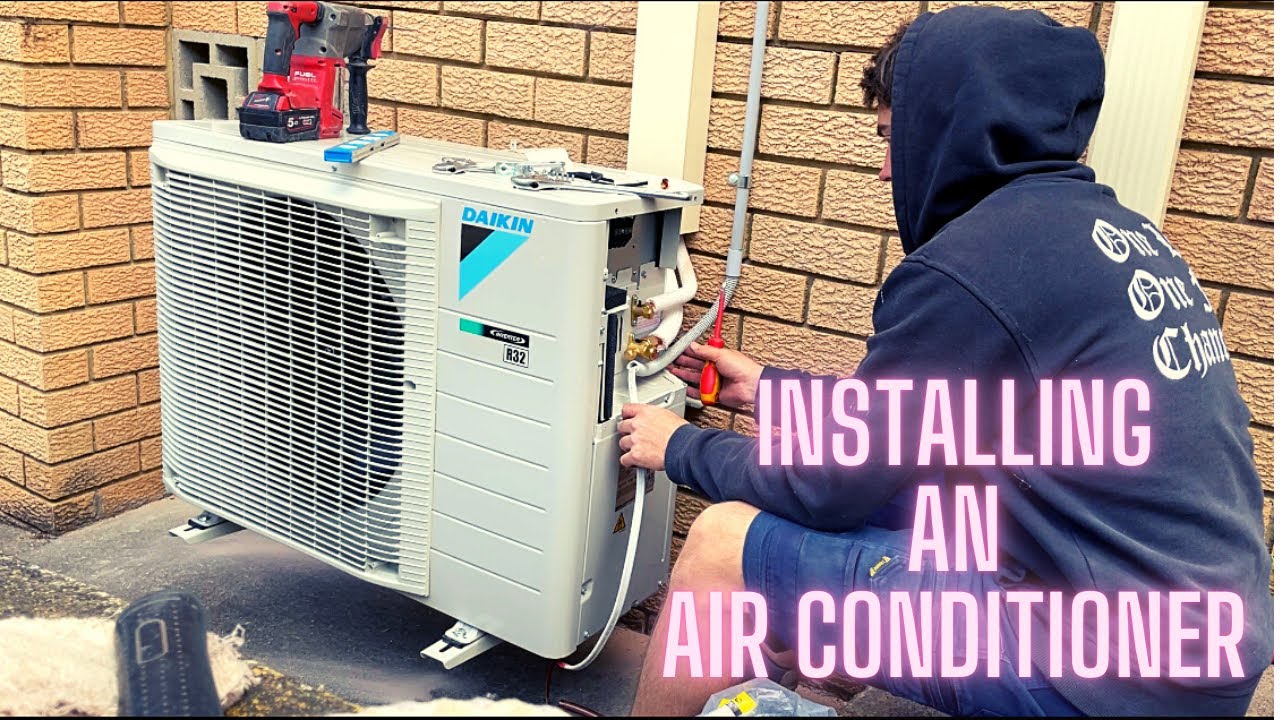
- Outdoor Unit: Place the outdoor unit on a level surface, away from direct sunlight and obstructions that could restrict airflow. Ensure adequate clearance around the unit for maintenance and servicing. Consider noise levels and proximity to neighbors when selecting the location. Many municipalities have specific regulations regarding the placement of outdoor HVAC equipment.
3. Checking Local Codes and Regulations
Before starting the installation, check your local building codes and regulations regarding HVAC installations. You may need a permit for the installation, especially if it involves electrical work or refrigerant handling. Failure to comply with local codes can result in fines and delays.
4. Gathering Tools and Materials
You'll need a variety of tools and materials for the installation, including:
- Ductless mini-split system
- Refrigerant lines and insulation
- Condensate drain line
- Power cables and wiring
- Drill with various bits
- Level
- Screwdrivers
- Wrenches
- Vacuum pump
- Manifold gauge set
- Leak detector
- Electrical tester
- Wall sleeve or core drill (for creating the wall opening)
Step-by-Step Installation Guide
While a DIY installation is possible, it's strongly recommended to hire a qualified HVAC technician to ensure proper installation and avoid potential problems. Improper installation can void the warranty and lead to inefficient operation or even system failure. If you choose to proceed with DIY installation, follow these steps carefully:
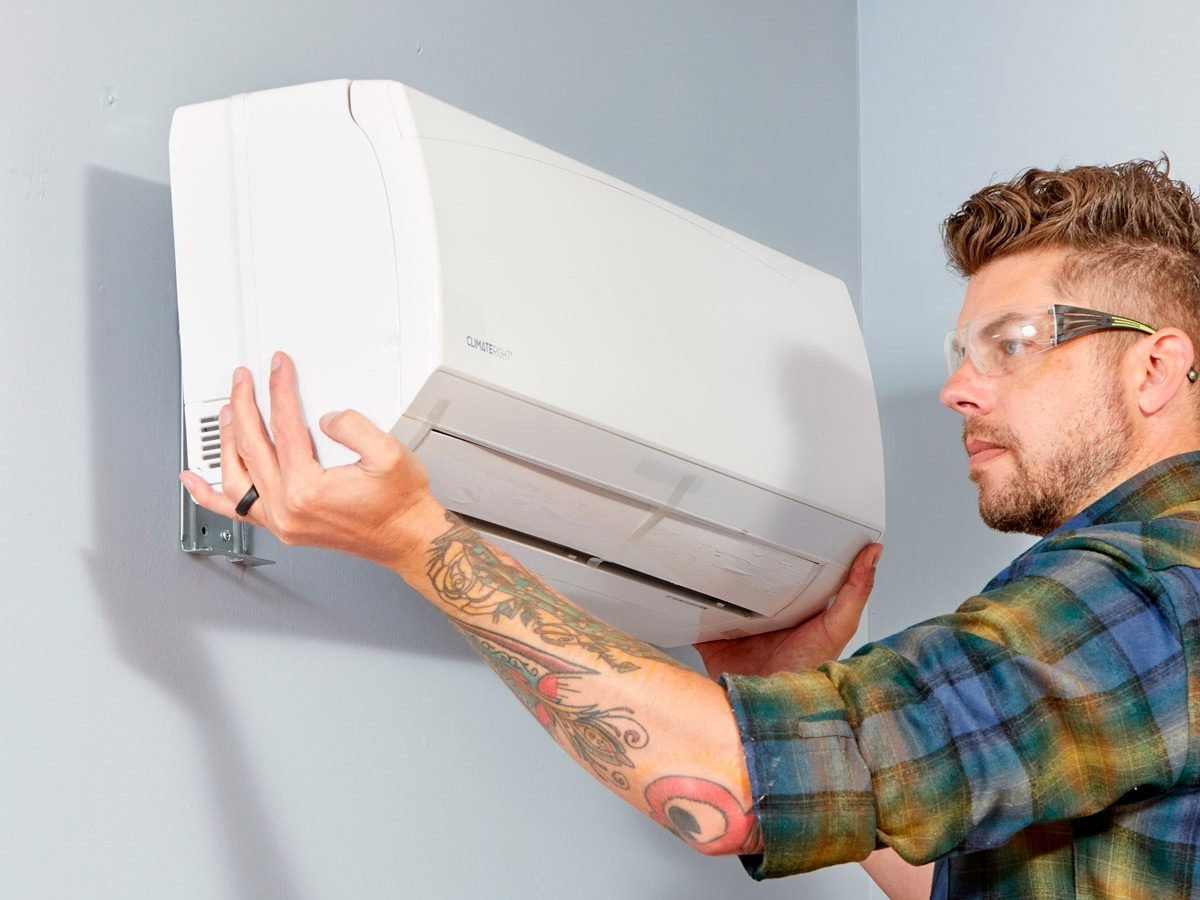
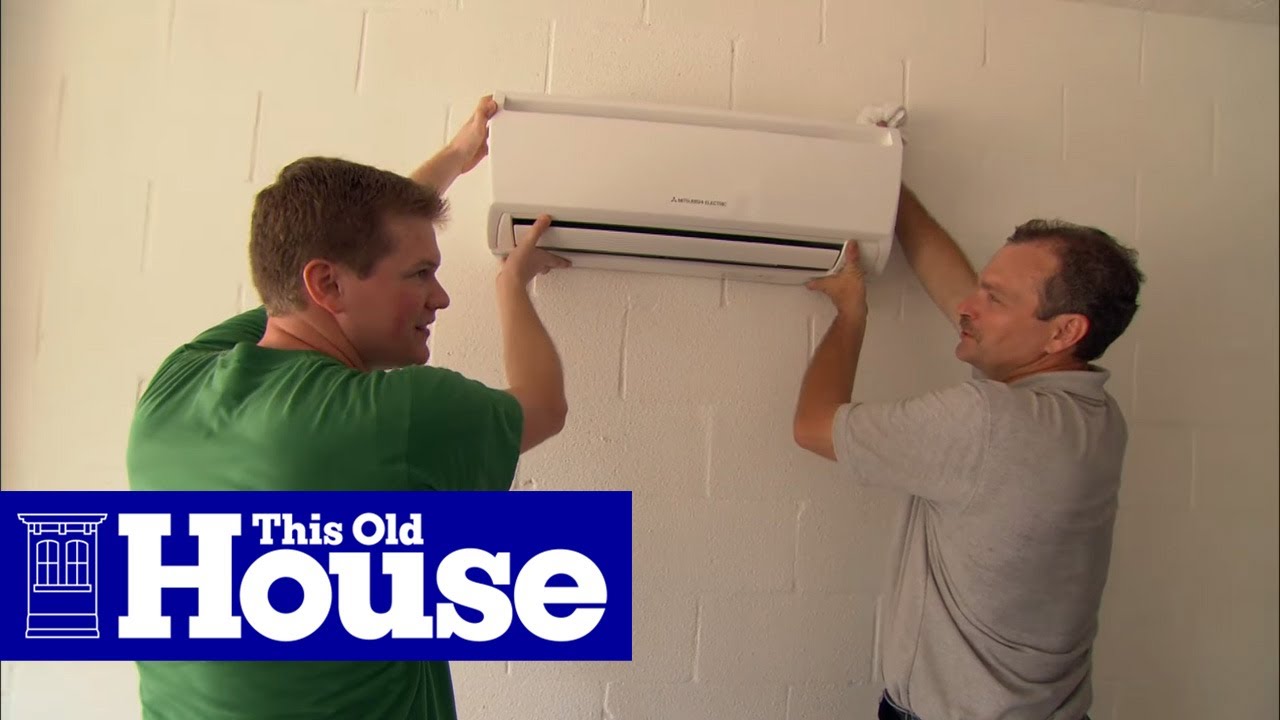
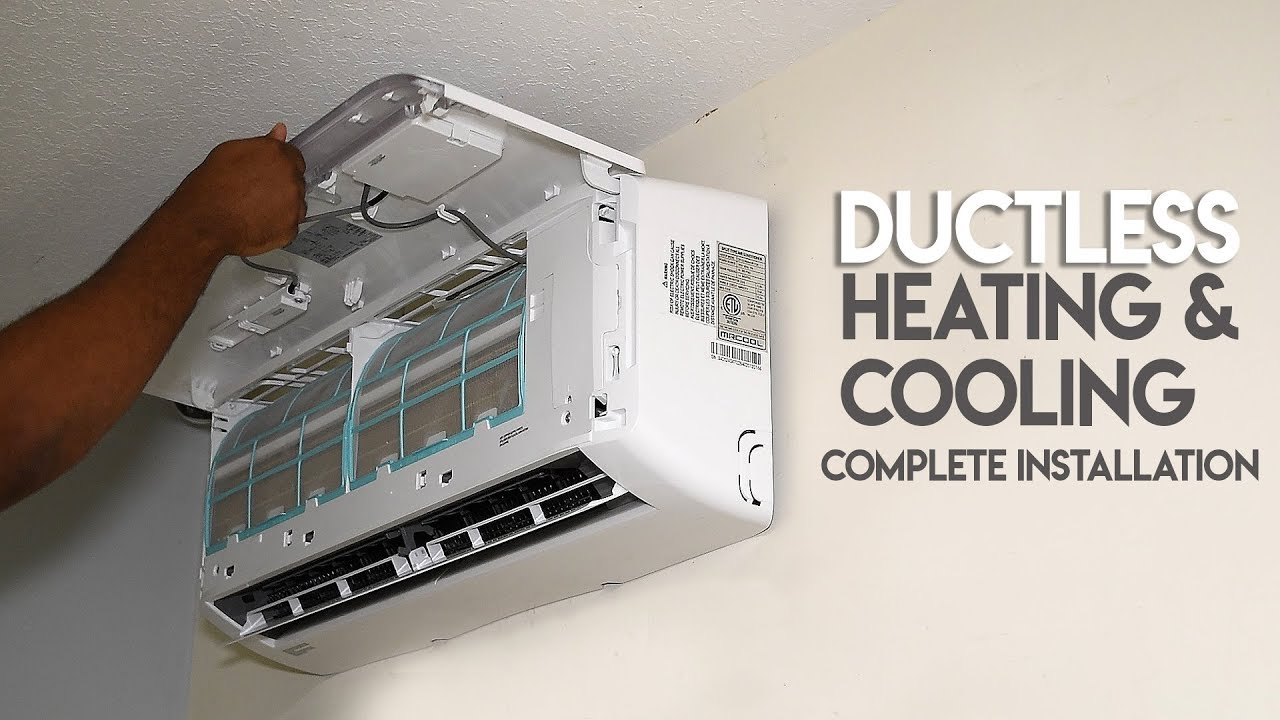
1. Mounting the Indoor Unit
a. Locate the mounting bracket that comes with the indoor unit. Use a level to ensure it's straight and mark the screw holes on the wall.
b. Drill pilot holes and secure the mounting bracket to the wall.
c. Carefully hang the indoor unit onto the mounting bracket.
2. Drilling the Wall Opening
a. Use a core drill or wall sleeve to create a hole through the wall, large enough to accommodate the refrigerant lines, condensate drain line, and power cables. The hole should slope slightly downward to allow for proper condensate drainage.
b. Seal the opening around the lines and cables with caulk or sealant to prevent air leaks.
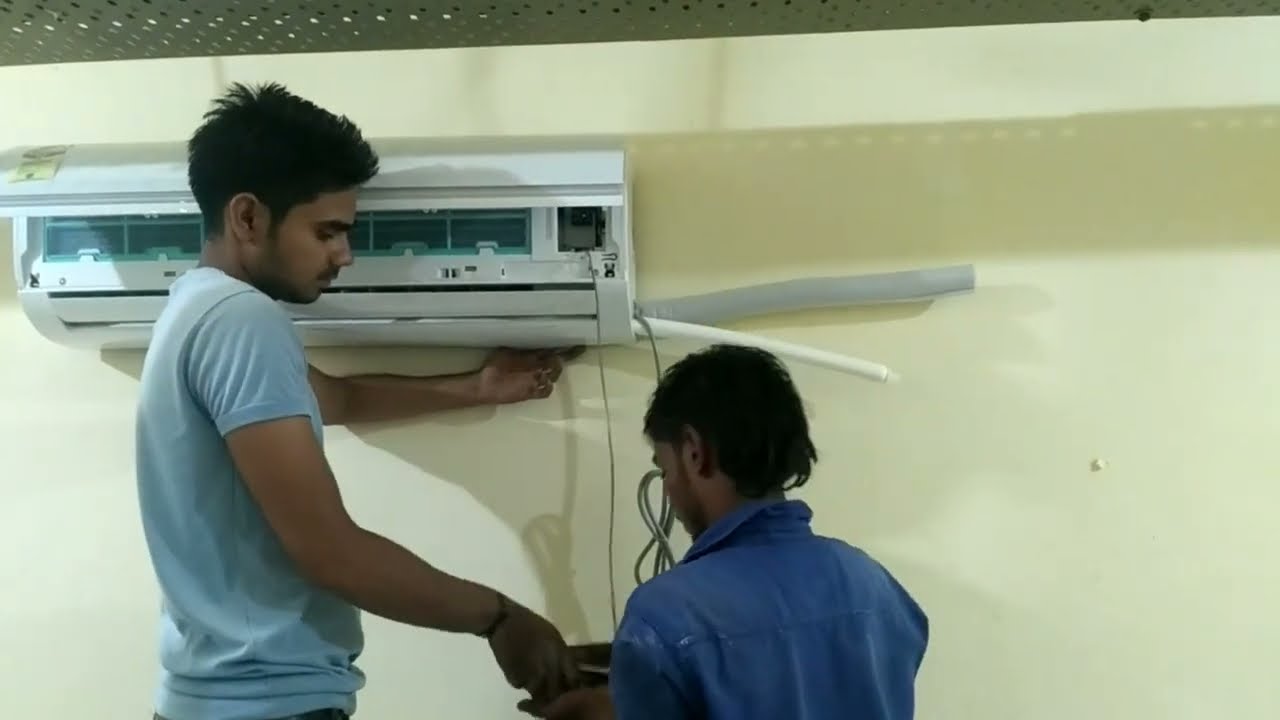
3. Connecting the Refrigerant Lines
a. Carefully connect the refrigerant lines to the indoor and outdoor units. Use a wrench to tighten the connections, but avoid over-tightening, which can damage the fittings.
b. Insulate the refrigerant lines with foam insulation to prevent heat loss or gain.
4. Connecting the Condensate Drain Line
a. Connect the condensate drain line to the indoor unit and route it to a suitable drain location. Ensure the drain line slopes downward to allow for proper drainage. Many municipalities require a condensate pump if gravity draining isn't possible.
b. Insulate the drain line to prevent condensation from forming on the outside of the pipe.
5. Wiring the Electrical Connections
a. Turn off the power to the circuit you'll be using for the ductless AC.
b. Connect the power cables to the indoor and outdoor units, following the wiring diagram provided by the manufacturer.
c. Ensure all connections are secure and properly insulated. Note: Electrical work should only be performed by a qualified electrician.
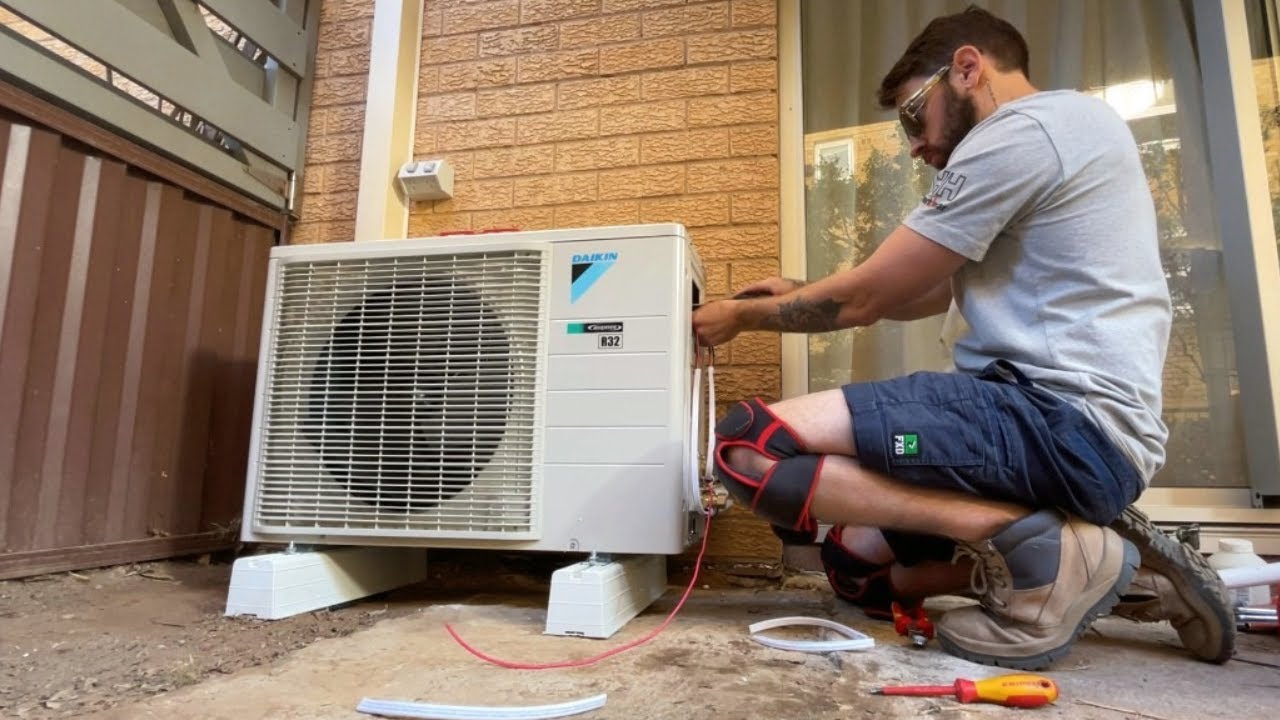
6. Mounting the Outdoor Unit
a. Place the outdoor unit on a level surface, such as a concrete pad or mounting brackets.
b. Secure the unit to the surface using bolts or screws.
7. Evacuating the Refrigerant Lines
a. Connect a vacuum pump to the service ports on the outdoor unit.
b. Evacuate the refrigerant lines to remove air and moisture. This process typically takes 30-60 minutes. Use a manifold gauge set to monitor the vacuum level.
c. Close the service valves and disconnect the vacuum pump.
8. Releasing the Refrigerant
a. Open the service valves to release the refrigerant into the system.
b. Use a leak detector to check for any leaks at the connections.
9. Testing the System
a. Turn on the power to the ductless AC.
b. Set the thermostat to the desired temperature and observe the system's operation. Ensure the indoor unit is blowing cold air and the outdoor unit is running smoothly.
c. Use an electrical tester to verify that all electrical connections are properly grounded.
Smart HVAC Integration
Many modern ductless mini-split systems are compatible with smart home technology, allowing you to control your AC from your smartphone or other devices. Smart thermostats can also learn your preferences and automatically adjust the temperature to optimize energy savings. Consider integrating your ductless AC with a smart home system for enhanced convenience and energy efficiency. Energy Star certified smart thermostats can further contribute to energy savings through features like occupancy sensing and geofencing.
Energy Savings and ROI
Ductless mini-split systems are known for their energy efficiency. They typically use 30% less energy than traditional central AC systems. This can translate to significant savings on your energy bills over time. The ROI of a ductless AC system depends on factors like your energy consumption, the cost of the system, and any available rebates or incentives. Many utility companies offer rebates for installing energy-efficient HVAC equipment. Check with your local utility company or visit the Energy Star website for information on available rebates.
Maintenance Tips
Regular maintenance is essential for keeping your ductless AC running efficiently and prolonging its lifespan.
- Clean the air filters regularly (every 1-3 months) to remove dust and debris.
- Clean the outdoor unit's condenser coil annually to remove dirt and debris.
- Inspect the refrigerant lines for leaks and damage.
- Schedule a professional HVAC tune-up annually to ensure the system is operating properly.
Troubleshooting Common Issues
Here are some common issues that may arise with ductless AC systems and how to troubleshoot them:
- Unit not cooling: Check the air filters, refrigerant levels, and electrical connections.
- Unit making unusual noises: Inspect the fan blades and compressor for damage or obstructions.
- Water leaks: Check the condensate drain line for clogs or damage.
- System not turning on: Check the power supply and thermostat settings.
If you're unable to resolve the issue yourself, contact a qualified HVAC technician for assistance.
Conclusion
Installing a ductless air conditioner can be a great way to improve your home's comfort and reduce your energy bills. By following these steps and taking the time to plan carefully, you can ensure a successful installation. Remember to consult with a qualified HVAC technician for assistance with sizing, installation, and maintenance. Properly installed and maintained ductless mini-split systems offer a compelling combination of energy efficiency, zoning capabilities, and smart home integration, making them a valuable investment for homeowners and businesses alike.