How To Install A Ecobee Thermostat

Taking Control of Your Energy Bills: A Step-by-Step Guide to Installing an Ecobee Thermostat
Are you tired of sky-high energy bills? Want to make your home or business more energy-efficient and connected? Installing an Ecobee smart thermostat is a great place to start. Ecobee thermostats offer advanced features like remote control, smart learning, and room sensors, all designed to optimize your HVAC system and reduce energy consumption. This guide provides a detailed walkthrough of the installation process, maximizing your potential ROI and energy savings.
Is an Ecobee Right for You? Evaluating Your HVAC System Compatibility
Before you dive into the installation, it's crucial to ensure your HVAC system is compatible with an Ecobee thermostat. Most modern systems, including those with standard 24V wiring, are compatible. However, some older or specialized systems might require additional accessories or professional assistance. Here's a quick checklist:
- Voltage: Check if your existing thermostat uses low-voltage (typically 24V) wiring. If you have a high-voltage system (110V or 220V), you'll need a different type of smart thermostat or professional assistance.
- Wiring: Identify the wires connected to your current thermostat. Common wires include R (power), Y (cooling), G (fan), W (heating), and C (common). The C wire is essential for powering most smart thermostats, including Ecobee. If you don't have a C wire, Ecobee thermostats often come with a Power Extender Kit (PEK) that can resolve this issue.
- System Type: Determine if you have a conventional HVAC system (forced air, heat pump) or a more complex system (zoned heating/cooling, multi-stage heating/cooling). Ecobee thermostats support a wide range of system configurations, but you may need to adjust the settings accordingly during setup.
If you're unsure about your system's compatibility, consult the Ecobee compatibility checker on their website or contact a qualified HVAC technician. A few minutes of research beforehand can save you hours of frustration later.
Tools and Materials You'll Need
Before you begin the installation process, gather the necessary tools and materials. Having everything on hand will ensure a smooth and efficient installation.
- Ecobee Thermostat Kit: This should include the thermostat, mounting plate, screws, wire labels, and potentially a Power Extender Kit (PEK).
- Screwdriver Set: You'll need both Phillips and flathead screwdrivers.
- Pencil: For marking wire positions.
- Wire Strippers/Cutters: For safely stripping and cutting wires.
- Needle-Nose Pliers: For manipulating wires in tight spaces.
- Level: To ensure the thermostat is mounted straight.
- Drill (Optional): If you need to create new mounting holes.
- Voltage Tester (Optional): To verify the power is off.
- Smartphone or Tablet: For connecting the thermostat to your Wi-Fi network during setup.
Safety is paramount. Always turn off the power to your HVAC system at the circuit breaker before working with any wiring.
Step-by-Step Installation Guide
Follow these steps carefully to install your Ecobee thermostat:
- Turn off the Power: Locate the circuit breaker that controls your HVAC system and switch it off. This is a crucial safety step. Double-check with a voltage tester to make sure the existing thermostat has no power flowing to it.
- Remove Your Old Thermostat: Carefully remove the faceplate of your old thermostat. You may need to use a screwdriver to loosen any screws.
- Label the Wires: Before disconnecting any wires, use the provided wire labels to mark each wire according to its terminal designation (R, Y, G, W, C, etc.). This is the most important step! Take pictures as well; this will help greatly during setup.
- Disconnect the Wires: Once the wires are labeled, carefully disconnect them from the old thermostat. Use the screwdriver to loosen the screws holding the wires in place.
- Install the Ecobee Mounting Plate: Position the Ecobee mounting plate on the wall, ensuring it's level. Use a pencil to mark the locations for the mounting screws. If necessary, drill pilot holes. Attach the mounting plate to the wall using the provided screws.
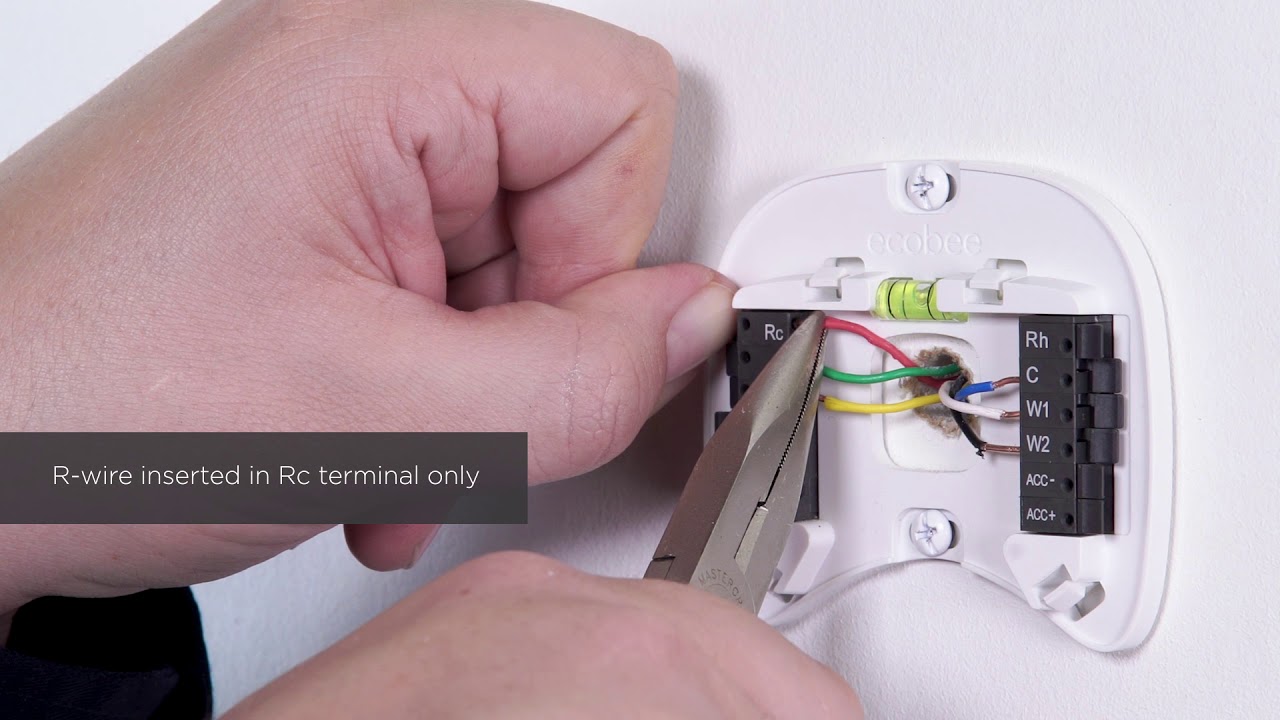
- Connect the Wires to the Ecobee Base: Refer to your wire labels and the Ecobee wiring diagram. Connect each wire to the corresponding terminal on the Ecobee base. Ensure the wires are securely fastened. If you're using a Power Extender Kit (PEK), follow the instructions provided with the kit to install it at your furnace or air handler. The PEK enables the C wire and properly powers your Ecobee thermostat.
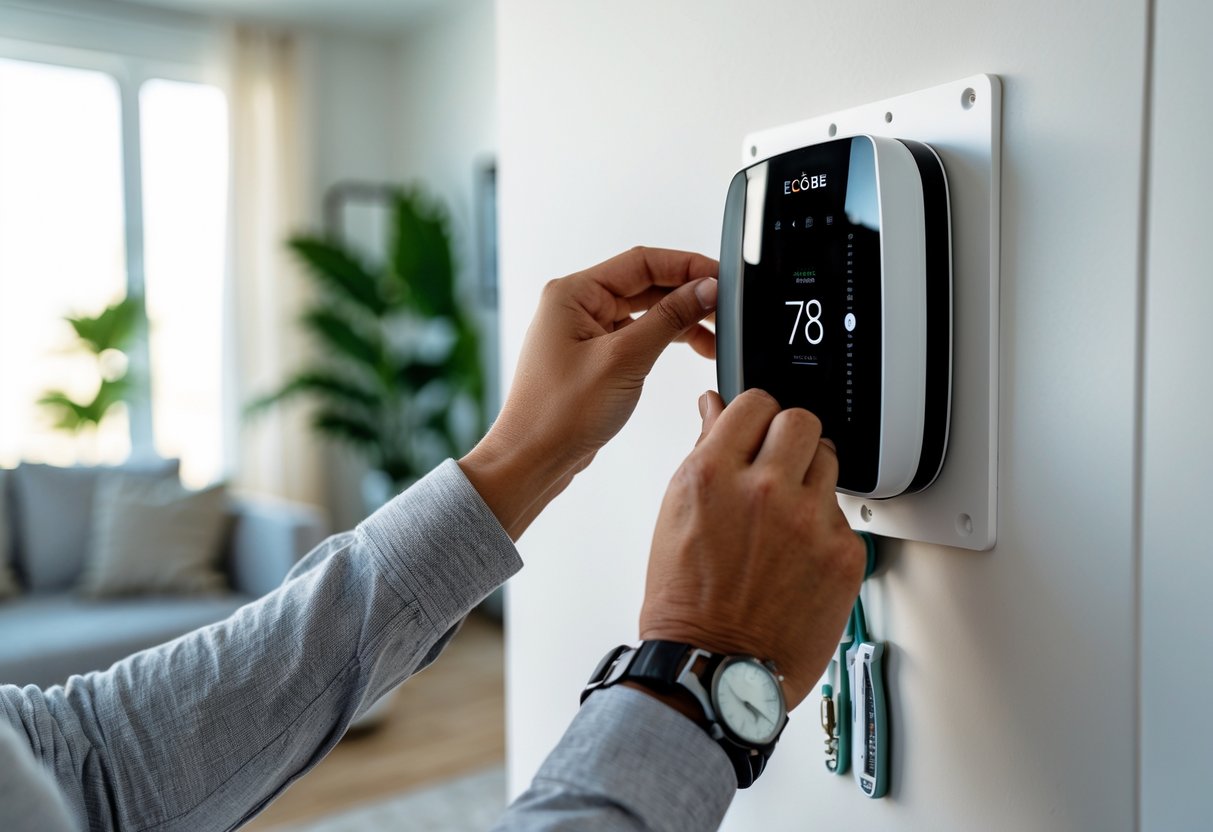
- Attach the Ecobee Thermostat to the Base: Once all the wires are connected, carefully snap the Ecobee thermostat onto the mounting base.
- Turn the Power Back On: Go back to the circuit breaker and switch the power back on to your HVAC system.
- Configure the Ecobee Thermostat: Follow the on-screen instructions on the Ecobee thermostat to connect it to your Wi-Fi network and configure your system settings. You'll need to enter your home's location, HVAC system type, and desired temperature settings. The Ecobee app is available for both iOS and Android, allowing you to remotely monitor and control your thermostat.
- Install Room Sensors (Optional): Ecobee thermostats often come with room sensors that can be placed in different areas of your home. These sensors help the thermostat monitor temperature and occupancy in multiple locations, allowing it to optimize heating and cooling for improved comfort and energy savings. Follow the instructions included with the sensors to pair them with your thermostat.
Troubleshooting Common Installation Issues
Even with careful planning, you might encounter some common issues during the installation process. Here are a few troubleshooting tips:
- No Power to the Thermostat: Double-check that the circuit breaker is on and that all the wires are securely connected. If you're using a PEK, ensure it's properly installed and powered.
- Thermostat Not Connecting to Wi-Fi: Make sure your Wi-Fi network is working properly and that you're entering the correct password. Try restarting your router and the thermostat.
- HVAC System Not Responding: Verify that the wiring is correct and that the thermostat is properly configured for your system type. Double-check the wire connections against the original labels and wiring diagram.
If you're still experiencing problems, consult the Ecobee support website or contact a qualified HVAC technician.
Maximizing Energy Savings and ROI
Installing an Ecobee thermostat is just the first step. To maximize your energy savings and ROI, take advantage of the thermostat's smart features:
- Smart Learning: Allow the Ecobee thermostat to learn your heating and cooling preferences over time. It will automatically adjust the temperature based on your schedule and occupancy patterns.
- Geofencing: Enable geofencing to automatically adjust the temperature when you leave or approach your home. This ensures that your HVAC system isn't running unnecessarily when you're away.
- Room Sensors: Use room sensors to monitor temperature and occupancy in different areas of your home. This allows the thermostat to optimize heating and cooling for improved comfort and energy savings in specific rooms.
- Schedule Optimization: Create a custom schedule that aligns with your daily routine. Set different temperature settings for different times of the day to minimize energy consumption.
- Energy Reports: Regularly review the energy reports provided by the Ecobee app. These reports provide insights into your energy usage patterns and identify areas where you can further reduce consumption.
According to Energy Star, properly programmed and used smart thermostats can save homeowners up to 8% on their heating and cooling bills. Over time, these savings can add up significantly, resulting in a substantial ROI on your investment.
Rebates and Incentives
Many utility companies and government agencies offer rebates and incentives for installing energy-efficient thermostats like the Ecobee. Check with your local utility company and state energy office to see if you're eligible for any rebates. These rebates can significantly reduce the upfront cost of the thermostat and further improve your ROI.
For example, some utility companies offer rebates ranging from $50 to $100 for installing a smart thermostat that meets certain energy-efficiency standards.
Integrating with Smart Home Ecosystems
Ecobee thermostats seamlessly integrate with popular smart home ecosystems like Amazon Alexa, Google Assistant, and Apple HomeKit. This integration allows you to control your thermostat using voice commands and create automated routines that further optimize your energy usage.
For example, you can create a routine that automatically turns down the thermostat when you say "Alexa, goodnight" or "Hey Google, I'm leaving."
Conclusion
Installing an Ecobee thermostat is a smart investment that can help you save money on energy bills, improve your home's comfort, and reduce your environmental impact. By following the steps outlined in this guide and taking advantage of the thermostat's smart features, you can maximize your energy savings and ROI. And, by properly utilizing data and insights provided via the app, you will be able to further reduce your energy footprint and save even more money. Remember to check for rebates and incentives in your area to further reduce the upfront cost of the thermostat. Start taking control of your energy bills today!