How To Install A Garage Furnace
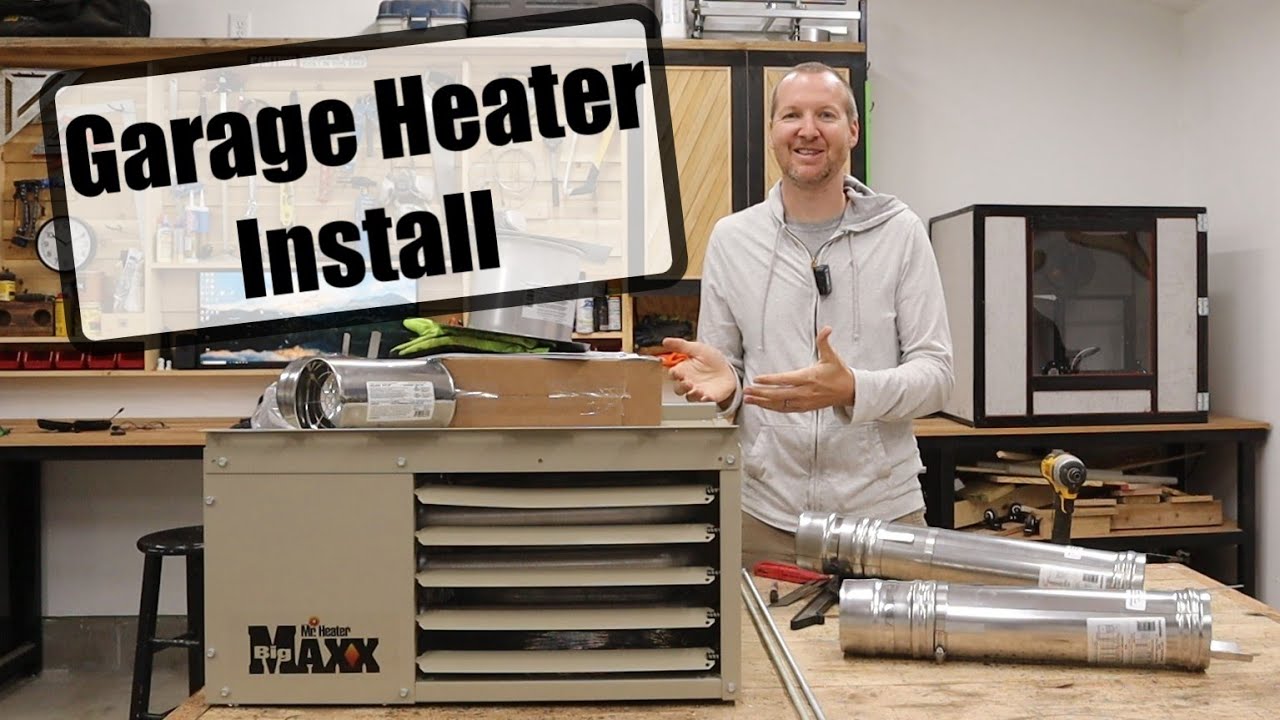
Many homeowners dream of a comfortable workspace in their garage, especially during colder months. A garage furnace can transform a chilly space into a cozy workshop or hobby area. However, the installation process, while seemingly straightforward, can sometimes present challenges. This guide aims to equip you with the knowledge to troubleshoot common installation issues, ensuring a safe and efficient setup. Remember, if at any point you feel unsure or uncomfortable, especially when dealing with gas or electricity, always consult a qualified professional.
Common Garage Furnace Installation Challenges
Before we dive into troubleshooting, let's acknowledge the typical problems people encounter during a garage furnace installation. These can range from simple connection errors to more complex issues with the unit itself.
- Insufficient Heat Output: The furnace runs, but the garage doesn't get warm enough.
- Furnace Not Turning On: No signs of life from the unit.
- Frequent Cycling: The furnace turns on and off too often.
- Strange Noises: Unusual sounds like banging, rattling, or whistling.
- Error Codes: The furnace displays an error code on its control panel.
- Draft Issues: Backdrafting or improper venting of exhaust gases.
Step-by-Step Troubleshooting Guide
This guide provides a logical, step-by-step approach to diagnosing and resolving common garage furnace installation problems. We'll start with the simplest checks and gradually move towards more complex components. Safety is paramount; always disconnect power and gas supply when instructed.
1. Preliminary Checks: Power and Gas Supply
The most basic, and often overlooked, steps are checking the power and gas supply. Ensure these are properly connected and functioning.
- Power Supply:
- Circuit Breaker: Check the circuit breaker dedicated to the garage furnace. Make sure it's switched ON and hasn't tripped. If it has tripped, reset it. If it trips again immediately, there's likely a short circuit, and you should consult an electrician.
- Voltage: Verify the voltage at the furnace matches the unit's requirements (usually 120V). Use a multimeter to test the voltage at the furnace's electrical connection. If the voltage is significantly lower than required, investigate the electrical circuit.
- Wiring: Ensure all wiring connections are secure and properly insulated. Look for any frayed wires or loose connections. If you find any, shut off the power and carefully repair or replace them. If you're not comfortable working with electrical wiring, call an electrician.
- Gas Supply (If Applicable):
- Gas Valve: Make sure the main gas valve supplying the furnace is OPEN. This is usually a quarter-turn valve. If it's closed, turn it slowly to the open position.
- Gas Pressure: Check the gas pressure at the furnace's gas valve. This requires a manometer and knowledge of gas pressure testing. This is best left to a qualified HVAC technician.
- Gas Leaks: Immediately shut off the gas supply if you smell gas. Ventilate the area thoroughly and call your gas company or a qualified HVAC technician. Use a leak detection solution (soapy water) to check for leaks around gas connections. Apply the solution and look for bubbles.
2. Thermostat Settings and Wiring
The thermostat controls the furnace's operation. Incorrect settings or faulty wiring can prevent the furnace from turning on or functioning correctly.
- Thermostat Settings:
- Mode: Ensure the thermostat is set to HEAT mode.
- Temperature: Set the temperature higher than the current room temperature.
- Fan Setting: Verify the fan setting is on AUTO (if applicable).
- Thermostat Wiring:
- Check Connections: Turn off the power to the thermostat before inspecting the wiring. Ensure all wires are securely connected to their respective terminals. Loose connections can cause intermittent problems.
- Wiring Diagram: Consult the furnace's and thermostat's wiring diagrams to ensure the wires are connected correctly. Common wires include R (power), W (heat), G (fan), and C (common).
- Battery (If Applicable): Some thermostats require batteries. Check and replace them if necessary.
3. Airflow Obstructions
Proper airflow is crucial for furnace operation. Blocked air filters or vents can restrict airflow, causing the furnace to overheat and shut down.
- Air Filter:
- Location: Locate the air filter, usually located near the furnace or in the return air duct.
- Inspection: Remove the air filter and inspect it for dirt and debris.
- Replacement: Replace the air filter if it's dirty or clogged. A clean air filter improves airflow and protects the furnace components. Use the correct size and type of filter recommended by the manufacturer.
- Vents and Registers:
- Check for Obstructions: Ensure all vents and registers are open and free from obstructions (furniture, rugs, etc.).
- Return Air Ducts: Make sure return air ducts are not blocked.
4. Flame Sensor (If Applicable)
The flame sensor is a safety device that detects the presence of a flame. If the flame sensor doesn't detect a flame, it shuts off the gas supply to prevent gas buildup.
- Location: The flame sensor is typically a small metal rod located near the burner.
- Cleaning:
- Turn off the gas and power to the furnace.
- Remove the flame sensor.
- Use a fine-grit sandpaper or steel wool to gently clean the sensor rod. This removes any carbon buildup that may be preventing it from detecting the flame.
- Reinstall the flame sensor.
- Testing: Testing the flame sensor requires a multimeter and knowledge of electrical testing. This is best left to a qualified HVAC technician.
5. Pilot Light (If Applicable)
Some older furnaces use a pilot light to ignite the burner. If the pilot light is out, the furnace won't work.
- Check Pilot Light:
- Locate the pilot light assembly.
- If the pilot light is out, follow the manufacturer's instructions to relight it. This usually involves pressing and holding a pilot button while lighting the pilot with a lighter or match.
- If the pilot light won't stay lit, the thermocouple (a small metal rod near the pilot light) may be faulty. Replacing the thermocouple is generally a simple DIY task, but if you're not comfortable, consult an HVAC technician.
6. Limit Switch
The limit switch is a safety device that shuts off the furnace if it gets too hot. It is usually located on the furnace near the heat exchanger.
- Location: Find the limit switch (usually a small, round or rectangular device with wires attached) near the heat exchanger.
- Resetting (If Applicable): Some limit switches have a reset button. If the switch has tripped, press the reset button.
- Testing: Testing the limit switch requires a multimeter and knowledge of electrical testing. This is best left to a qualified HVAC technician.
7. Blower Motor
The blower motor circulates air through the furnace and into your garage. If the blower motor isn't working, the furnace may overheat and shut down.
- Listen for the Blower: When the furnace is supposed to be running, listen for the blower motor. If you don't hear it, it could be faulty.
- Check the Capacitor: The blower motor capacitor provides the initial surge of power to start the motor. A faulty capacitor can prevent the motor from starting. Testing and replacing the capacitor involves working with electricity and should be done by a qualified electrician or HVAC technician. Capacitors can store a dangerous electrical charge even when disconnected from power, so extreme caution is required.
8. Condensate Drain (If Applicable)
High-efficiency furnaces produce condensate (water) that needs to be drained. A clogged condensate drain can cause the furnace to shut down.
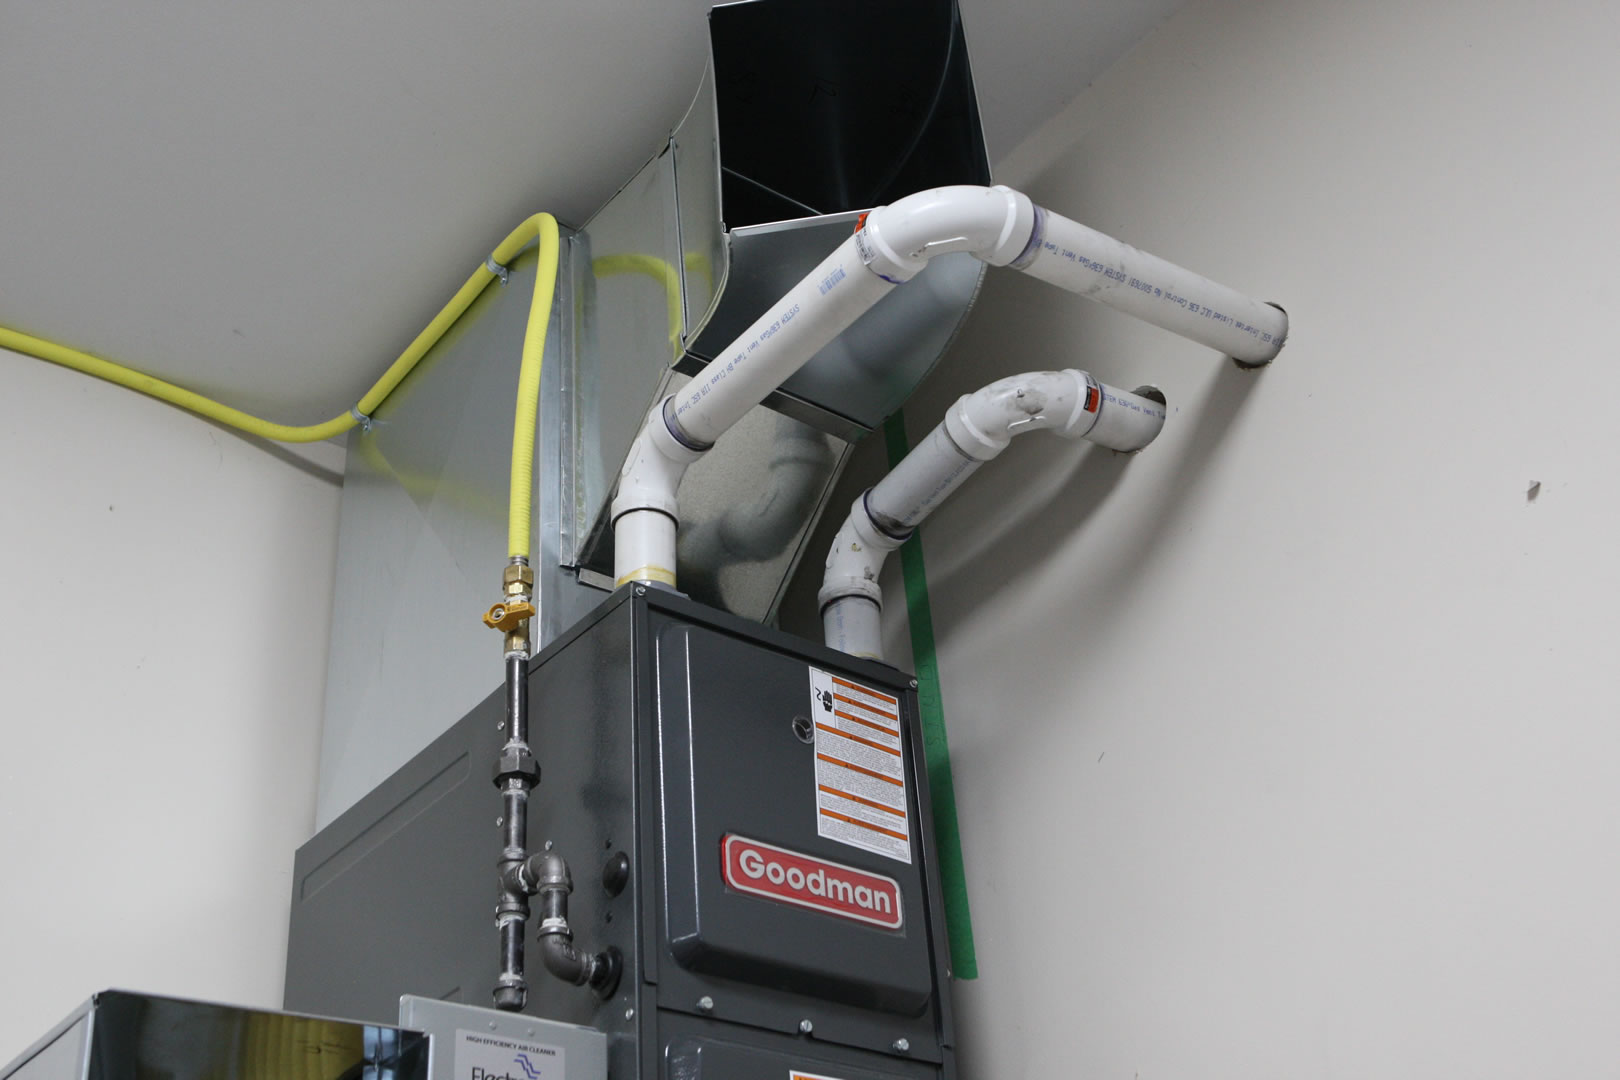
- Locate the Drain: Find the condensate drain line, usually a PVC pipe leading away from the furnace.
- Check for Blockages: Inspect the drain line for clogs. You can try to clear the clog with a wet/dry vacuum or a stiff wire.
When to Call a Professional
While this guide provides helpful troubleshooting steps, some issues are best left to qualified professionals. Never attempt repairs that you're not comfortable with, especially when dealing with gas or electricity.
Call a qualified HVAC technician if:
- You smell gas.
- The furnace displays error codes that you don't understand.
- You suspect a problem with the heat exchanger.
- You're uncomfortable working with gas or electricity.
- You've tried the troubleshooting steps and the furnace still doesn't work.
- You need to replace complex parts like the gas valve, control board, or blower motor.
- You suspect carbon monoxide is present. Install a carbon monoxide detector in your garage.
Safety Precautions
Safety is paramount when working with any appliance, especially a furnace. Always follow these precautions:
- Turn off the Power: Disconnect the power to the furnace before performing any troubleshooting or repairs.
- Turn off the Gas: If you suspect a gas leak, immediately turn off the gas supply to the furnace.
- Wear Safety Glasses: Protect your eyes from debris.
- Use Proper Tools: Use the correct tools for the job.
- Consult the Manual: Refer to the furnace's owner's manual for specific instructions and safety information.
- Carbon Monoxide Detector: Install a carbon monoxide detector in your garage to alert you to the presence of this dangerous gas.
By following this troubleshooting guide and exercising caution, you can often resolve common garage furnace installation problems. Remember, when in doubt, call a professional. A safe and properly functioning furnace is essential for a comfortable and safe workspace.