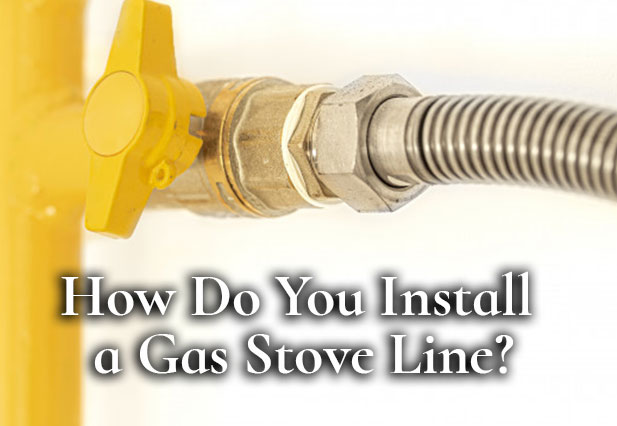
How To Install A Gas Line For A Gas Stove

So, you've got a brand new gas stove ready to elevate your cooking game, but there's one small hurdle: the gas line. Many homeowners find themselves facing the same issue – the existing gas line doesn't quite match up, the fittings are the wrong size, or worse, there's no gas line there at all! This article aims to guide you through the process, helping you diagnose common problems and perform simple, safe DIY fixes. However, remember: gas is dangerous. If you're even slightly uncomfortable or unsure at any point, call a licensed professional. Your safety is paramount.
Understanding the Common Challenges
Before you even pick up a wrench, let's identify the common problems that arise during a gas stove installation:
- Incorrect Fitting Size: The gas line fitting on your stove may not match the existing gas pipe size in your kitchen.
- Leakage: Gas leaks are a serious hazard and can occur at any connection point.
- No Gas Line: If you're switching from electric to gas, you may need to run a new gas line entirely.
- Insufficient Gas Pressure: The gas supply to the stove may not be adequate, resulting in weak flames.
- Incorrect Connection Type: Using the wrong type of connector (rigid pipe vs. flexible connector) can lead to leaks or damage.
Step-by-Step Troubleshooting and DIY Fixes
Let's walk through each potential problem with a systematic approach.
1. Verifying the Gas Shut-Off
This is the most crucial step. Before you touch anything, locate the gas shut-off valve for the stove's gas line. This is typically located behind the stove or in the basement/crawlspace directly below. Make sure it's completely turned off. Double-check by turning on another gas appliance (like a burner on your old stove, if applicable) to confirm no gas is flowing. If you can't find the shut-off valve or are unsure, stop immediately and call a qualified plumber or gas technician.
2. Identifying and Addressing Incorrect Fitting Sizes
Diagnosis: The gas line on your stove and the existing gas pipe in your kitchen simply don't thread together properly.
DIY Fix: The most common solution here is using a gas-rated adapter fitting. These fittings allow you to connect pipes of different sizes or thread types. Here's how:
- Determine the thread sizes: Carefully examine both the gas line on your stove and the existing gas pipe. Note the diameter and thread type (e.g., 1/2" NPT, 3/8" flare).
- Purchase the correct adapter: Go to a reputable hardware store specializing in plumbing supplies. Make sure the adapter is specifically rated for gas. Don't use adapters meant for water or other liquids. Explain your situation to the store clerk; they can often provide valuable assistance.
- Apply pipe thread sealant: Use a gas-rated pipe thread sealant (pipe dope) or Teflon tape specifically designed for gas lines on the threads of the adapter. Apply it carefully, following the manufacturer's instructions. Do not use regular Teflon tape.
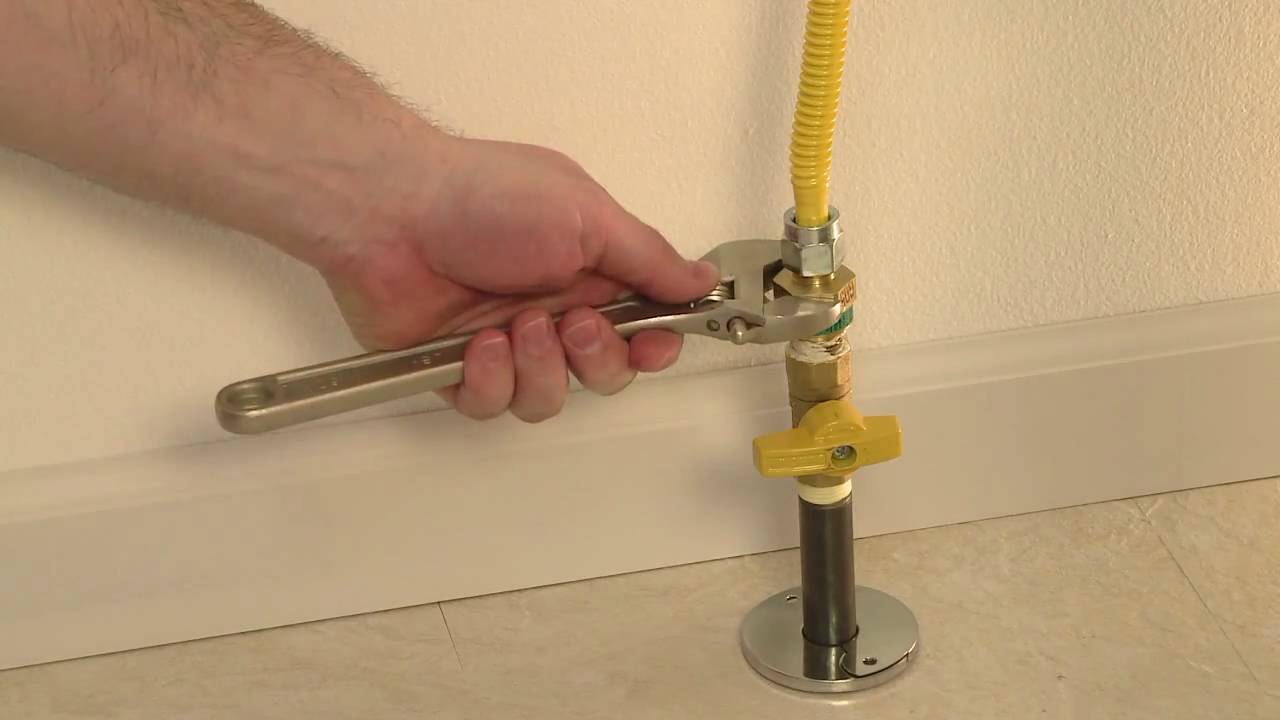
- Connect the adapter: Carefully thread the adapter onto both the stove's gas line and the existing gas pipe. Tighten snugly using two wrenches – one to hold the pipe steady and the other to tighten the adapter. Do not overtighten, as this can damage the threads.
- Leak test: After connecting, perform a leak test (described in Step 6).
When to call a professional: If you are unsure about identifying the correct thread sizes or are having difficulty finding a suitable adapter, it's best to consult a professional. Improper fittings can lead to dangerous gas leaks.
3. Locating and Addressing Leaks
Diagnosis: You smell gas or suspect a leak after connecting the gas line.
DIY Fix (Small Leaks): The most common spot for leaks is at the threaded connections. Here's how to check and address them:
- The Soap Bubble Test: Mix a solution of dish soap and water. Apply the solution liberally to all threaded connections – where the gas line connects to the stove, where the adapter connects (if used), and where the gas pipe connects to the shut-off valve.
- Observe for Bubbles: Watch closely for bubbles forming in the soap solution. Bubbles indicate a gas leak.
- Tighten Connections (Slightly): If you find a leak, carefully tighten the connection slightly using two wrenches. Do not overtighten. Reapply the soap solution and check again for leaks.
- Reapply Pipe Thread Sealant: If tightening doesn't stop the leak, turn off the gas supply again. Disconnect the fitting, clean the threads, reapply fresh gas-rated pipe thread sealant, and reconnect. Tighten snugly and retest with the soap solution.
When to call a professional: If you cannot stop the leak after tightening and reapplying sealant, evacuate the area immediately and call your gas company or a qualified plumber. Do not attempt further repairs. Any persistent gas leak is a serious hazard. Also, if you suspect the leak is coming from the gas shut-off valve itself, do not attempt to repair it yourself. Call a professional immediately.
4. Addressing the Absence of a Gas Line
Diagnosis: You're switching from an electric stove to a gas stove and there's no gas line currently available.
DIY Fix: This is generally NOT a DIY project. Running a new gas line requires extensive knowledge of plumbing codes, gas pressure requirements, and safety regulations. It involves tapping into your existing gas supply, running pipes through walls or floors, and properly venting the system. This is work best left to professionals.
When to call a professional: Absolutely call a professional. Running a new gas line yourself is extremely risky and can lead to dangerous gas leaks, explosions, or carbon monoxide poisoning. A licensed plumber or gas technician will ensure the installation is done safely and according to code.
5. Checking for Insufficient Gas Pressure
Diagnosis: The stove burners produce weak flames, even when turned to the highest setting.
DIY Fix (Simple Checks): Before assuming it's a pressure issue, perform these basic checks:
- Check Other Gas Appliances: Are other gas appliances in your home (e.g., furnace, water heater) functioning properly? If they are also experiencing low pressure, the problem may be with your main gas supply.
- Check the Gas Shut-Off Valve: Ensure the gas shut-off valve for the stove is fully open. Sometimes, it can be partially closed, restricting gas flow.
- Check for Kinks in Flexible Connector: If you're using a flexible gas connector, make sure it's not kinked or bent sharply, as this can restrict gas flow.
When to call a professional: If the other gas appliances are also experiencing low pressure, or if you suspect a problem with the main gas supply, contact your gas company immediately. Low gas pressure can indicate a serious problem with the gas supply system. Also, if the above checks do not solve your pressure problems, call a plumber.
6. Verifying the Correct Connection Type
Diagnosis: You're unsure if you're using the correct type of connection between the gas pipe and your stove.
Understanding Connection Types: There are generally two types of connections used for gas stoves:
- Rigid Pipe: This involves using rigid steel or black iron pipe, which is threaded together using fittings.
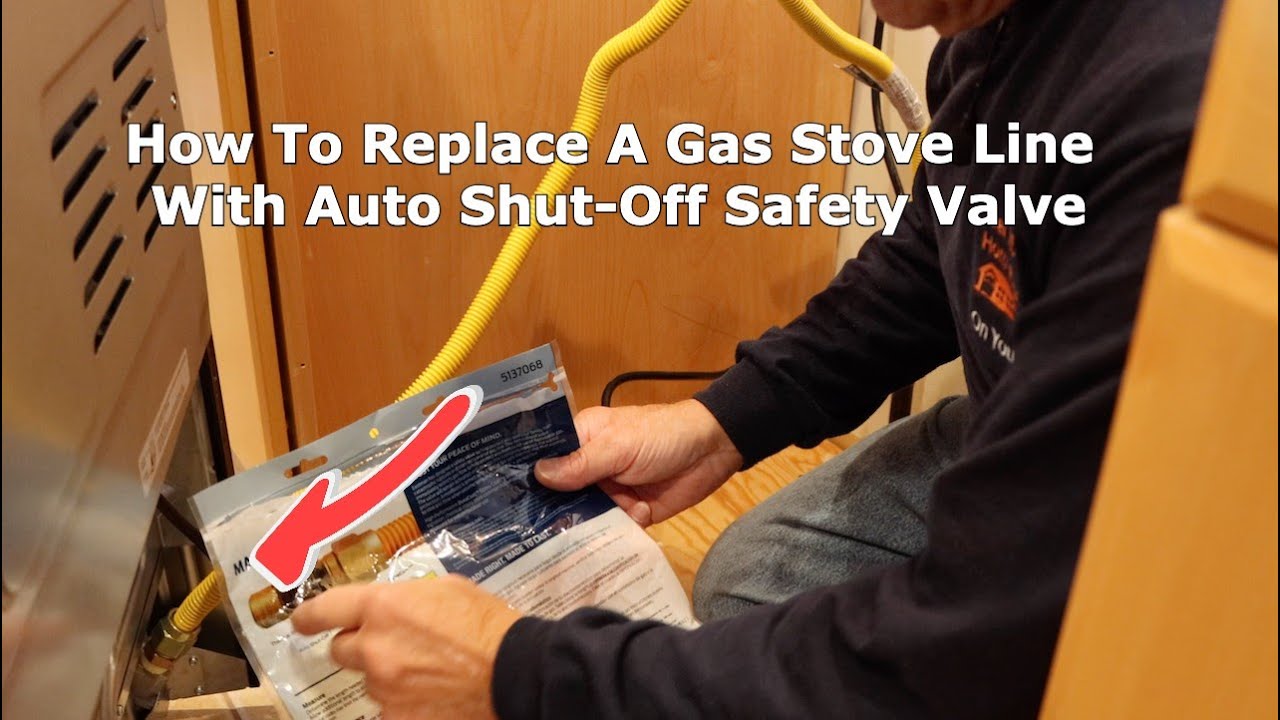
- Flexible Gas Connector: This is a corrugated stainless steel pipe with flared fittings on each end. It's more flexible and easier to install than rigid pipe.
DIY Fix (Simple Checks):
- Check for Gas Rating: Make sure that anything you are using is gas-rated.
- Confirm Compliance with Local Codes: Local codes might specify whether rigid pipe or flexible connectors are required. Check with your local building department.
- Check the Length: Flexible gas connectors must be long enough to allow the stove to be pulled out for cleaning or maintenance, but not so long that they create unnecessary loops or kinks.
- Check For Corrosion: Make sure no parts have corrosion, especially flexible gas connectors.
When to call a professional: If you're unsure about the correct connection type or have questions about local codes, consult with a licensed plumber or gas technician. Using the wrong connection type can lead to leaks or other safety hazards. If you cannot figure out what part or fitting is needed, a professional can help you determine the correct connection type and parts.
7. Performing a Final Leak Test
This is an absolutely critical step after making any connections. Even if you didn't detect any leaks earlier, perform a final leak test using the soap bubble method (described in Step 3) on all connections before using your new stove. Never assume a connection is leak-free.
Final Thoughts
Installing a gas line for a gas stove can be a manageable DIY project if you are comfortable with basic plumbing and gas safety practices. However, it's crucial to prioritize safety above all else. If you encounter any problems or are unsure about any aspect of the installation, do not hesitate to call a licensed plumber or gas technician. Your safety and the safety of your home are worth more than any potential savings.
By following these troubleshooting steps and exercising caution, you can hopefully get your new gas stove up and running safely and efficiently. Happy cooking!