How To Install A Raypak Gas Pool Heater
Installing a Raypak Gas Pool Heater: A Guide to Energy Savings and Efficient Heating
For homeowners and businesses looking to extend their swimming season while minimizing energy costs, a Raypak gas pool heater offers a reliable and often cost-effective solution. Raypak heaters are known for their durability and efficiency, but proper installation is critical to maximizing these benefits. This guide provides a detailed walkthrough of the installation process, focusing on optimizing energy savings and integrating with smart home systems. Please note: Improper installation can be dangerous and void warranties. If you are not comfortable with plumbing, electrical work, and gas line connections, it is highly recommended to hire a qualified HVAC professional.
Planning and Preparation: Location, Permits, and Safety First
Before you even think about unboxing your new Raypak heater, thorough planning is essential. This phase involves several crucial steps:
- Choosing the Right Location: The heater should be located as close to the pool equipment pad as possible to minimize heat loss through long plumbing runs. It should also be easily accessible for maintenance and repairs. Ensure there is adequate ventilation to prevent the buildup of exhaust gases. Check local codes regarding clearances from structures, vegetation, and property lines.
- Permits and Inspections: Contact your local building department to determine if a permit is required for installing a gas pool heater. Obtaining the necessary permits ensures the installation meets all safety regulations and avoids potential fines or complications later. The inspection process will verify that the installation meets code requirements.
- Safety Precautions: Safety is paramount. Before starting any work, turn off the power to the pool equipment and shut off the gas supply to the existing heater (if replacing one). Wear appropriate safety gear, including safety glasses and gloves. Have a carbon monoxide detector nearby during and after the installation to ensure proper ventilation and combustion.
Gathering Your Tools and Materials
Having the right tools and materials on hand will streamline the installation process and prevent unnecessary delays. Here’s a checklist of essentials:
- Tools: Pipe wrenches, adjustable wrench, Teflon tape, pipe sealant, screwdrivers (Phillips and flathead), level, measuring tape, gas leak detector (spray or solution), electrical multimeter, PVC cutter or saw, drill with appropriate bits.
- Materials: Raypak pool heater (verify correct BTU rating for your pool size), PVC pipe and fittings (size and quantity will vary depending on your specific setup), gas pipe and fittings (black iron or approved gas line material), electrical wiring (gauge and type as specified in the heater’s manual), unions (for easy disconnection and maintenance), shut-off valves (gas and water), pressure gauge, wire connectors, grounding wire.
Step-by-Step Installation Guide
This section outlines the core installation steps. Always refer to the Raypak installation manual for specific instructions and safety guidelines related to your particular model.
1. Preparing the Site and Mounting the Heater
Ensure the area where the heater will be placed is level and stable. A concrete pad is ideal. If installing on an existing surface, make sure it can support the weight of the heater filled with water. Position the heater according to the manufacturer's recommendations, paying close attention to required clearances. Secure the heater to the pad using appropriate anchors or fasteners.
2. Plumbing Connections
Inlet and Outlet Piping: Connect the inlet and outlet pipes to the heater using PVC pipe and fittings. Use PVC primer and cement to create watertight seals. Install unions on both the inlet and outlet pipes to allow for easy disconnection for maintenance or repairs. Ensure the water flow direction matches the markings on the heater. Consider installing a bypass valve to regulate water flow through the heater and prevent overheating. Refer to Raypak specifications regarding pipe size and flow rates. Insulating the pipes can further minimize heat loss and improve efficiency. According to the U.S. Department of Energy, insulating hot water pipes can save homeowners up to $100 per year.
3. Gas Line Connections
Connecting the Gas Supply: This is a critical step that requires extreme caution. Ensure the gas supply is completely shut off before proceeding. Use approved gas pipe and fittings (typically black iron) and apply gas-rated Teflon tape or pipe sealant to all threaded connections. Connect the gas line to the heater's gas valve, ensuring a tight and leak-free seal. Install a gas shut-off valve upstream of the heater for emergency shut-off. After connecting the gas line, use a gas leak detector to check for leaks at all connections. Never use an open flame to check for gas leaks. The National Fuel Gas Code (NFPA 54) provides comprehensive guidelines for gas appliance installation.
4. Electrical Connections
Wiring the Heater: Connect the electrical wiring to the heater according to the wiring diagram provided in the installation manual. Ensure the correct voltage and amperage are supplied. Connect the grounding wire to the designated grounding terminal. Use appropriate wire connectors and ensure all connections are secure. Consider integrating the heater with your smart home system for remote monitoring and control (see section below).
5. Startup and Testing
Initial Startup: Before turning on the heater, double-check all connections and ensure the pool water level is adequate. Follow the manufacturer's instructions for initial startup, including priming the pump and venting the gas line. Monitor the heater closely during the initial startup to ensure it is operating correctly. Check the water temperature and adjust the thermostat as needed.
6. Smart Home Integration (Optional)
Connecting to Smart Thermostats and Sensors: Many modern Raypak heaters are compatible with smart thermostats and pool automation systems. This allows you to control the heater remotely, monitor its performance, and schedule heating cycles to optimize energy usage. Integration typically involves connecting the heater to your home's Wi-Fi network and using a dedicated app or web interface. Consider using smart sensors to monitor pool water temperature and automatically adjust the heater settings. Some smart home systems even offer energy usage reports and recommendations for optimizing energy efficiency. The ROI on smart home integration for pool heating can be significant, especially when combined with other energy-saving measures. Some utility companies offer rebates for installing smart thermostats and pool automation systems.
Troubleshooting Common Issues
Even with careful installation, issues can sometimes arise. Here are some common problems and potential solutions:
- Heater Not Igniting: Check the gas supply, ignition system, and pilot light (if applicable). Ensure the gas valve is open and the igniter is sparking.
- Heater Shutting Off Prematurely: Check the water flow rate, vent pipe blockage, and high-limit switch. Ensure the heater is not overheating due to insufficient water flow or inadequate ventilation.
- Low Water Temperature: Check the thermostat setting, heater size, and heat loss from the pool. Ensure the heater is properly sized for the pool volume and climate. Consider using a pool cover to reduce heat loss.
- Error Codes: Refer to the heater's manual for a list of error codes and their corresponding solutions.
Maintenance and Energy Efficiency Tips
Regular maintenance is crucial for ensuring the long-term efficiency and reliability of your Raypak gas pool heater.
- Regular Inspections: Inspect the heater regularly for leaks, corrosion, and debris. Clean the burner and heat exchanger as needed.
- Water Chemistry: Maintain proper pool water chemistry to prevent corrosion and scale buildup, which can reduce heater efficiency.
- Filter Cleaning: Clean the pool filter regularly to ensure adequate water flow to the heater.
- Professional Servicing: Schedule annual professional servicing to ensure the heater is operating at peak efficiency.
- Energy-Saving Practices: Use a pool cover to reduce heat loss, set the thermostat to the lowest comfortable temperature, and avoid unnecessary heating. Consider installing a variable-speed pump to reduce energy consumption.
ROI and Energy Savings
The ROI on a Raypak gas pool heater depends on several factors, including the cost of the heater, installation costs, energy costs, and usage patterns. However, by following the tips outlined in this guide, you can maximize energy savings and accelerate the ROI. According to Energy Star, energy-efficient pool heaters can reduce energy consumption by up to 20%. Consider these key factors:
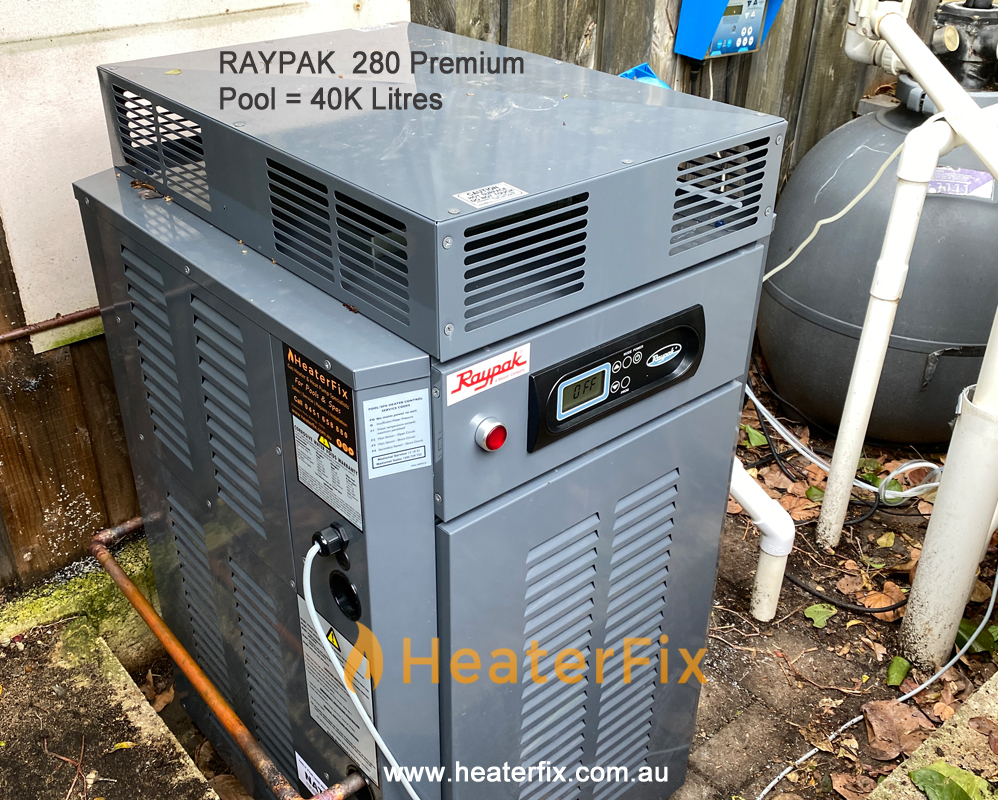
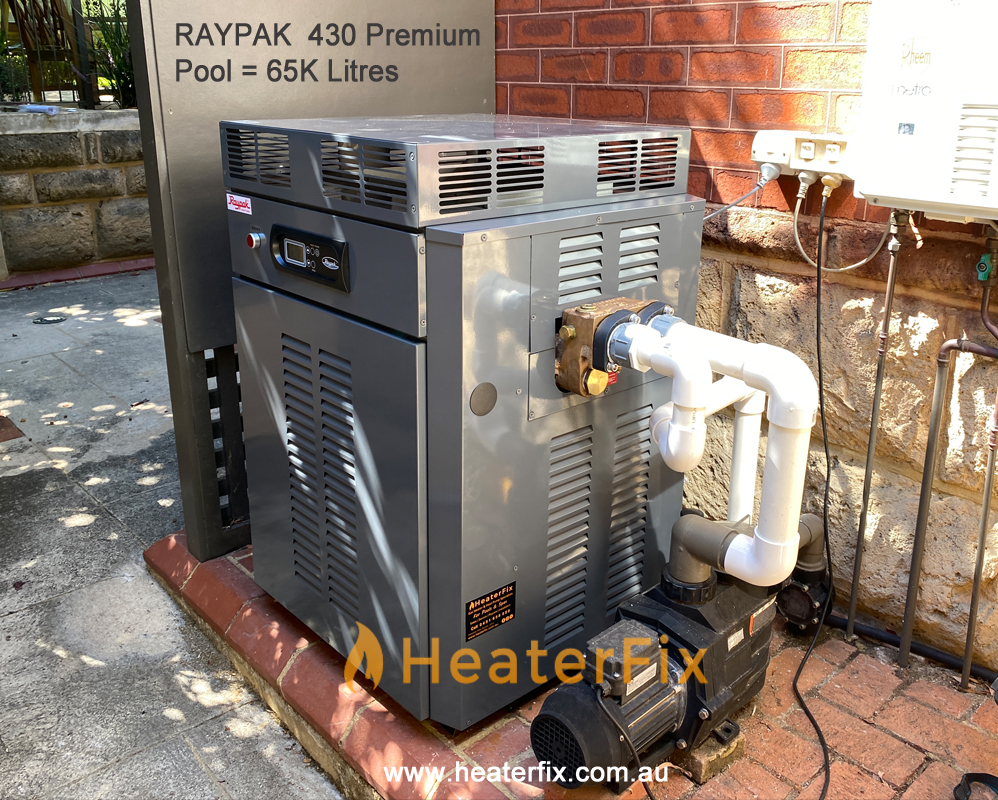
- BTU Rating: Right-sizing the heater is crucial. An oversized heater wastes energy, while an undersized one struggles to maintain temperature.
- Insulation: Insulating the plumbing lines minimizes heat loss and reduces the heater's workload.
- Smart Controls: Programmable thermostats and smart home integration allow for precise temperature control and scheduled heating, preventing unnecessary energy consumption.
By diligently following these steps and prioritizing energy-efficient practices, you can enjoy a comfortable swimming season while minimizing your environmental impact and saving money on energy bills. Remember to consult with a qualified HVAC professional for any complex installations or repairs.