How To Install A Return Air Vent In Wall

Installing a return air vent in a wall can improve your home's heating and cooling efficiency. It's a project that some DIYers can tackle, but it's crucial to understand the process and potential pitfalls before you start. This guide provides a step-by-step approach, safety precautions, and when to call a professional.
Planning and Preparation
Before you grab your tools, careful planning is essential.
Location, Location, Location
Choose a location for your return air vent that promotes good airflow. Ideally, it should be in a central location, away from obstructions, and low on the wall (closer to the floor) for optimal cooling and high on the wall for better heating. Rooms that tend to get stuffy or have poor circulation are good candidates.
Sizing Matters
Determine the appropriate size of the return air vent. This depends on the size of the room and the capacity of your HVAC system. A too-small return can restrict airflow, making your system work harder and reducing efficiency. Consult your HVAC system specifications or a professional to determine the correct size. A rough estimate is 1 square inch of return air grille for every CFM (cubic feet per minute) of airflow from your furnace or air conditioner. For example, if your system produces 1000 CFM, you'd need a 1000 square inch return air grille.
Gather Your Supplies
Make sure you have all the necessary tools and materials before starting. Running to the hardware store mid-project can be frustrating.
- Tools: Stud finder, drywall saw or utility knife, drill with various bits, measuring tape, level, screwdriver, tin snips or metal shears, safety glasses, dust mask, gloves
- Materials: Return air grille, sheet metal or duct board, foil tape, screws, caulk, insulation (optional)
Safety First
Safety is paramount. Turn off the power to the area you will be working on. Wear safety glasses and a dust mask to protect yourself from debris. If you are cutting into a wall, be extremely careful not to damage any electrical wiring or plumbing.
Step-by-Step Installation
Now, let's get down to the installation process.
Step 1: Locate Wall Studs
Use a stud finder to locate the studs in the wall where you plan to install the return air vent. You'll need to cut between the studs, so accurately marking their positions is crucial. Mark the stud locations clearly with a pencil.
Step 2: Cut the Opening
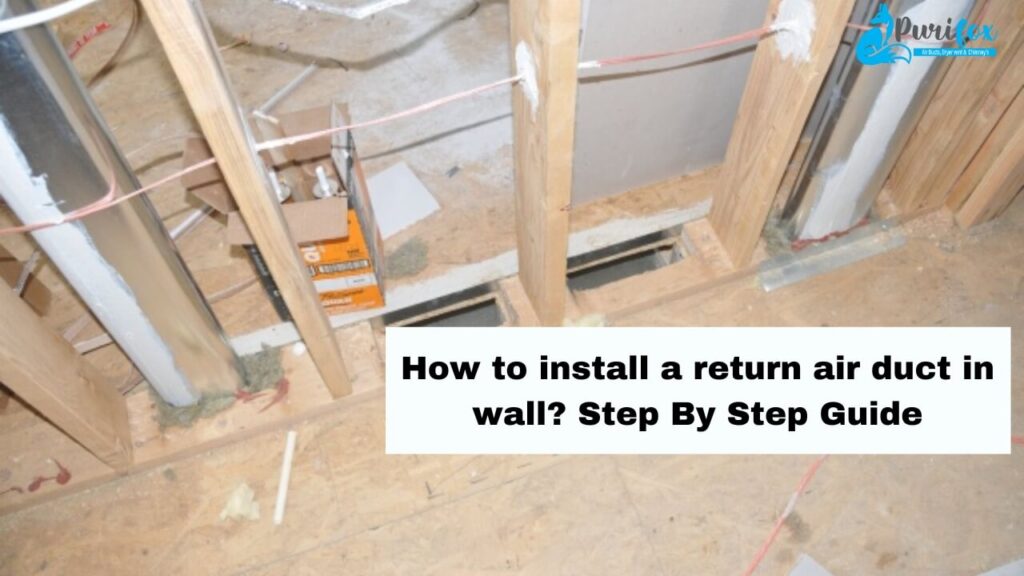
Measure and mark the opening for the return air vent on the wall, ensuring it fits between the studs. Use a drywall saw or utility knife to carefully cut along the marked lines. Take your time and make clean, precise cuts.
Important: If you encounter any wiring or plumbing while cutting, stop immediately and consult a qualified electrician or plumber.
Step 3: Create a Duct Connection (if needed)
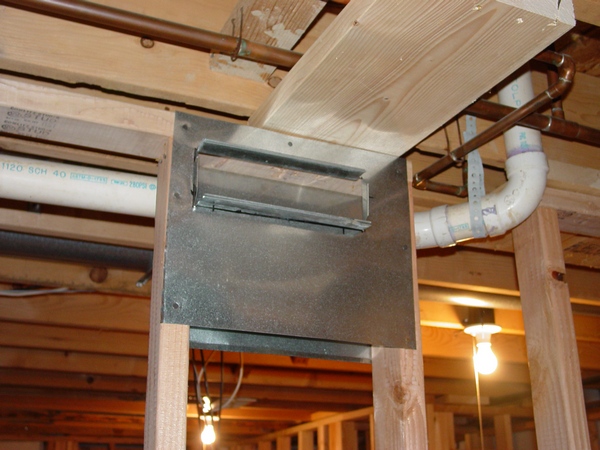
In many cases, you'll need to create a duct connection from the wall opening to the existing ductwork. This typically involves using sheet metal or duct board to create a rectangular duct that fits snugly within the wall cavity and connects to the main duct. Measure the dimensions of the opening and the distance to the existing ductwork. Cut the sheet metal or duct board to the appropriate size and shape using tin snips or metal shears.
Step 4: Connect to Existing Ductwork
Carefully connect the newly fabricated duct to the existing ductwork. Use foil tape to seal all seams and joints, ensuring an airtight connection. An airtight seal is essential for maximizing efficiency and preventing air leaks. Screw the duct to the wall studs and to the existing ductwork for support.
Note: Connecting to existing ductwork can be challenging and may require specialized knowledge and tools. If you are not comfortable with this step, it's best to call a professional.
Step 5: Insulate (Optional)
Consider insulating the duct within the wall cavity to further improve energy efficiency. Use fiberglass or foam insulation to wrap the duct, securing it with foil tape. This will help prevent heat loss or gain, depending on the season.
Step 6: Install the Return Air Grille
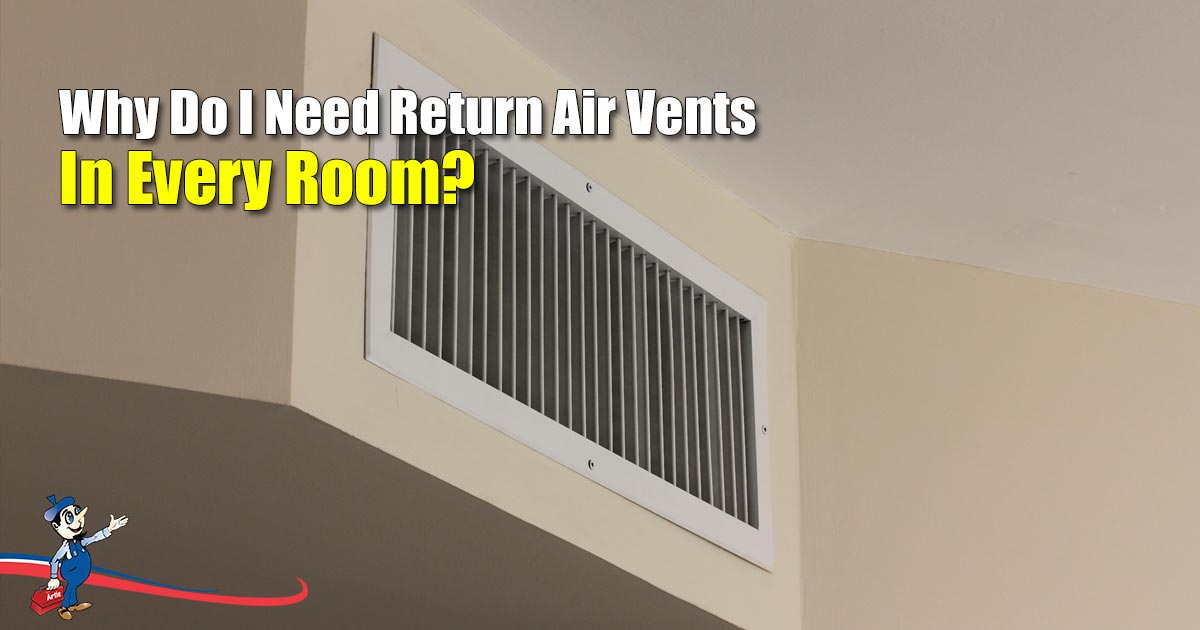
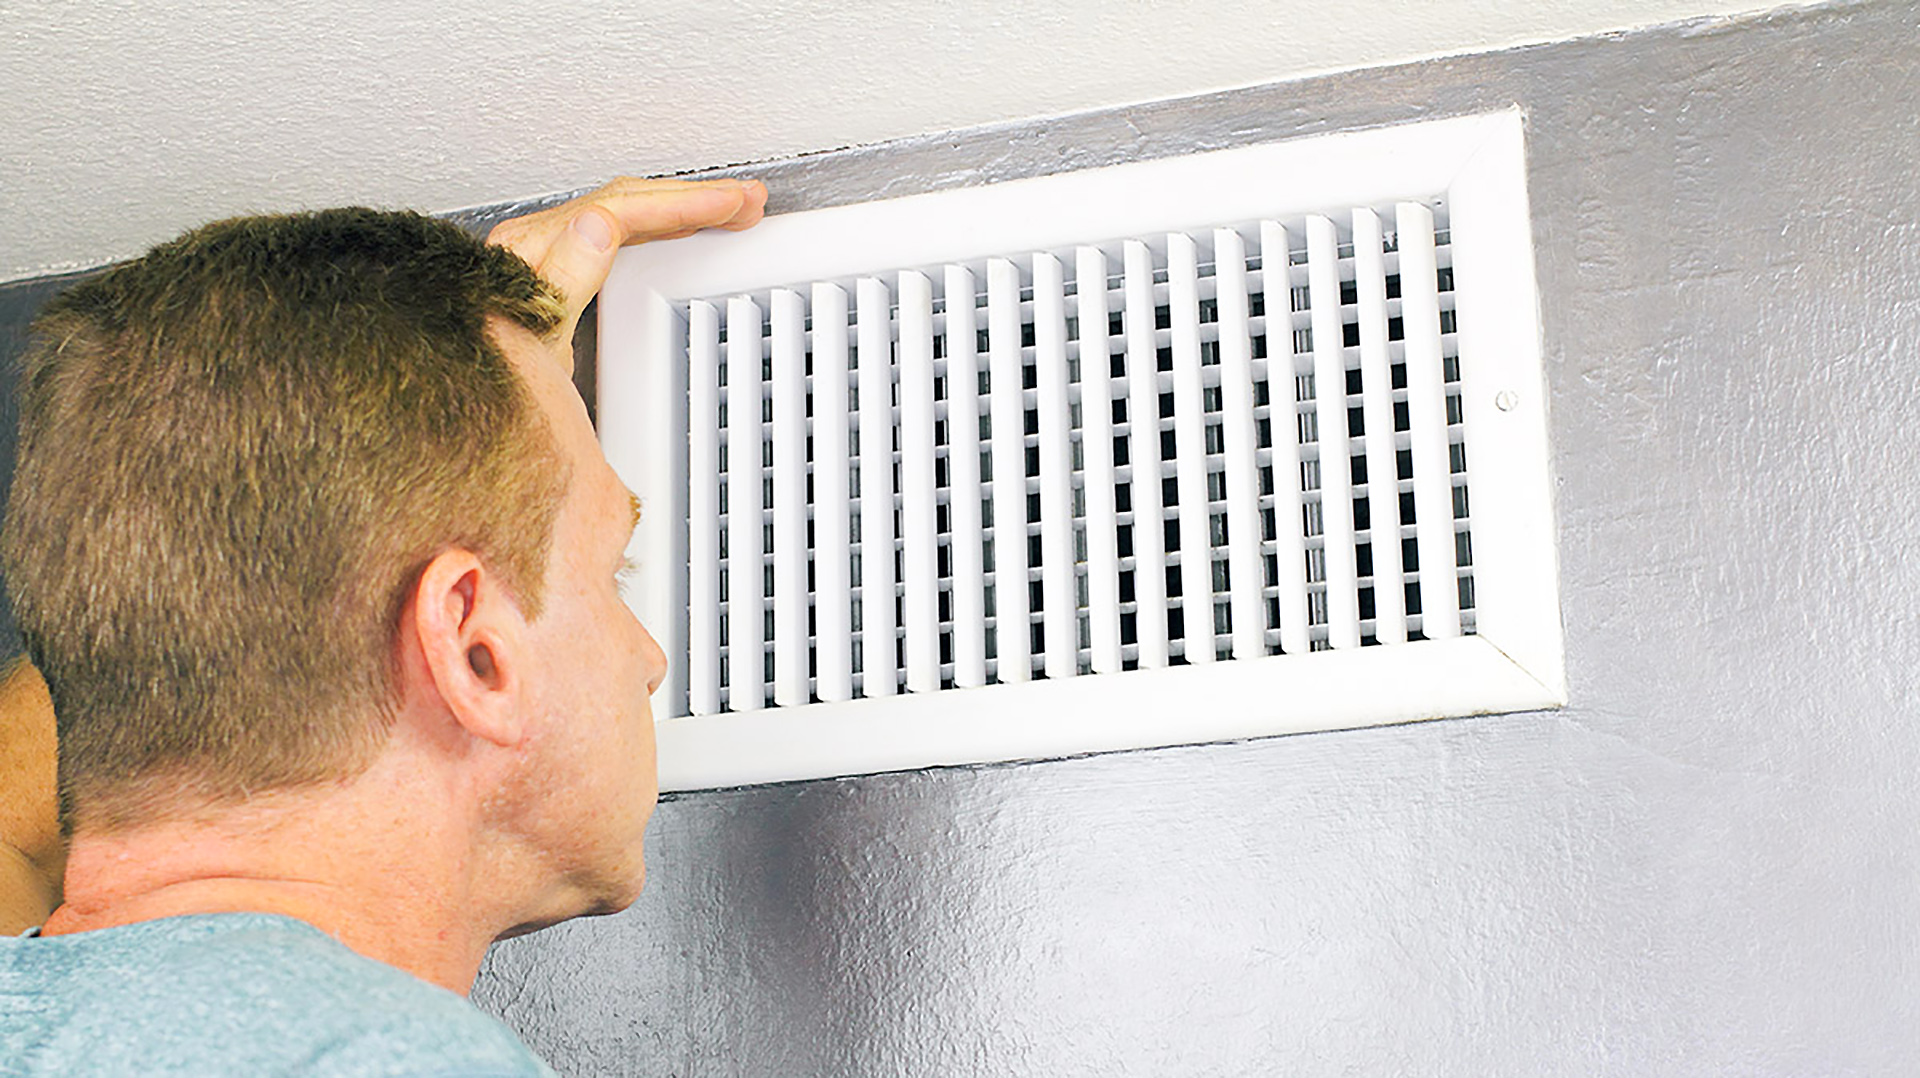
Insert the return air grille into the wall opening. Secure it with screws, ensuring it is flush with the wall surface. Caulk around the edges of the grille to create an airtight seal and prevent drafts.
Step 7: Test and Verify
Turn the power back on and test your HVAC system. Check for proper airflow at the new return air vent. Listen for any unusual noises or air leaks. If everything seems to be working correctly, you've successfully installed a return air vent in the wall.
Common Problems and Troubleshooting
Even with careful planning, problems can arise during the installation process.
- Restricted Airflow: If the airflow at the return air vent is weak, check for obstructions in the ductwork or the grille itself. Make sure the grille is clean and free of dust or debris.
- Air Leaks: Listen for whistling sounds or feel for drafts around the return air vent. Seal any leaks with foil tape or caulk.
- Condensation: If you notice condensation forming on the return air vent, it could indicate a moisture problem. Consider insulating the ductwork to prevent condensation.
- Noise: Rattling or vibrating noises can be caused by loose ductwork or a poorly secured grille. Tighten screws and secure any loose components.
When to Call a Professional
While installing a return air vent can be a DIY project, there are situations where calling a professional HVAC technician is the best course of action.
- Complex Ductwork: If your existing ductwork is complex or difficult to access, it's best to leave the connection to a professional.
- Electrical or Plumbing Issues: If you encounter any electrical wiring or plumbing while cutting into the wall, stop immediately and call a qualified electrician or plumber.
- HVAC System Sizing: If you are unsure about the correct size of the return air vent for your HVAC system, consult a professional.
- Permits: Some municipalities require permits for HVAC work. Check with your local building department before starting any work.
Cost Considerations
The cost of installing a return air vent in a wall can vary depending on several factors, including the size of the vent, the complexity of the ductwork, and whether you hire a professional.
- DIY Materials: Expect to spend $50-$200 on materials, including the return air grille, sheet metal or duct board, foil tape, screws, and insulation.
- Professional Installation: Professional installation can cost $200-$800 or more, depending on the complexity of the job.
Remember: While DIY projects can save you money, it's essential to weigh the cost savings against the potential risks and complexities of the job. If you are unsure about any aspect of the installation process, it's always best to consult a qualified HVAC technician.
Maintenance
Once the return air vent is installed, regular maintenance will help ensure optimal performance.
- Clean the Grille: Regularly clean the return air grille to remove dust and debris. This will help maintain proper airflow.
- Inspect Ductwork: Periodically inspect the ductwork for leaks or damage. Seal any leaks with foil tape.
- Change Air Filters: Regularly change your HVAC system's air filters to improve overall air quality and system efficiency. Dirty air filters can restrict airflow and put a strain on your system.
By following these steps and tips, you can successfully install a return air vent in the wall and improve your home's heating and cooling efficiency. Always prioritize safety and don't hesitate to call a professional if you encounter any difficulties.