How To Install A Split Unit

Frequently Asked Questions: Installing a Split Unit Air Conditioner
Considering installing a split unit air conditioner? Great choice! They're efficient, quiet, and can cool individual rooms or zones. This FAQ will answer common questions and provide a basic overview of the process. Remember, improper installation can lead to malfunctions or even safety hazards. When in doubt, always consult a qualified HVAC professional.
Q1: What is a Split Unit and What are its Advantages?
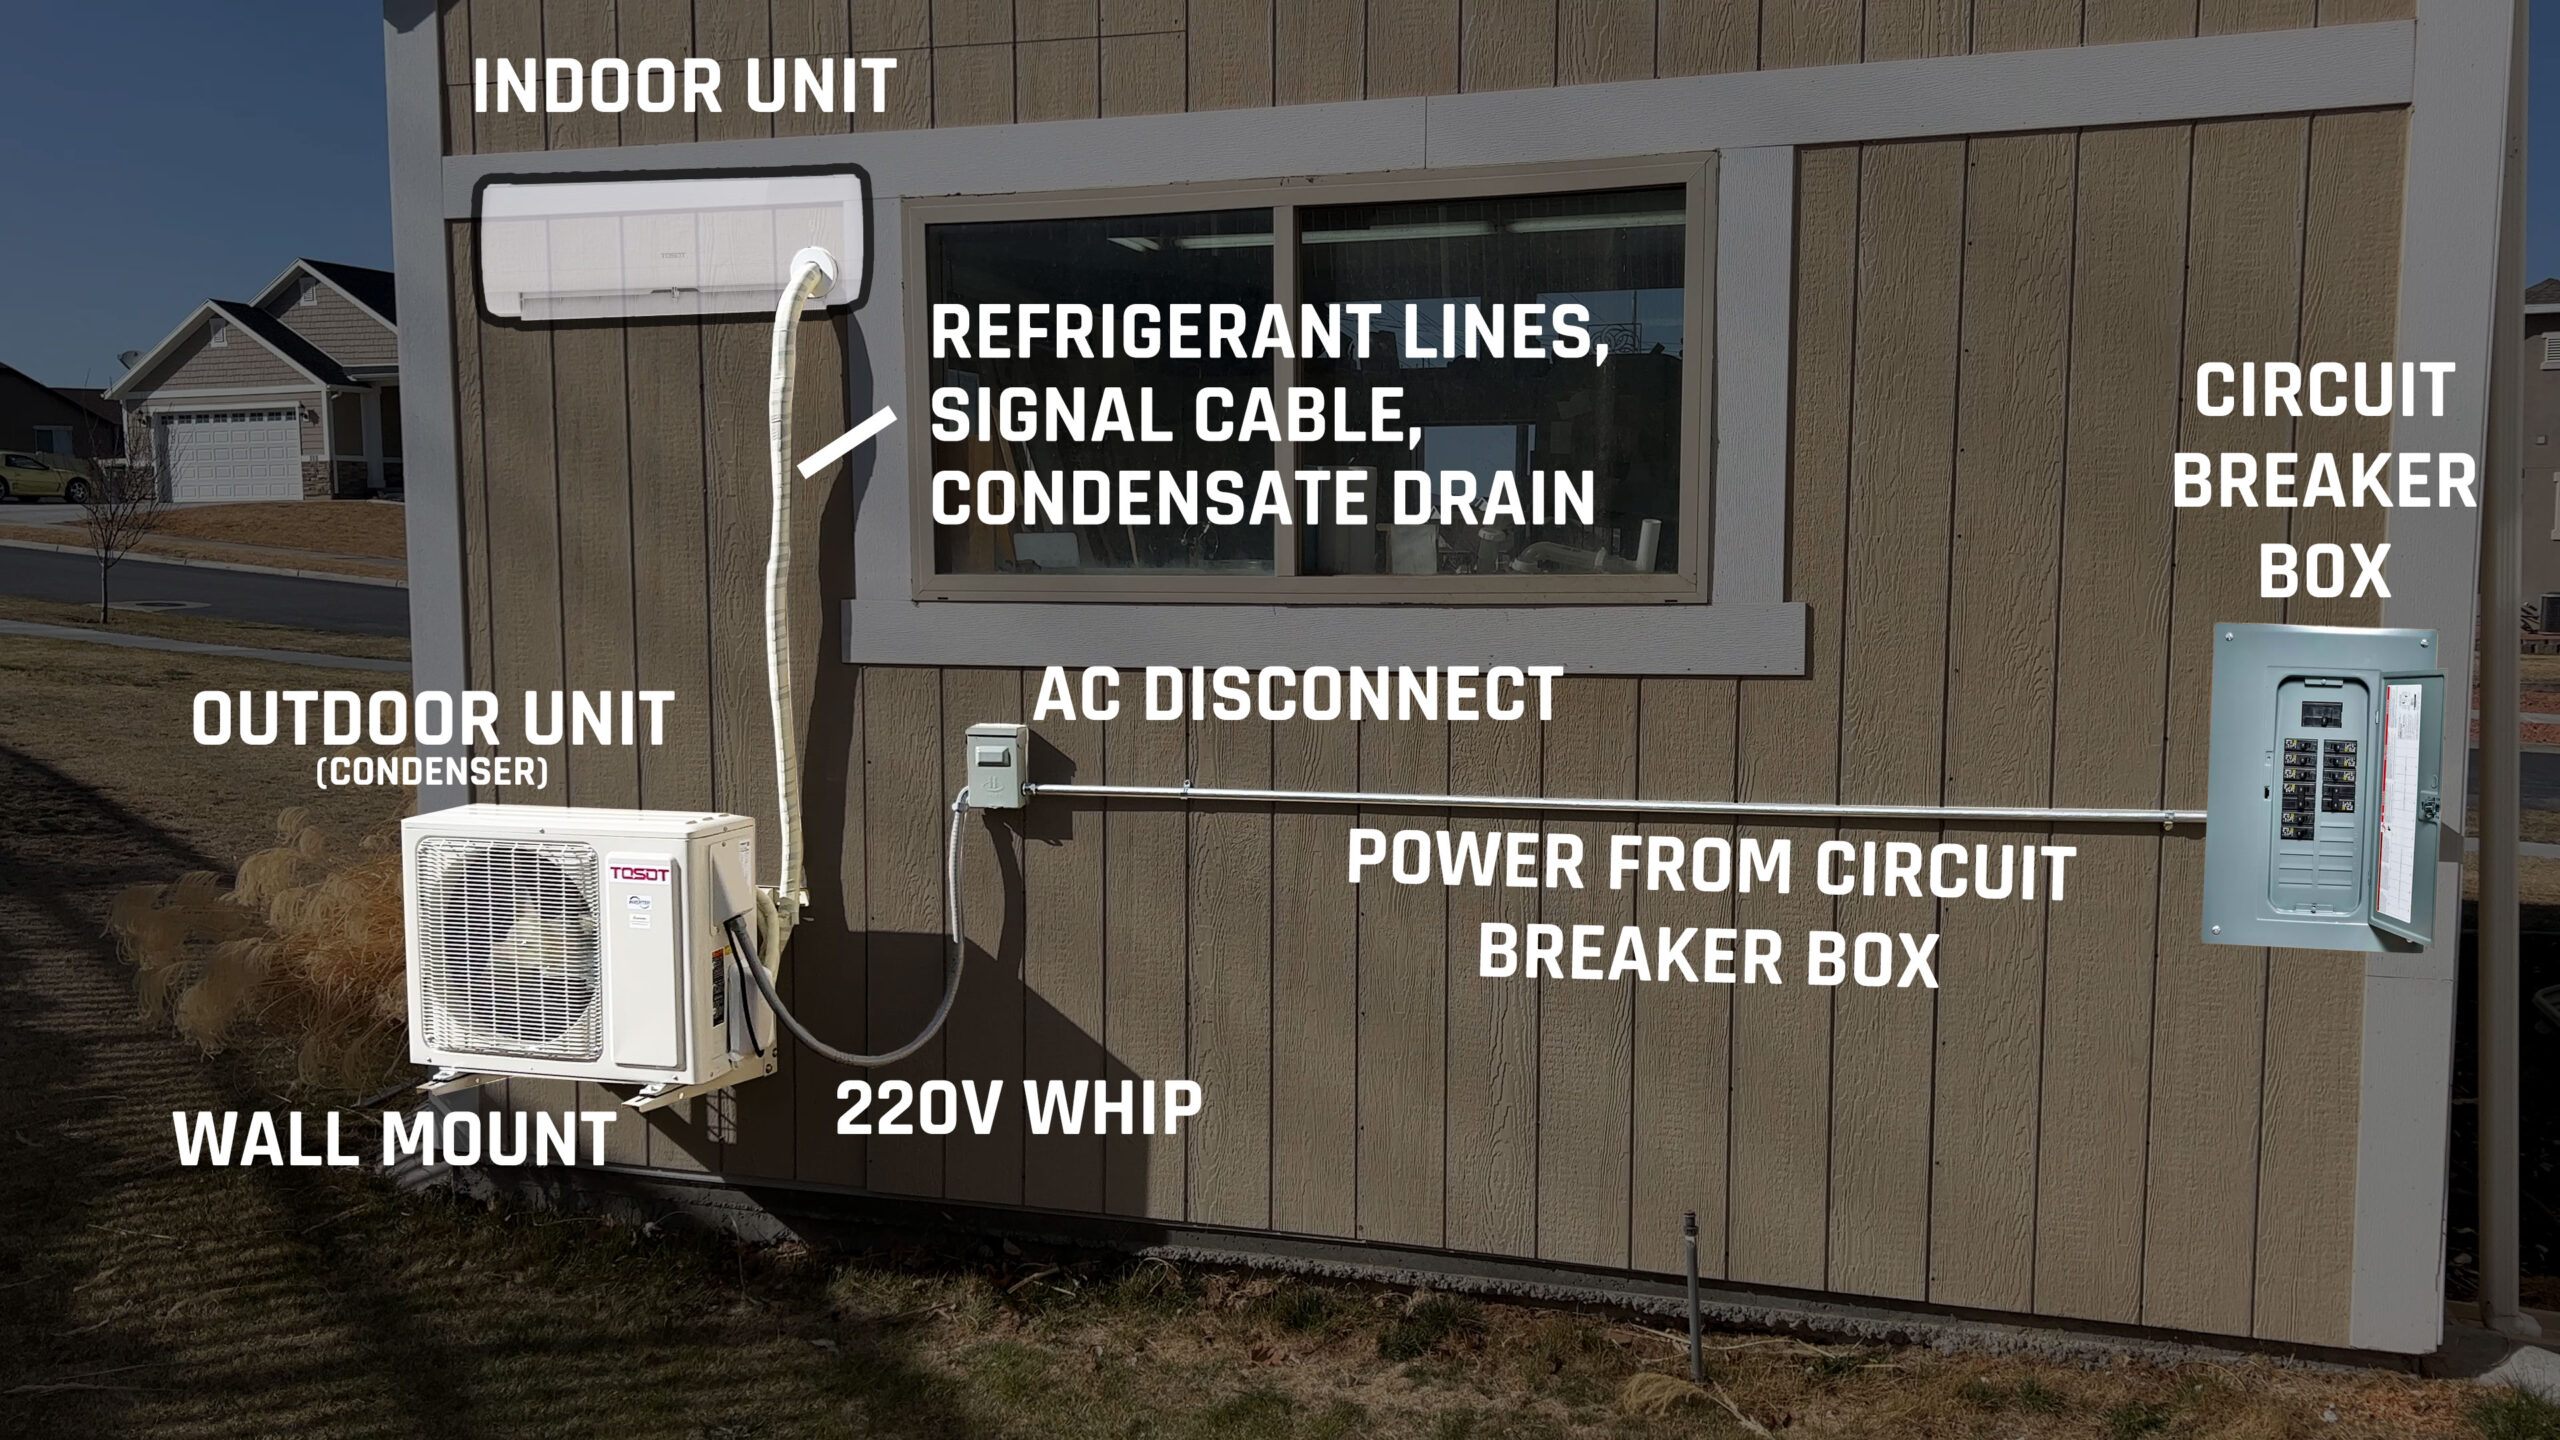
A split unit air conditioner consists of two main components: an indoor unit (the air handler) and an outdoor unit (the compressor/condenser). These are connected by refrigerant lines and electrical wiring.
Advantages of a split unit include:
- Quiet operation: The noisy compressor is located outside.
- Energy efficiency: Many models are highly energy efficient, saving you money on your electricity bill.
- Zoned cooling: You can cool specific rooms or areas as needed.
- Easy installation: Compared to central air, installation is generally less disruptive and complex.
- Flexibility: Various indoor unit styles (wall-mounted, ceiling cassette, floor-standing) offer flexible placement options.
Q2: Can I Install a Split Unit Myself? What Skills Are Required?
While some homeowners may be tempted to DIY the installation to save money, it's generally not recommended unless you have significant experience and the necessary skills. Installing a split unit involves:
- Electrical wiring: Connecting the unit to a power source requires knowledge of electrical safety and wiring codes. Incorrect wiring can cause fires or electrical shock.
- Refrigerant handling: Working with refrigerant requires specialized tools and knowledge of environmental regulations. Releasing refrigerant into the atmosphere is illegal and harmful.
- Brazing/Flaring: Connecting refrigerant lines often involves brazing or flaring copper pipes. This requires specific tools and techniques to create leak-proof seals.
- Vacuuming: The refrigerant lines must be vacuumed to remove air and moisture, which can damage the system.
- Structural mounting: Securely mounting both the indoor and outdoor units requires knowledge of building codes and appropriate fasteners.
Consider professional installation if you lack any of the following skills:
- Advanced electrical knowledge
- Experience with HVAC systems and refrigerant handling
- Brazing/flaring copper pipes
- Vacuuming and pressure testing
- Basic plumbing and carpentry skills
- Understanding of local building codes
Even if you feel confident, remember that incorrect installation can void the warranty and lead to costly repairs down the line.
Q3: What Tools and Materials Are Needed for Split Unit Installation?
Installing a split unit requires a variety of specialized tools and materials. Here's a general list, but always refer to the manufacturer's instructions for specific requirements:
- Refrigerant manifold gauge set: For measuring refrigerant pressure.
- Vacuum pump: To remove air and moisture from the refrigerant lines.
- Flaring tool kit: To create flared connections for refrigerant lines (if flaring is required by the unit).
- Brazing torch and equipment: To braze copper pipes together (if brazing is required).
- Tube cutter: To cut copper refrigerant lines.
- Tube bender: To bend copper pipes without kinking them.
- Drill and drill bits: For drilling holes in walls for refrigerant lines and mounting brackets.
- Level: To ensure the indoor and outdoor units are level.
- Screwdrivers, wrenches, and pliers: Assorted sizes.
- Wire stripper and crimper: For electrical wiring.
- Multimeter: To test electrical connections.
- Vacuum gauge: To accurately measure vacuum pressure.
- Pipe insulation: To insulate refrigerant lines.
- Mounting brackets: For both indoor and outdoor units.
- Refrigerant line set: Pre-charged or empty copper lines, depending on the unit.
- Electrical wiring and connectors: Appropriate gauge for the unit's power requirements.
- PVC conduit: To protect electrical wiring.
- Wall sleeve or sealant: To seal the hole where refrigerant lines pass through the wall.
- Nitrogen tank and regulator: For pressure testing the refrigerant lines (recommended).
- Safety glasses and gloves: For personal protection.
This list is not exhaustive, and specific requirements may vary depending on the unit and local codes. Purchasing a complete installation kit can be helpful, but ensure it includes all necessary components for your specific unit.
Q4: What are the Key Steps in the Split Unit Installation Process?
Here's a simplified overview of the installation process. Always consult the manufacturer's instructions for detailed steps specific to your unit:
- Planning and Preparation: Determine the optimal location for both the indoor and outdoor units. Consider proximity to power sources, drainage, and airflow. Obtain any necessary permits.
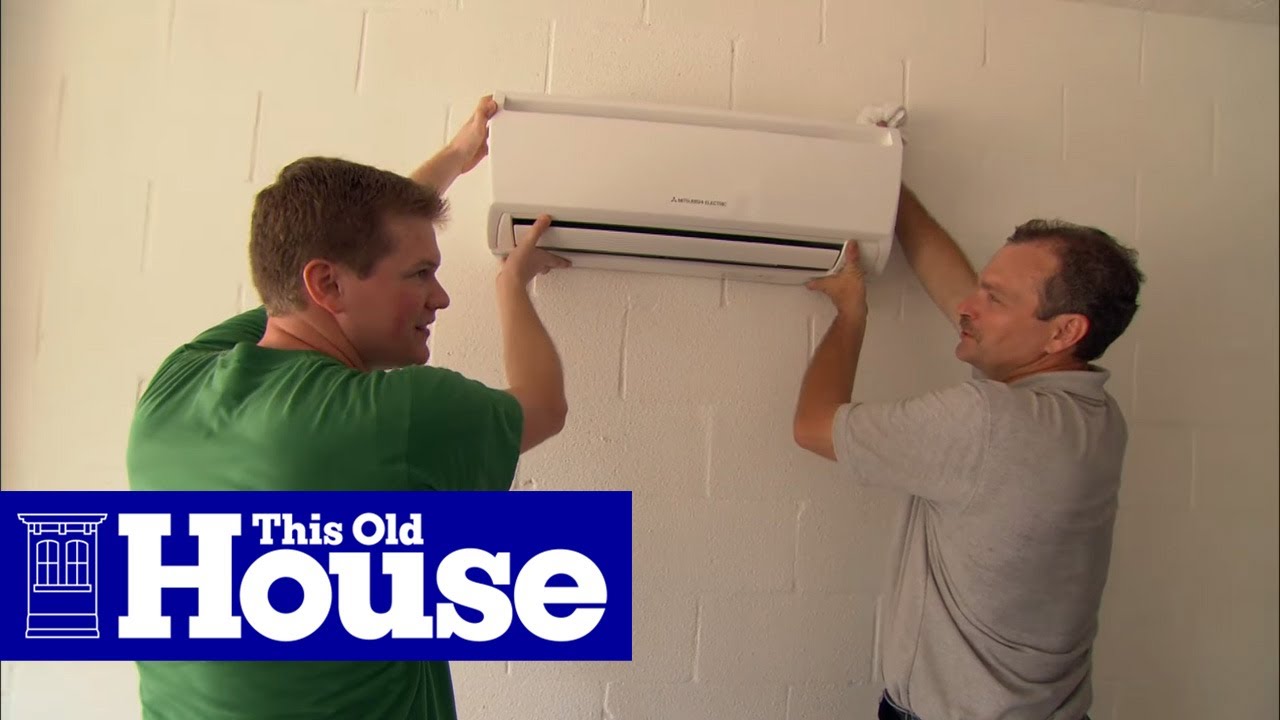
- Mounting the Indoor Unit: Securely mount the mounting bracket to the wall, ensuring it's level. Attach the indoor unit to the bracket.
- Drilling the Hole: Drill a hole through the wall for the refrigerant lines, drain line, and electrical wiring. Ensure the hole is properly sealed after installation to prevent air leaks and water damage.
- Mounting the Outdoor Unit: Choose a level and stable location for the outdoor unit, away from obstructions and direct sunlight. Mount the unit on a concrete pad or wall bracket.
- Connecting Refrigerant Lines: Carefully connect the refrigerant lines between the indoor and outdoor units. Flare or braze the connections, ensuring they are leak-proof.
- Connecting the Drain Line: Connect the drain line to the indoor unit and route it to a suitable drainage point. Ensure the drain line slopes downwards to prevent water from backing up.
- Wiring the Electrical Connections: Connect the electrical wiring between the indoor and outdoor units, and to the power source. Always follow local electrical codes and safety precautions.
- Vacuuming the Refrigerant Lines: Connect a vacuum pump to the refrigerant lines and evacuate all air and moisture. This is crucial for the system's performance and longevity.
- Releasing Refrigerant: If the unit uses pre-charged lines, carefully release the refrigerant into the system according to the manufacturer's instructions. If not pre-charged, refrigerant needs to be added by a professional.
- Pressure Testing (Recommended): Use nitrogen to pressure test the refrigerant lines for leaks before releasing refrigerant (if the system is not pre-charged).
- Insulating Refrigerant Lines: Insulate the refrigerant lines to prevent condensation and heat loss.
- Testing and Startup: Turn on the power and test the unit to ensure it's operating correctly. Check for leaks and proper airflow.
This is a simplified overview. Each step involves specific techniques and precautions. Again, professional installation is highly recommended if you're not comfortable with any of these steps.
Q5: What Common Mistakes Should I Avoid During Split Unit Installation?
Several common mistakes can lead to problems with your split unit. Avoiding these will help ensure a smooth and successful installation:
- Improper Unit Placement: Failing to consider factors like sunlight, airflow, and proximity to power sources can reduce efficiency and performance.
- Incorrectly Sized Unit: Choosing a unit that's too small won't adequately cool the space, while a unit that's too large will cycle on and off frequently, wasting energy and reducing dehumidification.
- Leaky Refrigerant Lines: Improperly flared or brazed connections can lead to refrigerant leaks, reducing cooling capacity and potentially damaging the environment.
- Inadequate Vacuuming: Failing to properly vacuum the refrigerant lines can leave air and moisture in the system, which can corrode components and reduce efficiency.
- Incorrect Wiring: Incorrect wiring can damage the unit, create a fire hazard, or void the warranty.
- Poor Drain Line Installation: Improperly sloped or clogged drain lines can lead to water leaks and mold growth.
- Ignoring Building Codes: Failing to comply with local building codes can result in fines and require costly rework.
- Neglecting the Manufacturer's Instructions: Always follow the manufacturer's instructions for installation, operation, and maintenance.
Careful planning and attention to detail are essential for a successful split unit installation.
Q6: How Much Does Professional Split Unit Installation Typically Cost?
The cost of professional split unit installation can vary depending on several factors:
- Unit Size and Type: Larger units and more complex models will typically cost more to install.
- Installation Complexity: Factors like the distance between the indoor and outdoor units, the difficulty of running refrigerant lines, and any necessary electrical work can affect the price.
- Location: Labor costs vary depending on your geographic location.
- Contractor's Rates: Different HVAC contractors will have different rates. It's always a good idea to get quotes from multiple contractors before making a decision.
- Permits: The cost of any required permits will also add to the overall expense.
Expect to pay anywhere from $500 to $2000 or more for professional installation. Get a detailed quote from a reputable HVAC contractor to get an accurate estimate.
Factors that contribute to increased cost:
- Need for electrical outlet installation or upgrade
- Long refrigerant line runs (requiring additional materials and labor)
- Difficult access to the installation location
- Structural modifications needed for mounting
Q7: What Maintenance is Required After Installation?
Proper maintenance is crucial for ensuring the longevity and efficiency of your split unit. Here are some essential maintenance tasks:
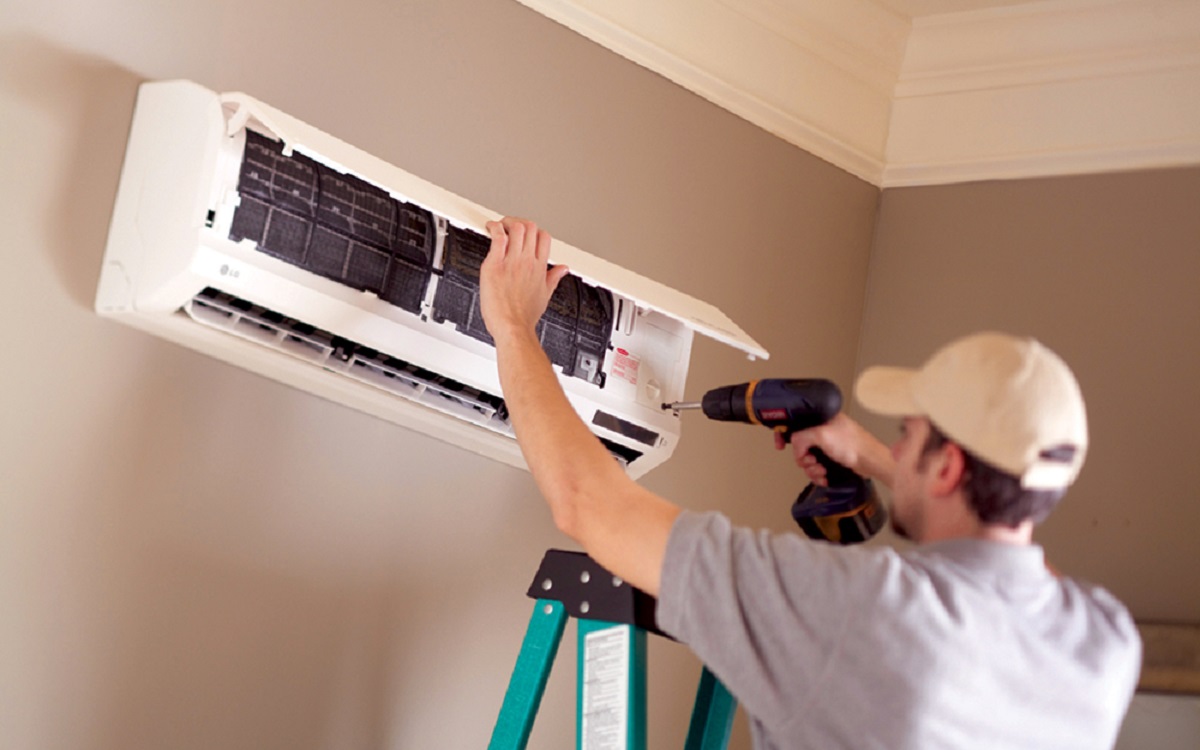
- Regular Filter Cleaning/Replacement: Clean or replace the air filter in the indoor unit every 1-3 months, depending on usage and air quality. A dirty filter restricts airflow and reduces efficiency.
- Coil Cleaning: Periodically clean the coils of both the indoor and outdoor units. Dust and debris can accumulate on the coils, reducing their ability to transfer heat. Use a coil cleaner specifically designed for HVAC systems.
- Drain Line Cleaning: Regularly check and clean the drain line to prevent clogs. A clogged drain line can cause water leaks and mold growth. You can use a wet/dry vacuum or a specialized drain line cleaner.
- Outdoor Unit Cleaning: Keep the outdoor unit free from debris, such as leaves, branches, and snow. Clear any obstructions that may block airflow.
- Professional Inspection and Tune-up: Schedule a professional inspection and tune-up at least once a year. A qualified HVAC technician can identify and address any potential problems before they become major issues.
- Check Refrigerant Levels: Have a professional check the refrigerant levels periodically. Low refrigerant levels indicate a leak, which needs to be repaired promptly.
By following these maintenance tips, you can ensure that your split unit operates efficiently and reliably for many years. Refer to your unit's owner's manual for specific maintenance recommendations.
Disclaimer: This FAQ provides general information and should not be considered a substitute for professional advice. Always consult with a qualified HVAC professional for specific guidance on installing and maintaining your split unit air conditioner. Safety is paramount.