How To Install A Toilet Flange On Concrete Floor

One of the most common plumbing problems homeowners face is a leaky or damaged toilet flange, especially when it's installed on a concrete floor. This can manifest as water seeping around the base of the toilet, a rocking toilet, or even unpleasant sewer odors. Replacing a toilet flange on concrete requires a bit of effort and the right approach, but it's often a manageable DIY project. Let's walk through the process.
Understanding the Challenge: Toilet Flanges and Concrete
Toilet flanges are designed to connect your toilet to the drainpipe. They're usually made of plastic (PVC or ABS) or metal and are secured to the floor. When installed on concrete, the fastening method and potential for corrosion or cracking become critical factors. Concrete doesn't give like wood, so proper alignment and secure anchoring are essential. A damaged flange can lead to water leaks, which, if left unchecked, can damage your flooring and subfloor, and even lead to mold growth.
Step-by-Step Guide: Replacing a Toilet Flange on Concrete
Step 1: Preparation is Key
Safety First! Before you begin, turn off the water supply to the toilet at the shut-off valve (usually located behind the toilet). Flush the toilet to remove as much water as possible. Then, use a sponge or wet/dry vacuum to remove any remaining water from the tank and bowl. Wear gloves and eye protection throughout this project. Also, ensure the work area is well-ventilated.
Gather your tools and materials. You'll likely need:
- New toilet flange (choose the correct size and type for your drainpipe)
- Toilet wax ring (or a waxless alternative)
- Putty knife or scraper
- Pry bar (optional, for removing the old toilet)
- Hammer drill with masonry bits (sized according to your flange's mounting holes)
- Concrete anchors or screws (compatible with your flange and drill bits)
- Screwdriver or drill with appropriate bits
- Adjustable wrench
- Caulk (silicone or plumber's putty)
- Rags or paper towels
- Wet/dry vacuum
- Safety glasses and gloves
Step 2: Removing the Old Toilet
Carefully remove the decorative bolt caps at the base of the toilet. Use an adjustable wrench to loosen the nuts holding the toilet to the flange. You may need to use penetrating oil if the nuts are corroded. Once the nuts are removed, gently rock the toilet from side to side to break the wax seal. Lift the toilet straight up and off the flange. It's best to have someone help you with this, as toilets can be heavy and awkward.
Important: Place the toilet on old towels or cardboard to protect your flooring and the toilet itself.
Step 3: Removing the Old Flange
This is where things can get a bit tricky, depending on how the old flange was installed. Begin by scraping away any old caulk or debris around the flange using a putty knife or scraper. Inspect the flange closely to determine how it's attached to the concrete.
If the flange is attached with screws/anchors: Remove the screws or anchors. They might be corroded, so penetrating oil and a bit of patience may be required. If the screws are stripped, you may need to use a screw extractor.
If the flange is glued to a pipe: You'll need to cut the old flange off. Use a saw (hacksaw or PVC saw, depending on the material) to carefully cut the flange from the pipe. Be careful not to damage the drainpipe itself. Cut as close to the flange as possible. You might need to use a chisel and hammer to carefully break away the remaining flange material.
Important: Be very careful when working with tools near the drainpipe. Damaging the pipe will significantly increase the complexity of the repair.
Once the old flange is removed, thoroughly clean the area around the drainpipe. Remove any old adhesive, caulk, or debris. A wet/dry vacuum is helpful for this.
Step 4: Installing the New Flange
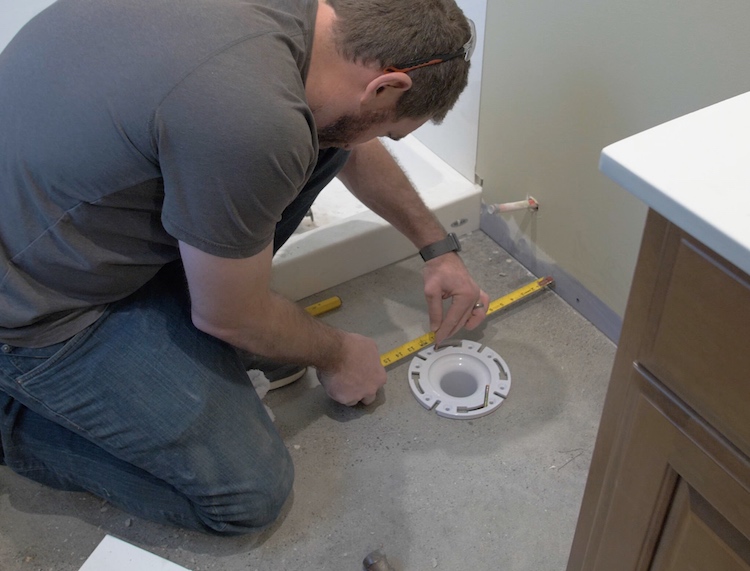
This is the most crucial part of the process. Before installing the new flange, dry-fit it to ensure it aligns properly with the drainpipe and the toilet mounting holes. Ensure it sits flush with the concrete floor. If there are any gaps, you may need to use shims to level the flange.
Determine the attachment method: There are several ways to attach a toilet flange to concrete:
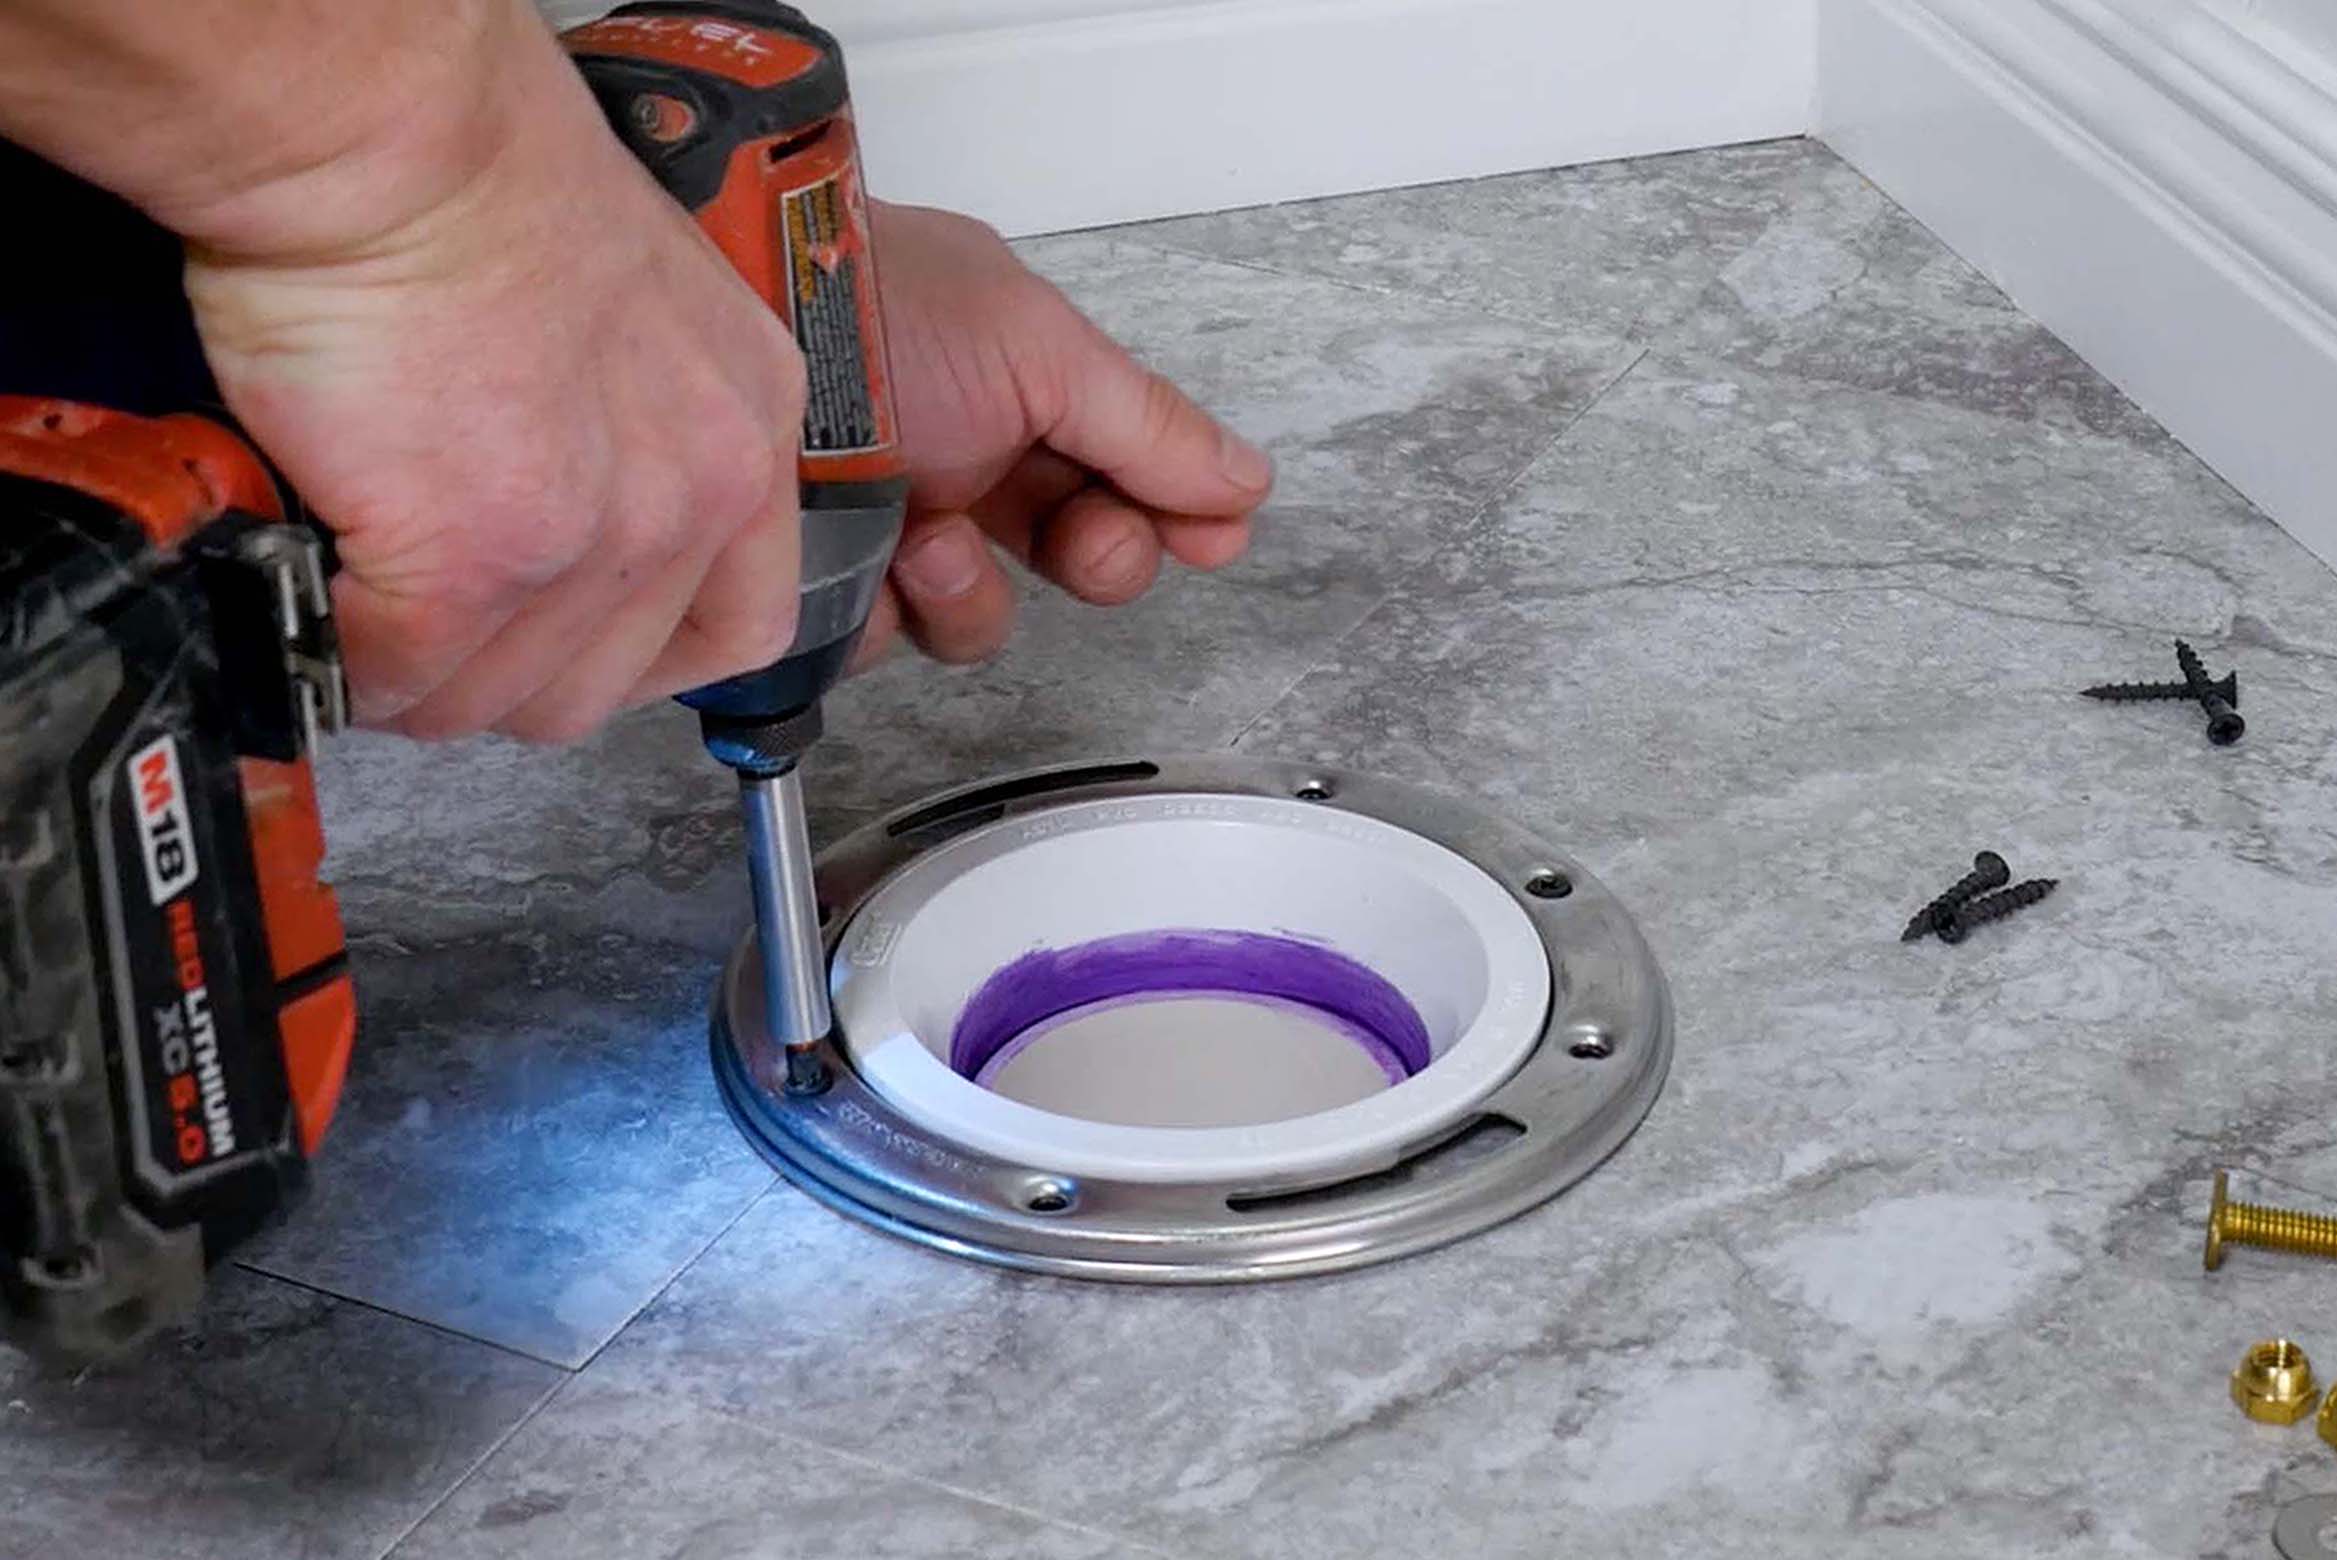
- Concrete Anchors: This is a common method. Use a hammer drill with a masonry bit to drill pilot holes through the flange's mounting holes into the concrete. The size of the drill bit should match the size of the concrete anchors you're using. Insert the anchors into the holes and then screw the flange down using screws that are compatible with the anchors.
- Concrete Screws: Similar to anchors, but the screws are designed to tap directly into the concrete. Drill pilot holes as above, but use screws specifically designed for concrete.
- Epoxy: In some cases, you can use a strong epoxy adhesive to secure the flange to the concrete. This is usually done in conjunction with screws or anchors for added stability. Follow the manufacturer's instructions for the epoxy.
- Expansion Bolts: Expansion bolts provide a very secure hold in concrete. Drill a hole slightly larger than the bolt, insert the bolt and tighten. As you tighten, the bolt expands within the hole, providing a firm grip.
Applying Adhesive (if necessary): If you're using epoxy, apply it to the bottom of the flange where it will contact the concrete. Follow the manufacturer's instructions for application and curing time.
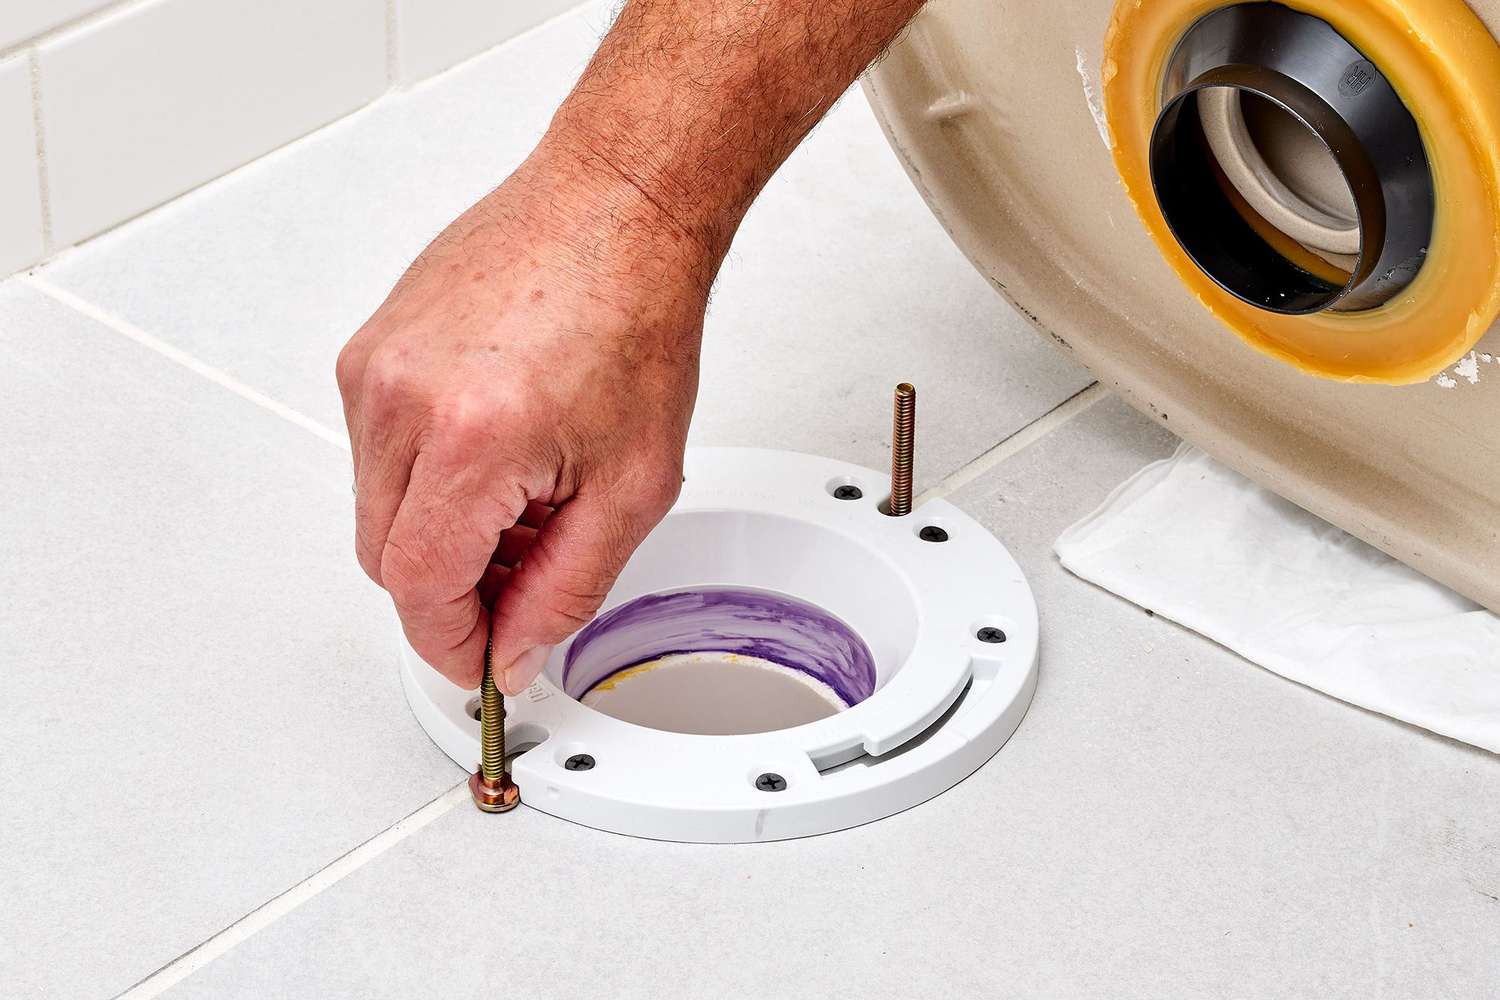
Securing the Flange: Carefully align the flange with the drainpipe and mounting holes. Insert the concrete anchors or screws through the flange and into the pilot holes. Tighten the screws evenly, but don't overtighten, as this could crack the flange or strip the threads in the concrete. Ensure the flange is securely attached and doesn't wobble.
Important: Use the correct size drill bit and fasteners. Using the wrong size can result in a weak connection or damage to the concrete.
Step 5: Connecting the Flange to the Drainpipe
This step depends on whether the old flange was glued to the pipe or not.
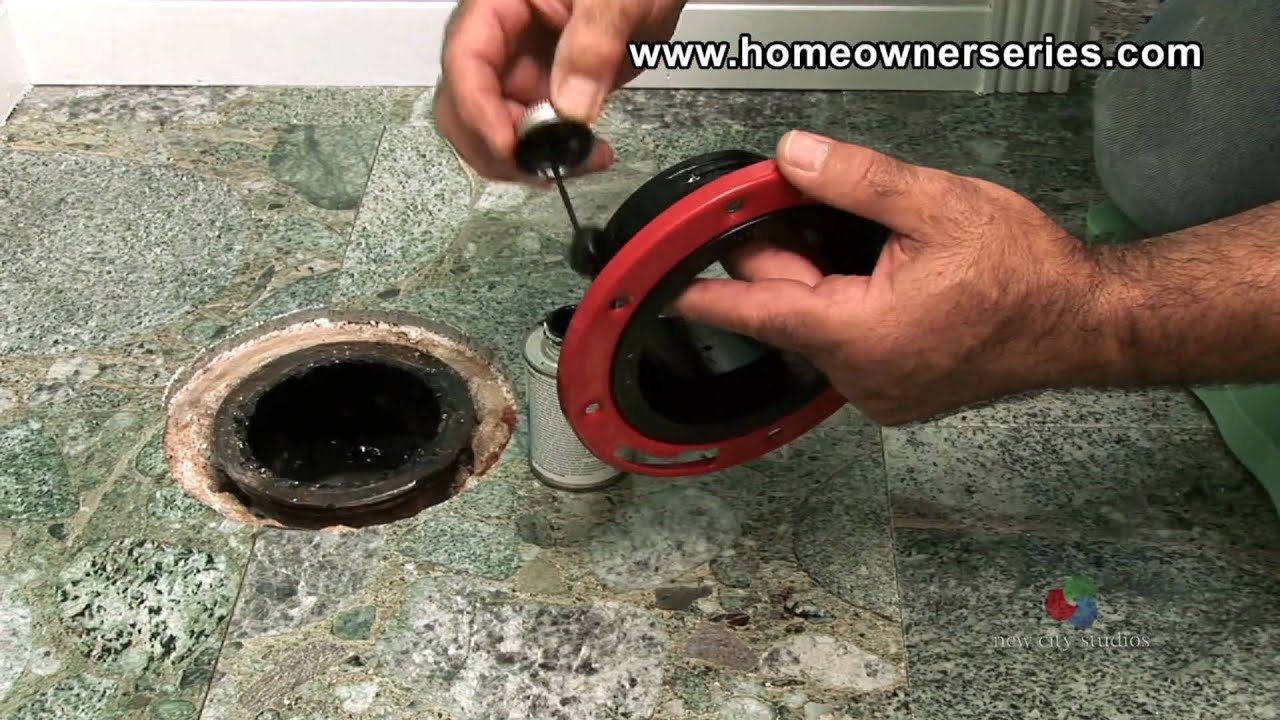
If the old flange was glued: You'll need to use a PVC or ABS coupling to connect the new flange to the existing drainpipe. Clean the inside of the coupling and the outside of the drainpipe with a primer. Then, apply PVC or ABS cement to both surfaces and quickly slide the coupling onto the pipe. Hold it in place for a few seconds until the cement sets. Then attach the flange to the coupling, following the steps previously described.
If the old flange was not glued, ensure a tight fit between the new flange and existing pipe.
Step 6: Installing the Toilet
Place a new wax ring (or waxless alternative) on the flange, ensuring it's centered. Carefully lower the toilet onto the flange, aligning the mounting holes. Press down firmly to create a good seal. Install the bolts and washers, tightening them evenly. Do not overtighten, as this could crack the porcelain of the toilet. Replace the decorative bolt caps.
Step 7: Caulking and Final Touches
Apply a bead of caulk around the base of the toilet where it meets the floor. This will help prevent water from seeping underneath. Smooth the caulk with your finger or a caulk smoothing tool. Turn the water supply back on and check for leaks around the base of the toilet and the shut-off valve. Flush the toilet several times to ensure it's working properly.
When to Call a Professional
While this project is often manageable for DIYers, there are situations where it's best to call a professional plumber:
- Damaged Drainpipe: If you accidentally damage the drainpipe during the removal process, you'll need a plumber to repair it.
- Difficult Removal: If you're unable to remove the old flange without causing further damage, a plumber has the specialized tools and experience to handle it.
- Complex Plumbing: If your plumbing system is complex or you're not comfortable working with pipes and fittings, it's best to leave the job to a professional.
- Persistent Leaks: If you're unable to stop the leaks after installing the new flange, there may be an underlying issue that requires professional attention.
Tips for Success
- Take your time: Rushing through the process can lead to mistakes and leaks.
- Use the right tools: Having the right tools will make the job easier and prevent damage.
- Read the instructions: Follow the manufacturer's instructions for the flange, wax ring, and any adhesives you're using.
- Don't be afraid to ask for help: If you're unsure about any step, consult a plumbing professional or experienced DIYer.
Troubleshooting Common Problems
Toilet Rocks After Installation: This usually indicates that the flange is not level or that the wax ring is not properly sealed. Try shimming the toilet to level it. If that doesn't work, you may need to remove the toilet and replace the wax ring.
Leaks Around the Base of the Toilet: This could be due to a faulty wax ring, a loose flange, or a cracked toilet. Check the flange to ensure it's securely attached. If the flange is secure, you may need to replace the wax ring. Also inspect the toilet for cracks.
Toilet Clogs Frequently: While not directly related to the flange installation itself, a proper flange ensures a clear path into the drainpipe. If clogs persist after flange replacement, the issue may be further down the drain line and require snaking or other plumbing interventions.
Conclusion
Replacing a toilet flange on a concrete floor can seem daunting, but by following these steps and taking your time, you can often successfully complete the project yourself. Remember to prioritize safety, use the right tools, and don't hesitate to call a professional if you encounter any difficulties. With a little effort and patience, you can restore your toilet to proper working order and prevent further water damage.