How To Install A Wall Ac Unit
Everything You Need to Know About Installing a Wall AC Unit
Wall air conditioners, also known as through-the-wall air conditioners, offer a convenient and relatively affordable cooling solution for single rooms or smaller spaces. Unlike window units, they offer a more permanent installation and don't obstruct window views. This comprehensive guide will walk you through the installation process, discuss key considerations, and compare popular models to help you make the right choice.
Is a Wall AC Right For You?
Before diving into the installation process, it's crucial to determine if a wall AC unit is the best option for your needs. Consider the following:
- Room Size: Wall AC units are typically designed for single rooms, ranging from small bedrooms to larger living areas.
- Permanent Installation: Unlike window units, wall ACs require cutting a hole in the wall, making it a more permanent solution.
- Building Codes and Regulations: Check your local building codes and HOA regulations before proceeding with installation. Permits may be required.
- Existing Sleeve: If you're replacing an existing wall AC, you'll need to ensure the new unit fits the existing sleeve.
Pros and Cons of Wall AC Units
Weighing the advantages and disadvantages can help inform your decision:
Pros:
- Unobstructed View: Doesn't block windows like window units.
- More Secure: More difficult to break into compared to window units.
- Quieter Operation: Often quieter than comparable window units.
- More Efficient: Many models offer improved energy efficiency.
- Permanent Installation: Aesthetically cleaner look compared to temporary window units.
Cons:
- More Complex Installation: Requires cutting a hole in the wall.
- Permanent: Less flexible than window units; cannot be easily moved.
- Potential for Drafts: If not properly sealed, drafts can occur around the unit.
- Cost: Typically more expensive than window units.
Choosing the Right Wall AC Unit
Selecting the right unit involves considering several factors, including cooling capacity (BTU), energy efficiency (EER), and features.
BTU (British Thermal Units)
BTU measures the cooling capacity of the unit. Choose a BTU rating appropriate for the room size. A general guideline is:
- 100-150 sq ft: 5,000 BTU
- 150-250 sq ft: 6,000 BTU
- 250-300 sq ft: 7,000 BTU
- 300-350 sq ft: 8,000 BTU
- 350-400 sq ft: 9,000 BTU
- 400-450 sq ft: 10,000 BTU
- 450-550 sq ft: 12,000 BTU
- 550-700 sq ft: 14,000 BTU
Consider factors like sunlight exposure, ceiling height, and insulation when determining the appropriate BTU. Rooms with high sunlight or poor insulation may require a higher BTU rating.
EER (Energy Efficiency Ratio)
EER measures the cooling efficiency of the unit. A higher EER indicates better energy efficiency and lower operating costs. Look for units with an EER of 10 or higher. Many modern wall AC units also feature the SEER (Seasonal Energy Efficiency Ratio) rating which is a more comprehensive measure of seasonal efficiency. While SEER is more commonly associated with central AC systems, some wall AC models may list this rating.
Features to Consider
- Remote Control: Convenient for adjusting settings from across the room.
- Timer: Allows you to schedule the unit to turn on or off.
- Sleep Mode: Gradually increases the temperature to save energy while you sleep.
- Energy Saver Mode: Cycles the fan on and off to conserve energy.
- Filter Indicator: Alerts you when the filter needs to be cleaned or replaced.
- Multiple Fan Speeds: Provides greater control over airflow and cooling.
- Dehumidification Mode: Reduces humidity in the room.
Popular Wall AC Brands and Models
Here are some popular brands and models to consider:
- Frigidaire: Offers a wide range of wall AC units with various features and BTU ratings. Known for reliability and affordability.
- GE (General Electric): Known for their innovative features and energy-efficient models.
- LG: Offers stylish and feature-rich wall AC units with smart home integration.
- Friedrich: Specializes in high-end, durable, and quiet wall AC units. A premium option.
- Koldfront: Known for its affordable and compact wall AC units, suitable for smaller spaces.
Example Models:
- Frigidaire FFRE103WAE: 10,000 BTU, EER 10.7, Remote control, Energy saver mode.
- GE AHE12AC: 12,000 BTU, EER 10.6, Wi-Fi connectivity, Voice control.
- LG LT1230CR: 12,000 BTU, EER 10.8, Remote control, Sleep mode.
- Friedrich Chill CP06G10B: 6,000 BTU, EER 12.0, Very quiet operation, Auto air swing.
Wall AC Installation: A Step-by-Step Guide
Important: If you're not comfortable working with power tools and electrical wiring, it's best to hire a qualified HVAC professional. Improper installation can be dangerous and void the warranty.
This guide assumes you are replacing an existing unit or have already created the necessary wall opening and sleeve. If you need to create a new opening, consult a professional contractor.
Tools and Materials You'll Need:
- Wall AC unit
- Screwdriver (Phillips and flathead)
- Level
- Measuring tape
- Caulk or sealant
- Insulation (optional)
- Gloves
- Safety glasses
Step-by-Step Installation:
- Safety First: Turn off the power to the circuit breaker that serves the outlet where the AC unit will be plugged in.
- Prepare the Sleeve: Clean the existing sleeve thoroughly. Remove any debris or old sealant.
- Install the Support Frame (if applicable): Some wall AC units come with a support frame that needs to be installed in the sleeve. Follow the manufacturer's instructions.
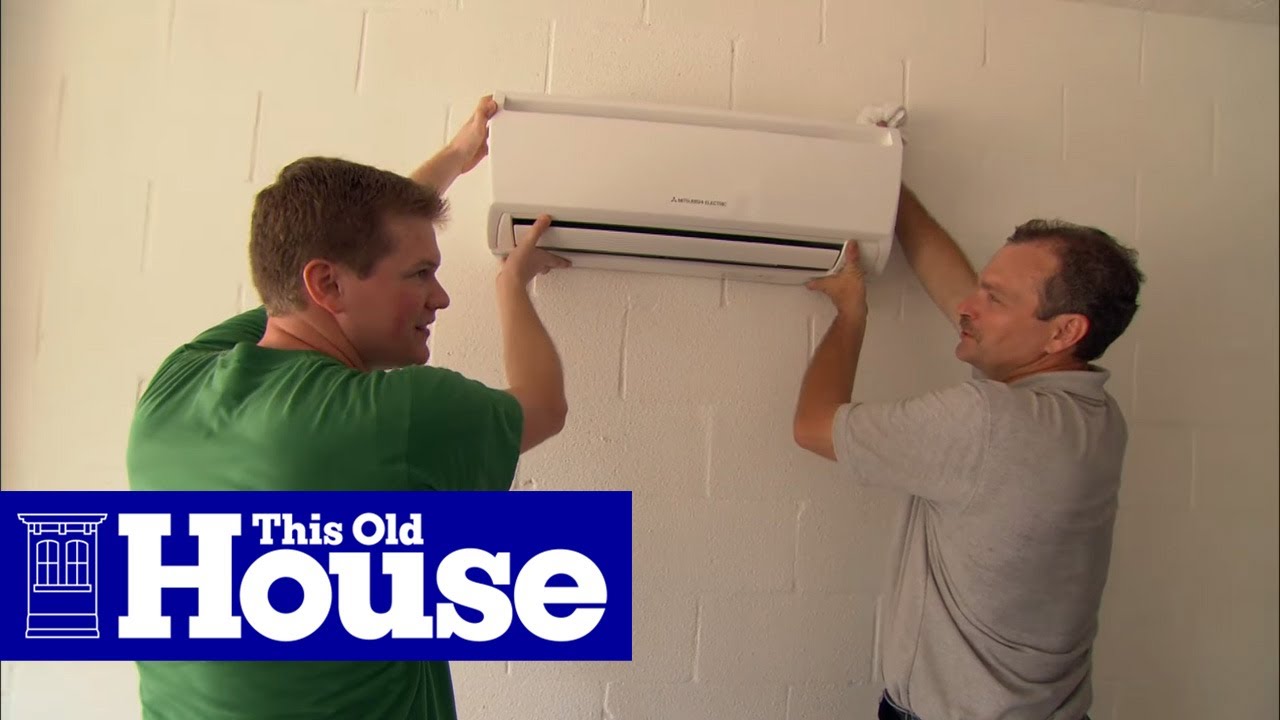
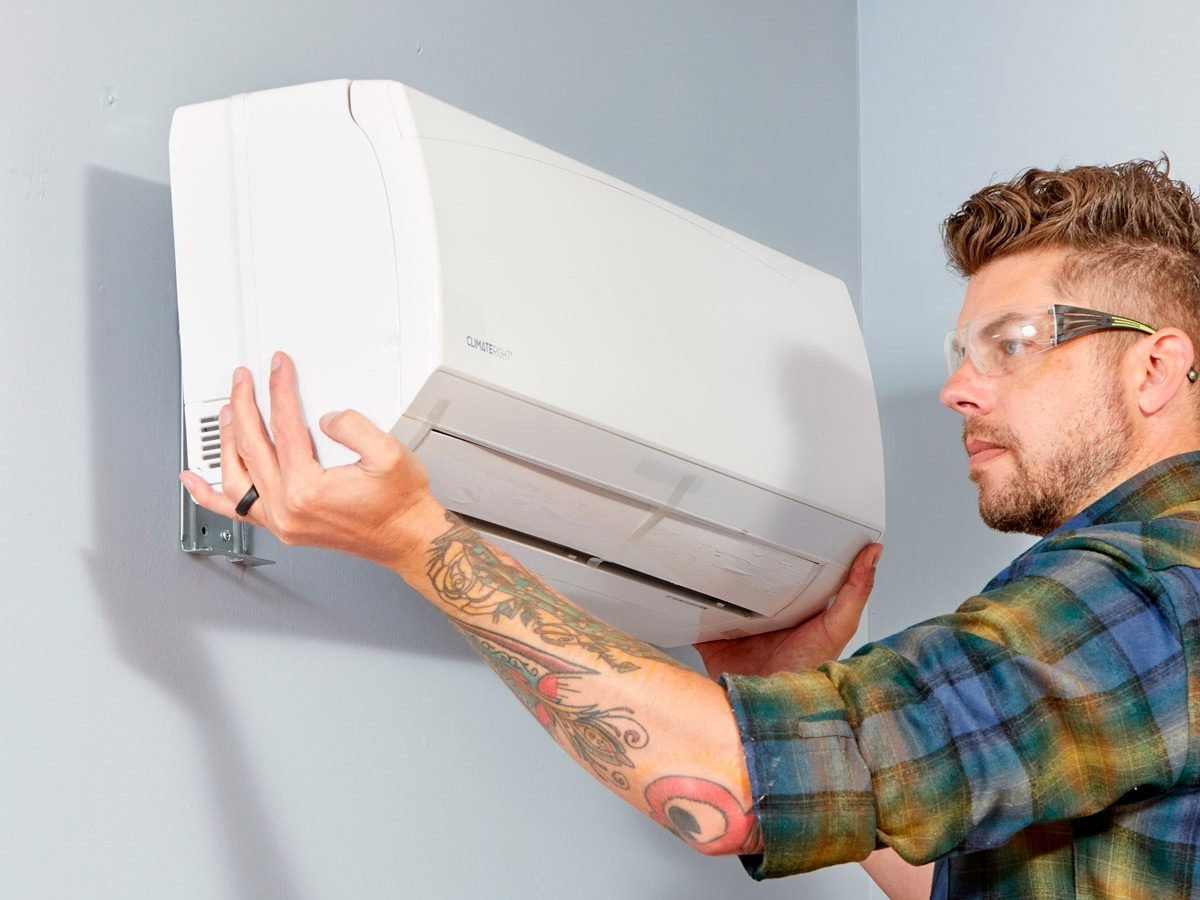
- Slide the Unit into the Sleeve: Carefully slide the AC unit into the sleeve. Ensure it's properly aligned and centered.
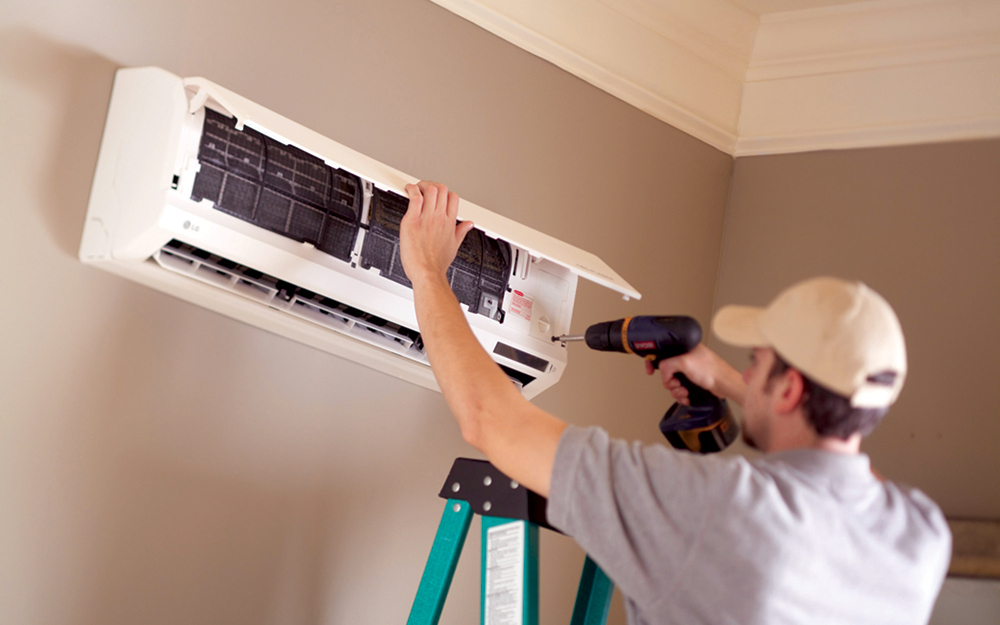
- Secure the Unit: Use the screws provided by the manufacturer to secure the unit to the sleeve or support frame.
- Seal the Gaps: Apply caulk or sealant around the edges of the unit to seal any gaps and prevent air leaks. Pay close attention to the top and bottom edges.
- Insulate (Optional): For added insulation, you can apply insulation foam or weatherstripping around the unit.
- Check the Level: Use a level to ensure the unit is level. Adjust as needed.
- Connect the Power: Plug the AC unit into the outlet.
- Test the Unit: Turn on the power at the circuit breaker. Turn on the AC unit and test all the functions (cooling, fan speeds, etc.).
Warranty and Maintenance
Warranty Information
Wall AC units typically come with a 1-year warranty on parts and labor. Some manufacturers offer extended warranties. Be sure to register your unit with the manufacturer to ensure proper warranty coverage. Read the warranty carefully to understand what is covered and what is not.
Maintenance Tips
Regular maintenance can extend the life of your wall AC unit and ensure optimal performance:
- Clean the Filter: Clean the filter every 2-4 weeks. A dirty filter can restrict airflow and reduce cooling efficiency.
- Clean the Coils: Clean the condenser coils (outdoor unit) at least once a year. Use a soft brush or vacuum cleaner.
- Check the Seals: Inspect the seals around the unit regularly and reapply caulk or sealant as needed.
- Professional Inspection: Have the unit professionally inspected and serviced annually by a qualified HVAC technician.
Cost Considerations
The cost of a wall AC unit depends on the BTU rating, features, and brand. Expect to pay anywhere from $300 to $1000 or more for the unit itself. Installation costs can range from $100 to $500 or more, depending on the complexity of the installation.
Factor in operating costs as well. A more energy-efficient unit (higher EER) will save you money on your energy bills over time.
Conclusion
Installing a wall AC unit can be a relatively straightforward process, but it's important to do your research and choose the right unit for your needs. By following the steps outlined in this guide and considering the factors discussed, you can enjoy cool and comfortable air in your home for years to come. Remember to prioritize safety and consult with a professional if you're unsure about any aspect of the installation.