How To Install A Wall Furnace

Wall Furnace Installation: A Comprehensive Guide to Efficient Heating
Wall furnaces, also known as direct-vent furnaces, offer a space-saving and often more energy-efficient alternative to traditional central heating systems, particularly for smaller homes, apartments, or specific zones within larger buildings. When correctly installed, a wall furnace can significantly reduce your energy bills and improve your home's comfort. This guide provides a step-by-step approach to wall furnace installation, considering both DIY enthusiasts and those who prefer professional assistance. It also covers important factors like energy savings, potential rebates, and smart home integration.
Is DIY Installation Right for You?
Before diving into the installation process, honestly assess your skills and comfort level. Installing a wall furnace involves working with gas lines, electrical wiring (in some models), and potentially creating an opening in your exterior wall. If you lack experience in these areas, hiring a qualified HVAC technician is strongly recommended. Improper installation can lead to gas leaks, carbon monoxide poisoning, or fire hazards. Even if you're comfortable with some aspects, consider consulting with a professional for a final inspection to ensure safety and compliance with local codes.
Planning and Preparation: The Key to Success
Proper planning is crucial for a smooth and safe wall furnace installation.
1. Selecting the Right Furnace
Choosing the right wall furnace depends on several factors:
- Heating Capacity (BTU): Calculate the appropriate BTU rating based on your room's square footage, climate, and insulation levels. Consult an HVAC professional or use online BTU calculators to determine the correct size. An undersized furnace won't adequately heat the space, while an oversized one will cycle on and off frequently, wasting energy and reducing its lifespan.
- Fuel Type: Wall furnaces are typically available in natural gas and propane models. Ensure you choose a model compatible with your existing fuel source. Natural gas is generally more cost-effective if available.
- Efficiency (AFUE): Look for models with a high Annual Fuel Utilization Efficiency (AFUE) rating. Energy Star certified models offer the highest efficiency and can qualify for rebates. A higher AFUE means more of the fuel is converted into usable heat.
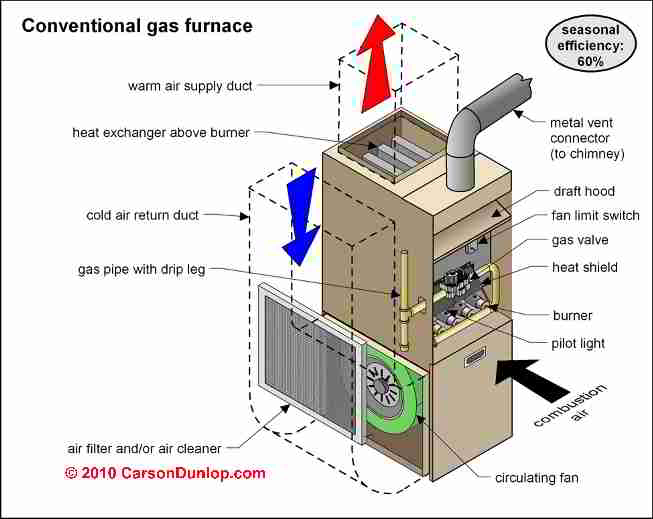
- Venting: Direct-vent furnaces draw combustion air from outside and exhaust directly outside through a sealed vent system. This eliminates the need for a chimney and improves safety. Make sure the vent system meets manufacturer specifications and local codes.
- Features: Consider features like electronic ignition, programmable thermostats, and smart home compatibility.
2. Obtaining Permits and Inspections
In most jurisdictions, you'll need to obtain a building permit before installing a wall furnace. Contact your local building department to inquire about permit requirements and inspection procedures. Failing to obtain the necessary permits can result in fines and delays.
3. Gathering Tools and Materials
Ensure you have all the necessary tools and materials on hand before starting the installation. This may include:
- Wall furnace unit
- Vent pipe and termination kit (matching the furnace specifications)
- Gas piping and fittings (approved for gas use)
- Electrical wiring and connectors (if applicable)
- Level
- Drill and drill bits
- Screwdrivers
- Wrench set
- Piping sealant (approved for gas use)
- Measuring tape
- Safety glasses and gloves
- Carbon monoxide detector
4. Safety Precautions
Safety is paramount when working with gas and electricity.
- Always turn off the gas supply to the area where you'll be working.
- Disconnect the electrical power to the circuit serving the furnace location.
- Wear safety glasses and gloves to protect yourself from injury.
- Have a carbon monoxide detector nearby during and after installation.
Step-by-Step Installation Guide
Note: This guide provides a general overview. Always refer to the manufacturer's instructions for your specific furnace model.
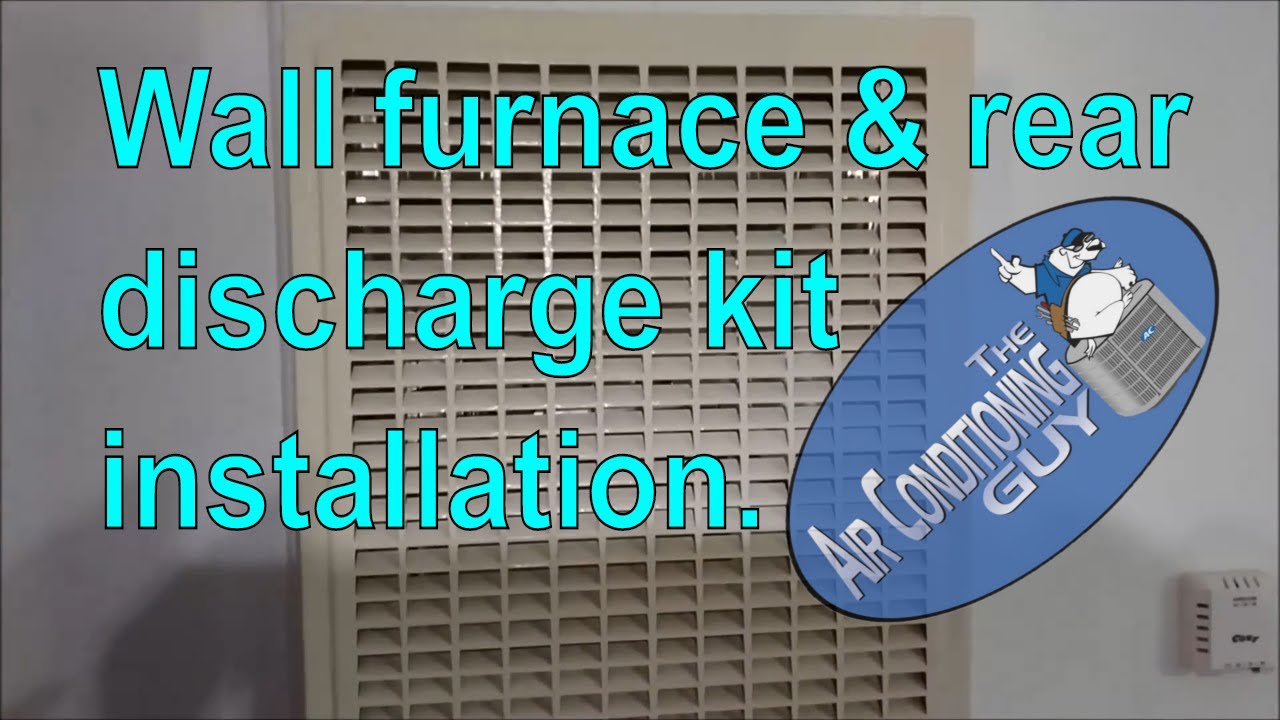
1. Preparing the Wall
Locate the desired position for your wall furnace. Ensure there are no obstructions on the exterior wall where the vent will be located. Using the furnace's mounting template, mark the cutout area on the wall. Carefully cut through the wall, creating an opening that accommodates the furnace's vent pipe and mounting brackets. Ensure the opening is level and plumb.
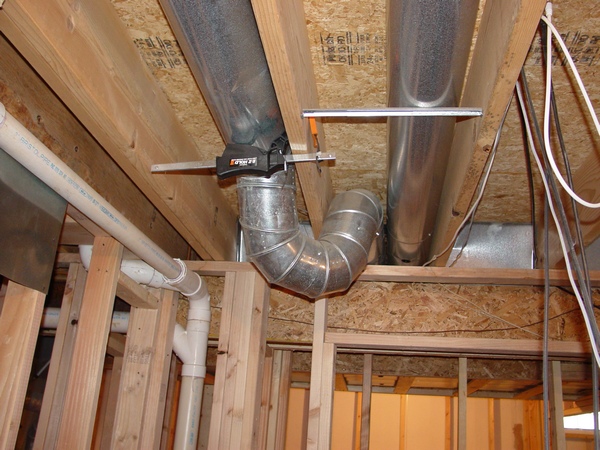
2. Installing the Vent System
Assemble the vent pipe according to the manufacturer's instructions. Ensure all joints are securely connected and sealed. The vent pipe should slope slightly downwards away from the furnace to allow for condensation drainage. Install the vent termination cap on the exterior wall. Use appropriate flashing and sealant to weatherproof the opening and prevent water leaks.
3. Connecting the Gas Supply
This step requires extreme caution. If you are not comfortable working with gas lines, hire a qualified professional.
- Locate the gas supply line near the furnace location.
- Turn off the gas supply at the main shut-off valve.
- Using appropriate gas-approved piping and fittings, connect the gas supply line to the furnace's gas valve.
- Apply piping sealant to all threaded connections.
- Carefully check all connections for leaks using a gas leak detector or soapy water solution. Never use a flame to check for gas leaks.
4. Wiring the Furnace (If Applicable)
Some wall furnaces require electrical power for the blower fan, ignition system, or thermostat. Connect the electrical wiring to the furnace according to the manufacturer's instructions. Ensure the wiring is properly grounded and protected. Always follow local electrical codes.
5. Mounting the Furnace
Carefully lift the furnace into position and secure it to the wall using the mounting brackets and screws provided. Ensure the furnace is level and plumb. Connect the vent pipe to the furnace's flue outlet.
6. Installing the Thermostat
Install the thermostat in a central location, away from direct sunlight or drafts. Connect the thermostat wiring to the furnace according to the manufacturer's instructions. If you're installing a smart thermostat, follow the manufacturer's instructions for connecting it to your home's Wi-Fi network. Consider installing a smart thermostat for enhanced energy savings and remote control. Many smart thermostats offer features like geofencing and learning algorithms that optimize heating schedules based on your lifestyle.
7. Testing and Calibration
Once the installation is complete, turn on the gas supply and electrical power. Follow the manufacturer's instructions for starting and calibrating the furnace. Check the furnace's operation to ensure it is heating properly and cycling on and off correctly. Test for gas leaks around all connections. Use a carbon monoxide detector to ensure there are no leaks. Calibrate your new smart thermostat to maximize energy savings.
Maximizing Energy Savings and Rebates
Wall furnaces can offer significant energy savings compared to older, less efficient heating systems. To maximize your savings:
- Choose an Energy Star certified model: These models meet strict energy efficiency guidelines and can qualify for rebates.
- Insulate your home properly: Proper insulation reduces heat loss and lowers your heating bills.
- Seal air leaks: Seal any cracks or gaps around windows, doors, and other openings to prevent drafts.
- Use a programmable thermostat: Set the thermostat to lower temperatures when you're away from home or asleep.
- Schedule regular maintenance: Have your furnace inspected and serviced annually to ensure it is operating efficiently.
- Explore rebates and incentives: Many utility companies and government agencies offer rebates and incentives for installing energy-efficient heating equipment. Check the DSIRE (Database of State Incentives for Renewables & Efficiency) website for programs in your area.
Smart Home Integration
Integrating your wall furnace with a smart home system can further enhance energy savings and convenience. Smart thermostats allow you to control your furnace remotely using your smartphone or tablet. You can also set schedules, track energy usage, and receive alerts if there are any problems. Some smart home systems also allow you to integrate your furnace with other smart devices, such as lighting and blinds, to create a more energy-efficient and comfortable home environment. Consider integrating smart sensors for real-time temperature and humidity monitoring to optimize heating performance.
Professional Installation vs. DIY
While DIY installation can save you money upfront, it's essential to weigh the risks and benefits carefully. Professional installation ensures the job is done correctly and safely. HVAC technicians have the experience, training, and tools to handle gas lines, electrical wiring, and venting systems. They can also ensure your installation complies with local codes and regulations. Furthermore, professional installation often comes with a warranty, providing peace of mind. The cost of professional installation varies depending on the complexity of the job and your location. However, the peace of mind and safety benefits are often worth the investment.
Conclusion
Installing a wall furnace can be a worthwhile investment for homeowners seeking to improve energy efficiency and reduce heating costs. By carefully planning the installation, choosing the right equipment, and following proper safety procedures, you can enjoy a comfortable and energy-efficient heating system for years to come. Whether you choose to tackle the project yourself or hire a professional, remember to prioritize safety and compliance with local codes. By maximizing energy savings and leveraging smart home integration, you can further optimize your heating system's performance and reduce your carbon footprint. Remember to consult with a qualified HVAC professional for personalized advice and guidance.