How To Install A Wall Mount Toilet

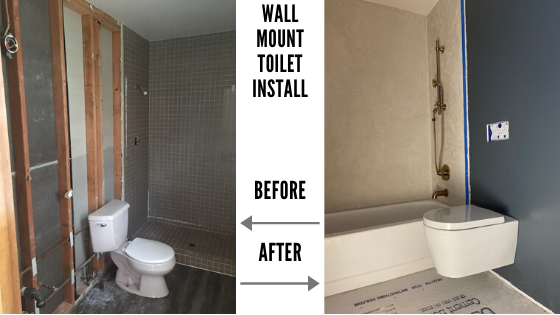
Wall-mounted toilets are gaining popularity not just for their sleek, modern aesthetic, but also for their water-saving potential and ease of cleaning. While they require more upfront planning and a slightly more involved installation compared to traditional floor-mounted toilets, the long-term benefits, including reduced water bills and increased bathroom space, can be significant. For homeowners and businesses alike, this guide provides a comprehensive walkthrough of how to install a wall-mount toilet, focusing on considerations for energy efficiency, smart home integration, and potential cost savings.
Planning and Preparation: Setting the Stage for Success
Before you even think about picking up a wrench, thorough planning is crucial. This includes assessing your existing plumbing, understanding building codes, and selecting the right components. This pre-installation phase is essential not only for a successful project, but also to minimize unexpected delays and expenses, especially if you're factoring in broader home energy efficiency upgrades.
1. Assessing Your Plumbing and Structure
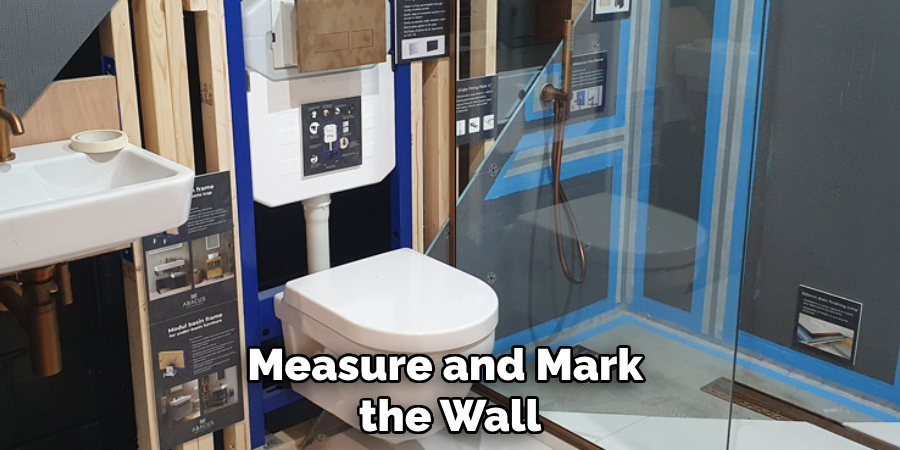
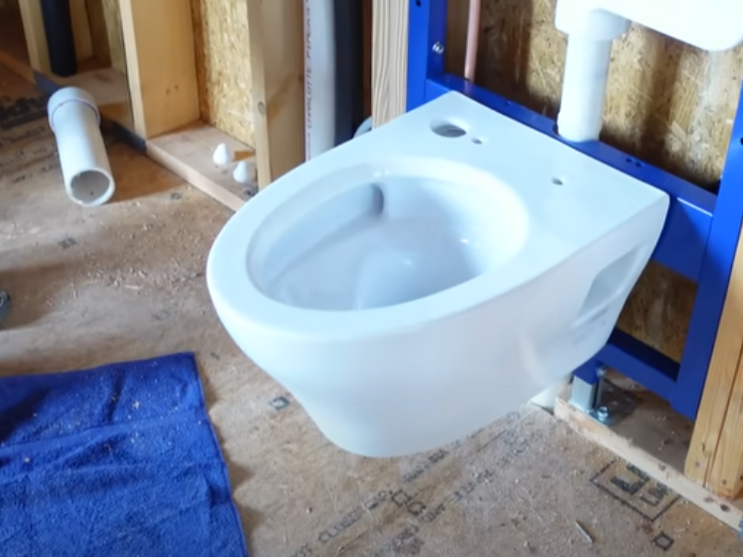
Wall-mounted toilets require a carrier system, which is essentially a steel frame that is anchored to the wall studs *before* the finished wall is installed. This carrier holds the toilet bowl and contains the tank. Therefore, you'll need to have access to the wall cavity. If you're renovating an existing bathroom, this will likely involve opening up the wall to expose the studs. Important: Ensure the wall studs are strong enough to support the toilet and a person sitting on it. Consult a structural engineer if you have any doubts about the wall's load-bearing capacity.
Next, evaluate your existing plumbing. The waste pipe connection for a wall-mounted toilet is typically located behind the wall. You'll need to determine the location of your existing waste line and make sure it can be connected to the carrier system. The water supply line will also need to be rerouted to the carrier.
2. Selecting the Right Components
A wall-mounted toilet system consists of several key components:
- The Carrier System: This is the heart of the system, providing structural support and housing the tank. Choose a carrier system from a reputable manufacturer like Geberit or Kohler, and ensure it meets all relevant plumbing codes. Consider models with adjustable height settings for future accessibility.
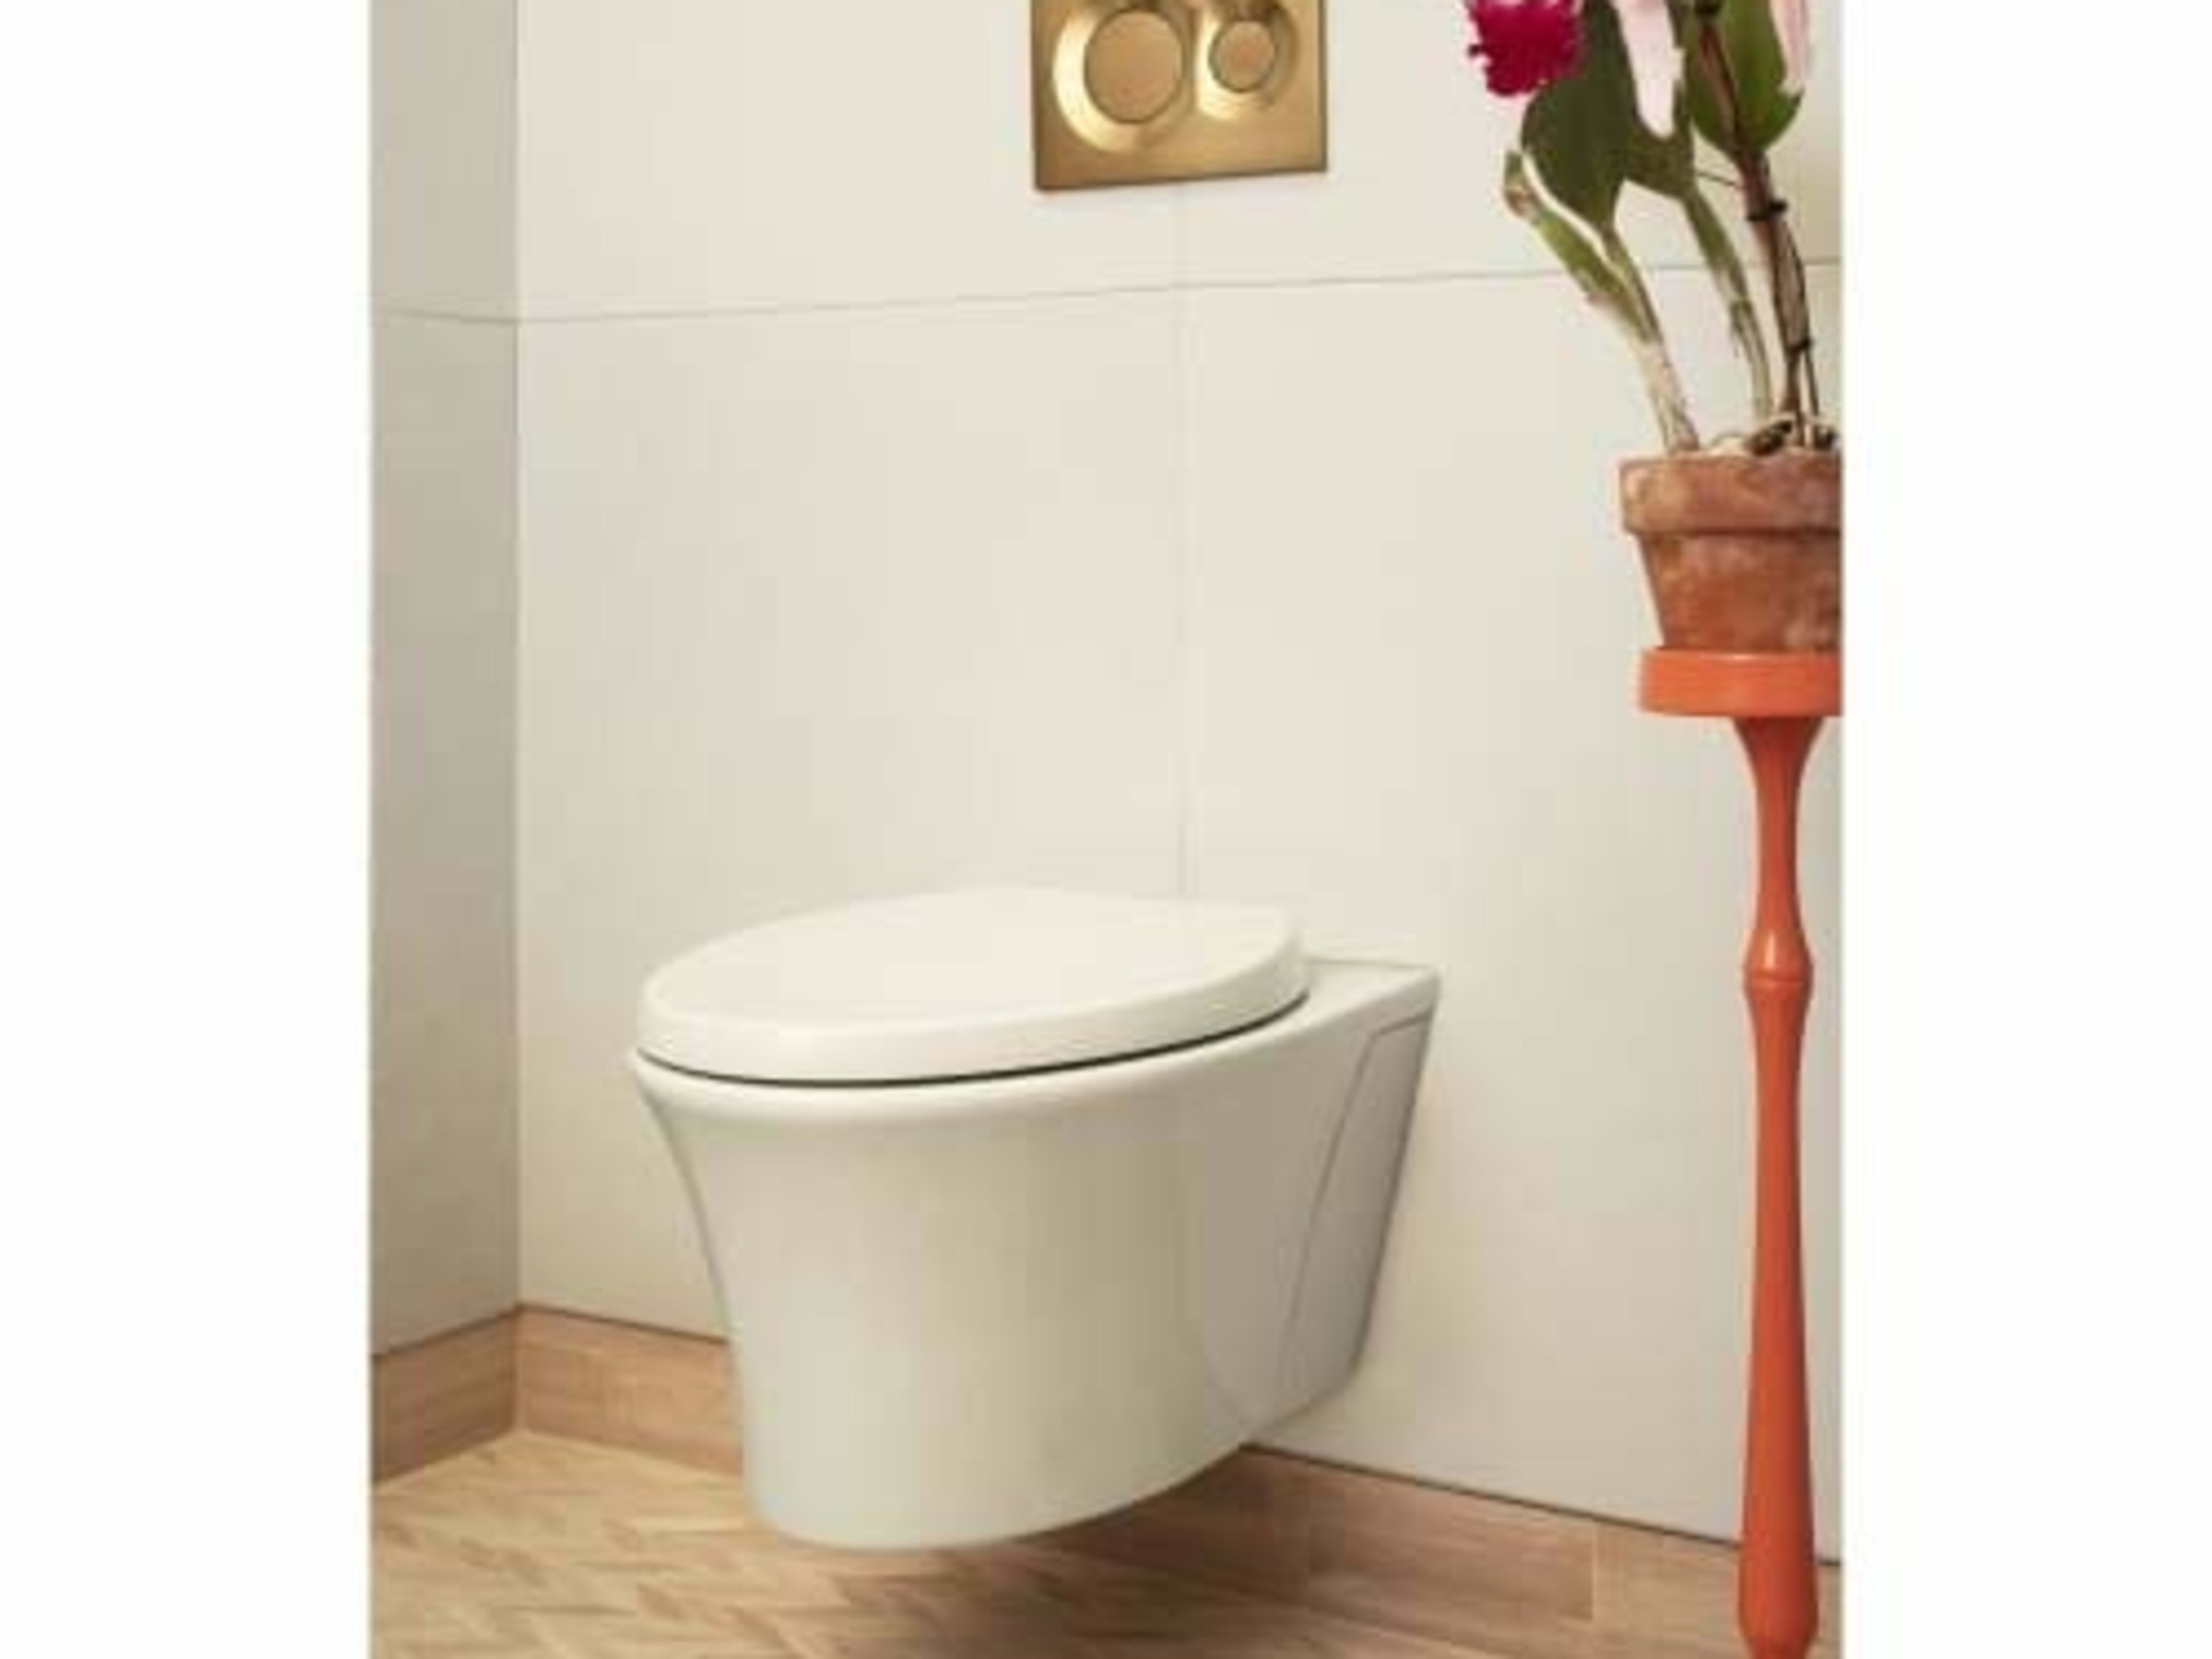
- The Toilet Bowl: Wall-mounted toilet bowls are available in a variety of styles and sizes. Opt for a dual-flush model that meets EPA WaterSense standards to maximize water savings. WaterSense-certified toilets use 1.28 gallons per flush (GPF) or less, compared to the older standard of 1.6 GPF, and can save you thousands of gallons of water per year.
- The Flush Plate: This is the visible control panel that activates the flush. Choose a style that complements your bathroom décor. Some advanced flush plates even offer electronic or touchless operation.
- The Wall Covering: Ensure the wall covering you select (tile, drywall, etc.) is water-resistant and suitable for bathroom use.
3. Understanding Building Codes and Permits
Before starting any plumbing work, it's essential to check your local building codes and obtain the necessary permits. Plumbing codes vary by location, and they often dictate the type of materials you can use, the size of drain lines, and the required clearances around the toilet. Ignoring building codes can result in fines and require you to redo the work.
Installation: A Step-by-Step Guide
Once you've completed the planning and preparation phase, you're ready to start the installation. This process involves several steps, including installing the carrier system, running the plumbing, and mounting the toilet bowl.
1. Installing the Carrier System
The carrier system must be securely anchored to the wall studs. Follow these steps:
- Locate the Wall Studs: Use a stud finder to locate the wall studs. Mark their positions on the floor and wall.
- Position the Carrier: Position the carrier system between the studs, ensuring it's centered and plumb. Use a level to verify that the carrier is perfectly vertical.
- Anchor the Carrier: Secure the carrier to the studs using lag bolts or screws. Make sure the fasteners are long enough and strong enough to support the weight of the toilet and a person sitting on it. Follow the manufacturer's instructions for proper anchoring.
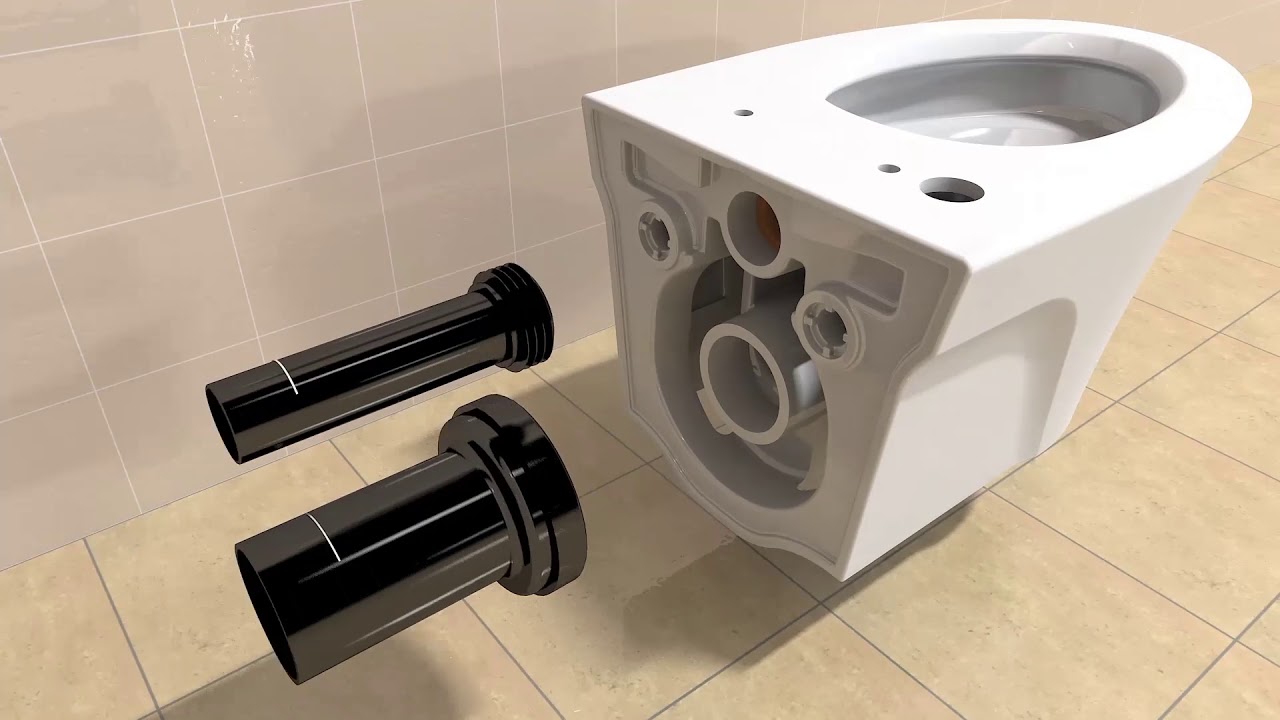
- Connect the Drain Line: Connect the drain line from the carrier to the main waste pipe. Use the appropriate fittings and ensure all connections are watertight. Professional plumbers often recommend using no-hub couplings for drain line connections.
- Run the Water Supply Line: Run the water supply line from the main water supply to the carrier system. Use a shut-off valve near the carrier for easy maintenance and repairs. Consider using PEX tubing, which is flexible and easy to install.
2. Installing the Wall Covering
After the carrier system is installed and the plumbing is connected, you can install the wall covering. This typically involves framing around the carrier and installing drywall or cement board. Then, you can apply your chosen finish, such as tile or paint.
- Framing: Frame around the carrier system using 2x4 lumber. Make sure the framing is flush with the carrier and provides a solid surface for attaching the wall covering.
- Drywall/Cement Board: Install drywall or cement board over the framing, making sure to cut openings for the flush plate and the toilet bowl mounting bolts. Use water-resistant drywall or cement board in the shower or tub area.
- Finishing: Apply your chosen finish to the wall, such as tile, paint, or wallpaper. Make sure to seal any seams or joints to prevent water damage.
3. Mounting the Toilet Bowl
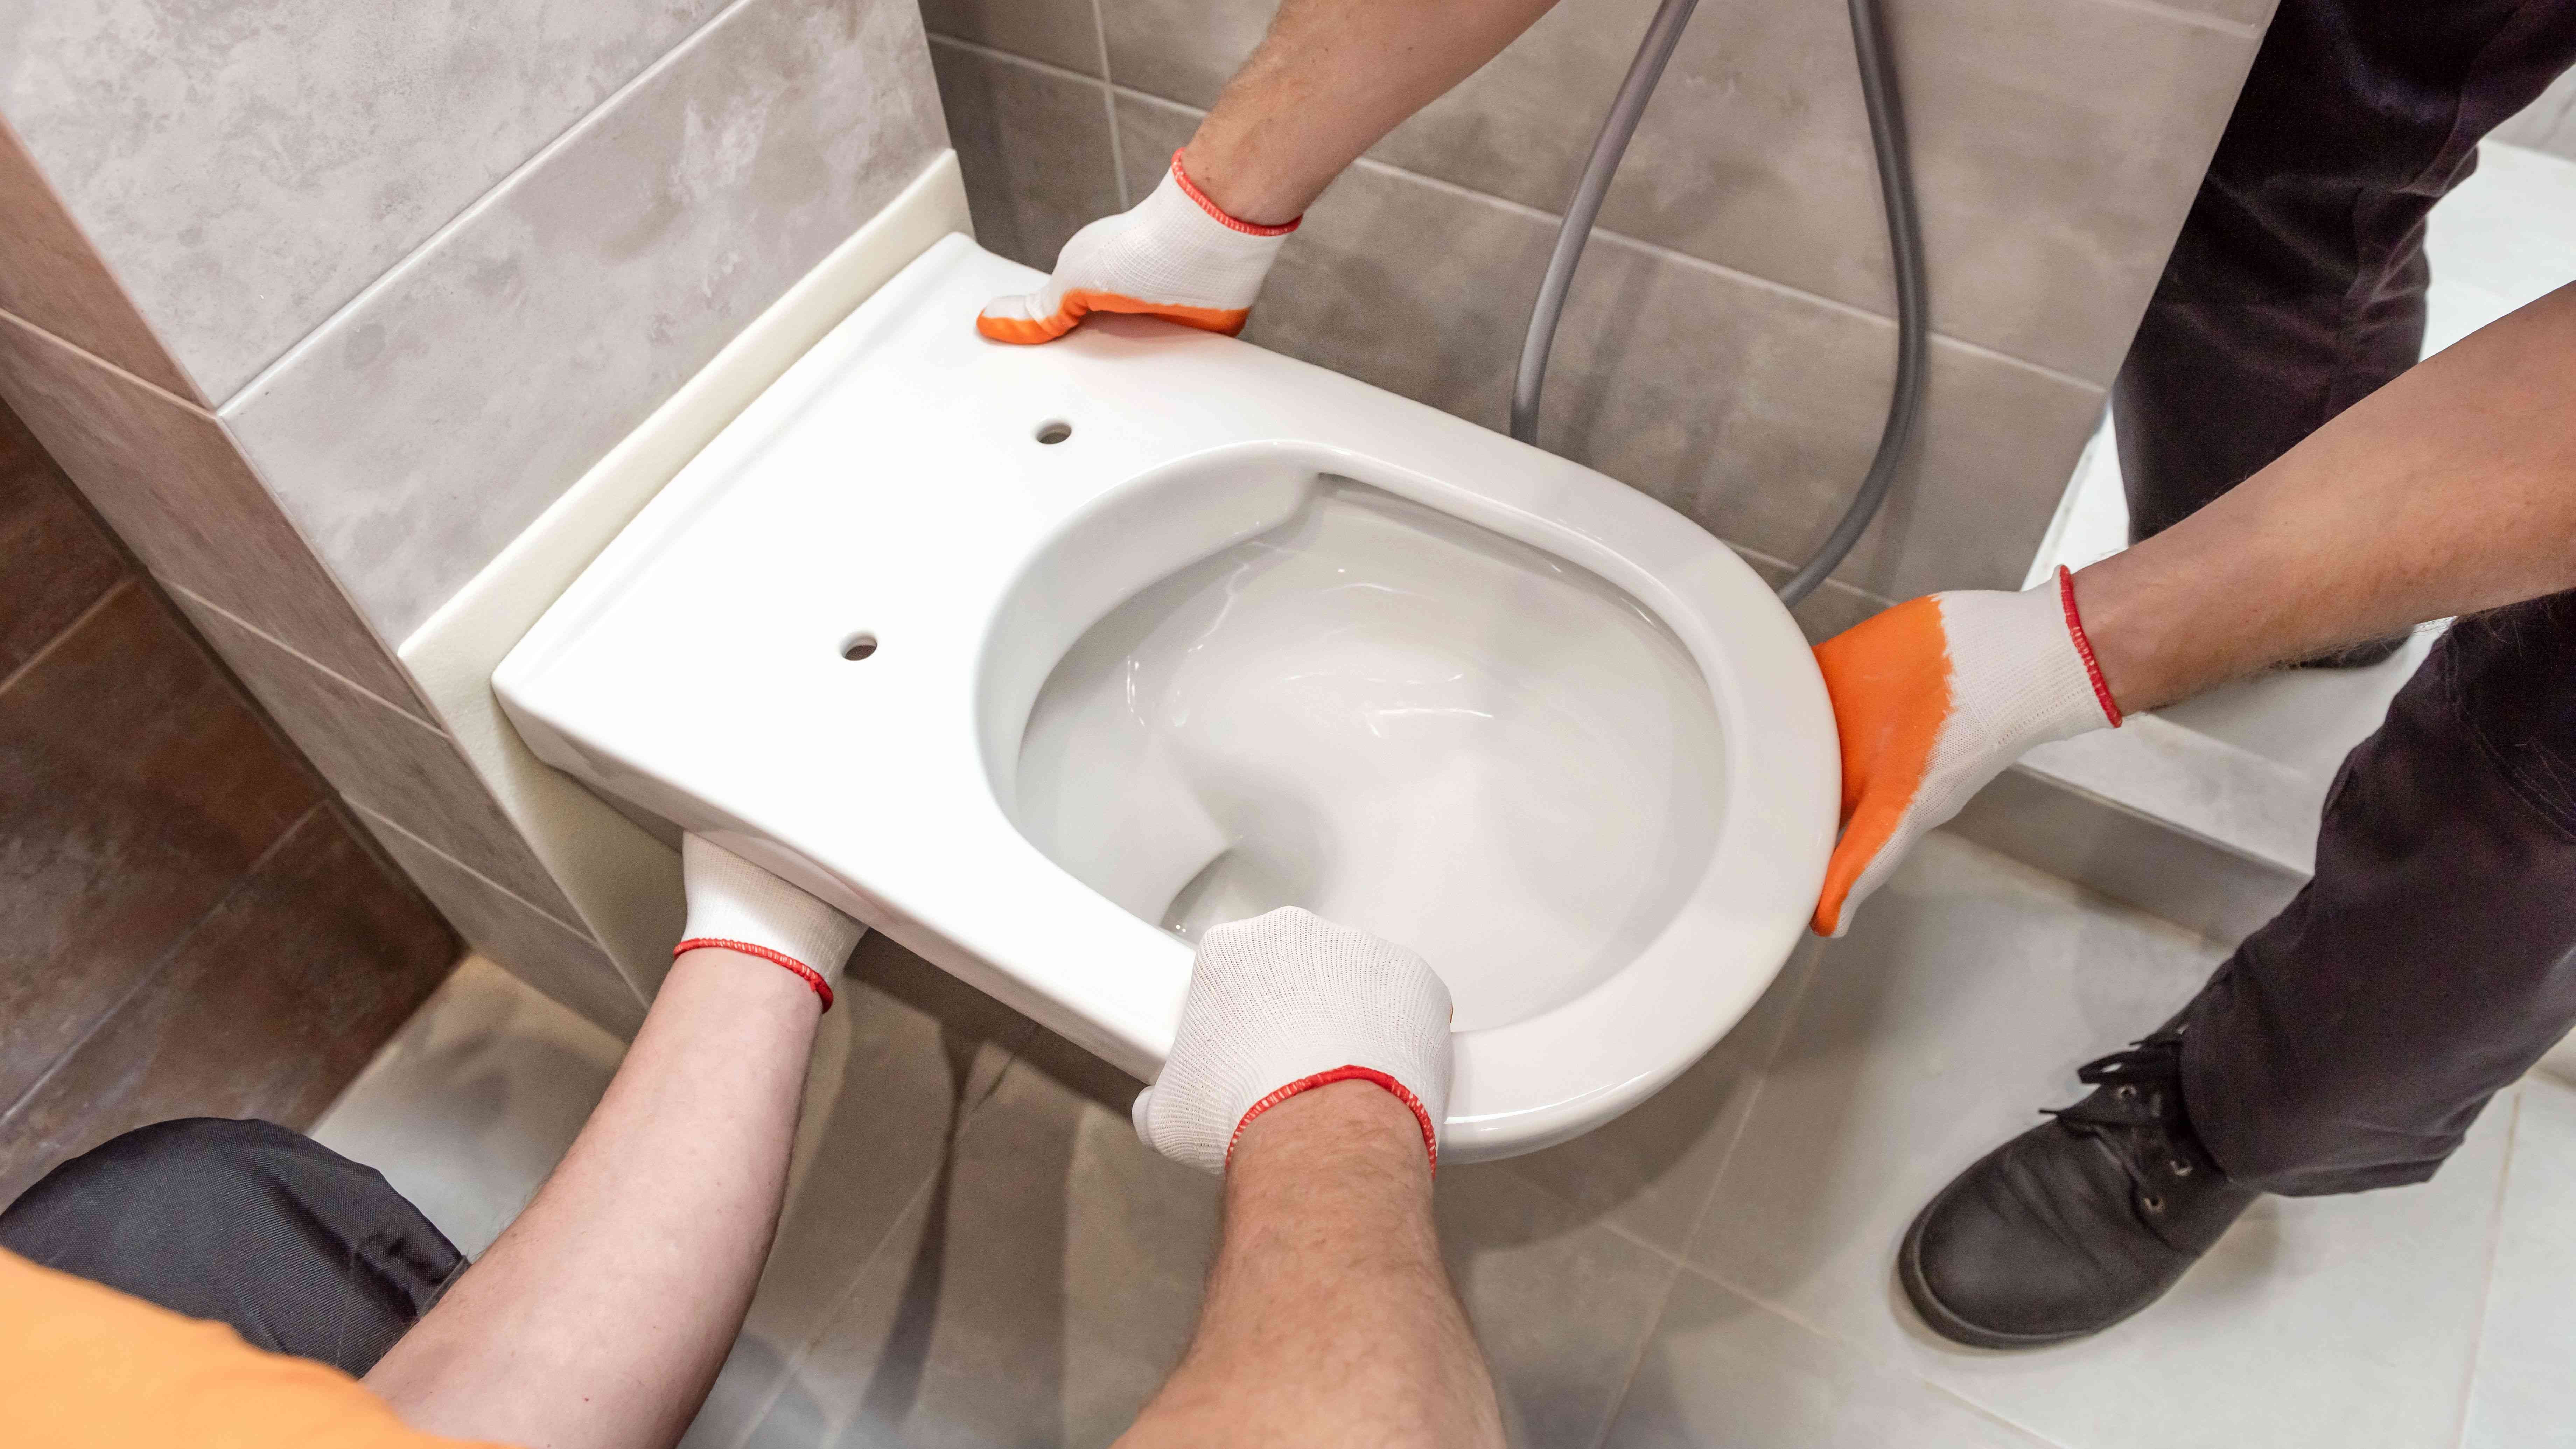
Once the wall covering is complete, you can mount the toilet bowl. Follow these steps:
- Attach Mounting Bolts: Insert the mounting bolts into the holes in the carrier system.
- Position the Toilet Bowl: Carefully position the toilet bowl over the mounting bolts, ensuring it's aligned correctly.
- Secure the Toilet Bowl: Tighten the nuts on the mounting bolts to secure the toilet bowl to the carrier. Do not overtighten, as this could damage the bowl.
- Install the Flush Plate: Install the flush plate according to the manufacturer's instructions.
- Test the Toilet: Flush the toilet several times to ensure it's working properly and there are no leaks.
Smart Home Integration and Energy Efficiency
While a wall-mounted toilet itself doesn't directly impact HVAC energy consumption, integrating it into a broader smart home ecosystem focused on water and energy conservation can contribute to overall savings. For example, smart leak detectors placed near the toilet can alert you to potential leaks, preventing water waste and costly repairs. These alerts can be sent directly to your smartphone or integrated with your smart home hub. Furthermore, smart water monitoring systems can track your water usage and identify opportunities to reduce consumption, including optimizing flush volumes on dual-flush toilets.
In terms of energy savings directly tied to the toilet, selecting a dual-flush model is paramount. Energy Star doesn't currently have a toilet certification, but the EPA WaterSense program is an excellent guideline. Look for toilets with WaterSense certification. Studies have shown that switching to WaterSense-certified toilets can reduce water consumption by 20-60%, saving the average family thousands of gallons of water per year. This translates to lower water bills, which indirectly lowers the energy needed for water heating, particularly if you have an electric water heater.
ROI, Rebates, and Financial Incentives
The initial cost of a wall-mounted toilet installation can be higher than that of a traditional floor-mounted toilet, primarily due to the cost of the carrier system and the more complex installation process. However, the long-term benefits, including water savings, space savings, and increased home value, can often outweigh the initial investment.
Furthermore, many municipalities and utility companies offer rebates and incentives for installing water-efficient toilets. Check with your local water utility company and government agencies to see if you qualify for any rebates. These rebates can significantly reduce the upfront cost of the installation and improve the ROI. Some states also offer tax credits for energy-efficient home improvements, which may include water-saving plumbing fixtures. Refer to the DSIRE (Database of State Incentives for Renewables & Efficiency) website for up-to-date information on available incentives in your area.
Troubleshooting and Maintenance
Even with proper installation, wall-mounted toilets can occasionally experience problems. Here are some common issues and how to troubleshoot them:
- Leaking: Check the connections between the toilet bowl and the carrier system, as well as the water supply line. Tighten any loose connections and replace any worn-out seals or washers.
- Clogged Toilet: Use a plunger or toilet auger to clear the clog. Avoid using harsh chemical drain cleaners, as they can damage the plumbing.
- Weak Flush: Check the water level in the tank and make sure the flapper is sealing properly. Adjust the flapper chain if necessary.
- Running Toilet: Check the flapper and the fill valve. Replace any worn-out parts.
Regular maintenance can help prevent problems and extend the lifespan of your wall-mounted toilet. This includes cleaning the toilet regularly, flushing it properly, and avoiding flushing items that can clog the drain.
Conclusion
Installing a wall-mounted toilet is a worthwhile investment for homeowners and businesses looking to improve their bathroom's aesthetics, conserve water, and potentially save money on utility bills. While the installation process may seem daunting, following this step-by-step guide and taking the time to plan properly can ensure a successful project. By choosing water-efficient models, integrating smart home technologies, and taking advantage of available rebates, you can maximize the benefits of your wall-mounted toilet and contribute to a more sustainable future.