How To Install A Wall Mounted Ac Unit
Is your home struggling to maintain a comfortable temperature, even with the AC running full blast? Maybe certain rooms are noticeably hotter or colder than others. This is a common issue for many homeowners, and often, the culprit isn't a faulty central AC unit, but rather an inadequate cooling solution for a specific area. A wall-mounted AC unit can be a fantastic solution for targeting specific rooms or spaces. However, proper installation is crucial for optimal performance and energy efficiency. This guide will walk you through the process, helping you troubleshoot common installation hurdles and ensuring a comfortable indoor environment. Remember, safety is paramount; when in doubt, call a qualified professional.
Troubleshooting Before You Begin: Is a Wall-Mounted AC Unit Right for You?
Before diving into installation, it's wise to ensure a wall-mounted AC is truly the best solution. Consider these questions:
- Room Size: Is the room size appropriate for the BTU (British Thermal Units) rating of the unit you're considering? An undersized unit will struggle to cool effectively, while an oversized unit might cycle on and off too frequently, wasting energy and potentially leading to premature wear. Online BTU calculators can help determine the ideal BTU rating for your space.
- Insulation: Is the room adequately insulated? Poor insulation can negate the benefits of even the best AC unit. Check for drafts around windows and doors.
- Electrical Capacity: Does your electrical system support the additional load of the AC unit? Check the unit's voltage and amperage requirements and compare them to your circuit breaker panel.Overloading a circuit can create a fire hazard.
- Wall Structure: Is the wall strong enough to support the weight of the AC unit? Consider the wall material (e.g., drywall, concrete, brick) and the weight of the unit. You may need to reinforce the wall or use specialized mounting hardware.
Gathering Your Supplies and Tools
Proper preparation is key to a successful installation. Here's a list of essential tools and materials:
- Wall-Mounted AC Unit: Obviously! Ensure it's the correct BTU rating for your room.
- Mounting Bracket: Typically included with the AC unit. Double-check that it's compatible with your wall type.
- Drill: With various drill bits for different wall materials.
- Level: Essential for ensuring the unit is installed straight.
- Screwdriver Set: Both Phillips head and flathead.
- Wrench Set: For tightening bolts and nuts.
- Measuring Tape: For accurate measurements.
- Pencil: For marking drilling locations.
- Safety Glasses: Protect your eyes from debris.
- Gloves: Protect your hands.
- Stud Finder: To locate wall studs for secure mounting (especially for drywall).
- Electrical Tester: To verify power is off before working with wiring.Crucially important for safety.
- Caulk or Weather Stripping: To seal gaps around the unit and prevent air leaks.
- Vacuum Cleaner: For cleaning up dust and debris.
- Assistant: To help lift and position the unit (highly recommended).
Step-by-Step Installation Guide
Follow these steps carefully to install your wall-mounted AC unit safely and effectively:
Step 1: Safety First – Disconnect Power
Before you even think about touching any wires, turn off the power to the circuit at the breaker box. Use an electrical tester to verify that the power is off before proceeding. This is non-negotiable.
Step 2: Prepare the Wall
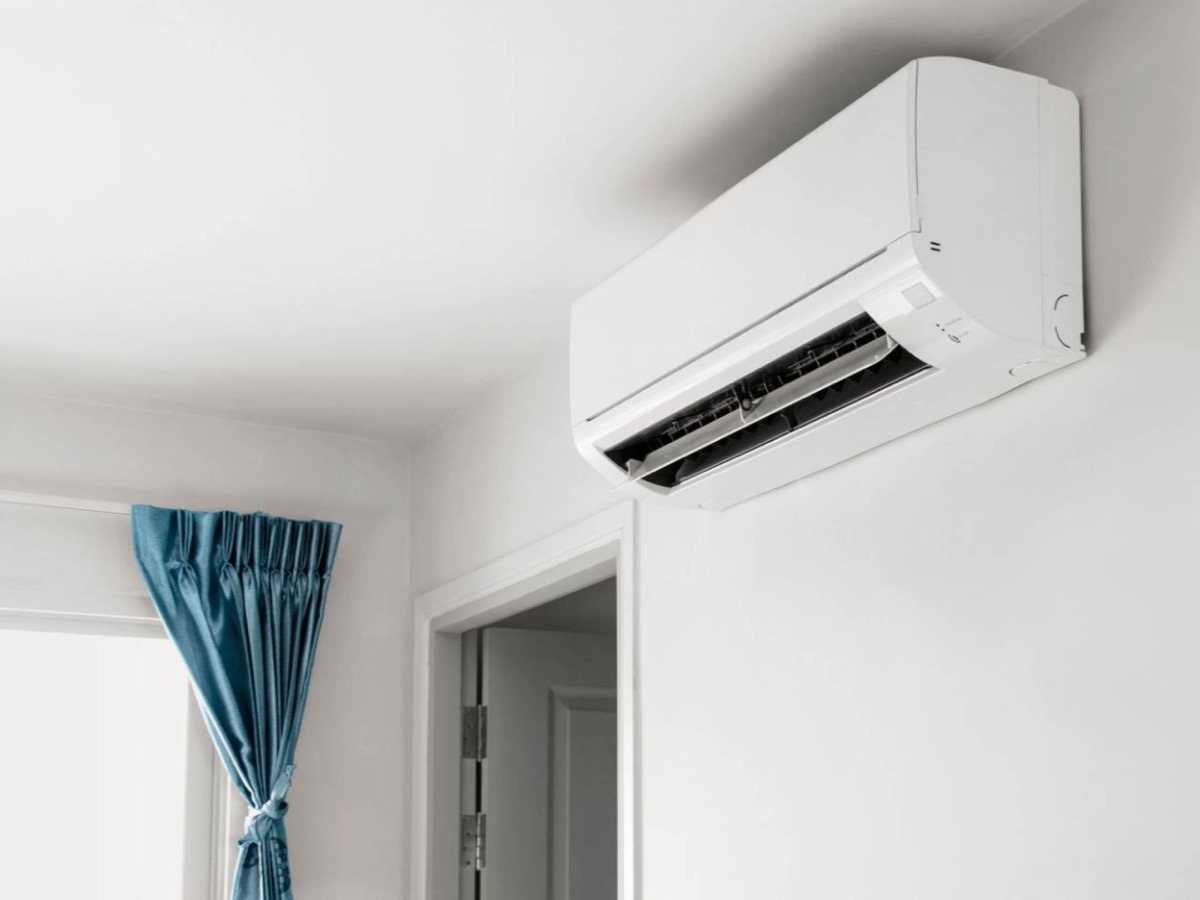
Choose the location: Select a location for the AC unit that is near an electrical outlet and has sufficient clearance around it. Avoid placing the unit behind furniture or curtains, as this can restrict airflow. Ensure the location meets the manufacturer's recommended clearance requirements.
Locate studs (for drywall): Use a stud finder to locate wall studs. Mounting the bracket directly to studs will provide the most secure support. If you can't mount directly to studs, use appropriate wall anchors designed for the weight of the AC unit.
Mark the mounting locations: Use the mounting bracket as a template to mark the locations for the mounting holes on the wall. Use a level to ensure the bracket will be perfectly horizontal.
Step 3: Install the Mounting Bracket
Drill pilot holes: Drill pilot holes at the marked locations, using a drill bit appropriate for the wall material.Be careful not to drill too deep.
Attach the bracket: Secure the mounting bracket to the wall using the appropriate screws or bolts. If using wall anchors, follow the manufacturer's instructions for installation. Ensure the bracket is securely fastened and level. Use a level frequently to confirm.
Step 4: Prepare the AC Unit
Remove packaging: Carefully remove all packaging materials from the AC unit. Be careful not to damage any of the fins or other components.
Inspect for damage: Inspect the AC unit for any signs of damage that may have occurred during shipping. If you find any damage, contact the retailer or manufacturer.
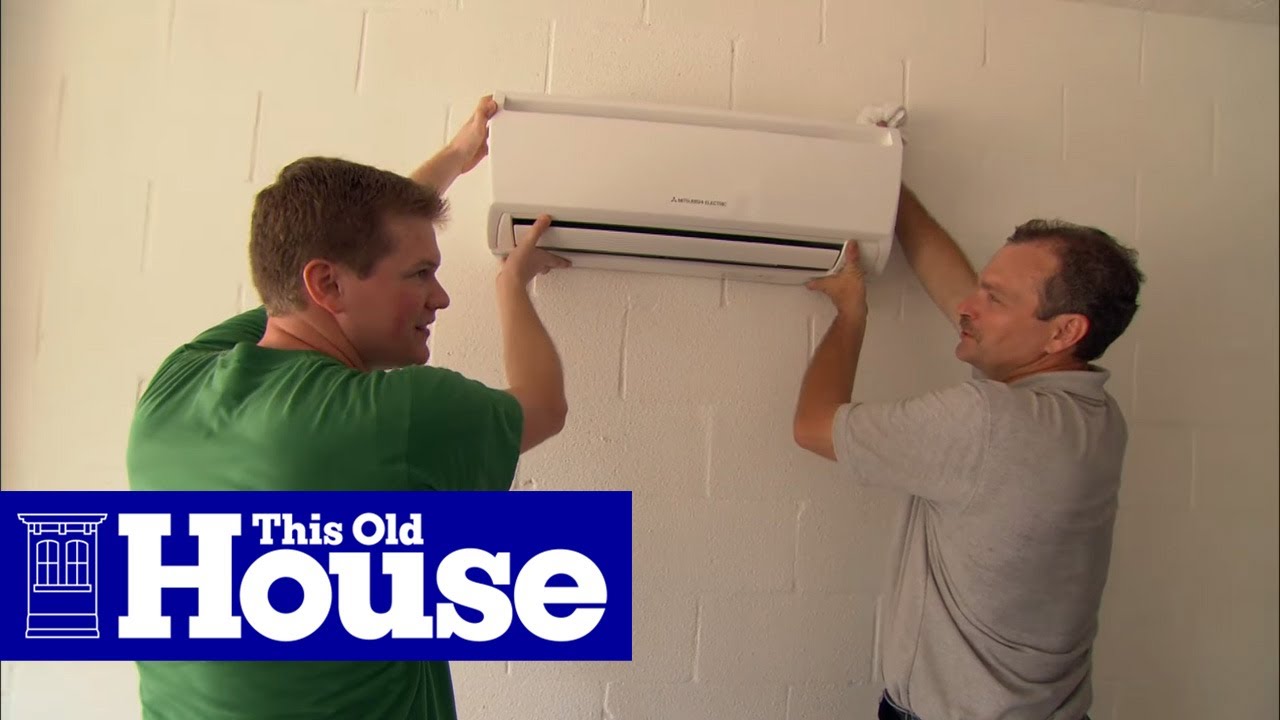
Step 5: Position and Secure the AC Unit
Lift the unit: With the help of your assistant, carefully lift the AC unit and position it onto the mounting bracket. Ensure the unit is properly aligned with the bracket.
Secure the unit: Secure the AC unit to the mounting bracket using the screws or bolts provided. Ensure the unit is securely fastened and cannot be easily dislodged.
Step 6: Electrical Connection
Verify power is off (again!): Double-check that the power to the circuit is still off at the breaker box and with your electrical tester.
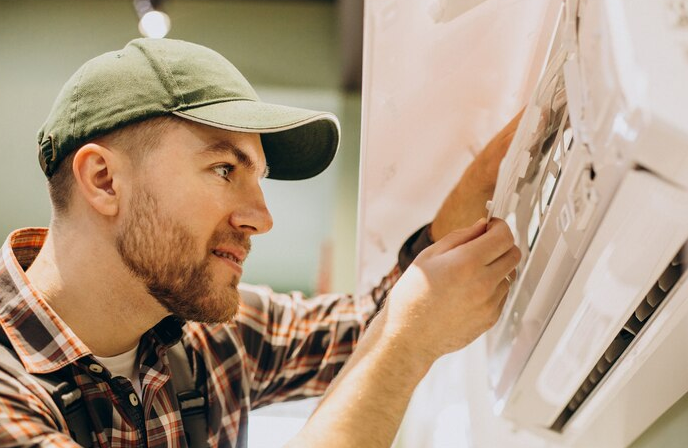
Connect the wiring: Connect the AC unit's power cord to the electrical outlet. If the unit requires hardwiring, this is where things can get tricky. If you are not comfortable working with electrical wiring, stop here and call a qualified electrician. Incorrect wiring can be dangerous and can damage the AC unit.
Assuming you are comfortable and qualified, follow these general steps (but always refer to the AC unit's specific wiring diagram):
- Identify the neutral (white), hot (black), and ground (green or bare copper) wires.
- Connect the wires to the corresponding terminals in the AC unit's junction box.
- Ensure all connections are secure and properly insulated.
Step 7: Seal and Insulate
Seal gaps: Use caulk or weather stripping to seal any gaps around the AC unit where it meets the wall. This will prevent air leaks and improve energy efficiency. Pay particular attention to the top and sides of the unit. Air infiltration will undermine the unit's performance.
Step 8: Test the Unit
Turn on the power: Turn the power back on at the breaker box.
Test the AC unit: Turn on the AC unit and test all of its functions (cooling, fan, etc.). Make sure the unit is cooling properly and that there are no unusual noises or vibrations.
Step 9: Clean Up
Remove debris: Clean up any dust or debris created during the installation process. Vacuum the area around the AC unit.
Troubleshooting Common Installation Problems
Even with careful planning, you might encounter some snags. Here's how to handle a few common issues:
- Unit Won't Turn On:
- Check the power: Ensure the circuit breaker hasn't tripped.
- Verify wiring: If hardwired, double-check all electrical connections.
- Check the remote: Make sure the remote has fresh batteries and is properly programmed.
- Consult the manual: Refer to the unit's manual for troubleshooting tips.
- Unit Cools Poorly:
- Check air filters (without tools): Clogged air filters restrict airflow and reduce cooling efficiency. Clean or replace the filters regularly.
- Ensure proper sealing (without tools): Check for air leaks around the unit and seal any gaps with caulk or weather stripping.
- Clear obstructions (without tools): Make sure nothing is blocking the airflow around the unit, both inside and outside.
- Verify BTU rating (without tools): Double-check that the unit's BTU rating is appropriate for the room size.
- Check refrigerant lines (requires professional): A refrigerant leak can significantly reduce cooling performance. This requires a trained HVAC technician to diagnose and repair.
- Unit is Noisy:
- Check for loose parts (without tools): Inspect the unit for any loose screws, bolts, or panels. Tighten them as needed.
- Ensure proper mounting (without tools): Make sure the unit is securely mounted to the wall and that the mounting bracket is not vibrating.
- Clean the fan blades (requires care and tools): Dust and debris can accumulate on the fan blades, causing them to become unbalanced and noisy. Carefully clean the fan blades with a soft brush. Disconnect power before attempting this.
- Check for internal component issues (requires professional): Noises like rattling, grinding, or hissing could indicate a more serious internal problem that requires professional repair.
- Unit Leaks Water:
- Check the drain line (without tools): A clogged drain line can cause water to back up and leak from the unit. Locate the drain line (usually a small hose) and make sure it is not blocked.
- Ensure proper installation angle (without tools): The unit should be installed with a slight downward angle to allow water to drain properly.
- Check for internal leaks (requires professional): If the drain line is clear and the unit is properly angled, there may be an internal leak that requires professional repair.
When to Call a Professional
While many installation and troubleshooting steps can be handled DIY, there are situations where a professional HVAC technician is absolutely necessary. These include:
- Electrical Issues: If you are not comfortable working with electrical wiring, or if you suspect any electrical problems, call a qualified electrician.
- Refrigerant Leaks: Handling refrigerant requires specialized equipment and training. If you suspect a refrigerant leak, call a qualified HVAC technician.
- Complex Repairs: If the problem is beyond basic troubleshooting, or if you are not comfortable performing the repair yourself, call a qualified HVAC technician.
- Warranty Concerns: Attempting to repair the unit yourself may void the warranty. Check the warranty information before performing any repairs.
Installing a wall-mounted AC unit can be a rewarding DIY project, providing targeted cooling and improved comfort. By following these steps and taking necessary safety precautions, you can successfully install your unit and enjoy a cooler, more comfortable home. Remember to prioritize safety and don't hesitate to call a professional when needed. A little planning and preparation can go a long way in ensuring a smooth and successful installation.