How To Install A Window Ac Unit In A Wall

Transform Your Home: Installing a Window AC Unit in a Wall – A DIY Guide
Summer's heat beating down? While window AC units are designed for windows, sometimes a wall installation is the better solution. This comprehensive guide walks you through the process, ensuring a safe and effective installation. Remember, electrical work and structural modifications can be dangerous. When in doubt, consult a qualified HVAC professional or contractor. This guide is for informational purposes only, and we are not liable for any damages or injuries resulting from your project.
Is Wall Installation Right for You?
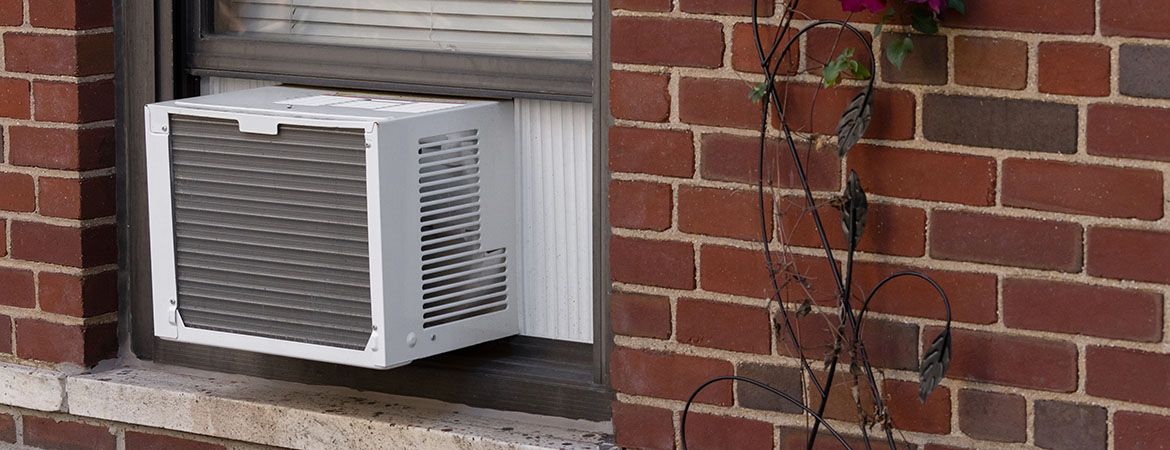
Before diving in, consider if a wall installation suits your needs. Wall installations offer a more permanent solution, freeing up window space and potentially offering better security. However, it involves cutting a hole in your wall, which requires careful planning and execution.
Planning and Preparation: Laying the Groundwork
Proper planning is crucial for a successful installation. Begin by identifying the ideal location for your AC unit. Consider these factors:
- Structural Integrity: Ensure the wall is strong enough to support the AC unit's weight. Load-bearing walls require extra caution and might need professional assessment.
- Electrical Access: You'll need a dedicated electrical outlet nearby, ideally on its own circuit. Overloading circuits is a fire hazard.
- Clearance: Ensure sufficient clearance both inside and outside the wall for airflow and maintenance. Check the manufacturer's specifications.
- Drainage: Consider how condensation will drain. Some units have drain plugs or require a slight downward tilt for proper drainage.
- Sun Exposure: Minimize direct sunlight on the unit to improve efficiency.
- Local Codes: Check local building codes and regulations. Permits might be required for wall modifications.
Tools and Materials: Getting Equipped
Having the right tools and materials on hand will streamline the installation process.
- Window AC Unit: Choose the correct BTU (British Thermal Unit) rating for the room size.
- Wall Sleeve: A metal sleeve designed to house the AC unit in the wall. Ensure it's compatible with your chosen AC unit.
- Measuring Tape: For accurate measurements.
- Level: To ensure the unit is installed straight.
- Pencil or Marker: For marking cut lines.
- Stud Finder: To locate wall studs.
- Drywall Saw or Reciprocating Saw: For cutting the wall opening.
- Drill with Various Bits: For pilot holes and securing screws.
- Screwdrivers (Phillips and Flathead): For various screws.
- Safety Glasses: To protect your eyes.
- Gloves: To protect your hands.
- Dust Mask: To avoid inhaling dust.
- Shims: For leveling the unit.
- Caulk or Weather Stripping: To seal gaps and prevent air leaks.
- Foam Insulation: To insulate around the unit.
- Electrical Tester: To verify the electrical outlet is de-energized before working on it.
- Helper: An extra pair of hands can be invaluable, especially when lifting the AC unit.
Step-by-Step Installation Guide: From Hole to Cool Air
Now, let's get to the actual installation process. Remember to disconnect the power to the outlet you'll be using before starting any electrical work.
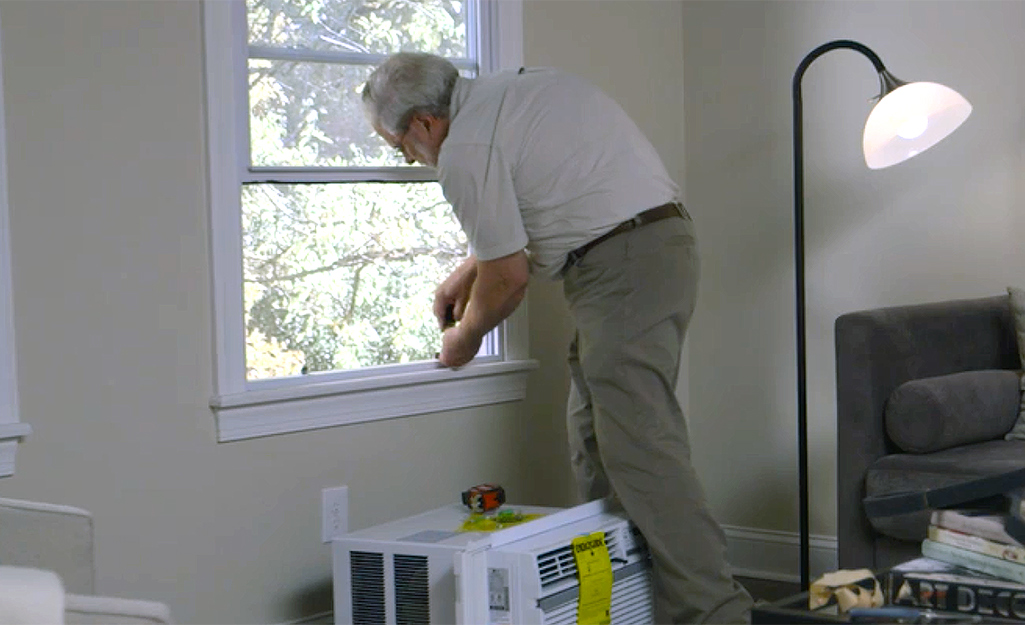
- Mark the Opening: Using the wall sleeve's dimensions, carefully mark the outline of the opening on the wall. Ensure the outline is level and accurately positioned. Double-check your measurements!
- Locate and Avoid Studs: Use a stud finder to locate wall studs within the marked area. Adjust the opening's position to avoid cutting through studs, if possible. Cutting through a load-bearing stud requires professional assistance.
- Cut the Opening: Carefully cut along the marked lines using a drywall saw or reciprocating saw. Take your time and make clean, straight cuts.
- Install the Wall Sleeve: Slide the wall sleeve into the opening. Ensure it fits snugly. Use shims to level the sleeve if necessary.
- Secure the Wall Sleeve: Secure the wall sleeve to the wall using screws. Choose screws appropriate for the wall material (drywall, wood, etc.).
- Prepare the AC Unit: Remove any packaging or shipping materials from the AC unit.
- Install Drainage (if applicable): If your AC unit requires a drain hose, connect it to the appropriate fitting.
- Slide the AC Unit into the Sleeve: Carefully slide the AC unit into the wall sleeve. Ensure it fits securely and properly.
- Secure the AC Unit: Secure the AC unit to the wall sleeve using the provided hardware.
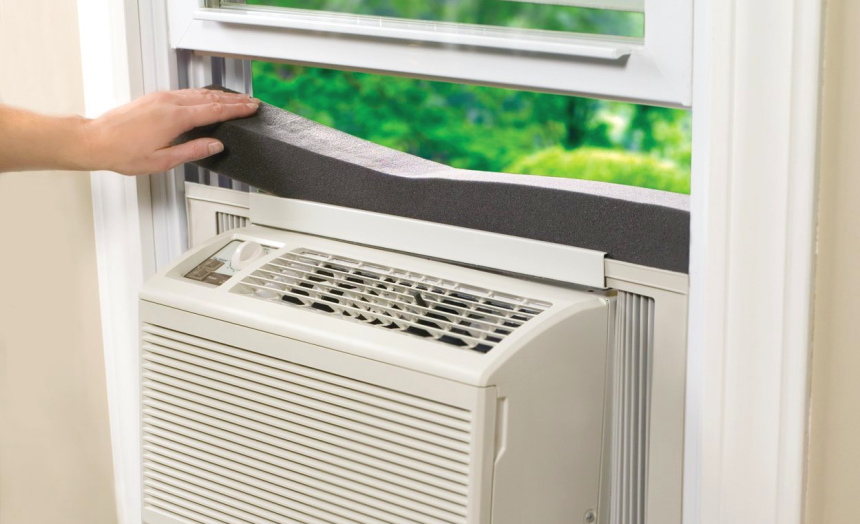
- Seal Gaps: Seal any gaps around the AC unit and the wall sleeve with caulk or weather stripping to prevent air leaks.
- Insulate: Fill any remaining space around the unit with foam insulation to improve energy efficiency.
- Test the Unit: Reconnect the power to the outlet and turn on the AC unit. Verify that it is cooling properly and that there are no unusual noises or vibrations.
Safety First: Prioritizing Your Well-being
Safety is paramount when working with electrical and mechanical equipment. Observe these safety precautions:
- Disconnect Power: Always disconnect the power to the outlet before working on any electrical components.
- Wear Safety Gear: Wear safety glasses, gloves, and a dust mask to protect yourself from potential hazards.
- Work with a Helper: An extra pair of hands can make the job easier and safer, especially when lifting heavy objects.
- Read the Manual: Familiarize yourself with the AC unit's and wall sleeve's instructions before beginning the installation.
- Proper Ventilation: Ensure adequate ventilation when using power tools or applying caulk or sealants.
Common Issues and Troubleshooting: Resolving Problems
Even with careful planning, you might encounter some issues during the installation process. Here are some common problems and their solutions:
- AC Unit Doesn't Fit: Double-check the dimensions of the AC unit and the wall sleeve. You might need to adjust the opening slightly.
- Air Leaks: Ensure all gaps are properly sealed with caulk or weather stripping.
- Unit is Not Level: Use shims to level the unit.
- Excessive Noise or Vibration: Check that the unit is securely mounted and that there are no loose parts.
- Poor Cooling: Ensure the AC unit is the correct BTU rating for the room size. Check for obstructions to airflow. Clean the air filter.
- Water Leaks: Check the drain hose (if applicable) for clogs or leaks. Ensure the unit is tilted slightly downward for proper drainage.
When to Call a Professional: Knowing Your Limits
While this guide provides a comprehensive overview of how to install a window AC unit in a wall, some situations require professional expertise. Call a qualified HVAC technician or contractor if:
- You are uncomfortable working with electrical wiring.
- You need to modify load-bearing walls.
- You encounter structural issues with the wall.
- You are unable to properly seal the unit.
- The AC unit is not working properly after installation.
Cost Estimates: Budgeting for Your Project
The cost of installing a window AC unit in a wall can vary depending on several factors, including:
- AC Unit Cost: Varies based on BTU rating, features, and brand.
- Wall Sleeve Cost: Generally ranges from $50 to $150.
- Materials Cost: Caulk, insulation, screws, etc. – typically under $50.
- Professional Installation Cost: If you hire a professional, expect to pay between $200 and $600, depending on the complexity of the job.
Doing it yourself can save on labor costs, but it's essential to factor in your time and skill level. Always prioritize safety and consult a professional when in doubt.
By following these steps and taking necessary precautions, you can successfully install a window AC unit in a wall and enjoy a cooler, more comfortable home. Remember to prioritize safety and consult a professional when necessary. Happy cooling!