How To Install A Wood Burning Stove In Basement

Are you tired of a basement that feels like an icebox in the winter, while the rest of your home is comfortably warm? Or perhaps you're facing skyrocketing heating bills as your furnace struggles to compensate for the basement's chill? This is a common problem for many homeowners, and a wood-burning stove can be a very effective solution. However, proper installation is crucial for safety and efficiency. This guide will walk you through the key steps and considerations for installing a wood-burning stove in your basement, allowing you to enjoy a cozy and cost-effective heating source.
Is a Wood Burning Stove Right For You? Initial Considerations
Before diving into the installation process, let's make sure a wood-burning stove is the right choice for your basement. Consider these factors:
- Basement Size: A stove that's too large will overheat the space, while one that's too small won't provide adequate warmth. Calculate the square footage of your basement and consult with a stove dealer to determine the appropriate BTU (British Thermal Unit) output.
- Local Regulations: Research local building codes and regulations regarding wood-burning stoves. Permits are almost always required, and there might be restrictions on stove placement, chimney height, and fuel types. Failure to comply can result in fines and mandatory removal of the stove.
- Ventilation: Wood-burning stoves require adequate ventilation to function safely. Ensure your basement has sufficient airflow, and that you can properly install a chimney or vent system.
- Safety: Wood-burning stoves pose a fire hazard if not installed and operated correctly. Understand the risks involved, and be prepared to take all necessary safety precautions. This includes installing carbon monoxide detectors and smoke alarms, and regularly inspecting and cleaning the chimney.
Step-by-Step Guide: Installing Your Wood Burning Stove
This guide provides a general overview of the installation process. Always refer to the manufacturer's instructions for your specific stove model.
Step 1: Planning and Preparation
This is arguably the most important step. Poor planning can lead to costly mistakes and safety hazards.
- Choose a Location: Select a location that is away from combustible materials (at least 36 inches clearance is typically required, check your stove's manual). Consider proximity to existing chimneys or flues, and the ease of running a new chimney if necessary. Think about the stove's radiant heat and ensure it won't overheat nearby furniture or walls.
- Inspect the Chimney: If you're using an existing chimney, have it professionally inspected to ensure it's in good condition and properly sized for your new stove. A cracked or improperly sized chimney is a serious fire hazard. Never assume an existing chimney is safe to use without a professional inspection.
- Obtain Necessary Permits: Contact your local building department to obtain all required permits. This is essential for ensuring your installation meets code and for avoiding future problems.
- Gather Materials and Tools: Create a comprehensive list of materials and tools you'll need. This includes the stove itself, chimney pipe, stove pipe, floor protector (if required), chimney cap, fire-resistant gloves, and basic tools like a drill, level, measuring tape, and screwdrivers.
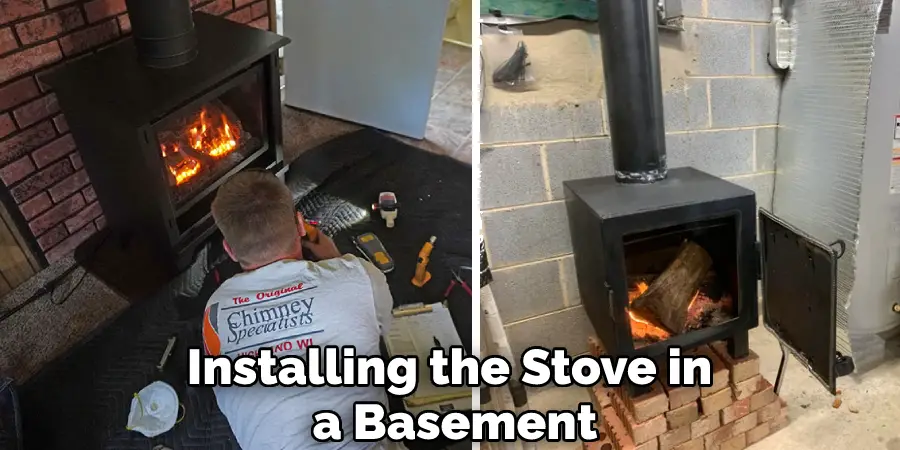
Step 2: Installing the Floor Protector
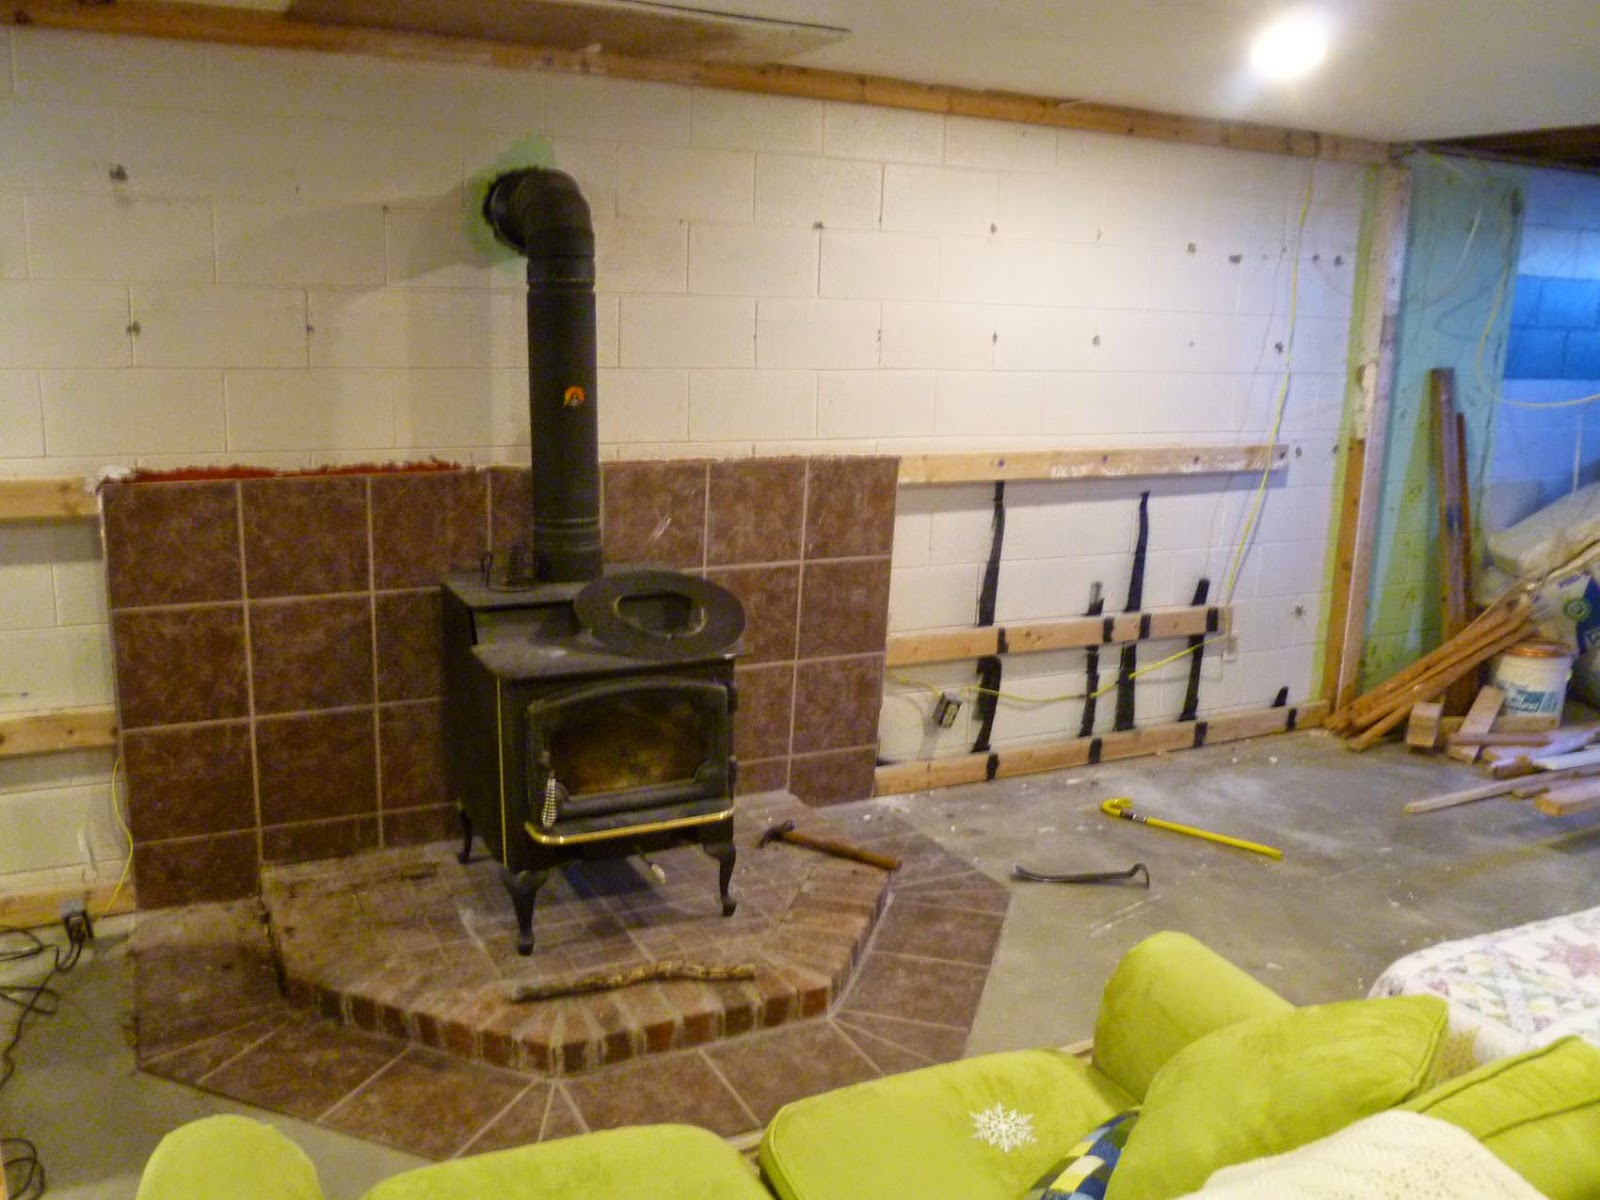
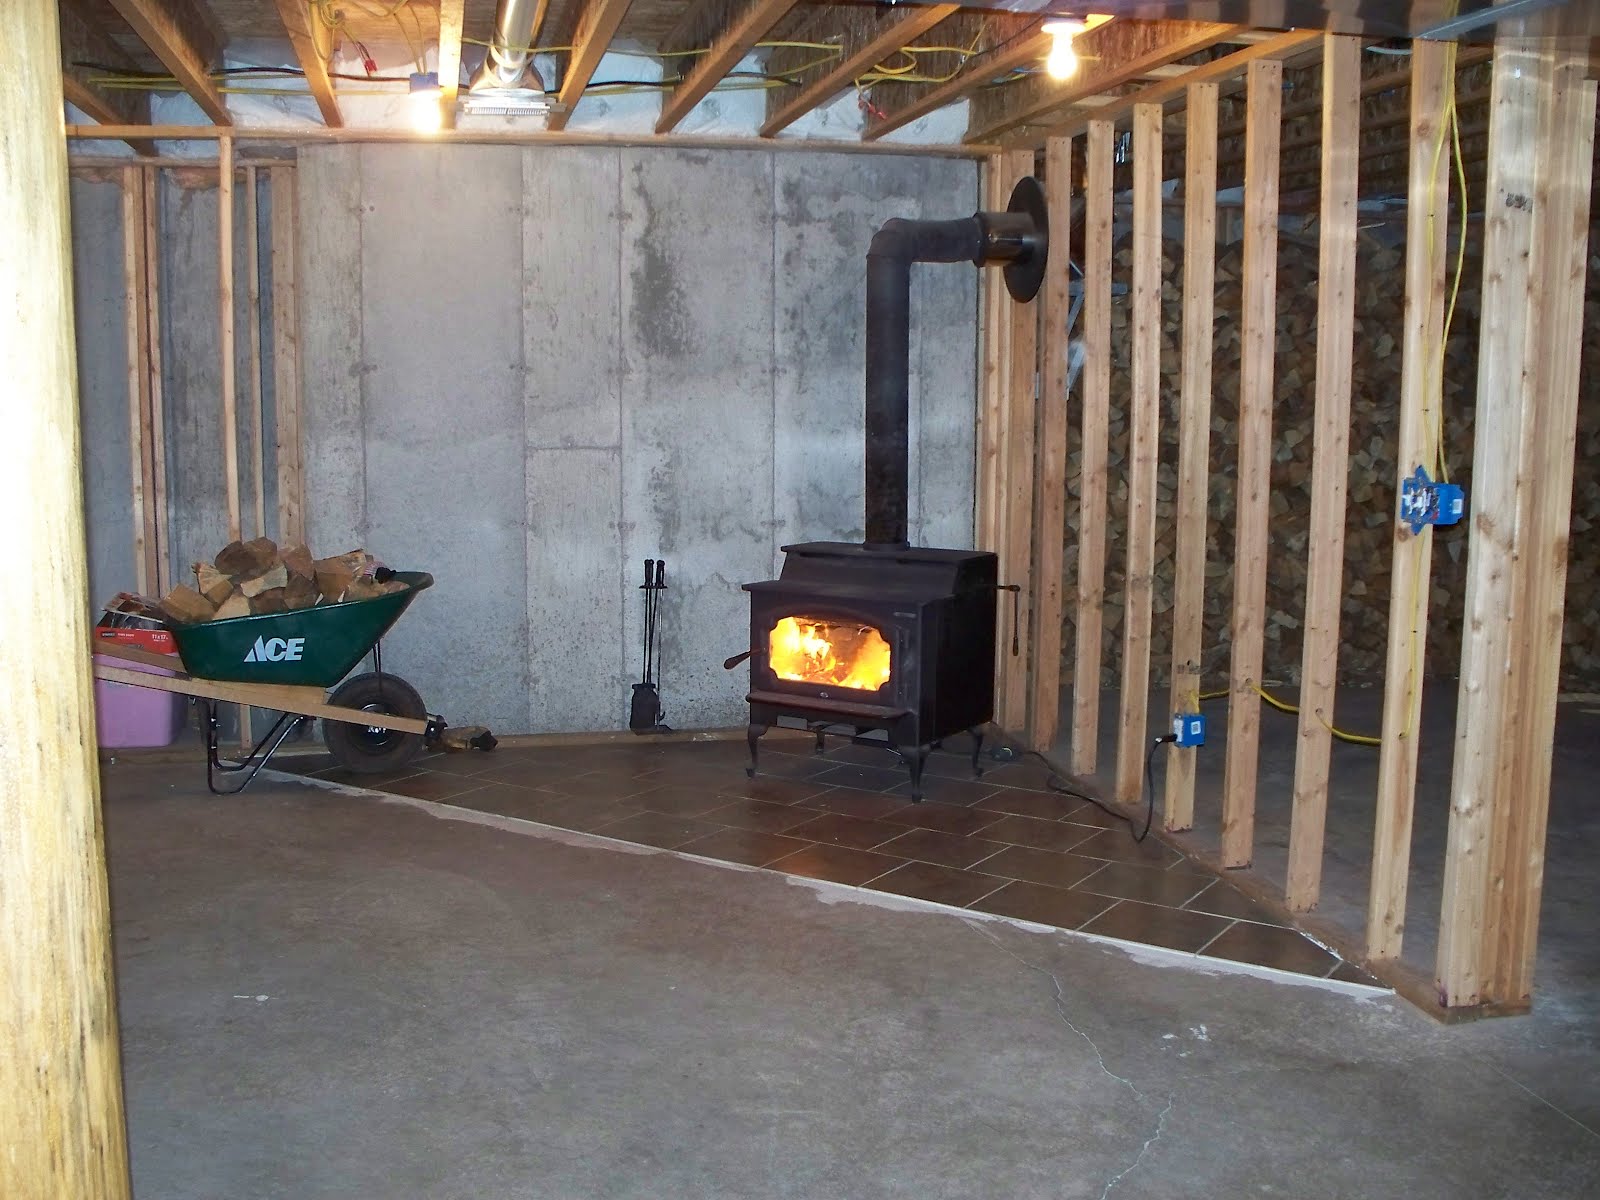
Many building codes require a non-combustible floor protector beneath the stove. This protects your flooring from sparks and embers that may escape.
- Determine Requirements: Check your stove's manual and local building codes for the specific size and type of floor protector required.
- Choose a Material: Common materials include concrete, brick, tile, or specially designed stove boards.
- Install the Protector: Carefully position the floor protector according to the required dimensions. Ensure it is level and stable.
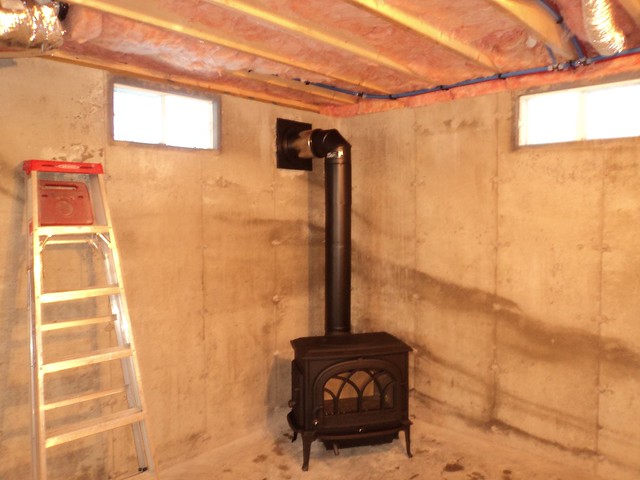
Step 3: Installing the Stove Pipe
The stove pipe connects the stove to the chimney and carries exhaust gases away. Proper installation is critical to prevent carbon monoxide poisoning and chimney fires.
- Choose the Right Pipe: Use black stove pipe that is specifically designed for wood-burning stoves. Galvanized pipe is not suitable and can release toxic fumes when heated.
- Connect to the Stove: Carefully connect the stove pipe to the stove's flue collar. Securely fasten the pipe with screws or clamps, ensuring a tight seal.
- Maintain Proper Slope: The stove pipe should slope upwards from the stove to the chimney at a minimum angle (typically 1/4 inch per foot). This helps ensure proper draft and prevents creosote buildup.
- Limit Horizontal Runs: Minimize the length of horizontal stove pipe runs. Long horizontal runs can reduce draft and increase creosote buildup.
- Secure Connections: All joints in the stove pipe should be securely fastened with screws or clamps. This prevents leaks and ensures a tight, safe connection.
Step 4: Installing the Chimney
The chimney is the most crucial component of the venting system. It carries exhaust gases safely out of your home and creates the necessary draft for the stove to operate properly.
- Existing Chimney: If using an existing chimney, ensure it is properly lined with a stainless steel liner that is sized correctly for your stove. Have a professional inspect and clean the chimney before use.
- New Chimney: If installing a new chimney, follow the manufacturer's instructions carefully. Ensure the chimney extends at least 3 feet above the highest point where it passes through the roof and at least 2 feet higher than any structure within 10 feet.
- Clearances: Maintain proper clearances between the chimney and combustible materials. Refer to the chimney manufacturer's specifications and local building codes.
- Secure Connections: All chimney sections must be securely connected with screws or clamps, ensuring a tight, weatherproof seal.
- Chimney Cap: Install a chimney cap to prevent rain, snow, and debris from entering the chimney. This also helps to prevent downdrafts.
Step 5: Final Connections and Testing
Once the stove, stove pipe, and chimney are installed, it's time to make the final connections and test the system.
- Inspect All Connections: Double-check all connections to ensure they are tight and secure. Look for any gaps or leaks.
- Install Carbon Monoxide Detectors: Install carbon monoxide detectors on every level of your home, especially near sleeping areas.
- Conduct a Test Burn: Start a small fire in the stove to test the draft and ensure the chimney is functioning properly. Observe the smoke and ensure it is exiting the chimney cleanly.
- Monitor for Leaks: During the test burn, carefully monitor all connections for leaks of smoke or exhaust gases. If you detect any leaks, immediately extinguish the fire and address the problem.
DIY vs. Professional Installation
While some aspects of wood-burning stove installation can be tackled by experienced DIYers, certain tasks are best left to professionals. Here's a breakdown:
DIY Tasks (with caution and experience):
- Floor Protector Installation: Installing a simple concrete or tile floor protector is generally a straightforward DIY project.
- Stove Pipe Connection (with careful attention to detail): Connecting the stove pipe to the stove and chimney can be done by DIYers with experience working with sheet metal and understanding proper sealing techniques.
- Minor Chimney Cleaning (after professional inspection): After a professional inspection, you can perform routine chimney cleaning using a chimney brush.
Tasks Requiring Professional Assistance:
- Chimney Inspection: Always have a professional inspect your chimney before installing a wood-burning stove. They can identify any structural issues, creosote buildup, or sizing problems.
- Chimney Lining: Installing a chimney liner is a complex and potentially dangerous task that requires specialized tools and expertise.
- New Chimney Installation: Installing a new chimney is a major construction project that should only be done by qualified professionals.
- Gas Line or Electrical Connections (if applicable): If your stove requires gas or electrical connections, these must be done by licensed professionals.
- Any task you're not comfortable with: If you have any doubts or concerns about any aspect of the installation, it's always best to err on the side of caution and hire a professional.
Safety First: Essential Precautions
Wood-burning stoves can be a safe and efficient heating source, but only if installed and operated correctly. Here are some essential safety precautions:
- Read the Manual: Carefully read and understand the manufacturer's instructions for your stove.
- Install Smoke and Carbon Monoxide Detectors: Install smoke and carbon monoxide detectors on every level of your home and test them regularly.
- Keep Combustibles Away: Maintain a safe distance between the stove and combustible materials.
- Use a Fireplace Screen: Use a fireplace screen to prevent sparks from escaping the stove.
- Never Use Flammable Liquids: Never use flammable liquids to start a fire in the stove.
- Store Wood Safely: Store firewood away from the stove and other heat sources.
- Clean the Chimney Regularly: Have your chimney professionally cleaned at least once a year, or more often if necessary.
- Dispose of Ashes Properly: Dispose of ashes in a metal container with a tight-fitting lid.
- Never Leave the Stove Unattended: Never leave a fire burning unattended.
Troubleshooting Common Issues
Even with proper installation, you may encounter some common issues with your wood-burning stove. Here are a few troubleshooting tips:
- Poor Draft:
- Check the Chimney: Ensure the chimney is clear of obstructions and that the chimney cap is not blocked.
- Warm the Chimney: Cold chimneys can cause poor draft. Try warming the chimney by burning a rolled-up newspaper inside before starting a fire.
- Outside Air Supply: Make sure your stove has an adequate supply of outside air.
- Barometric Damper: If applicable, ensure the barometric damper is adjusted properly.
- Excessive Smoke:
- Wet Wood: Ensure you are using properly seasoned wood. Wet wood creates excessive smoke and creosote.
- Insufficient Air: Make sure the air vents on the stove are open sufficiently.
- Chimney Obstruction: Check for obstructions in the chimney.
- Creosote Buildup:
- Burn Hot Fires: Burning hot fires helps to reduce creosote buildup.
- Use Dry Wood: Dry wood burns cleaner and produces less creosote.
- Regular Chimney Cleaning: Have your chimney professionally cleaned regularly.
Maintenance
Regular maintenance is essential for keeping your wood-burning stove operating safely and efficiently. Here are some key maintenance tasks:
- Inspect the Stove Regularly: Check for cracks, leaks, and other damage.
- Clean the Stove Regularly: Remove ashes and debris from the stove regularly.
- Inspect the Chimney Annually: Have your chimney professionally inspected at least once a year.
- Replace Worn Parts: Replace worn or damaged parts as needed.
Installing a wood-burning stove in your basement can be a rewarding project that provides warmth and saves money on heating costs. By following these steps, taking necessary precautions, and knowing when to call in a professional, you can enjoy the benefits of a wood-burning stove safely and effectively. Remember, safety is paramount. If you are ever unsure about any aspect of the installation or operation of your stove, consult with a qualified professional.