How To Install An Electric Hot Water Heater
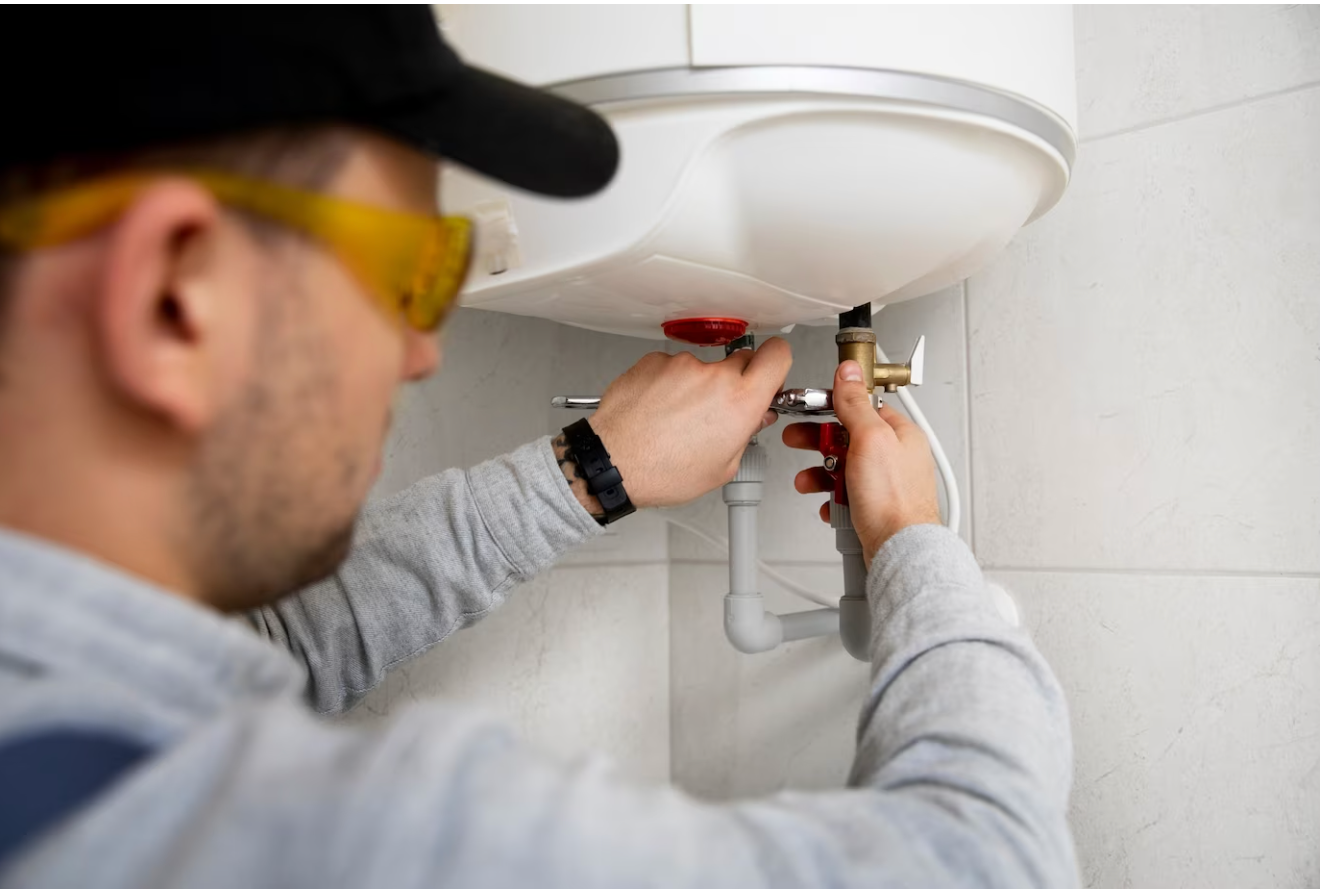
Electric hot water heaters are a common and reliable way to provide hot water for residential and commercial properties. While a professional installation is always recommended, understanding the process empowers homeowners, assists technicians, and informs facility managers. This comprehensive guide outlines the key steps involved in installing an electric hot water heater, covering everything from preparation to testing.
Preparation is Key
Before you even think about touching a wrench, thorough preparation is paramount. This stage ensures a smooth, safe, and code-compliant installation.
Gather Your Tools and Materials
You'll need a variety of tools and materials. This list covers the essentials:
- New electric hot water heater (ensure the voltage and amperage requirements match your electrical system)
- Pipe wrench (two are recommended for leverage)
- Adjustable wrench
- Screwdrivers (Phillips and flathead)
- Voltage tester
- Multimeter
- Wire stripper/crimper
- Pliers
- Pipe cutter (if modifying existing plumbing)
- Soldering torch and supplies (if soldering copper pipes) - *Note: soldering is rarely necessary for modern installations with compression fittings.*
- Teflon tape or pipe joint compound
- Dielectric unions (to prevent galvanic corrosion)
- New flexible water connectors (if replacing existing ones)
- Pressure relief valve (PRV) extension pipe (to direct discharge downward)
- Wiring connectors (wire nuts, crimp connectors)
- Ground wire
- Conduit and fittings (as required by local codes)
- Level
- Drain pan (if the heater is located where leaks could cause damage)
- Work gloves and safety glasses
Safety First: Disconnecting Power and Water
This is the most crucial step. Before starting any work, completely disconnect the power to the existing hot water heater at the circuit breaker. Verify the power is off using a voltage tester. Never assume the breaker is correctly labeled. Next, turn off the cold water supply to the existing water heater, usually located on the inlet pipe. Open a hot water faucet in the house to relieve any pressure in the system.
Draining the Old Water Heater
Connect a garden hose to the drain valve located near the bottom of the old water heater. Run the hose to a suitable drain, such as a floor drain, laundry sink, or outside area. Open the drain valve to allow the water heater to empty. Be patient; this can take some time. To speed up the process, you can open the pressure relief valve (PRV) on the top of the tank. Exercise caution, as the water may be scalding hot, even if the heater hasn't been used recently.
Removing the Old Water Heater
Disconnecting Plumbing and Electrical Connections
Once the old water heater is completely drained, disconnect the water lines. This usually involves unscrewing the flexible connectors or cutting the copper pipes. If you're working with copper pipes, use a pipe cutter to make a clean cut. Next, carefully disconnect the electrical wiring. Remember to double-check that the power is off before touching any wires. Disconnect the wires from the terminals, noting the location of each wire (usually black, white, and green/ground). Remove the old water heater.
Preparing the Area for the New Heater
Clean the area where the new water heater will be installed. Ensure the floor is level and stable. If necessary, install a drain pan under the heater to protect against potential leaks. Check for any damage to the surrounding walls or flooring and make any necessary repairs.
Installing the New Electric Hot Water Heater
Positioning the New Heater
Carefully move the new water heater into place. Ensure it is level and stable. If necessary, use shims to level the unit.
Connecting the Plumbing
Apply Teflon tape or pipe joint compound to the threads of the inlet and outlet pipes. Install dielectric unions to both the inlet and outlet pipes of the water heater. Dielectric unions are essential to prevent galvanic corrosion, which can occur when dissimilar metals (copper and steel) are connected. Connect the flexible water connectors to the dielectric unions. Tighten the connections securely with a wrench, but avoid overtightening.
Installing the Pressure Relief Valve (PRV)
The pressure relief valve (PRV) is a crucial safety device that prevents excessive pressure buildup in the tank. Install the PRV into the designated opening on the top of the water heater. Attach an extension pipe to the PRV discharge outlet and direct it downward to within 6 inches of the floor. This prevents scalding water from spraying if the valve releases.
Wiring the Electrical Connections
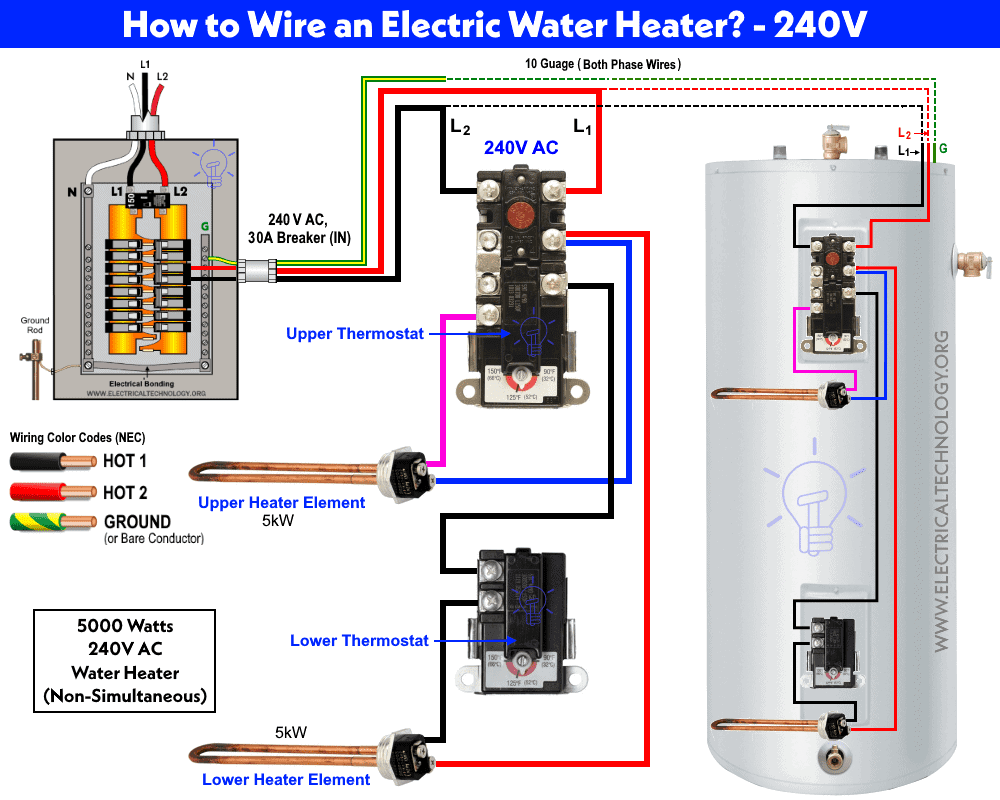
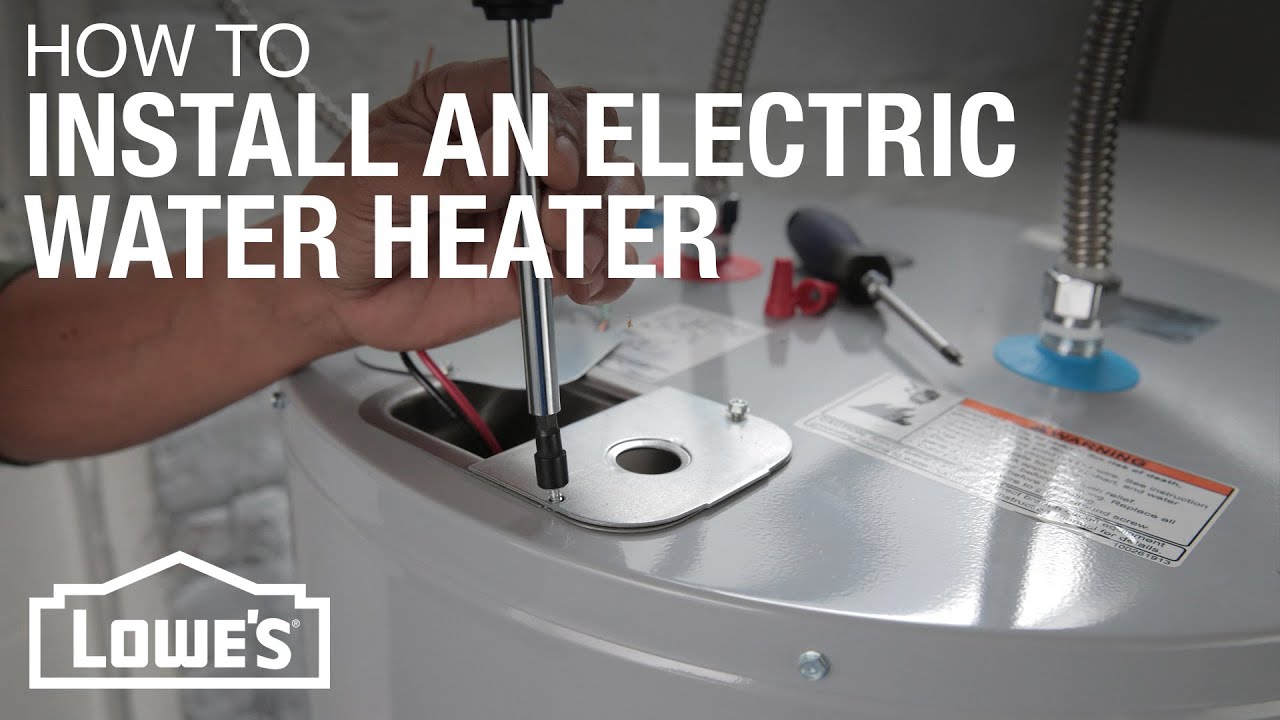
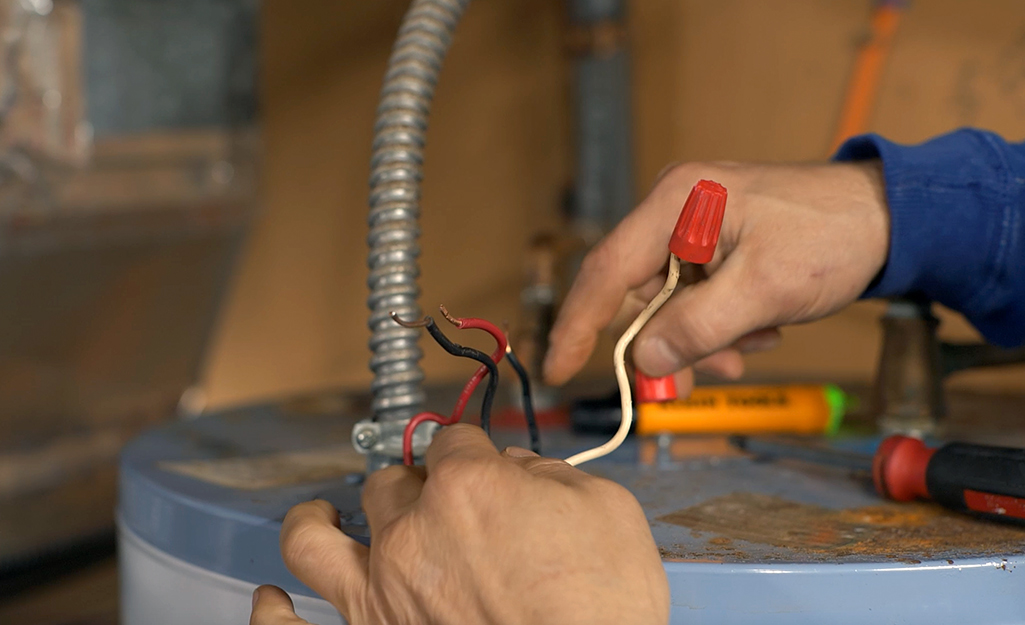
Connect the electrical wiring according to local codes and the manufacturer's instructions. Typically, you'll connect the black (hot) wire, the white (neutral) wire, and the green (ground) wire to the corresponding terminals on the water heater. Use wire nuts or crimp connectors to make secure connections. Ensure all connections are tight and properly insulated. If using conduit, follow local electrical codes for proper installation and grounding.
Testing and Final Checks
Filling the Tank
Slowly open the cold water supply valve to fill the tank. Leave a hot water faucet open to allow air to escape. Once water flows steadily from the faucet, close it. Check for leaks around all plumbing connections. Tighten any connections as needed.
Turning on the Power
After the tank is full and you've checked for leaks, turn on the power to the water heater at the circuit breaker. Monitor the water heater for any unusual noises or vibrations.
Setting the Temperature
Set the thermostat to the desired temperature. A setting of 120°F (49°C) is generally recommended to prevent scalding and save energy. Allow the water heater to heat up the water. This may take several hours.
Checking for Leaks Again
After the water heater has heated up, check for leaks again. Pay close attention to the plumbing connections, the PRV, and the tank itself. Address any leaks immediately.
Troubleshooting Common Issues
Even with careful installation, issues can arise. Here are some common problems and their potential solutions:
- No hot water: Check the circuit breaker, thermostat setting, and heating elements. Use a multimeter to test the heating elements for continuity.
- Leaking water: Tighten plumbing connections, replace faulty flexible connectors, or inspect the tank for corrosion. If the tank is leaking, the water heater needs to be replaced.
- Noisy operation: Sediment buildup in the tank can cause rumbling or popping noises. Flush the tank to remove sediment.
- Water too hot or too cold: Adjust the thermostat setting. If the problem persists, the thermostat may be faulty and need replacement.
Maintenance and Longevity
Regular maintenance is crucial for extending the lifespan of your electric hot water heater. Here are some essential maintenance tasks:
- Flush the tank annually: This removes sediment buildup, which can reduce efficiency and damage the heating elements.
- Inspect the anode rod: The anode rod protects the tank from corrosion. Replace it every few years, or as needed.
- Check the PRV: Test the PRV annually to ensure it is functioning correctly.
Cost, Efficiency, and Lifespan
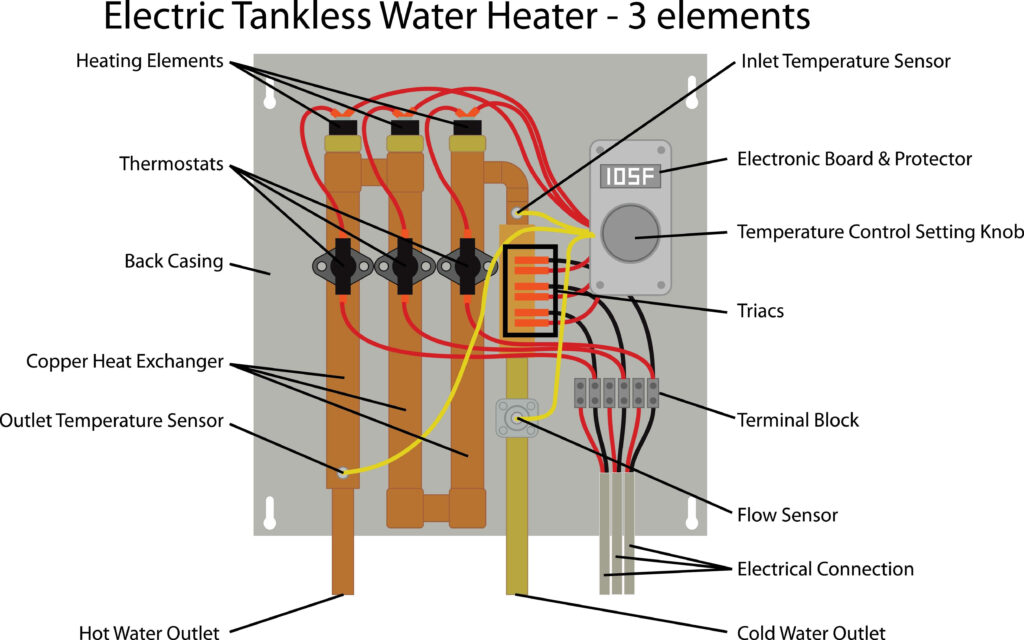
The cost of an electric hot water heater varies depending on the size, features, and brand. Generally, electric water heaters are less expensive to purchase than gas water heaters, but they may have higher operating costs due to electricity rates. Tankless electric water heaters offer greater energy efficiency but have a higher upfront cost.
Efficiency is measured by the Energy Factor (EF) rating. A higher EF rating indicates greater energy efficiency. Look for models with high EF ratings to save money on energy bills.
The lifespan of an electric hot water heater typically ranges from 8 to 12 years. Proper maintenance can extend its lifespan.
Conclusion
Installing an electric hot water heater is a project that requires careful planning, attention to detail, and adherence to safety guidelines. While this guide provides a comprehensive overview of the process, it is always recommended to consult with a qualified HVAC professional for assistance. By understanding the steps involved and performing regular maintenance, you can ensure a reliable and efficient hot water supply for your home or business.