How To Install Curb And New Roof Top Unit
Is your home's heating and cooling system struggling to keep up, leaving you shivering in winter or sweating in summer? A common culprit, especially in commercial or large residential buildings, can be issues related to the rooftop unit (RTU) installation and its curb. While not every problem requires a full RTU replacement, a poorly installed curb or an aging unit can lead to significant efficiency losses and uncomfortable temperatures.
This article provides a comprehensive guide to installing a new curb and rooftop unit, helping you understand the process and identify potential problems. While some steps can be tackled by handy homeowners, remember that working with heavy equipment and electrical systems can be dangerous. When in doubt, always consult a qualified HVAC professional.
Diagnosing RTU and Curb Issues
Before jumping into replacement, let's accurately diagnose the problem. Here’s a methodical approach:
1. Initial Assessment (No Tools Required)
Start with a simple visual inspection inside your building:
- Check the Thermostat: Is it set correctly to 'heat' or 'cool' mode and at the desired temperature? Is the battery fresh? A simple setting error is surprisingly common.
- Airflow at Vents: Feel the airflow from your supply vents. Is it weak or non-existent? This could indicate a blocked duct, a failing blower motor, or a problem with the RTU itself.
- Unusual Noises: Listen for any strange noises coming from the vents or the RTU. Rattling, hissing, or grinding sounds can be signs of mechanical issues.
- Temperature Discrepancies: Are some rooms significantly warmer or cooler than others? This could point to ductwork problems, insulation issues, or an unbalanced system.
Now, carefully go to the roof (if you are comfortable and have safe access) and inspect the outside:
- Visual Inspection of the RTU: Look for obvious damage, such as dents, rust, or missing panels. Are there any visible leaks?
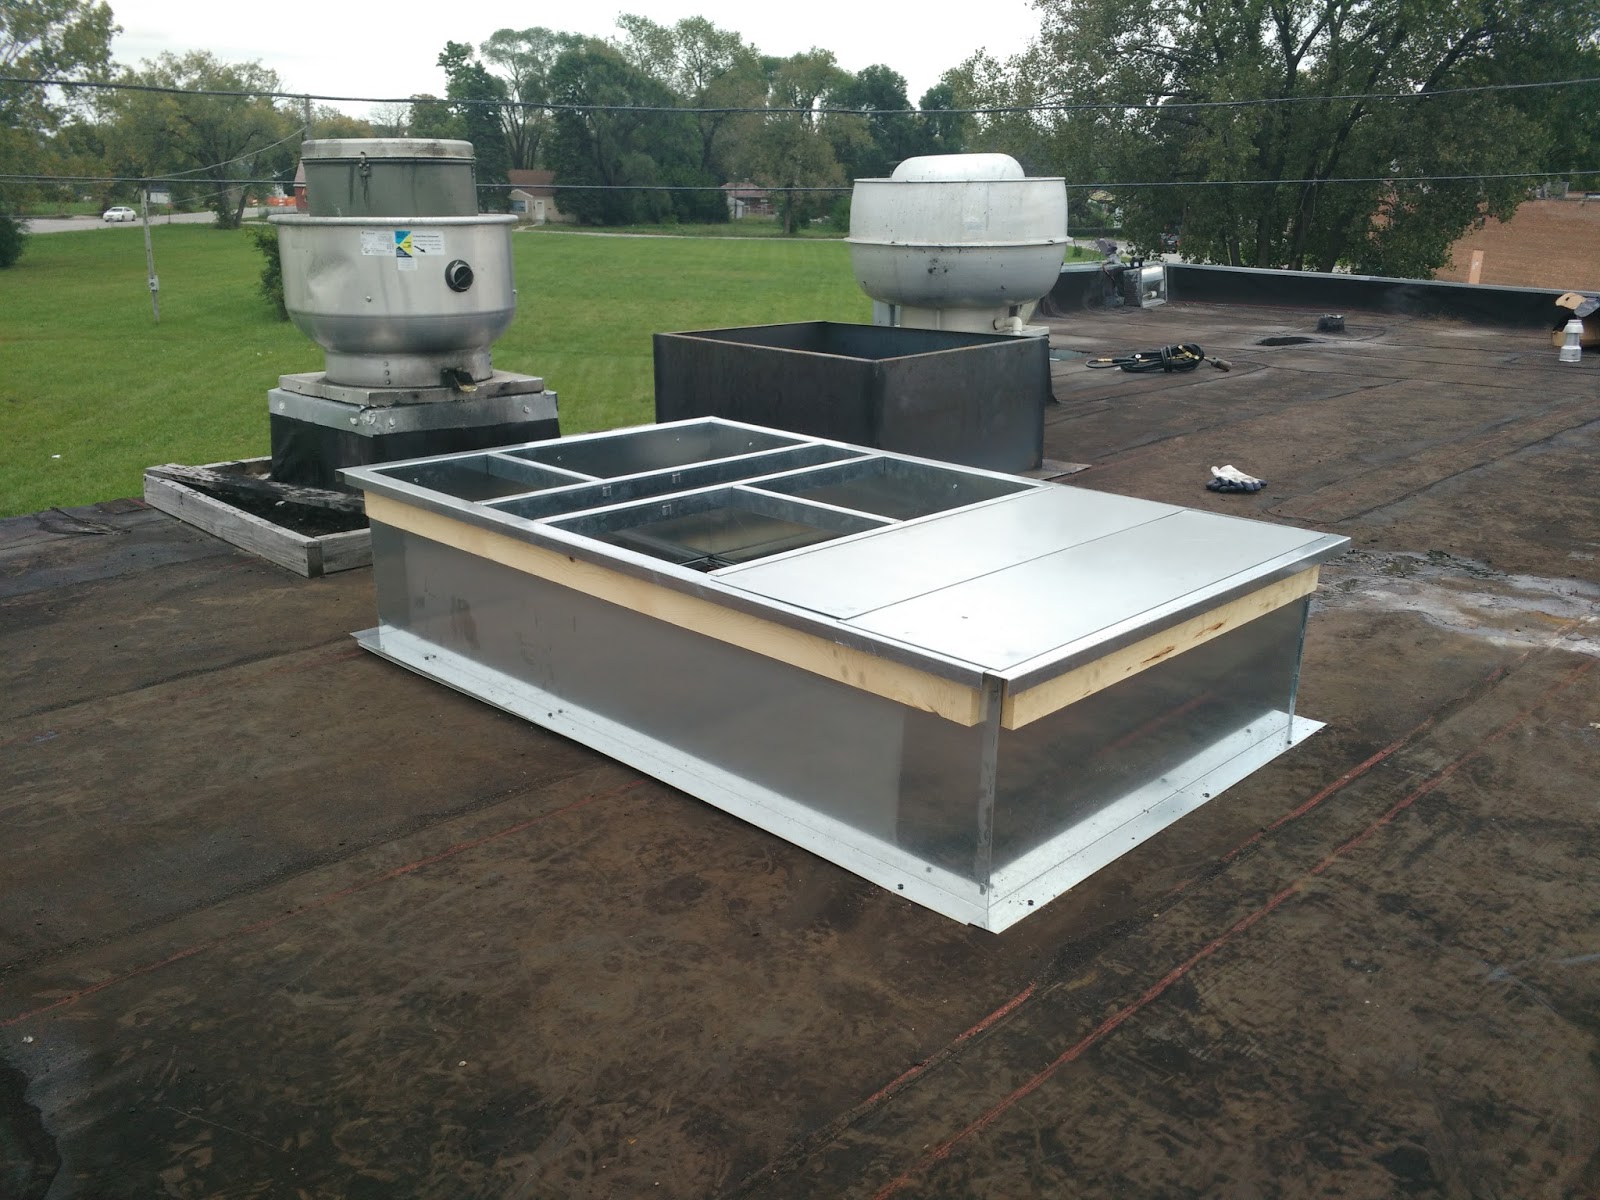
- Curb Condition: Inspect the curb (the raised platform the RTU sits on). Is it level and structurally sound? Look for signs of rust, corrosion, or deterioration, especially at the seams and around the RTU's base.
- Debris Around the Unit: Ensure the area around the RTU is clear of leaves, branches, and other debris that could obstruct airflow.
2. Advanced Diagnosis (Basic Tools Required)
If the initial assessment doesn’t reveal the problem, you might need some basic tools and a little more knowledge. Proceed with caution and turn off the power to the RTU at the breaker before attempting any electrical checks.
- Multimeter Check (Electrical): Only if you are comfortable and knowledgeable about electrical work! A multimeter can be used to check voltage to the RTU. If there's no voltage, the problem could be a tripped breaker, a faulty disconnect switch, or a wiring issue. If you are unsure, call an electrician!
- Filter Check: Remove and inspect the air filter. A clogged filter restricts airflow and can cause the RTU to work harder and less efficiently. Replace the filter if it's dirty.
- Blower Motor Inspection: With the power off, try to manually spin the blower motor. If it's difficult to turn or makes a grinding noise, the motor may be failing.
- Refrigerant Lines: Inspect the refrigerant lines for leaks. Listen for a hissing sound, which indicates escaping refrigerant. Refrigerant handling requires specialized equipment and certification.
3. When to Call a Professional
Certain issues require the expertise of a qualified HVAC technician. Never attempt to repair or replace components involving refrigerant, gas lines, or complex electrical systems unless you are properly trained and certified. Call a professional if you encounter any of the following:
- Refrigerant Leaks: Handling refrigerant requires specialized equipment and certification.
- Gas Leaks: If you suspect a gas leak, evacuate the area immediately and call your gas company or a qualified HVAC technician.
- Electrical Problems: If you are uncomfortable working with electricity or suspect a wiring issue, call an electrician or a qualified HVAC technician.
- Compressor Problems: The compressor is the heart of the cooling system. Diagnosing and repairing compressor issues requires specialized knowledge and equipment.
- Major Component Failure: If a major component, such as the blower motor, heat exchanger, or control board, has failed, it's best to have a professional handle the repair or replacement.
- Any doubt about your abilities. Safety first!
Installing a New Curb and Rooftop Unit: Step-by-Step
This section provides a general overview of the installation process. Always refer to the manufacturer's instructions for your specific RTU and curb model. Remember, this is a complex project best left to professionals, especially for larger units. This guide is for informational purposes only, and we are not responsible for any injuries or damages resulting from attempting this project without proper training and experience.
1. Planning and Preparation
Thorough planning is crucial for a successful installation.
- Permits: Obtain all necessary permits from your local building department.
- Unit Selection: Choose the right size RTU for your building's heating and cooling needs. Consult with an HVAC professional to determine the appropriate BTU (British Thermal Unit) rating.
- Curb Selection: Select a curb that is compatible with your RTU model and meets local building codes. Ensure it's the correct height and dimensions.
- Safety Gear: Wear appropriate safety gear, including gloves, safety glasses, and a hard hat.
- Tools and Equipment: Gather all necessary tools and equipment, including a crane or forklift (for lifting the RTU), a drill, a saw, wrenches, screwdrivers, a level, a measuring tape, and sealing materials.
- Helper: This is definitely a two-person (or more) job. Have experienced help available.
2. Removing the Old RTU and Curb (if applicable)
This is a delicate and potentially dangerous process. Proceed with extreme caution.
- Disconnect Power: Turn off the power to the old RTU at the breaker and disconnect the wiring. Double-check that the power is off with a multimeter.
- Disconnect Gas Line (if applicable): If the RTU uses gas, shut off the gas supply and disconnect the gas line. Have a qualified gas technician handle this step if you are not experienced.
- Disconnect Ductwork: Disconnect the supply and return ductwork from the RTU.
- Crane or Forklift: Use a crane or forklift to carefully lift the old RTU off the curb. Ensure the equipment is properly rated for the weight of the RTU.
- Remove the Old Curb: If replacing the curb, carefully remove it from the roof. Be careful not to damage the roof membrane.
- Roof Inspection: Inspect the roof membrane for damage. Repair any damage before installing the new curb.
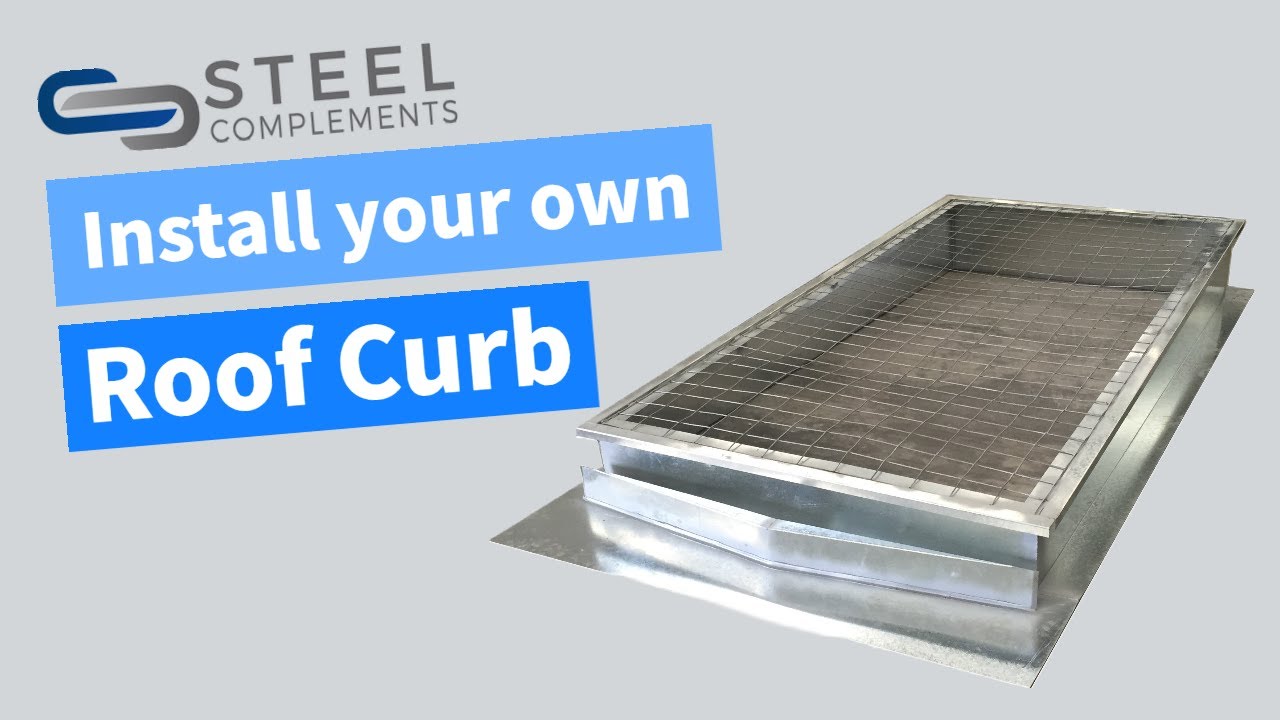
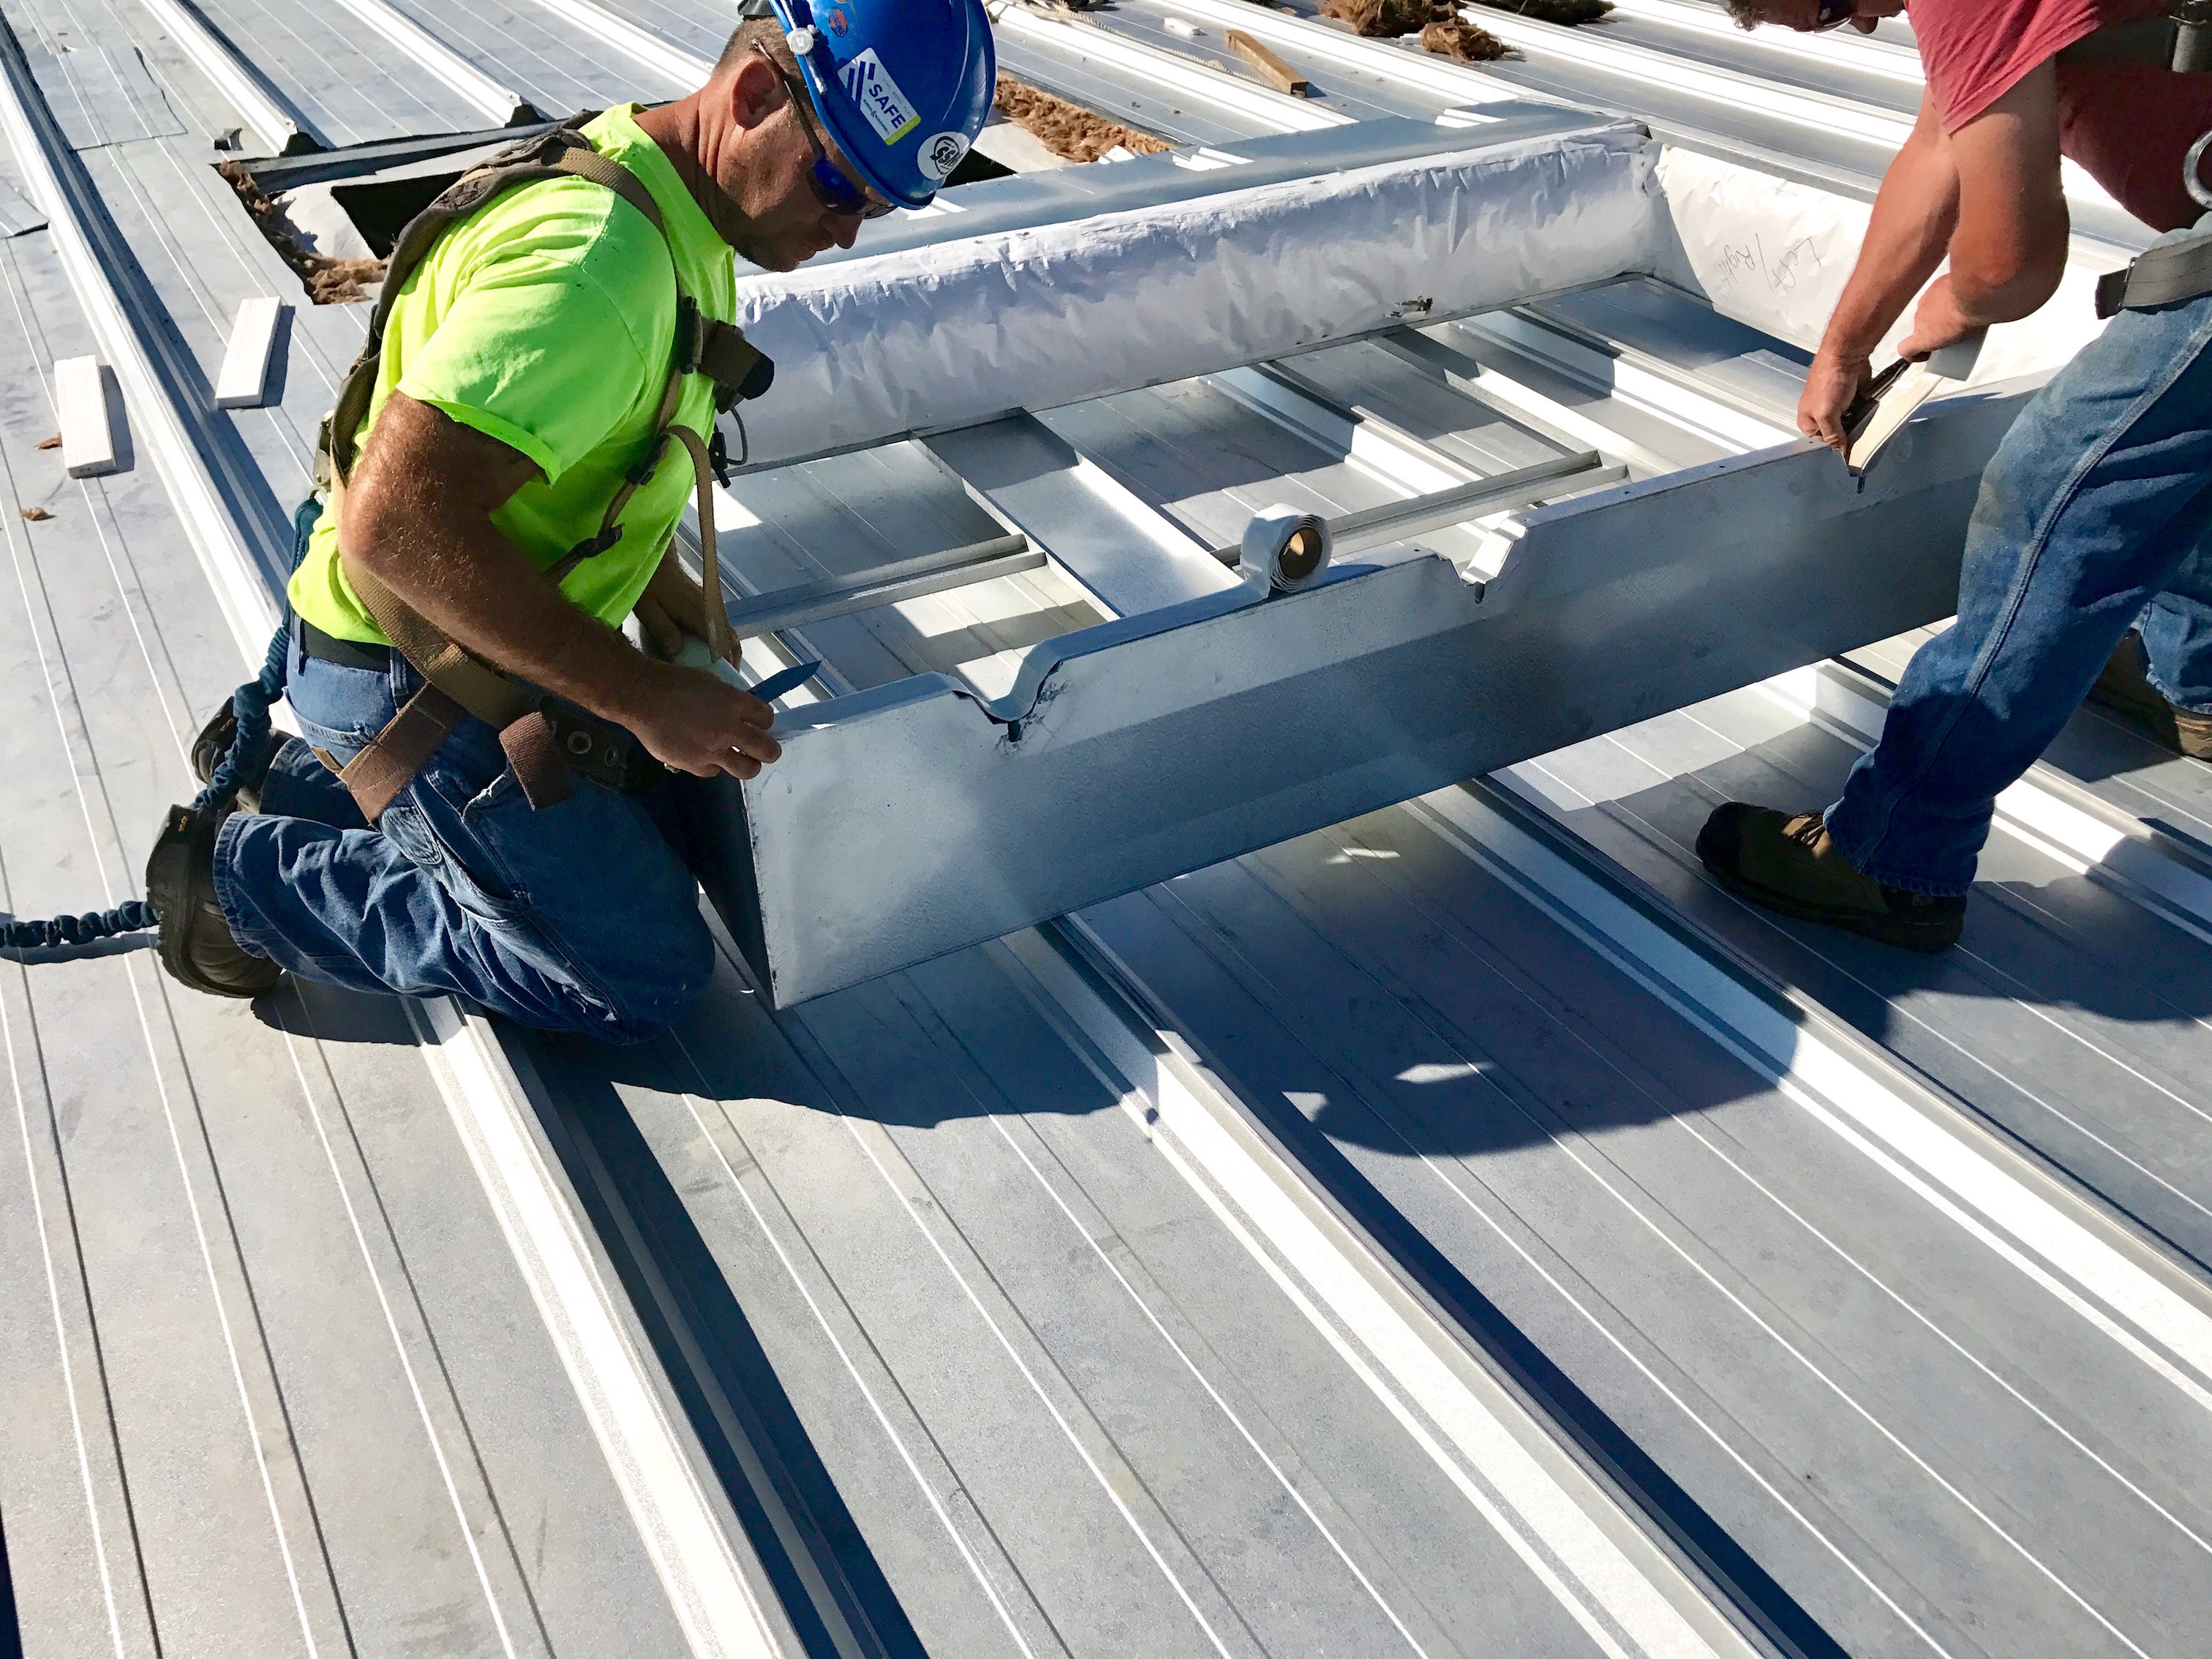
3. Installing the New Curb
Proper curb installation is essential for a watertight seal and proper RTU operation.
- Positioning: Position the new curb in the correct location, ensuring it aligns with the ductwork openings and any existing penetrations in the roof.
- Leveling: Use a level to ensure the curb is perfectly level. Shim as needed to correct any unevenness.
- Securing: Secure the curb to the roof structure using appropriate fasteners, such as screws or bolts. Follow the manufacturer's instructions for proper spacing and torque.
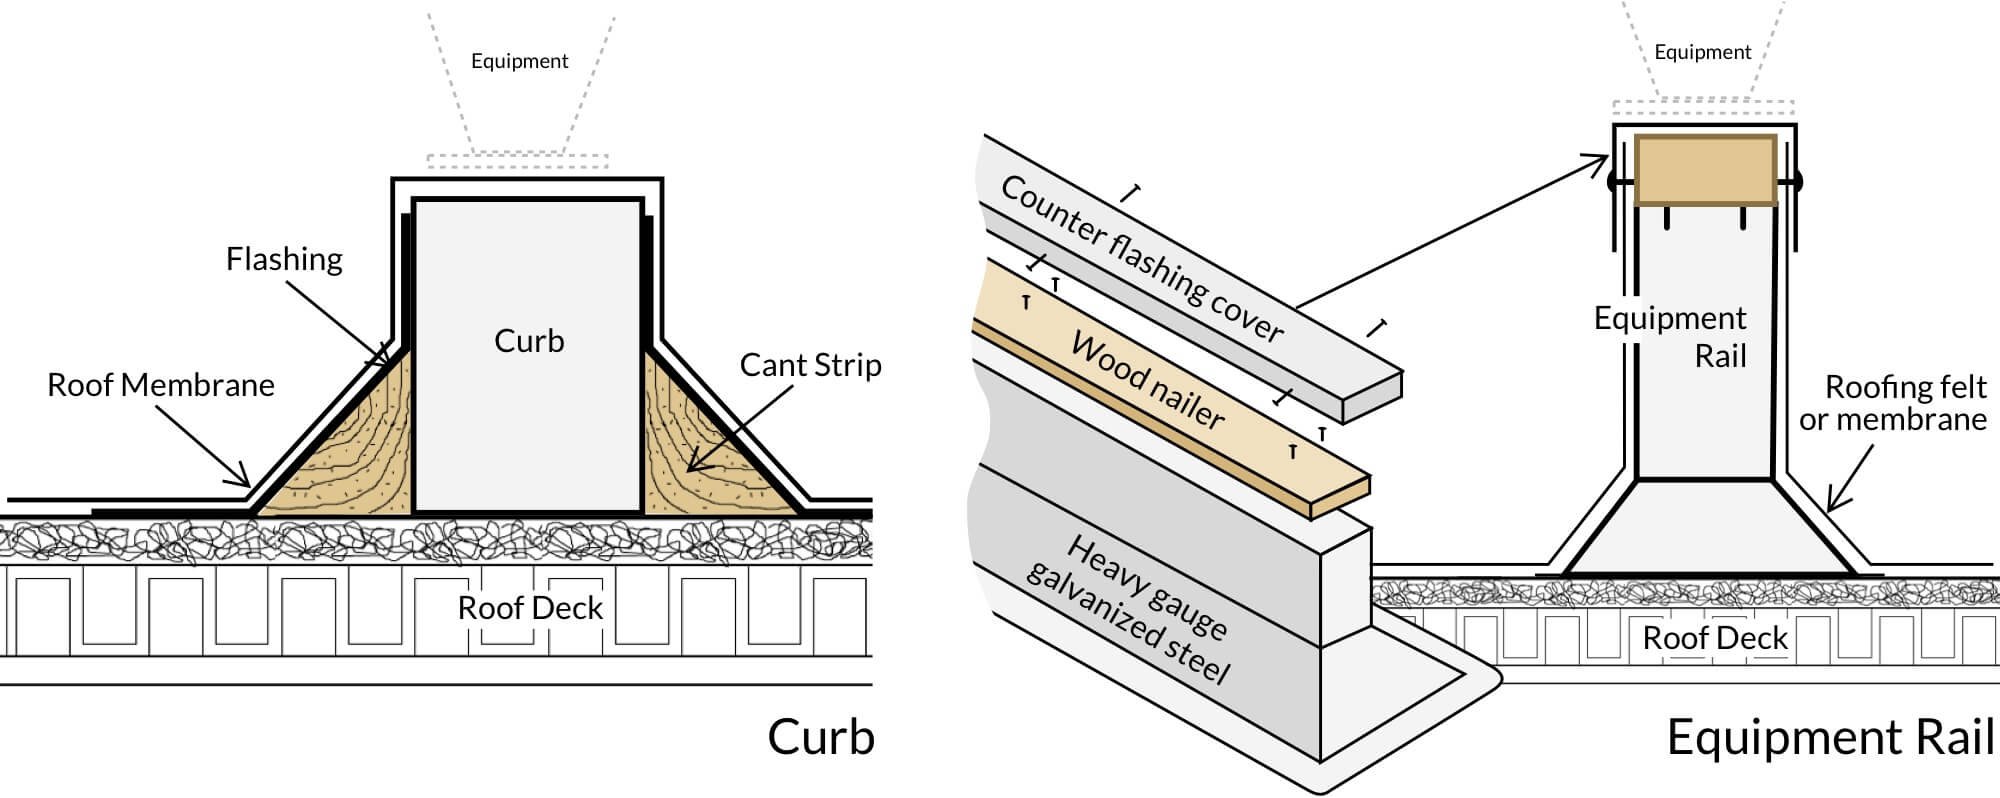
- Weatherproofing: Seal the curb to the roof membrane with a high-quality sealant to prevent water leaks. Apply the sealant liberally around the perimeter of the curb and around any fasteners.
- Counterflashing: Install counterflashing to further protect the curb from water intrusion. Overlap the roofing material and the curb, then seal with flashing cement.
4. Installing the New Rooftop Unit
This step requires careful planning and execution.
- Lifting the RTU: Use a crane or forklift to carefully lift the new RTU onto the curb. Ensure the equipment is properly rated for the weight of the RTU.
- Positioning: Carefully position the RTU on the curb, ensuring it aligns with the curb's mounting points.
- Securing: Secure the RTU to the curb using appropriate fasteners, such as screws or bolts. Follow the manufacturer's instructions for proper spacing and torque.
- Ductwork Connection: Connect the supply and return ductwork to the RTU. Use flexible duct connectors to minimize vibration and noise. Seal the connections tightly to prevent air leaks.
- Electrical Connection: Connect the electrical wiring to the RTU. Ensure the power is off at the breaker before making any connections. Follow the manufacturer's wiring diagram carefully. If you are not comfortable working with electricity, call an electrician.
- Gas Line Connection (if applicable): Connect the gas line to the RTU. Have a qualified gas technician handle this step. Pressure test the gas line to ensure there are no leaks.
5. Final Checks and Start-Up
Before starting the RTU, perform a thorough inspection to ensure everything is properly connected and functioning correctly.
- Wiring Check: Double-check all electrical connections to ensure they are secure and properly insulated.
- Gas Line Check (if applicable): Check the gas line connections for leaks using a soap bubble solution.
- Ductwork Check: Inspect the ductwork connections for air leaks. Seal any leaks with duct tape or sealant.
- Filter Installation: Install a new air filter in the RTU.
- Power On: Turn on the power to the RTU at the breaker.
- Thermostat Setting: Set the thermostat to the desired temperature.
- Operational Check: Observe the RTU as it starts up. Listen for any unusual noises or vibrations.
- Airflow Check: Check the airflow at the supply vents. Ensure the airflow is strong and consistent.
- Temperature Check: Monitor the temperature in the building to ensure the RTU is heating or cooling properly.
Preventative Maintenance
Once your new RTU is installed, proper preventative maintenance is crucial to ensure its longevity and efficiency.
- Regular Filter Changes: Change the air filter every 1-3 months, depending on usage and air quality.
- Coil Cleaning: Clean the condenser and evaporator coils regularly to remove dirt and debris.
- Blower Motor Lubrication: Lubricate the blower motor bearings as needed.
- Ductwork Inspection: Inspect the ductwork for leaks and damage. Seal any leaks with duct tape or sealant.
- Professional Tune-Ups: Schedule regular tune-ups with a qualified HVAC technician.
Installing a new curb and rooftop unit is a significant investment that can improve your home's comfort and energy efficiency. By following these steps and prioritizing safety, you can ensure a successful installation. Remember, when in doubt, always consult a qualified HVAC professional.