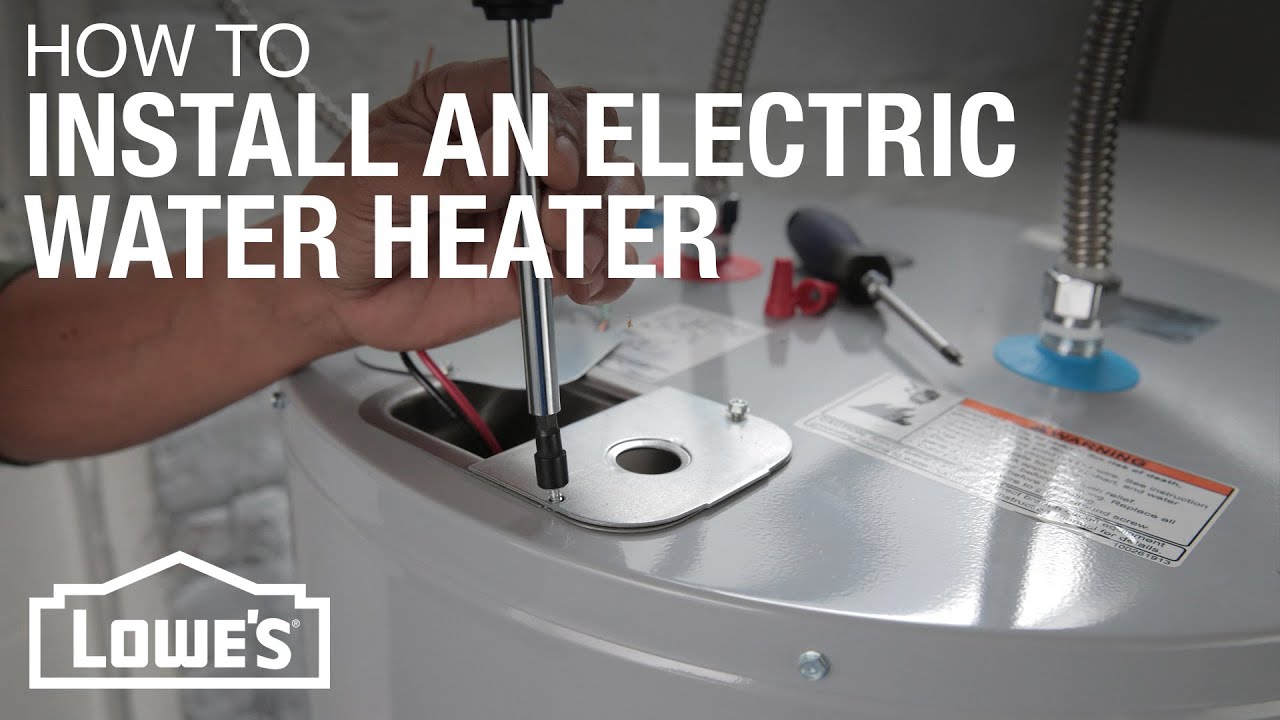
How To Install Electric Hot Water Heater
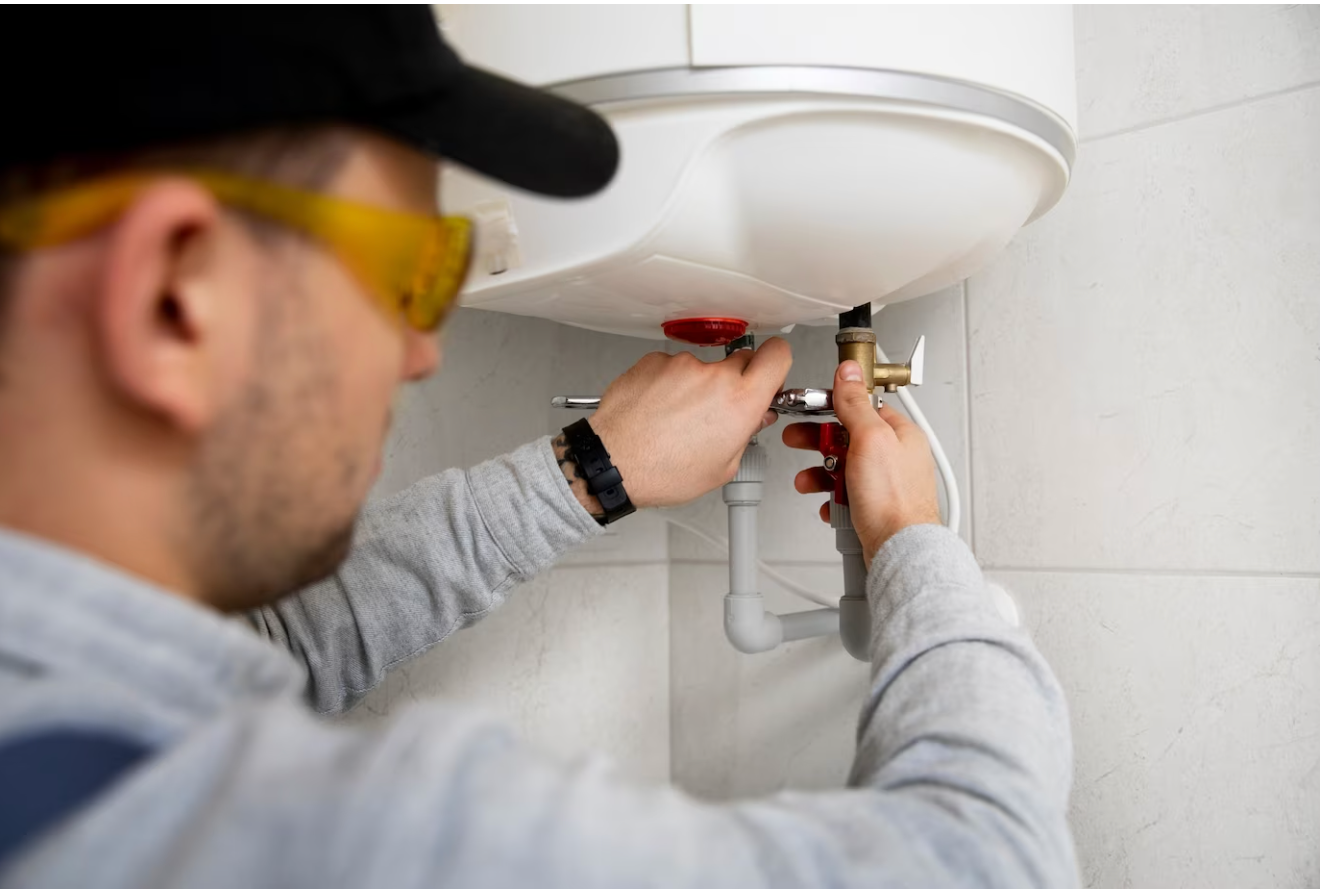
Installing an electric hot water heater can seem daunting, but with careful planning, the right tools, and a good understanding of the process, many homeowners can tackle this project successfully. This guide provides a step-by-step approach to installing an electric hot water heater, emphasizing safety and best practices. However, if you are uncomfortable working with electricity or plumbing, it is always best to hire a qualified professional. Working with electricity can be dangerous and even fatal if not done correctly.
Before You Begin: Assessing the Situation and Gathering Supplies
Before you even think about touching the old water heater, you need to make sure you have a solid plan and the right materials. This pre-installation phase is crucial for a smooth and safe process.
1. Determine the Correct Size and Type
Selecting the right hot water heater for your needs is paramount. Consider these factors:
- Household size: A larger family needs a larger capacity tank. A single person might be fine with a 30-gallon tank, while a family of four or more may require 50 gallons or more.
- Usage habits: Do you take long showers, run the dishwasher frequently, or have multiple people showering simultaneously? All of these increase hot water demand.
- Available space: Measure the space where the water heater will be installed to ensure the new unit fits comfortably.
- Electrical capacity: Verify your home's electrical system can handle the voltage and amperage requirements of the new water heater. Most electric water heaters require a dedicated 240-volt circuit. Consult your electrical panel and consider consulting an electrician if you're unsure.
- Energy efficiency: Look for Energy Star certified models for long-term cost savings.
2. Gather Necessary Tools and Materials
Having the right tools on hand will make the job much easier and safer. Here’s a list of essentials:
- New electric hot water heater (ensure it's the correct size and voltage)
- Pipe wrench: For loosening and tightening plumbing connections.
- Adjustable wrench: Useful for various plumbing fittings.
- Channel-lock pliers: For gripping and turning pipes.
- Screwdrivers: Both flathead and Phillips head.
- Voltage tester (non-contact): Absolutely essential to confirm power is off before working on electrical connections.
- Wire strippers/crimpers: For preparing and connecting electrical wires.
- Electrical tape: For insulating electrical connections.
- Pencil or marker: For marking measurements.
- Measuring tape: To measure dimensions and pipe lengths.
- Bucket: To catch water during drainage.
- Hose: For draining the old water heater.
- Teflon tape: For sealing pipe threads and preventing leaks.
- Dielectric nipples: To prevent galvanic corrosion between dissimilar metals (brass and steel).
- New shut-off valve (optional but recommended): If your existing valve is old or corroded.
- Pressure relief valve extension pipe (if needed): To direct discharge safely.
- Wiring connectors (wire nuts): To safely connect electrical wires.
- Work gloves: To protect your hands.
- Safety glasses: To protect your eyes.
3. Safety First: Turning Off Power and Water
This is the most important step. Failing to disconnect power and water can lead to serious injury or death.
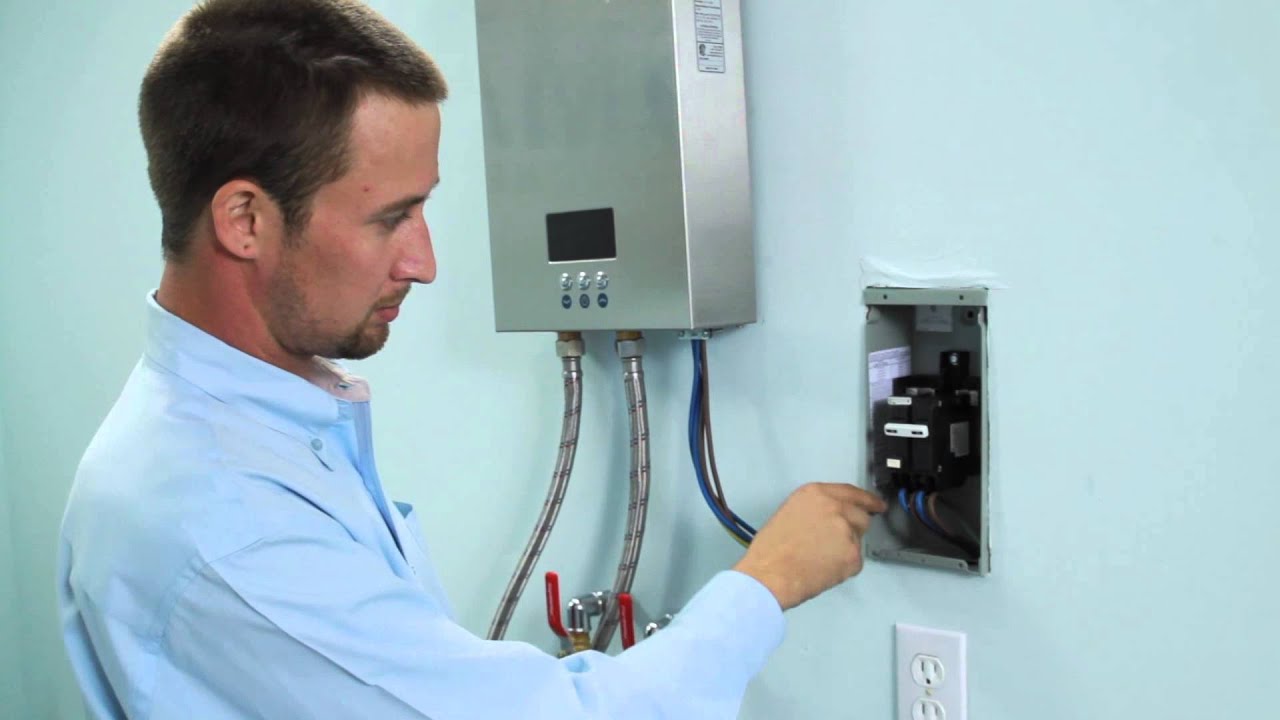
- Turn off the power: Locate the circuit breaker for the hot water heater in your electrical panel and switch it to the "OFF" position. Always double-check with a non-contact voltage tester to confirm the power is indeed off at the water heater.
- Turn off the water supply: Locate the cold water shut-off valve above the hot water heater and turn it off. This will stop the flow of water into the tank.
Step-by-Step Installation Process
Now that you've prepared, you can begin the actual installation. Work carefully and methodically, double-checking each step.
1. Draining the Old Water Heater
Draining the old water heater is necessary to remove it and prepare for the new one. It can be messy, so take precautions.
- Connect a hose: Attach a garden hose to the drain valve located at the bottom of the water heater.
- Position the hose: Run the hose to a floor drain, outside, or into a large bucket. Be mindful of where the hot water is draining; it could damage lawns or plants.
- Open the drain valve: Carefully open the drain valve to allow the water to flow out. Be prepared for a large volume of water, potentially 30-80 gallons.
- Open a hot water faucet: Open a hot water faucet in your home (e.g., a bathroom sink) to allow air into the tank, which will speed up the draining process.
- Wait until empty: Allow the tank to drain completely. This may take some time.
2. Disconnecting the Old Water Heater
Once the old water heater is drained, you can disconnect the plumbing and electrical connections.
- Disconnect the plumbing: Use pipe wrenches to disconnect the hot and cold water pipes from the top of the water heater. Be prepared for a small amount of residual water to spill out.
- Disconnect the wiring: Remove the access panel covering the electrical connections. Carefully disconnect the wires, using wire strippers if necessary. Remember to double-check with your voltage tester that the power is OFF! Note the wiring configuration (usually black to black, white to white, and green or bare copper to ground) for easy reconnection later.
- Remove the old water heater: Carefully move the old water heater out of the way. It will be heavy, so get help if needed.
3. Preparing the New Water Heater
Before installing the new water heater, prepare it by installing necessary components.
- Install dielectric nipples: Wrap Teflon tape around the threads of the hot and cold water outlets on the new water heater. Then, screw in the dielectric nipples. These prevent corrosion.
- Install the pressure relief valve: Wrap Teflon tape around the threads of the pressure relief valve and screw it into the designated opening on the water heater. Ensure the valve's discharge pipe points downward and terminates no more than 6 inches above the floor. If needed, install an extension pipe.
4. Installing the New Water Heater
Now, carefully place the new water heater in the same location as the old one.
- Position the heater: Carefully position the new water heater in place. Make sure it's level.
- Connect the plumbing: Connect the hot and cold water pipes to the dielectric nipples. Use pipe wrenches to tighten the connections securely. Ensure you wrap Teflon tape around the threads before connecting.
5. Wiring the New Water Heater
This is a critical step. If you are not comfortable working with electricity, hire a qualified electrician.
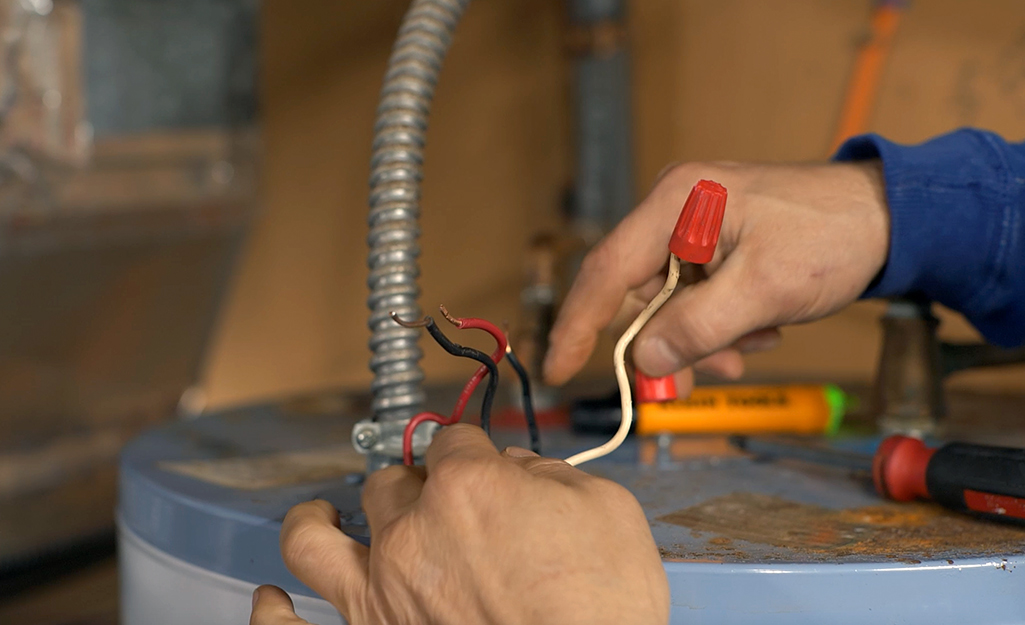
- Connect the wiring: Reconnect the electrical wires, matching the configuration you noted earlier (black to black, white to white, and green or bare copper to ground). Use wire connectors (wire nuts) to secure the connections. Ensure the connections are tight and secure.
- Secure the wires: Neatly tuck the wires into the junction box and replace the access panel.
6. Filling the Tank and Testing for Leaks
Before turning on the power, fill the tank and check for leaks.
- Open the cold water shut-off valve: Slowly open the cold water shut-off valve to allow water to fill the tank.
- Open a hot water faucet: Open a hot water faucet in your home to allow air to escape from the tank.
- Check for leaks: Carefully inspect all plumbing connections for leaks. If you find any, tighten the connections with a pipe wrench.
- Wait until full: Allow the tank to fill completely until water flows steadily from the hot water faucet.
7. Turning on the Power
Once the tank is full and you've checked for leaks, you can turn on the power.
- Turn on the circuit breaker: Go back to your electrical panel and switch the circuit breaker for the hot water heater to the "ON" position.
- Wait for the water to heat: It may take several hours for the water to heat up.
8. Testing and Final Checks
After the water has heated, test the hot water and make final checks.
- Test the hot water: Turn on a hot water faucet and check the water temperature. It should gradually increase to the desired temperature.
- Inspect for leaks again: Double-check all plumbing connections for leaks one last time.
- Monitor the pressure relief valve: Observe the pressure relief valve for any signs of dripping or discharge. If it's discharging water, there may be a problem with the water pressure or the valve itself. Consult a plumber if necessary.
Troubleshooting Common Issues
Even with careful planning, you might encounter some issues during the installation process.
- Leaks: If you encounter leaks, tighten the plumbing connections. If the leak persists, you may need to re-wrap the threads with Teflon tape or replace the fitting.
- No hot water: If the water doesn't heat up, check the circuit breaker to ensure it's still on. Also, check the thermostat settings on the water heater.
- Discolored water: Discolored water can be caused by sediment in the tank. Flush the tank by draining a few gallons of water from the drain valve.
Final Thoughts and Considerations
Installing an electric hot water heater is a significant undertaking. While this guide provides a comprehensive overview, it's essential to exercise caution and prioritize safety. If you are unsure about any part of the process, do not hesitate to call a qualified plumber or electrician. A professional can ensure the installation is done correctly and safely, giving you peace of mind.
Remember to check your local building codes and regulations before starting any plumbing or electrical work. Following these guidelines will help ensure a successful and safe hot water heater installation.