How To Install Wall Air Conditioning Unit
Wall air conditioning units, also known as through-the-wall air conditioners, offer a compelling alternative to window units and central AC systems. They provide efficient cooling without the window obstruction of the former and the complex ductwork of the latter. This article provides a comprehensive guide on installing a wall AC unit, tailored for homeowners seeking energy savings, businesses aiming for greener solutions, and HVAC professionals looking to expand their service offerings.
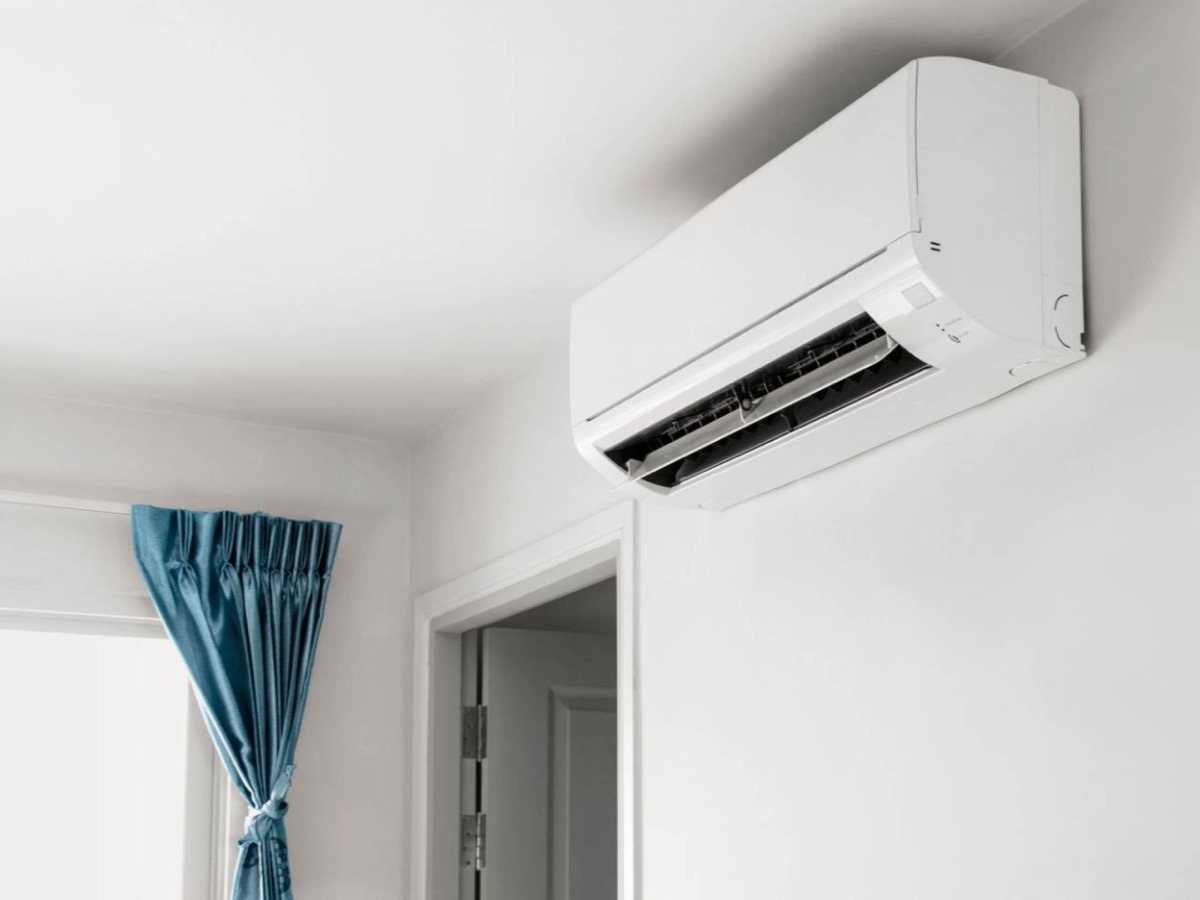
Understanding Wall AC Units: Efficiency and Benefits
Before diving into the installation process, it’s crucial to understand the advantages of wall AC units, especially concerning energy efficiency. These units, often boasting ENERGY STAR certification, are designed for targeted cooling, allowing you to cool specific rooms or zones rather than the entire house. This zoning approach directly translates to lower energy consumption and reduced electricity bills.
Compared to window units, wall ACs offer superior insulation and a more permanent, secure installation. This minimizes air leaks, a common source of energy waste with window-mounted units. Furthermore, many modern wall ACs come equipped with features like programmable timers, sleep modes, and smart controls, allowing for even greater energy optimization.
Data shows that upgrading to an ENERGY STAR certified wall AC unit can save homeowners up to 15% on their cooling costs annually. Consider a household spending $500 annually on AC. A 15% reduction translates to a $75 saving per year, potentially recouping the cost of the unit over its lifespan.
Preparation is Key: Assessing Your Needs and Selecting the Right Unit
Successful installation begins with careful planning and preparation. This involves assessing your cooling needs, selecting the appropriate unit size, and gathering the necessary tools and materials.
1. Determine Your Cooling Requirements:
The size of the room you intend to cool is the primary factor in determining the required BTU (British Thermal Units) rating of the AC unit. A general rule of thumb is 20 BTU per square foot. For example, a 200 square foot room would require a 4,000 BTU unit. However, consider factors like:
- Sun Exposure: Rooms with significant sun exposure require higher BTU ratings.
- Insulation: Poorly insulated rooms will necessitate more cooling power.
- Occupancy: Rooms with multiple occupants require additional BTU capacity.
- Appliance Heat: Rooms with heat-generating appliances like kitchens will need more cooling.
Use online BTU calculators or consult with an HVAC professional to accurately determine your cooling needs. Oversizing the unit can lead to inefficient operation and humidity issues, while undersizing will result in inadequate cooling.
2. Selecting the Right Unit:
Once you've determined the required BTU rating, research different models from reputable manufacturers. Look for units with high Energy Efficiency Ratio (EER) and Seasonal Energy Efficiency Ratio (SEER) ratings. These ratings indicate the unit's cooling efficiency; the higher the rating, the more energy-efficient the unit. ENERGY STAR certified models meet minimum EER and SEER requirements set by the government.
Consider features like:
- Smart Home Integration: Wi-Fi connectivity allows for remote control and integration with smart thermostats and sensors.
- Programmable Timer: Allows you to set the AC to automatically turn on and off at specific times.
- Sleep Mode: Gradually increases the temperature while you sleep, saving energy and improving comfort.
- Fan Speed Options: Allows you to customize the airflow to your preferences.
- Air Filtration: Units with high-quality air filters can improve indoor air quality.
Many utility companies offer rebates and incentives for purchasing ENERGY STAR certified appliances. Check with your local utility provider for available programs.
3. Gathering Tools and Materials:
Before starting the installation process, gather the following tools and materials:
- Wall AC unit
- Wall sleeve (if not included with the unit)
- Level
- Drill with appropriate drill bits
- Screwdriver (Phillips head and flathead)
- Measuring tape
- Pencil
- Safety glasses
- Gloves
- Caulk or sealant
- Shims (optional)
- Wiring and electrical connectors (if electrical work is required)
Installation Process: A Step-by-Step Guide
The installation process involves creating an opening in the wall, installing the wall sleeve, and mounting the AC unit. Safety is paramount, so always disconnect power to the area before beginning any electrical work.
1. Creating the Wall Opening:
This is the most critical step and requires precision. The opening must be perfectly sized to accommodate the wall sleeve. Consult the manufacturer's instructions for the exact dimensions. If you're unsure about your abilities, consider hiring a professional.
- Mark the Opening: Use the wall sleeve as a template to mark the outline of the opening on the wall. Ensure the opening is level and positioned correctly.
- Cut the Opening: Use a reciprocating saw or a drywall saw to carefully cut along the marked lines. If the wall is made of brick or concrete, you may need to use a masonry saw or hire a professional.
- Frame the Opening (Optional): For added stability, consider framing the opening with lumber. This is especially important for load-bearing walls.
2. Installing the Wall Sleeve:
The wall sleeve provides a secure housing for the AC unit and helps to insulate the opening.
- Insert the Sleeve: Carefully slide the wall sleeve into the opening.
- Level and Secure: Use a level to ensure the sleeve is perfectly level. Use shims if necessary to make adjustments.
- Fasten the Sleeve: Secure the sleeve to the wall using screws or bolts. Consult the manufacturer's instructions for the appropriate fasteners.
- Seal the Gaps: Apply caulk or sealant around the perimeter of the sleeve to prevent air leaks.
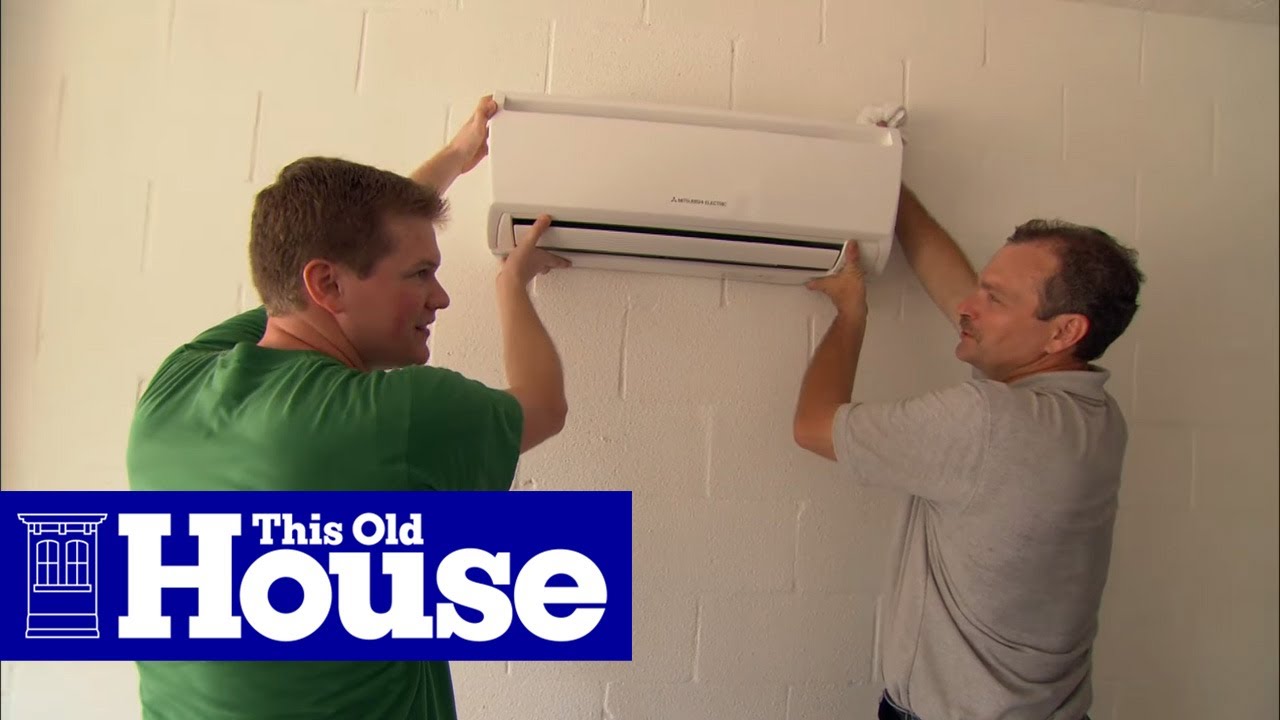
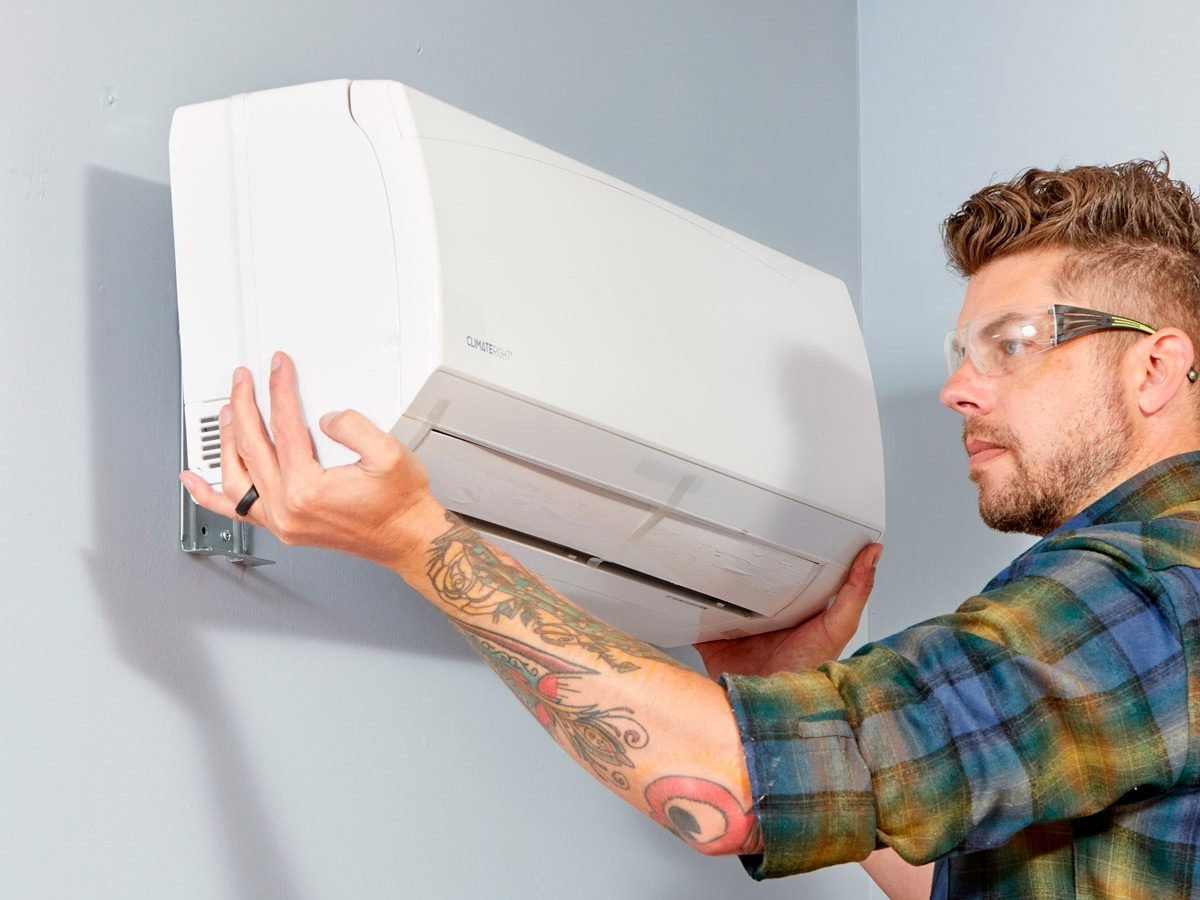
3. Mounting the AC Unit:
The final step involves sliding the AC unit into the wall sleeve and connecting the electrical wiring.
- Slide in the Unit: Carefully slide the AC unit into the wall sleeve. Ensure it fits snugly and securely.
- Secure the Unit: Use screws or bolts to secure the unit to the wall sleeve. Consult the manufacturer's instructions for the appropriate fasteners.
- Connect the Electrical Wiring: Follow the manufacturer's instructions to connect the electrical wiring. This step may require a qualified electrician. Ensure the wiring is properly grounded and that the correct voltage is used. Incorrect wiring can damage the unit and create a safety hazard.
- Test the Unit: Turn on the power and test the AC unit. Ensure it is cooling properly and that all features are functioning correctly.
Smart Home Integration and Energy Optimization
Integrating your wall AC unit with a smart home ecosystem can significantly enhance energy efficiency and convenience. Smart thermostats, such as the Nest Learning Thermostat or the ecobee SmartThermostat, can learn your cooling habits and automatically adjust the temperature to optimize energy consumption. You can also use smart sensors to detect occupancy and automatically turn the AC on or off when a room is empty.
Many modern wall AC units offer built-in Wi-Fi connectivity, allowing you to control them remotely via a smartphone app. This enables you to pre-cool your home before you arrive or adjust the temperature from anywhere in the world.
The U.S. Department of Energy offers resources and guidelines on smart home technology and energy efficiency. Explore their website for more information and tips on optimizing your home's energy performance.
Maintenance and Long-Term Energy Savings
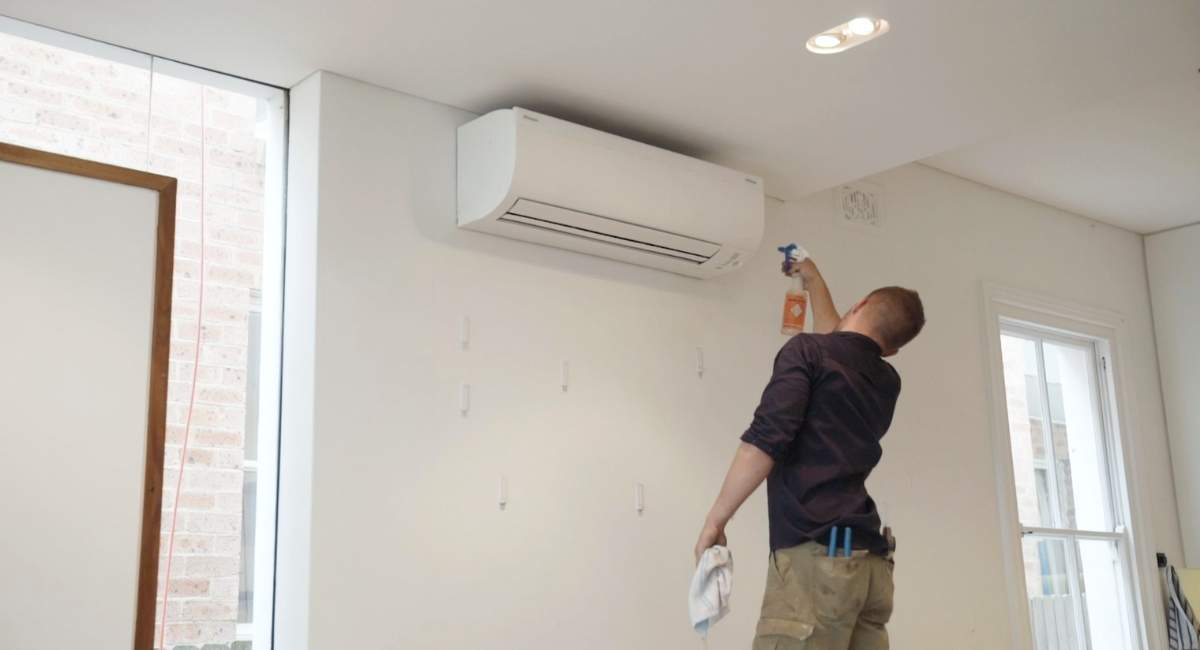
Regular maintenance is crucial for ensuring the long-term efficiency and lifespan of your wall AC unit. Clean the air filter regularly (typically every month) to maintain optimal airflow. Inspect the unit for any signs of damage or leaks. Schedule professional maintenance annually to ensure the unit is running at peak performance.
By following these steps and embracing smart home technologies, you can significantly reduce your energy consumption and enjoy a more comfortable and energy-efficient home or business. Remember to consult with qualified professionals for complex installations or electrical work. The initial investment in energy-efficient equipment and proper installation will pay dividends in the form of lower energy bills and a reduced carbon footprint.