How To Install Wall Unit Air Conditioner

Installing a wall unit air conditioner, sometimes called a through-the-wall AC, offers a convenient and efficient cooling solution for targeted areas within a home, apartment, or commercial space. Unlike window units, which can obstruct views and require seasonal installation and removal, wall units provide a more permanent and aesthetically pleasing option. This article provides a comprehensive guide to installing a wall unit AC, covering everything from initial considerations to final checks.
Planning and Preparation
Assessing Your Needs
Before purchasing a wall unit, determine the appropriate cooling capacity based on the room's size, insulation, and sun exposure. BTU (British Thermal Units) is the standard measurement for cooling power. A general rule of thumb is 20 BTU per square foot of living space. For example, a 200 sq ft room might need a 4,000 BTU unit. Rooms with high ceilings, poor insulation, or significant sun exposure will require a higher BTU rating. Consider factors like window size and the number of occupants when calculating your cooling needs.
Choosing the Right Unit
Wall units come in various sizes and features. Look for models with a high Energy Efficiency Ratio (EER) or Seasonal Energy Efficiency Ratio (SEER). A higher EER/SEER indicates better energy performance, translating to lower electricity bills. Check for features like programmable thermostats, sleep modes, and remote controls. Some units also offer heating capabilities, providing year-round comfort. Noise levels are also an important consideration, especially for bedrooms or offices. Check the unit’s decibel rating, often expressed as dB, for quieter operation.
Gathering Tools and Materials
The installation process requires several essential tools and materials:
- Wall Unit Air Conditioner
- Sleeve (if not included with the unit)
- Level
- Measuring Tape
- Pencil or Marker
- Drill with appropriate drill bits (masonry bit for brick or concrete walls)
- Reciprocating Saw or Wall Saw (for cutting through the wall)
- Hammer
- Chisel
- Caulk or Weather Stripping
- Screws or Bolts (as specified by the manufacturer)
- Electrical Tester
- Safety Glasses
- Work Gloves
- Shims (if necessary, to level the unit)
- Helper (recommended, especially for heavier units)
Selecting the Installation Location
Choosing the right location is crucial for optimal performance and aesthetics. Consider the following:
- Wall Type: Ensure the wall is structurally sound and capable of supporting the weight of the unit. Brick, concrete, and reinforced wood frame walls are generally suitable.
- Electrical Access: The unit requires a dedicated electrical circuit with the correct voltage and amperage. Consult a qualified electrician if you are unsure about your home's electrical capacity.
- Outside Clearance: The exterior of the unit needs adequate clearance for proper airflow. Avoid obstructions like bushes, fences, or overhangs.
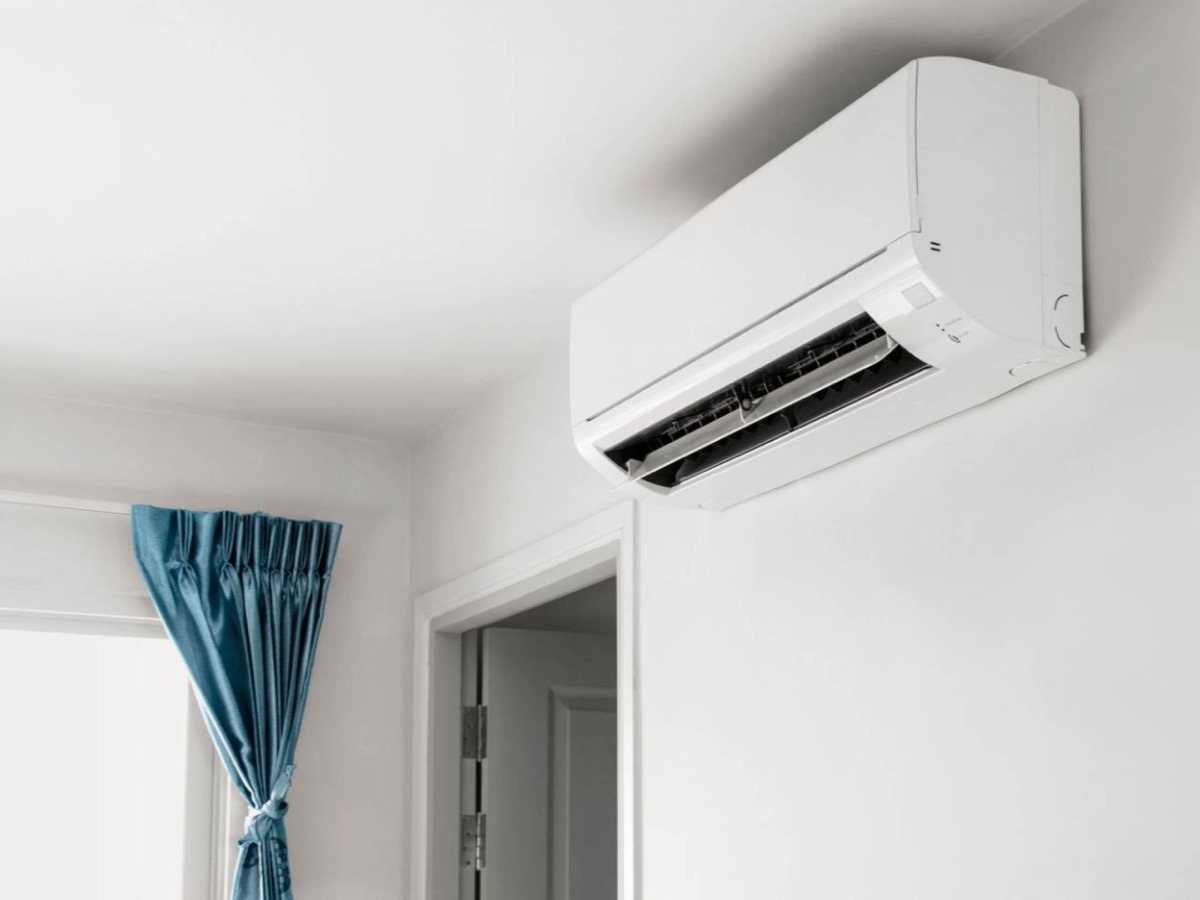
- Indoor Airflow: Select a location that promotes good air circulation within the room. Avoid placing the unit behind furniture or in areas with poor ventilation.
- Aesthetics: Consider the visual impact of the unit on both the interior and exterior of the building.
Installation Steps
Cutting the Opening
Important Safety Note: Before starting any cutting, verify that there are no electrical wires, plumbing pipes, or other obstructions within the wall. Use a stud finder or consult building plans if available.
- Mark the Opening: Use the dimensions provided by the sleeve manufacturer to mark the outline of the opening on the wall. Double-check the measurements to ensure accuracy.
- Drill Pilot Holes: Drill pilot holes at each corner of the marked area to guide the saw.
- Cut the Opening: Use a reciprocating saw or wall saw to carefully cut along the marked lines. For brick or concrete walls, a masonry saw or hammer and chisel may be necessary. Take your time and make clean, precise cuts.
- Remove Debris: Clear away any debris from the opening, ensuring a smooth and clean surface for the sleeve.
Installing the Sleeve
The sleeve provides a secure and weather-resistant housing for the air conditioner unit.
- Insert the Sleeve: Carefully slide the sleeve into the prepared opening. Ensure it fits snugly and is level.
- Secure the Sleeve: Use screws or bolts to secure the sleeve to the wall, following the manufacturer's instructions. Use shims if necessary to ensure the sleeve is perfectly level.
- Seal the Sleeve: Apply caulk or weather stripping around the perimeter of the sleeve to create a watertight seal. This prevents drafts and water damage.
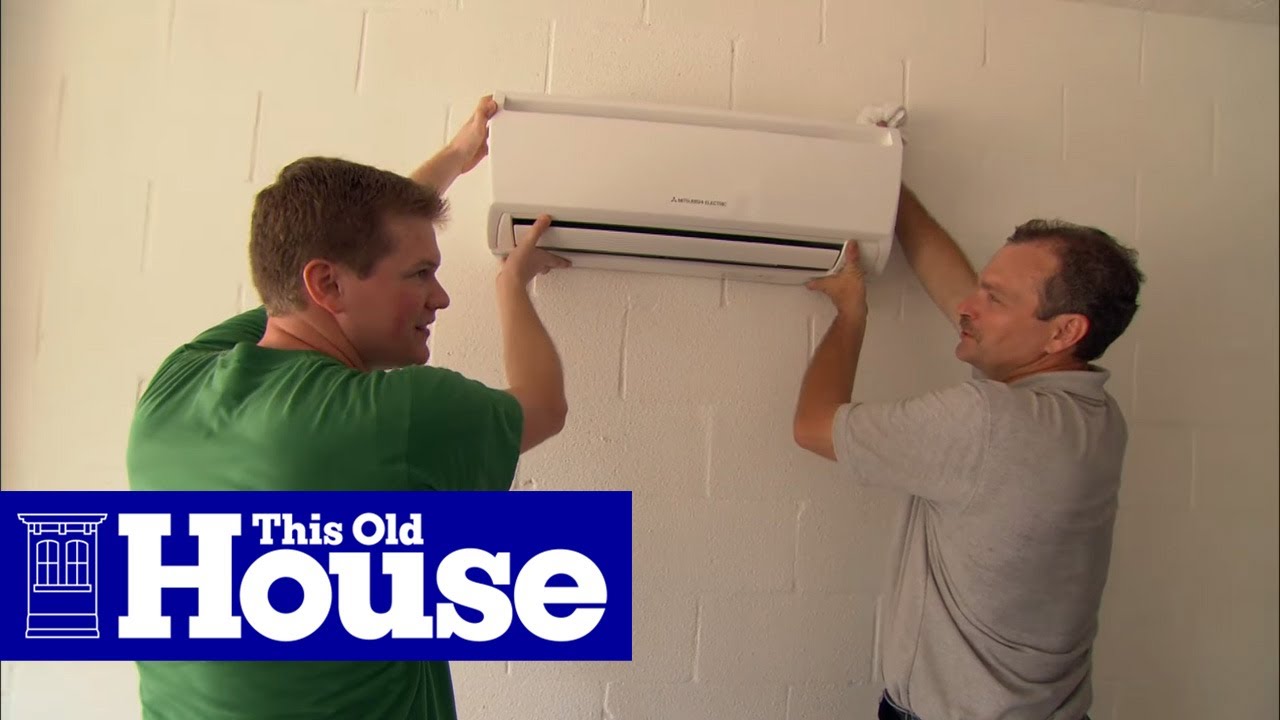
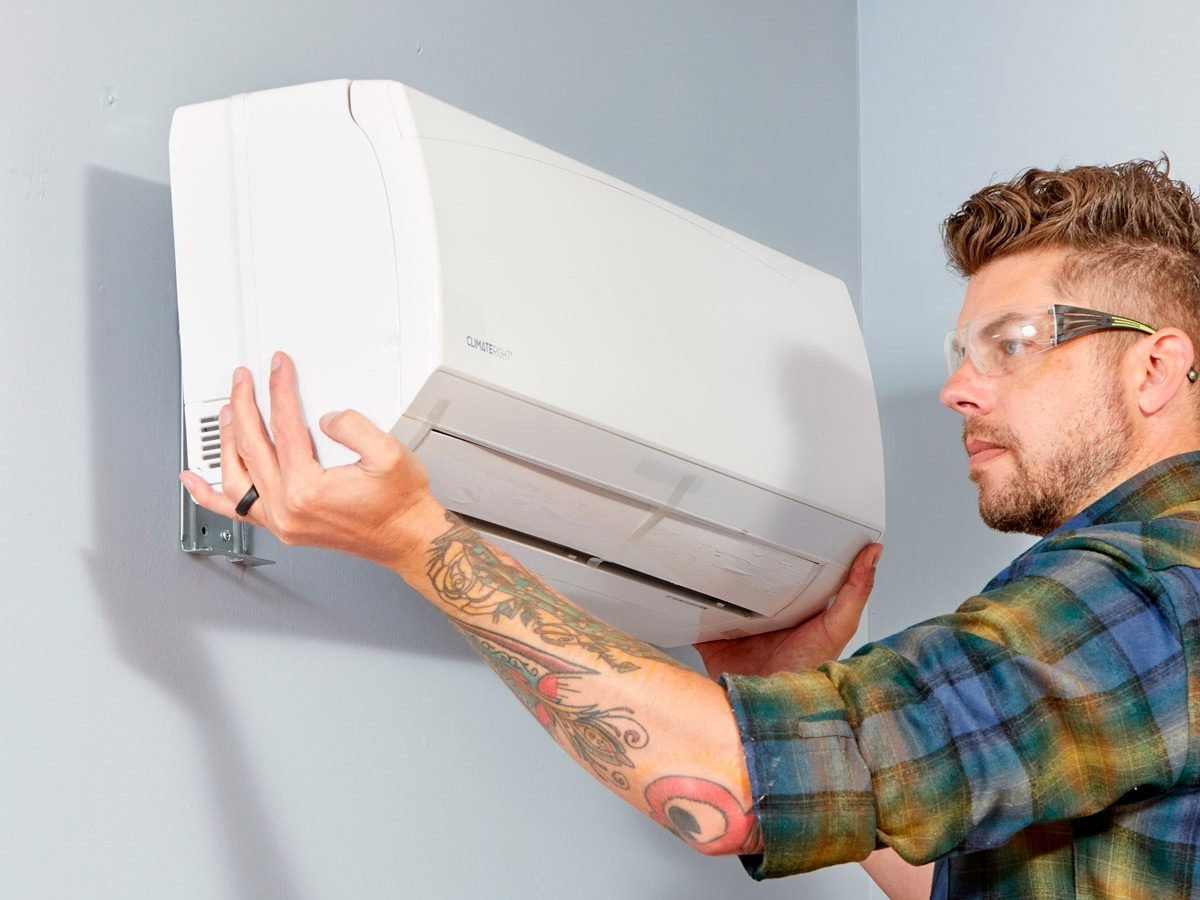
Installing the Air Conditioner
Once the sleeve is securely installed, you can proceed with installing the air conditioner unit.
- Slide in the Unit: Carefully slide the air conditioner unit into the sleeve. Ensure it is properly aligned and engages with the locking mechanism (if any).
- Secure the Unit: Use screws or bolts to secure the unit to the sleeve, following the manufacturer's instructions.
- Connect the Electrical Supply: Plug the unit into the dedicated electrical outlet. Important: Never use extension cords or adapters. If the outlet is not compatible, consult a qualified electrician to install a proper outlet.
Final Checks and Adjustments
After installation, perform the following checks to ensure proper operation:
- Leveling: Double-check that the unit is level. Use shims if necessary to make minor adjustments.
- Sealing: Inspect the perimeter of the unit for any gaps or leaks. Apply additional caulk or weather stripping as needed.
- Electrical Connection: Verify that the electrical cord is securely plugged in and that the outlet is properly grounded.
- Operation: Turn on the unit and test all functions, including cooling, fan speed, and thermostat settings.
- Airflow: Ensure that air is flowing freely from both the indoor and outdoor sides of the unit.
- Drainage: Check that condensation is draining properly from the unit. Some units have a drain hose that needs to be connected.
Cost Considerations
The cost of installing a wall unit air conditioner varies depending on several factors:
- Unit Price: Wall units range in price from a few hundred dollars to over a thousand dollars, depending on BTU rating, features, and brand.
- Sleeve Price: Sleeves can cost between $50 and $200, depending on size and material.
- Installation Costs: Professional installation can cost between $200 and $500, depending on the complexity of the job and the electrician or handyman's rates.
- Electrical Work: If electrical modifications are needed, such as installing a new outlet or upgrading the circuit panel, the costs can range from $100 to $500 or more.
In terms of lifespan, a well-maintained wall unit air conditioner can last 8-12 years. Regular cleaning of the filters and coils can help prolong the unit's lifespan and maintain its efficiency.
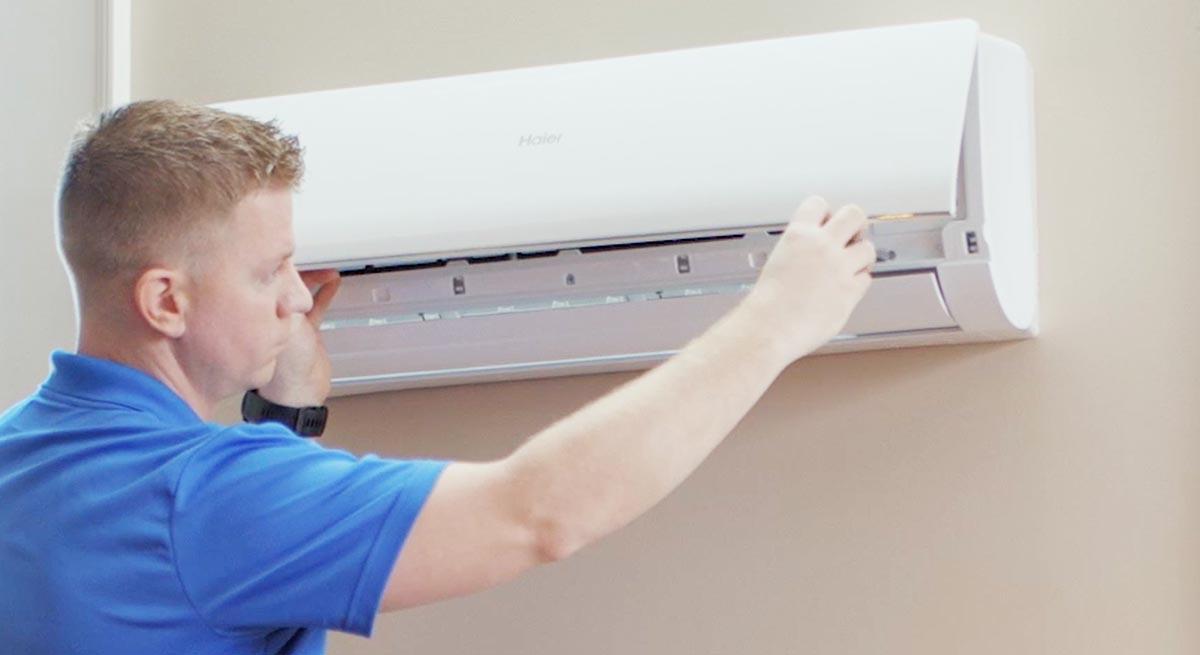
Maintenance
Regular maintenance is crucial for optimal performance and longevity.
- Filter Cleaning: Clean or replace the air filter every month or two, depending on usage and air quality.
- Coil Cleaning: Clean the evaporator and condenser coils at least once a year. Use a fin comb to straighten any bent fins.
- Exterior Cleaning: Keep the exterior of the unit clean and free of debris.
- Professional Servicing: Schedule a professional checkup every few years to inspect the unit's components and ensure proper operation. A qualified HVAC technician can identify and address potential problems before they become major issues.
Conclusion
Installing a wall unit air conditioner can provide efficient and targeted cooling for your home or business. By following these steps and taking the necessary precautions, you can ensure a successful and long-lasting installation. Always prioritize safety and consult with qualified professionals when needed. Remember to factor in the initial costs, energy efficiency, and long-term maintenance requirements when making your decision. Properly installed and maintained, a wall unit AC offers a valuable investment in comfort and energy savings.