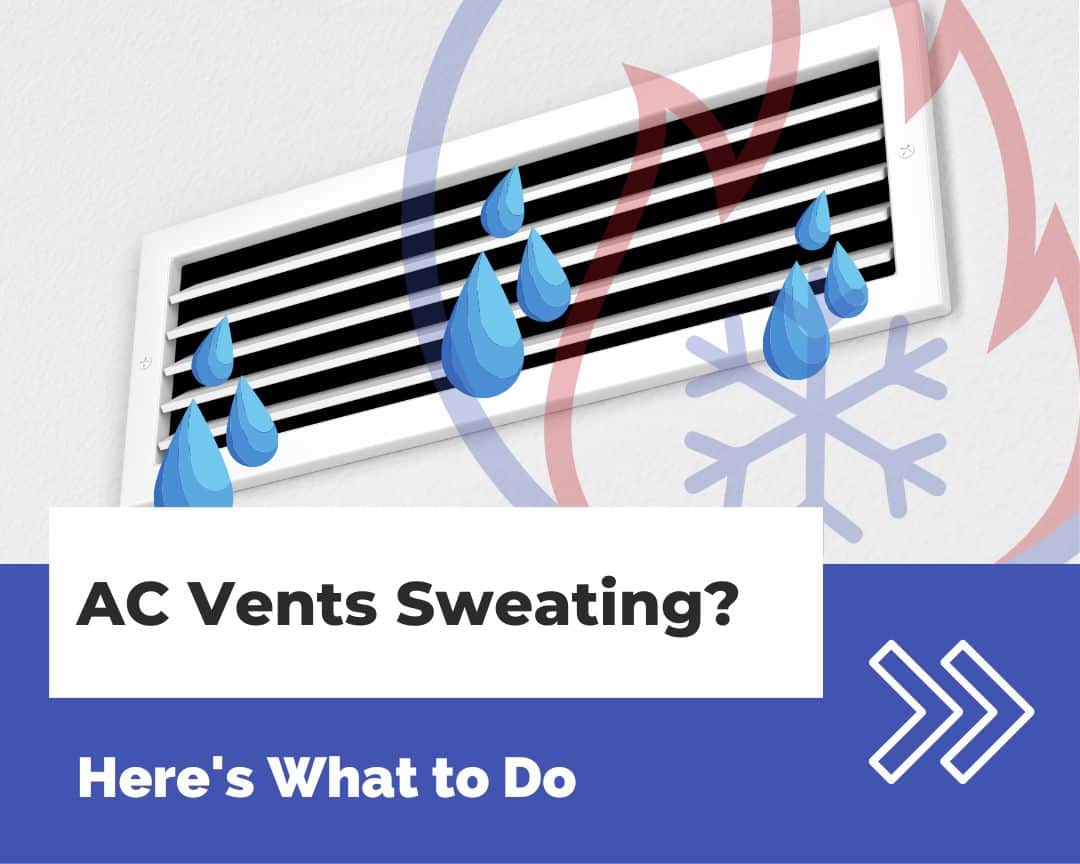
How To Keep Ducts From Sweating
Imagine this: you walk into your home on a warm day, expecting refreshing air conditioning, but instead you find damp spots on your ceiling and walls. Upon investigation, you discover your ductwork is covered in condensation – it's sweating. This is a common problem that can lead to mold growth, reduced HVAC efficiency, and even structural damage to your home. But don't panic! Many causes of sweating ducts are simple to address. This guide will walk you through a step-by-step troubleshooting process to help you identify the problem and, in some cases, fix it yourself. Remember, safety is paramount. If you're ever unsure, call a qualified HVAC technician.
Understanding Sweating Ducts
Sweating ducts occur when warm, humid air comes into contact with the cold surface of your air conditioning ducts. This temperature difference causes condensation, much like a cold glass of water on a summer day. Several factors can contribute to this:
- High Humidity: The higher the humidity levels in your home, the more likely condensation will form.
- Poor Insulation: Inadequate insulation around your ducts allows the cold air inside to be more easily affected by the surrounding warm air.
- Air Leaks: Leaks in your ductwork allow warm, humid air to enter and cold air to escape, creating condensation and reducing the efficiency of your HVAC system.
- Insufficient Airflow: If your HVAC system isn't moving enough air, the ductwork can become excessively cold, leading to condensation.
Troubleshooting Your Sweating Ducts: A Step-by-Step Guide
Step 1: Safety First!
Before you begin any troubleshooting, take these precautions:
- Turn off the power: Switch off your HVAC system at the breaker box to prevent electrical shock. This is essential before touching any electrical components or ductwork.
- Wear appropriate safety gear: Gloves and eye protection are recommended, especially if you're dealing with dusty or moldy ductwork.
- Work in a well-ventilated area: If you're working in a confined space, ensure adequate ventilation.
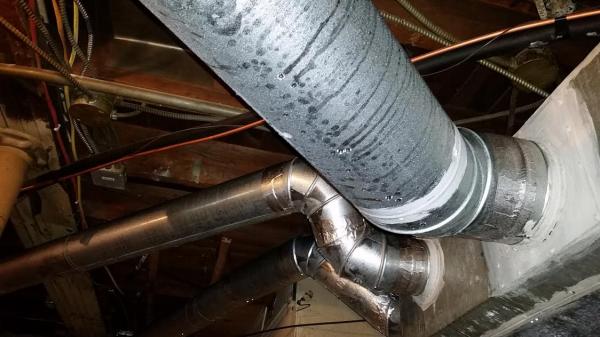
Step 2: Visual Inspection of Your Ductwork
Start with a thorough visual inspection of your ductwork. Look for the following:
- Areas of condensation: Identify which sections of the ductwork are sweating the most. This can help pinpoint the source of the problem.
- Visible leaks: Look for gaps, cracks, or loose connections in the ductwork. Pay close attention to joints and seams.
- Damaged or missing insulation: Check for tears, compression, or absence of insulation around the ducts.
- Mold or mildew: Inspect for any signs of mold or mildew growth on or around the ductwork. If you find significant mold growth, it's best to consult with a professional mold remediation service.
Step 3: Check Your Air Filter
A dirty air filter restricts airflow, which can cause your HVAC system to work harder and lead to excessively cold ductwork.
- Locate your air filter: It's usually located in the return air vent or near the air handler.
- Inspect the filter: If it's dirty, clogged, or damaged, replace it with a new one of the correct size and type.
- Regular filter changes: Aim to change your air filter every 1-3 months, or more frequently if you have pets or allergies.
Step 4: Assess Airflow
Poor airflow can contribute to sweating ducts. Check the following:
- Inspect vents: Ensure that all supply and return vents are open and unobstructed. Furniture, rugs, or curtains can block airflow.
- Check for closed dampers: Dampers are adjustable plates inside the ductwork that control airflow. Ensure they are open in the areas where you're experiencing sweating ducts.
- Listen for unusual noises: Whistling or rattling sounds could indicate a blockage in the ductwork.
Step 5: Seal Air Leaks
Sealing air leaks is a crucial step in preventing sweating ducts. You can use duct tape or mastic sealant to seal leaks. Do not use regular duct tape, as it will dry out and fail over time.
- Clean the area: Before applying sealant or tape, clean the area around the leak with a damp cloth to remove dust and debris.
- Apply mastic sealant: For larger gaps, apply a thick layer of mastic sealant using a brush or putty knife. Allow it to dry completely.
- Use duct tape: For smaller leaks, use foil-backed duct tape designed for HVAC systems. Overlap the tape edges to ensure a tight seal.
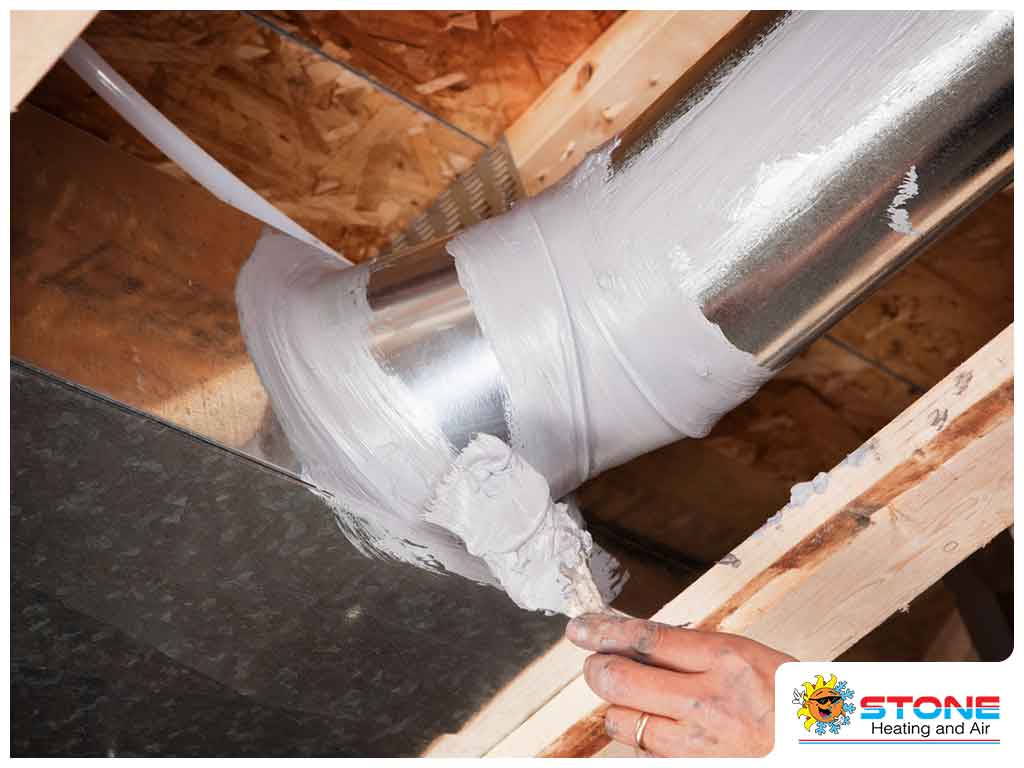
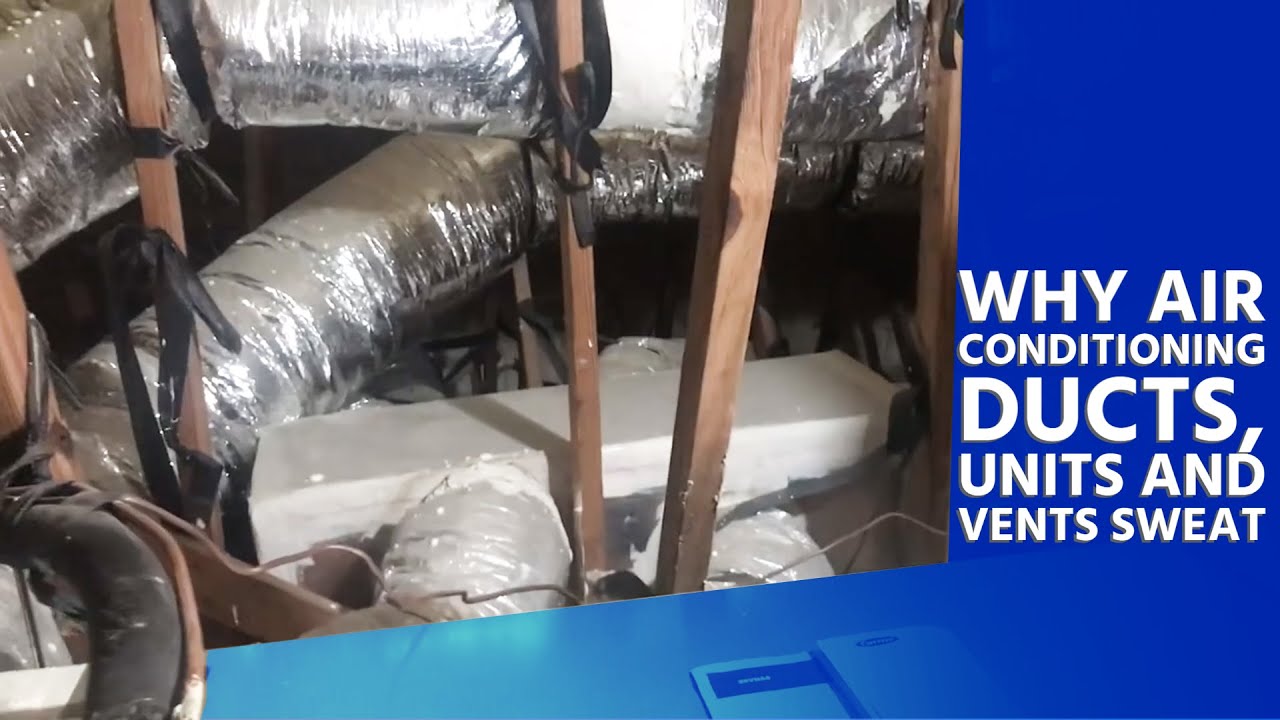
Step 6: Improve Duct Insulation
If your ductwork is inadequately insulated, consider adding more insulation. You can use fiberglass insulation, foil-backed insulation, or spray foam insulation.
- Wrap exposed ducts: Wrap exposed ductwork with insulation, ensuring that it's snug and secure. Use foil tape to seal the seams and edges.
- Insulate hard-to-reach areas: For ducts in tight spaces, consider using spray foam insulation. Follow the manufacturer's instructions carefully and wear appropriate safety gear.
- Check existing insulation: If your existing insulation is damaged or compressed, replace it with new insulation.
Step 7: Dehumidify Your Home
High humidity levels contribute to sweating ducts. Consider using a dehumidifier to reduce the humidity in your home, especially in areas where the ductwork is located.
- Portable dehumidifiers: Place portable dehumidifiers in areas where humidity is high, such as basements or crawl spaces.
- Whole-house dehumidifiers: Consider installing a whole-house dehumidifier that integrates with your HVAC system for more comprehensive humidity control.
- Improve ventilation: Ensure proper ventilation in your home by opening windows and using exhaust fans in bathrooms and kitchens.
Step 8: Check Condensate Drain Line
A clogged condensate drain line can cause water to back up into your air handler and potentially drip onto your ductwork.
- Locate the condensate drain line: It's usually a PVC pipe that runs from your air handler to a drain.
- Check for clogs: Look for any signs of blockage, such as standing water or debris in the drain line.
- Flush the drain line: Use a wet/dry vacuum or a stiff wire to clear any clogs in the drain line. You can also pour a mixture of bleach and water down the drain line to kill algae and bacteria.
When to Call a Professional
While many causes of sweating ducts can be addressed with DIY solutions, some situations require the expertise of a qualified HVAC technician.
- Refrigerant Leaks: If you suspect a refrigerant leak (indicated by low cooling performance and potentially ice buildup on the evaporator coil), do not attempt to fix it yourself. Refrigerant handling requires specialized equipment and training.
- Complex Ductwork Repairs: If you need to make significant alterations to your ductwork, such as adding or removing sections, it's best to consult with a professional.
- Electrical Issues: If you encounter any electrical problems while troubleshooting your HVAC system, do not attempt to fix them yourself. Contact a qualified electrician.
- Mold Remediation: If you find significant mold growth on or around your ductwork, consult with a professional mold remediation service.
- Persistent Sweating: If you've tried the DIY solutions and your ducts are still sweating, it's time to call a professional for a comprehensive diagnosis. There could be underlying issues with your HVAC system that require specialized equipment and knowledge to resolve.
Important Note: If your HVAC system is still under warranty, attempting DIY repairs could void the warranty. Check the terms of your warranty before proceeding with any repairs.
Preventing Sweating Ducts in the Future
Once you've addressed the immediate problem of sweating ducts, take steps to prevent it from recurring in the future.
- Regular HVAC Maintenance: Schedule regular maintenance appointments with a qualified HVAC technician to ensure that your system is operating efficiently and that any potential problems are identified and addressed early.
- Maintain Proper Insulation: Regularly inspect your ductwork insulation and replace any damaged or compressed insulation.
- Seal Air Leaks: Periodically inspect your ductwork for air leaks and seal them as needed.
- Control Humidity Levels: Maintain proper humidity levels in your home by using dehumidifiers and ensuring adequate ventilation.
- Change Air Filters Regularly: Change your air filter every 1-3 months to maintain proper airflow and prevent your HVAC system from working harder than it needs to.
By following these troubleshooting steps and taking preventative measures, you can keep your ducts from sweating and maintain a comfortable and healthy home environment. Remember, when in doubt, call a professional. Your safety and the integrity of your HVAC system are worth it.