How To Light The Pilot Light On A Heater
Many gas heaters rely on a pilot light to ignite the main burner and provide heat. A pilot light is a small, continuous flame that burns constantly, providing the ignition source for the larger burner when heat is needed. If your pilot light goes out, your heater won't work. Relighting it is usually a straightforward process, but it's crucial to understand the steps and safety precautions involved.
Important Safety Note: Before attempting to relight your pilot light, ensure you understand the risks associated with gas appliances. If you are uncomfortable with the process or unsure about any step, contact a qualified HVAC technician. Gas leaks can be dangerous and potentially deadly.
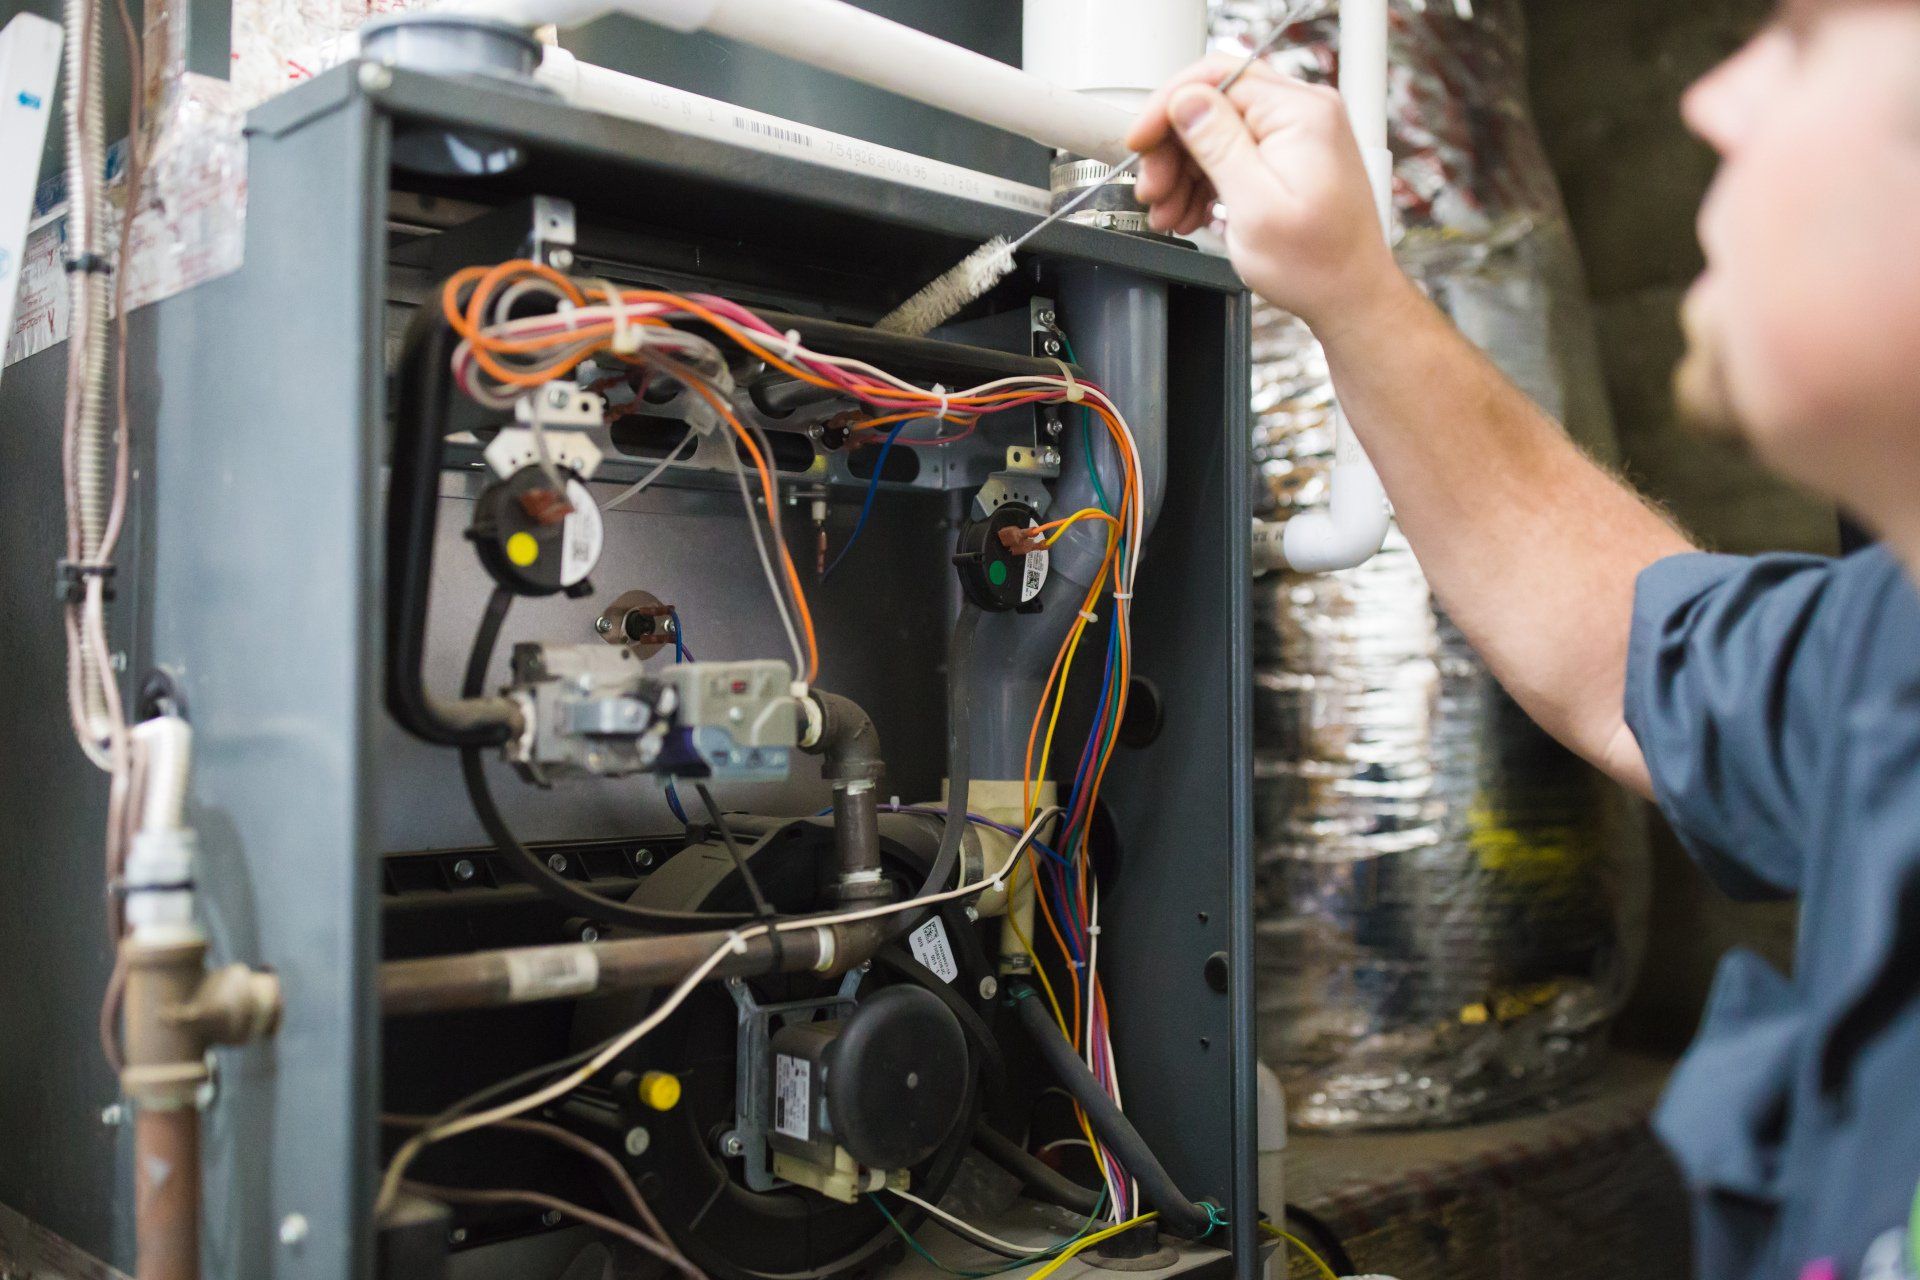
Understanding Your Heater's Components
Familiarizing yourself with the key components of your gas heater will make the relighting process much easier to understand.
Gas Valve
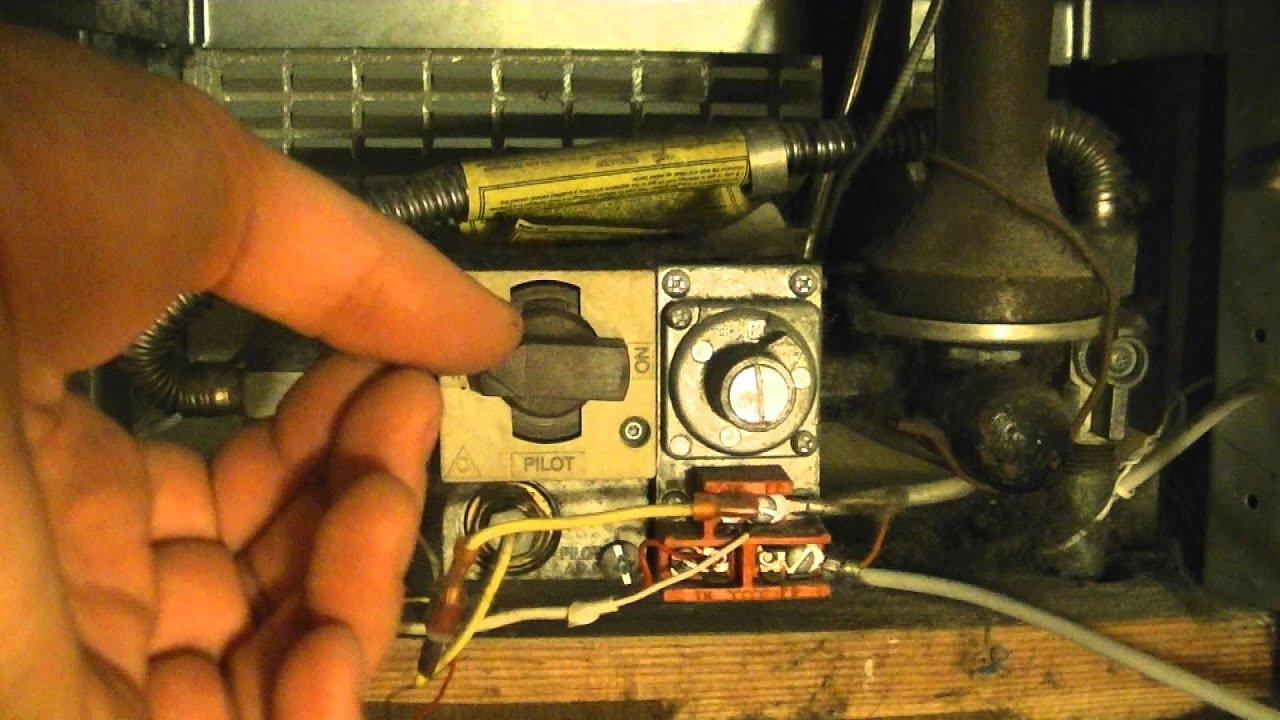
The gas valve is the control center for the gas supply to your heater. It regulates the flow of gas to both the pilot light and the main burner. It usually has settings like "On," "Off," and "Pilot." Locating and understanding the gas valve is the first step to relighting your pilot light.
Pilot Light Assembly
The pilot light assembly is the small area where the pilot light flame burns. It typically consists of a small gas tube (the pilot tube) and a thermocouple or flame sensor. The pilot light assembly is usually located near the main burner.
Thermocouple/Flame Sensor
The thermocouple (or flame sensor in newer models) is a safety device that ensures the pilot light is lit before allowing gas to flow to the main burner. It's a small metal rod that sits in the pilot light flame. When heated by the flame, the thermocouple generates a small electrical current that keeps the gas valve open to the pilot light. If the pilot light goes out, the thermocouple cools, the electrical current stops, and the gas valve closes, preventing gas from leaking. Think of it like a "safety switch" that only allows gas to flow when there's a flame present.
Igniter Button (Piezo Igniter)
Many modern heaters have a piezo igniter, which creates a spark to ignite the pilot light. This is usually a button you press repeatedly while holding the gas valve in the "Pilot" position. Older heaters might require a match or lighter for ignition.
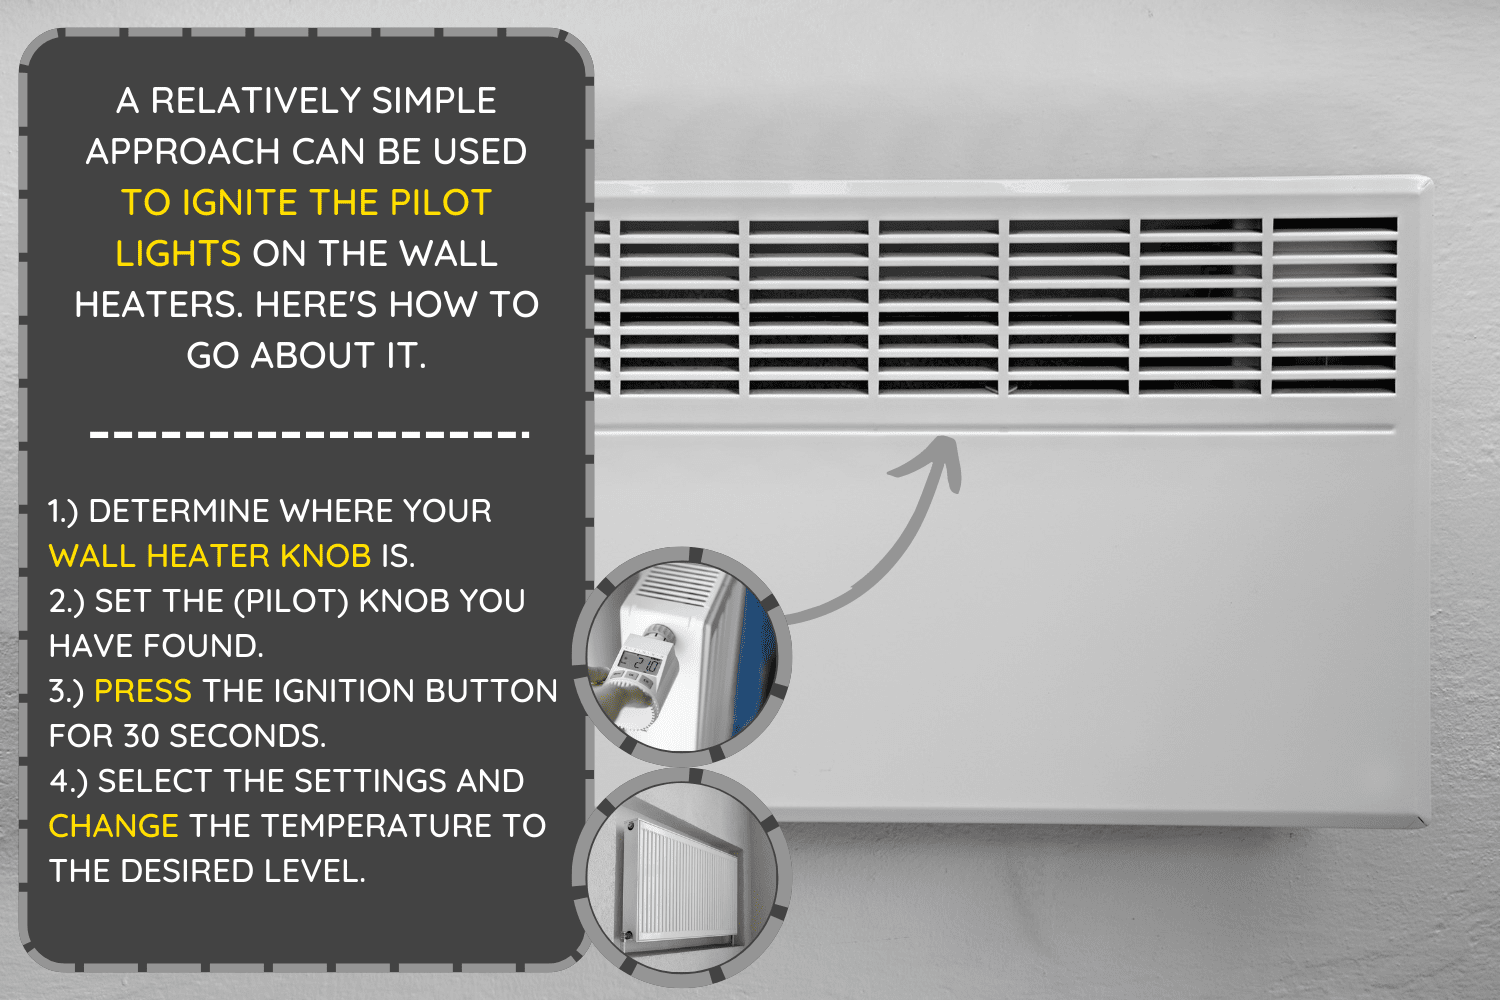
Step-by-Step Guide to Relighting Your Pilot Light
Here's a step-by-step guide to relighting your pilot light safely and effectively. Always refer to your heater's manual for specific instructions, as models can vary.
- Turn Off the Gas: Locate the gas valve and turn it to the "Off" position. This completely shuts off the gas supply to the heater. Wait at least 5 minutes to allow any accumulated gas to dissipate. This is a crucial safety precaution.
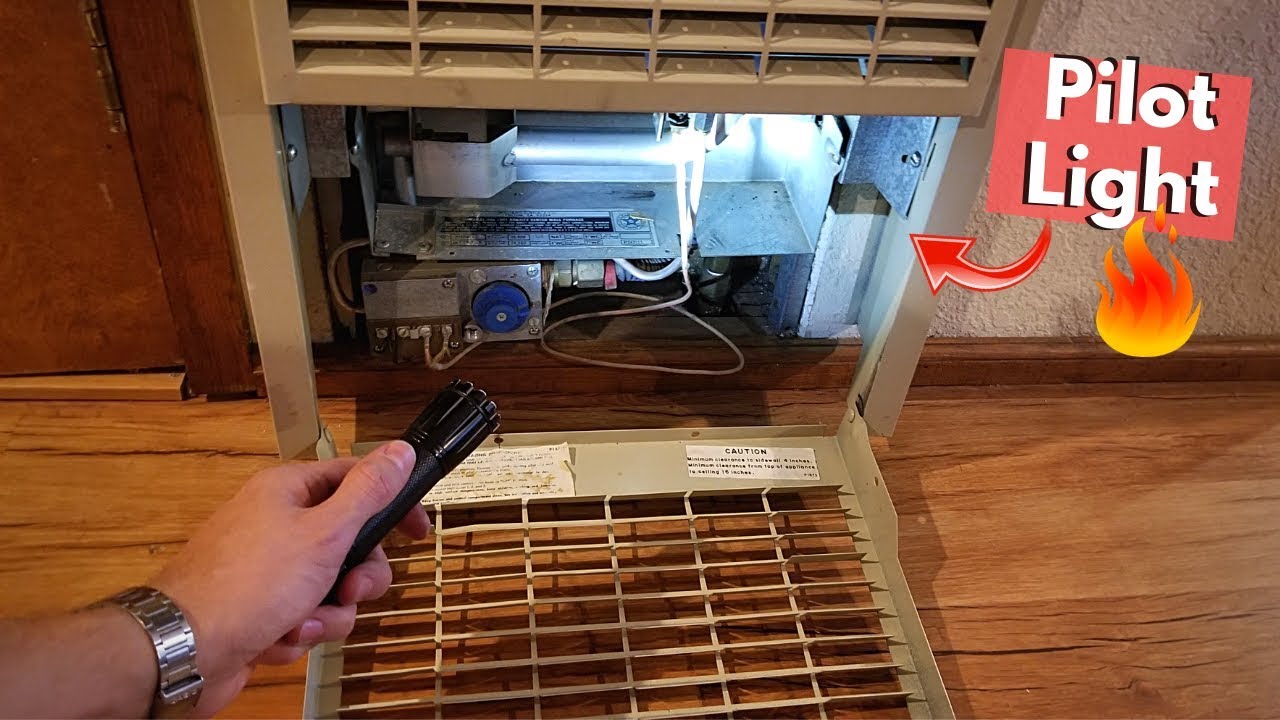
- Locate the Pilot Light Assembly: Open the access panel to the burner compartment. You should see the pilot light assembly, which usually has a small opening for the pilot light flame. Refer to your heater's manual if you're having trouble finding it.
- Set the Gas Valve to "Pilot": Turn the gas valve to the "Pilot" position. You may need to press down on the gas valve knob while turning it to this position. This allows gas to flow only to the pilot light.
- Press and Hold the Gas Valve: While in the "Pilot" position, press and hold down on the gas valve knob. This forces gas to flow to the pilot light. Keep holding it down throughout the next step.
- Ignite the Pilot Light:
- With a Piezo Igniter: While holding down the gas valve, repeatedly press the igniter button. You should hear a clicking sound as the igniter creates a spark. Continue pressing the igniter until the pilot light ignites.
- With a Match or Lighter: If your heater doesn't have an igniter, carefully light a long match or use a long-nosed lighter. Hold the flame near the pilot light opening while holding down the gas valve.
- Observe the Pilot Light: Once the pilot light is lit, continue holding down the gas valve knob for about 20-30 seconds. This gives the thermocouple time to heat up and generate enough electricity to keep the gas valve open.
- Release the Gas Valve: After holding the gas valve for 20-30 seconds, slowly release the knob. The pilot light should remain lit. If the pilot light goes out when you release the knob, repeat steps 3-6. You may need to hold the gas valve down for a longer period to allow the thermocouple to fully heat up.
- Turn the Gas Valve to "On": Once you're confident that the pilot light is staying lit, turn the gas valve to the "On" position. This allows gas to flow to the main burner when the thermostat calls for heat.
- Test the Heater: Set your thermostat to a temperature higher than the current room temperature. The main burner should ignite, and the heater should start producing heat. If the main burner doesn't ignite, refer to the troubleshooting section below.
- Replace the Access Panel: Carefully replace the access panel to the burner compartment.
Troubleshooting Common Problems
If you encounter problems while relighting your pilot light, here are some common issues and their solutions:
Pilot Light Won't Stay Lit
If the pilot light goes out when you release the gas valve, the most likely cause is a faulty thermocouple. The thermocouple may not be generating enough electricity to keep the gas valve open. Here's what you can try:
- Clean the Thermocouple: Sometimes, dirt or soot can accumulate on the thermocouple, preventing it from heating properly. Gently clean the thermocouple with a fine-grit sandpaper or steel wool.
- Check the Thermocouple Connection: Ensure the thermocouple is securely connected to the gas valve. A loose connection can prevent the electrical current from flowing properly.
- Replace the Thermocouple: If cleaning and checking the connection don't work, the thermocouple may need to be replaced. This is a relatively inexpensive and straightforward repair that you can often do yourself, but if you're not comfortable, call a qualified technician.
No Spark from the Igniter
If the igniter button doesn't produce a spark, the igniter may be faulty or the spark gap may be too wide. Here's what to check:
- Check the Igniter Wire: Make sure the wire connecting the igniter button to the pilot light assembly is securely connected.
- Clean the Igniter Tip: Sometimes, corrosion or debris can build up on the igniter tip, preventing it from sparking. Clean the tip with a wire brush.
- Replace the Igniter: If the igniter still doesn't produce a spark, it may need to be replaced.
Pilot Light Burns Weakly or Yellow
A weak or yellow pilot light flame indicates that there's not enough gas flowing to the pilot light or that the gas is not burning cleanly. This could be due to a clogged pilot tube or a problem with the gas pressure.
- Clean the Pilot Tube: Use a small wire or needle to carefully clean the pilot tube opening. Be gentle to avoid damaging the tube.
- Check the Gas Pressure: If cleaning the pilot tube doesn't help, there may be a problem with the gas pressure. This is a more complex issue that should be addressed by a qualified technician.
Main Burner Won't Ignite
If the pilot light is lit but the main burner doesn't ignite when the thermostat calls for heat, the problem could be with the thermostat, the gas valve, or the main burner itself.
- Check the Thermostat: Ensure the thermostat is set to a temperature higher than the current room temperature and that it's functioning properly.
- Check the Gas Valve: Make sure the gas valve is fully open to the "On" position.
- Clean the Main Burner: Sometimes, dust or debris can accumulate on the main burner, preventing it from igniting properly. Clean the burner with a brush or vacuum.
When to Call a Professional
While relighting a pilot light is often a simple task, there are situations where it's best to call a qualified HVAC technician. These include:
- You smell gas: If you smell gas at any time, immediately turn off the gas supply to the heater and evacuate the area. Contact your gas company or a qualified technician to investigate the leak.
- You're uncomfortable with the process: If you're unsure about any step of the relighting process or feel uncomfortable working with gas appliances, it's best to err on the side of caution and call a professional.
- You've tried relighting the pilot light multiple times without success: If you've followed the steps outlined above and the pilot light still won't stay lit, there may be a more serious problem with your heater.
- You suspect a gas leak: If you suspect a gas leak, even if you don't smell gas, it's important to have your heater inspected by a qualified technician.
Regular maintenance of your gas heater can help prevent pilot light problems and ensure that your heater operates safely and efficiently. Schedule annual maintenance with a qualified HVAC technician to inspect and clean your heater.
By understanding the components of your gas heater and following these steps, you can often relight your pilot light safely and efficiently. However, always prioritize safety and don't hesitate to call a professional if you're unsure about anything.