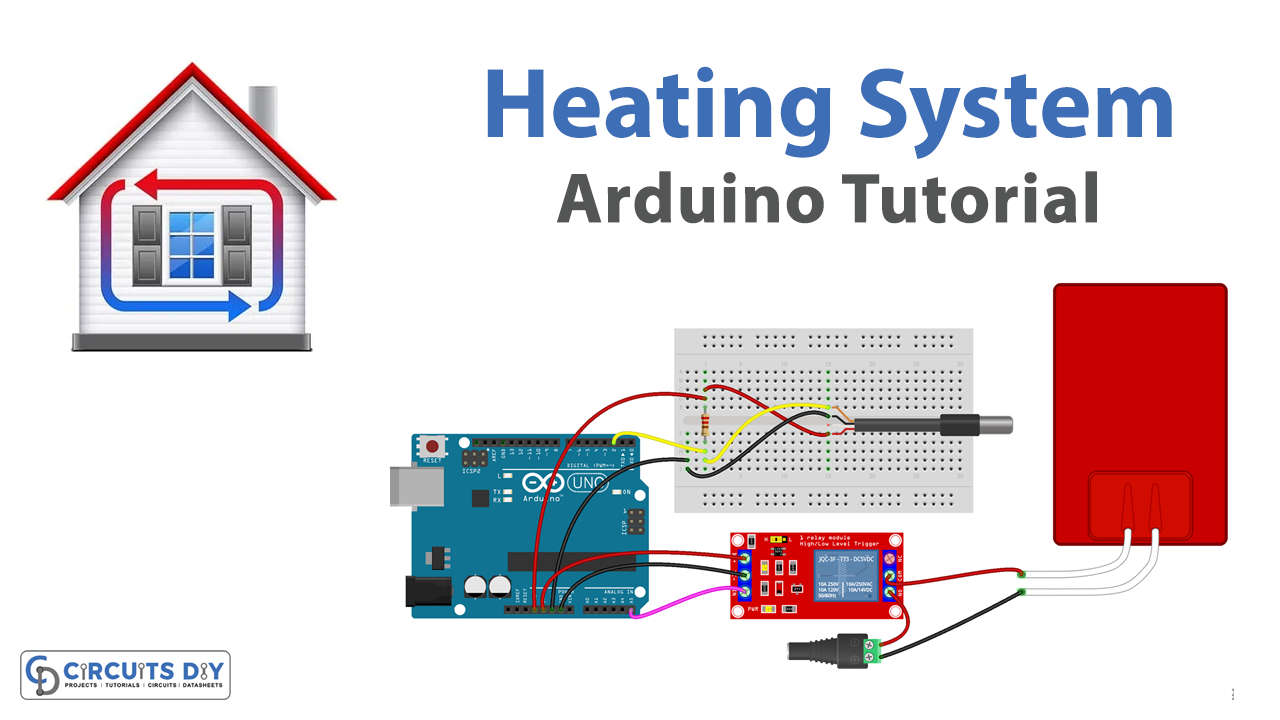
How To Make A Simple Heating Element
Understanding Heating Elements: A DIY Guide (and When to Call a Pro)
As homeowners, understanding the basic principles of our heating systems can be incredibly empowering. While replacing a complex furnace or heat pump is best left to certified professionals, knowing how a simple heating element works, and even constructing one for non-critical applications, can be a valuable skill. This guide will walk you through the process, outlining safety precautions, material considerations, and potential applications, but also emphasizing when professional intervention is absolutely necessary.
The Fundamentals of Resistance Heating
At its core, a heating element operates on the principle of resistance heating. Electricity, when forced through a material that resists its flow (a resistor), generates heat. The amount of heat produced is directly proportional to the resistance of the material and the square of the current flowing through it. This is described by Joule's First Law: P = I²R, where P is power (heat), I is current, and R is resistance.
This principle is used in everything from electric space heaters and ovens to toasters and water heaters. Understanding this foundation is crucial before attempting any DIY project.
DIY Heating Element Construction: A Step-by-Step Approach
Important Safety Warning: Working with electricity can be extremely dangerous. This guide is for informational purposes only and should not be considered a substitute for professional advice. Always disconnect power sources before working on any electrical device. If you are uncomfortable with any step, consult a qualified electrician or HVAC technician. We are not responsible for any injury or damage resulting from attempting these instructions.
Materials You'll Need
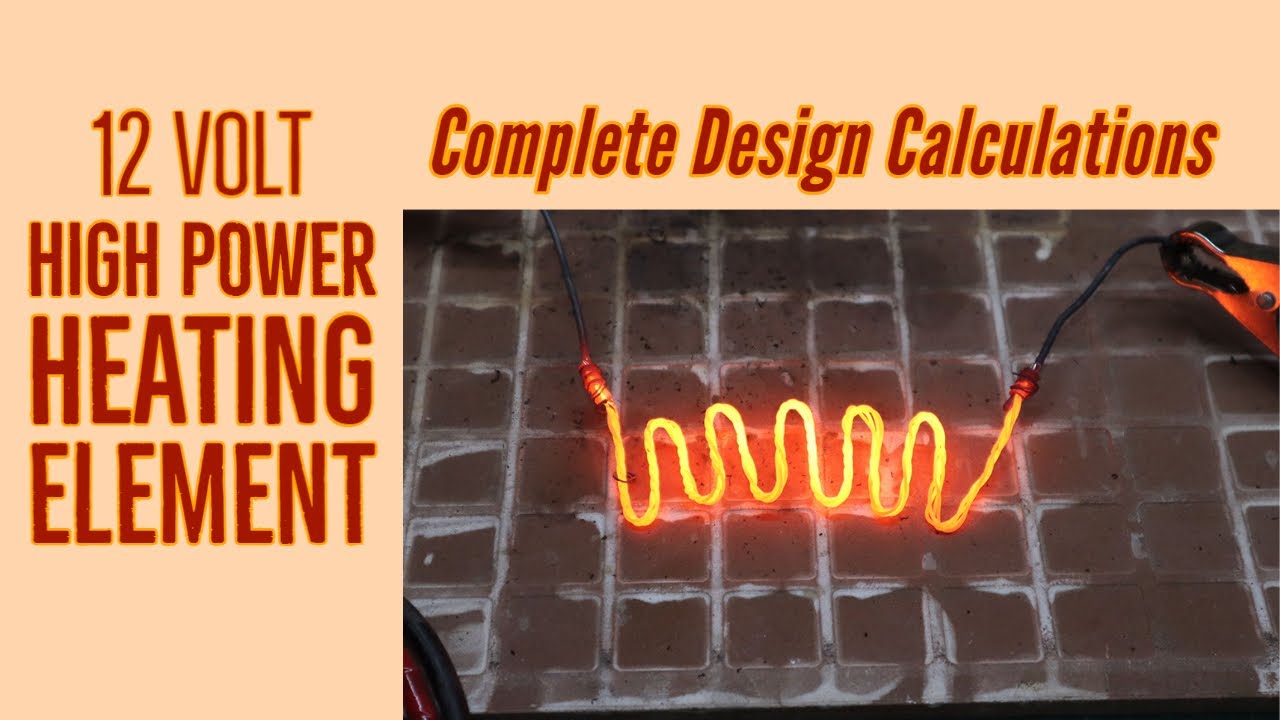
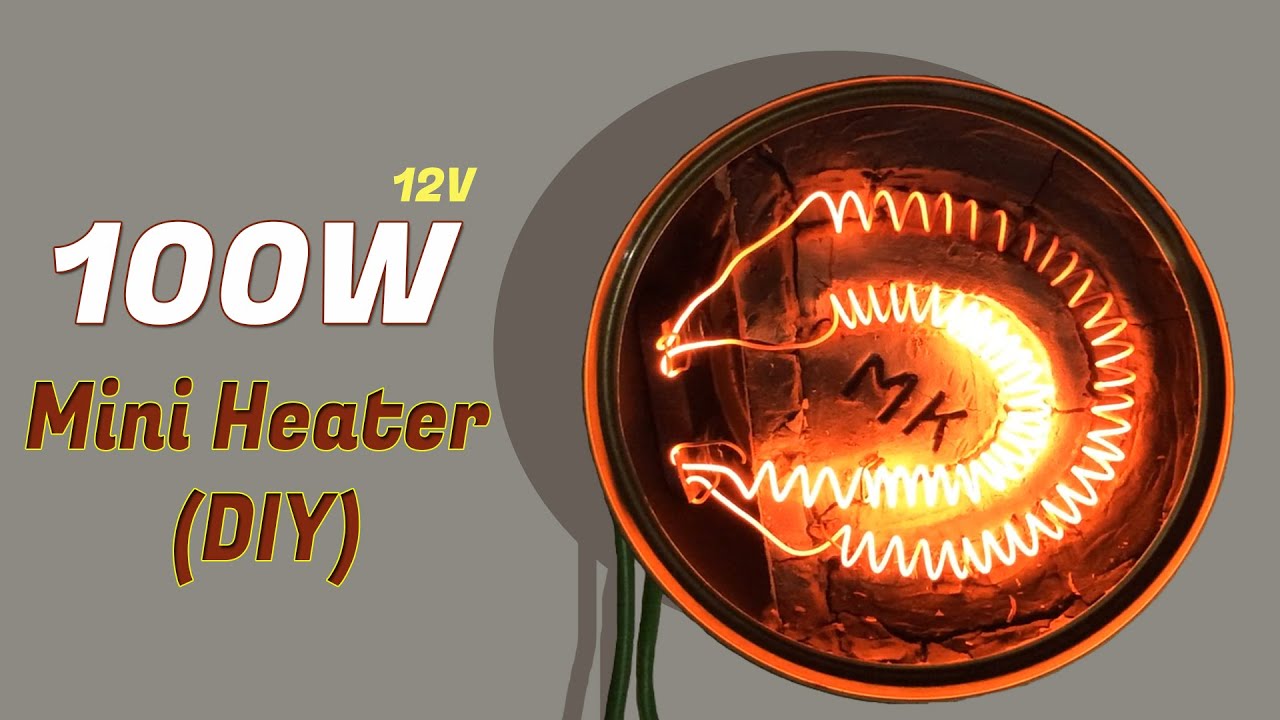
- Resistance Wire: This is the heart of the heating element. Nichrome wire is a common choice due to its high resistance and ability to withstand high temperatures without oxidizing. The gauge (thickness) of the wire determines its resistance per unit length. Thicker wire offers lower resistance and will produce less heat for the same current. Consider Kanthal wire as an alternative.
- Insulating Material: To prevent short circuits and fires, the resistance wire must be properly insulated. Ceramic insulators, mica sheets, or high-temperature fiberglass cloth are suitable options. Avoid materials that can melt or catch fire at high temperatures.
- Power Source: A power supply capable of delivering the required voltage and current is essential. Calculate the required voltage and current based on the desired power output and the resistance of the wire you choose (using Ohm's Law: V = IR). Be very careful and precise.
- Connectors: Use appropriate connectors to securely attach the resistance wire to the power source. High-temperature ceramic terminal blocks are a good choice.
- Safety Gear: Safety glasses, gloves, and a fire extinguisher are essential safety precautions.
Construction Steps
- Calculate Resistance and Wire Length: Determine the desired power output (in Watts) for your heating element. Using Ohm’s Law and Joule’s Law, calculate the required resistance and the length of nichrome wire needed to achieve that resistance. Online calculators and datasheets for nichrome wire can simplify this step. For example, if you desire 100W using 120V, you'll need roughly 144 ohms of resistance.
- Prepare the Resistance Wire: Cut the nichrome wire to the calculated length. Handle the wire carefully, as it can be brittle. Do not overstretch or kink the wire, which could change its resistance and create hot spots.
- Insulate the Wire: Wrap the nichrome wire with insulating material. Ceramic beads can be threaded onto the wire, or the wire can be wrapped in mica sheets or fiberglass cloth. Ensure complete coverage to prevent any contact between the wire and conductive surfaces.
- Create a Support Structure: If your application requires a specific shape or form factor, create a support structure to hold the heating element in place. Ceramic forms or even a coiled spring can be used as a base. This depends on your design.
- Connect to Power Source: Using appropriate connectors, attach the ends of the resistance wire to the power source. Ensure the connections are secure and well-insulated. Ceramic terminal blocks offer a safe and reliable connection point.
- Test and Monitor: Before using the heating element, carefully test it in a controlled environment. Monitor the temperature of the wire and the surrounding area. Look for any signs of overheating, sparking, or smoke. If anything seems abnormal, immediately disconnect the power source.
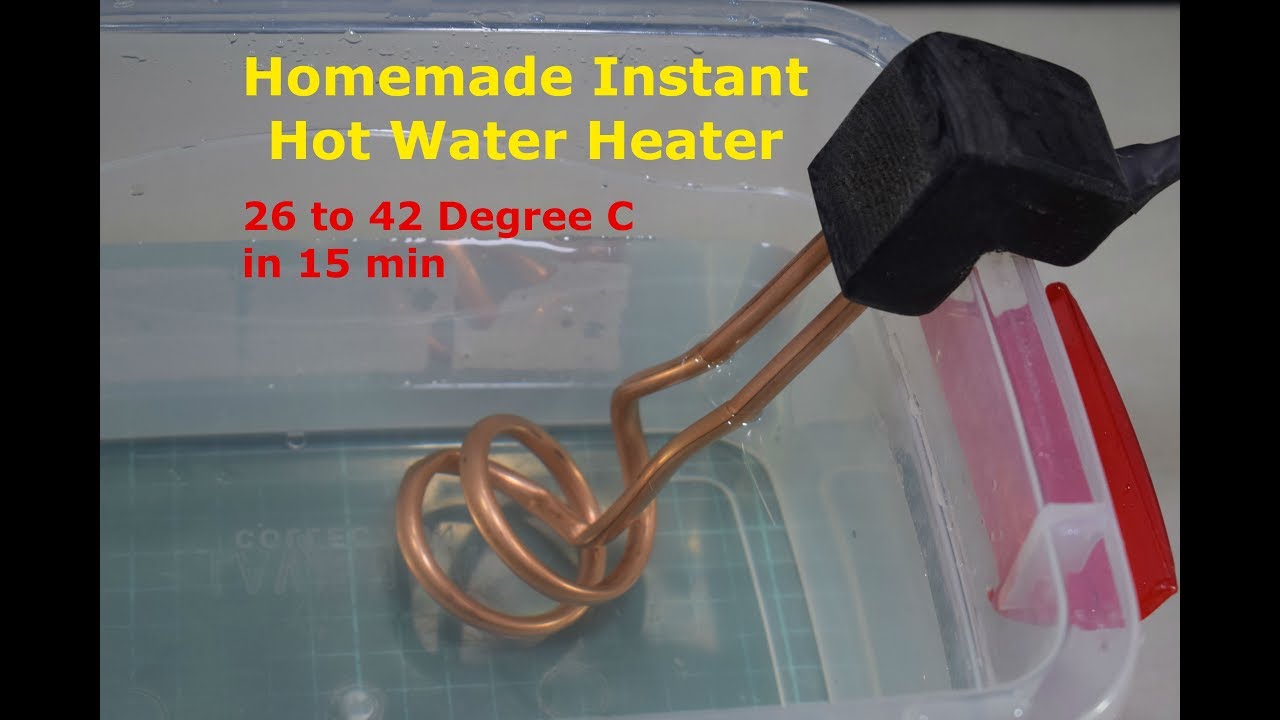
Applications (and Limitations) of DIY Heating Elements
DIY heating elements can be useful for small-scale projects like:
- Small incubators: For hobbyist projects that require very precise temperature control.
- Defoggers for small mirrors: Heats the surface just enough to prevent condensation.
- Science Experiments: Demonstrating the principles of resistance heating.
However, there are significant limitations:
- Safety Concerns: DIY heating elements can be hazardous if not constructed and used properly. There is a risk of fire, electric shock, and burns.
- Limited Lifespan: DIY elements may not be as durable or reliable as commercially manufactured heating elements.
- Inconsistent Performance: Achieving precise and consistent temperature control with a DIY element can be challenging.
- Lack of Safety Certifications: DIY elements will not have UL or other safety certifications, which may be required for certain applications.
When to Call a Professional: HVAC Systems and Safety Standards
Working on any part of your main home heating system is a job for licensed and qualified HVAC technicians. Attempting to repair or modify your furnace, heat pump, or boiler yourself is extremely dangerous and can violate building codes and void warranties. These systems are complex and require specialized knowledge and tools. Consider these factors regarding professional systems:
Key HVAC Considerations
- AFUE (Annual Fuel Utilization Efficiency): For furnaces, AFUE measures how efficiently the furnace converts fuel into usable heat. Higher AFUE ratings translate to lower energy bills. Look for furnaces with AFUE ratings of 90% or higher.
- SEER (Seasonal Energy Efficiency Ratio): For air conditioners and heat pumps, SEER measures cooling efficiency. Higher SEER ratings indicate greater energy savings. Look for models with SEER ratings of 16 or higher.
- HSPF (Heating Seasonal Performance Factor): For heat pumps, HSPF measures heating efficiency. Higher HSPF ratings mean better heating performance. Look for heat pumps with HSPF ratings of 8 or higher.
Popular Brands and Models
Several reputable HVAC brands offer a range of efficient and reliable heating and cooling systems. Some popular options include:
- Carrier: Known for its high-efficiency models and advanced features.
- Trane: Offers a wide range of HVAC systems, including durable and reliable furnaces and air conditioners.
- Lennox: Known for its innovative technology and energy-efficient designs.
- Goodman: Offers budget-friendly options without sacrificing quality.
Specific models to consider might include the Carrier Infinity series (high AFUE furnaces and SEER air conditioners), the Trane XV series (variable-speed systems for optimal comfort and efficiency), and the Lennox Signature series (premium systems with advanced features).
Warranties and Maintenance
A comprehensive warranty is essential for any HVAC system. Look for models with at least a 10-year warranty on the compressor and heat exchanger. Regular maintenance, including filter changes and professional inspections, is crucial for maintaining optimal performance and extending the lifespan of your system. Check the fine print of your warranty for required maintenance to keep it valid.
Cost Considerations
The cost of a new HVAC system can vary depending on the size and efficiency of the unit, the complexity of the installation, and your geographic location. Expect to pay several thousand dollars for a new furnace or air conditioner, including installation. While DIY solutions might seem appealing for minor heating needs, remember that the safety and performance of your primary home heating system are paramount.
Conclusion: Safety First, Professional Solutions for Core HVAC Needs
While understanding how heating elements work and even constructing a simple one for small projects can be a worthwhile endeavor, it’s crucial to recognize the limitations and potential dangers involved. When it comes to your home's main heating and cooling systems, always rely on qualified HVAC professionals. Prioritize safety, efficiency, and long-term reliability by investing in quality equipment, professional installation, and regular maintenance. Remember to research AFUE, SEER, and HSPF ratings to make informed decisions about energy efficiency. Your comfort, safety, and the value of your property depend on it.