How To Pressure Test A Gas Line
Frequently Asked Questions: Pressure Testing Your Gas Line
This guide answers common questions about pressure testing gas lines, helping you understand the process and its importance for safety and efficiency. While this information is helpful, always consult with a qualified professional for gas line work. Improper handling of gas lines can be dangerous.
Question 1: Why do I need to pressure test my gas line?
Pressure testing a gas line is crucial for several reasons:
- Leak Detection: The primary reason is to identify leaks in the gas line. Even small leaks can lead to gas accumulation, creating a fire or explosion hazard.
- Safety: Ensuring a gas line is leak-free protects you, your family, and your property from the dangers of gas leaks.
- Code Compliance: Local building codes often require pressure testing after new installations or modifications to existing gas lines. Failing to comply can result in fines or delays in property transactions.
- Performance: Leaks, even small ones, can reduce the efficiency of gas-powered appliances, leading to higher energy bills and potentially reduced appliance lifespan.
- Peace of Mind: Knowing your gas line is sound provides reassurance and eliminates the worry of potential gas leaks.
Question 2: When is a gas line pressure test required?
A pressure test is generally required in the following situations:
- New Installations: Whenever a new gas line is installed, it must be pressure tested before being put into service.
- Repairs or Modifications: Any time a gas line is repaired, altered, or extended, a pressure test is necessary to ensure the integrity of the changes.
- Suspected Leaks: If you suspect a gas leak (e.g., smelling gas, hearing hissing sounds near gas lines), a pressure test is essential to pinpoint the source.
- After a Shutdown: If the gas supply has been turned off for an extended period (e.g., during renovations), a pressure test is recommended before restoring service.
- Code Requirements: Local building codes may mandate periodic pressure testing, even without apparent issues. Check your local regulations.
- Before Selling a Property: Many home inspectors recommend pressure testing the gas lines as part of a pre-sale inspection. This can help identify potential problems before the sale and give the buyer peace of mind.
Question 3: What is the basic procedure for pressure testing a gas line?
Here's a simplified overview of the pressure testing process. Remember, this is for informational purposes only. Always hire a qualified professional to perform the actual test.
- Isolate the Gas Line: The first step is to isolate the gas line being tested from the rest of the gas system. This involves closing all valves leading to appliances and the gas meter.
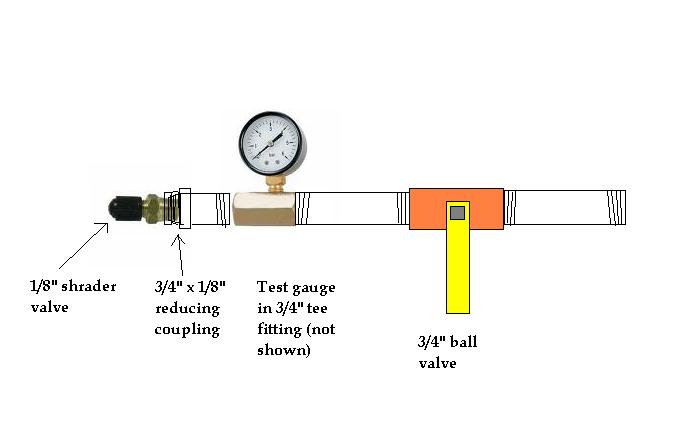
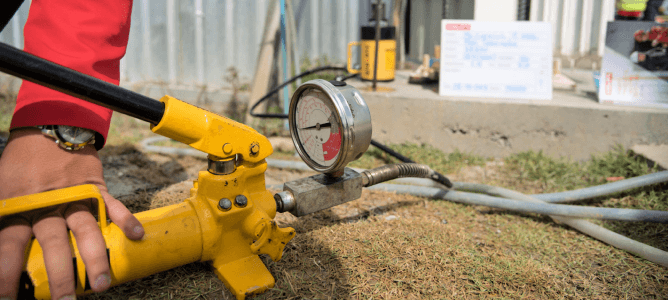
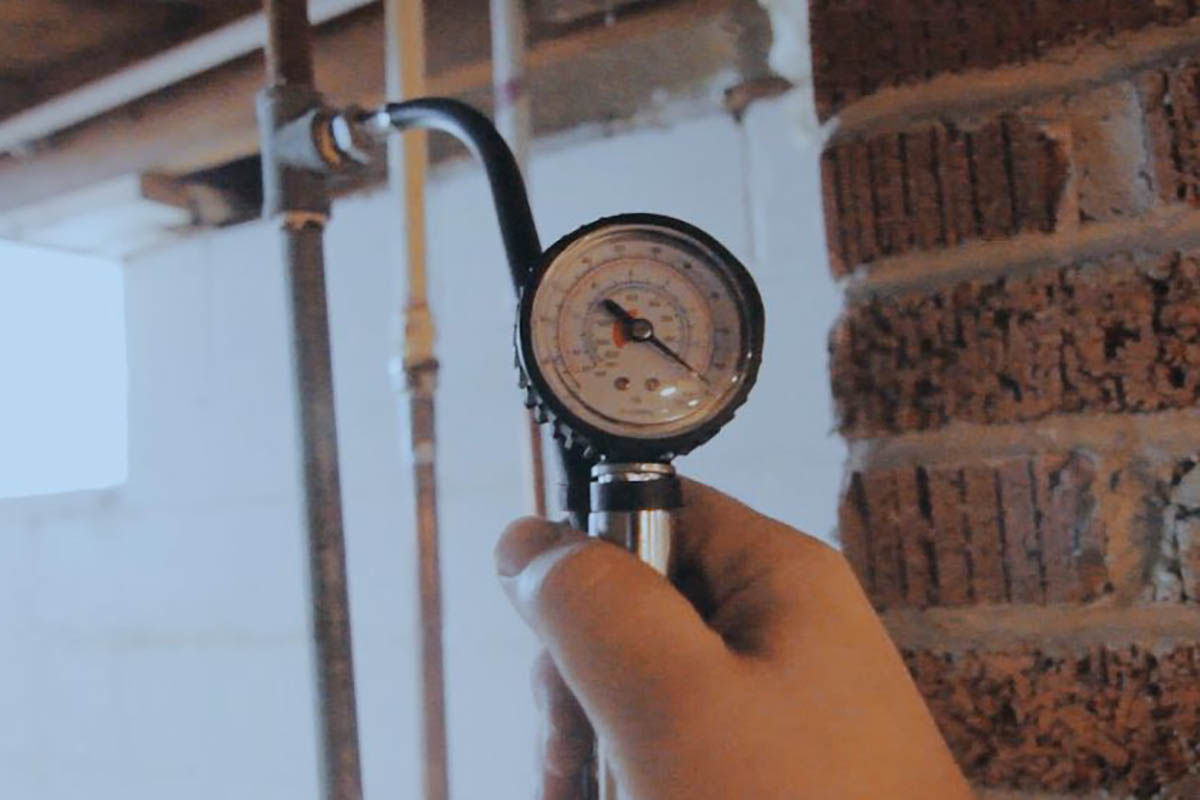
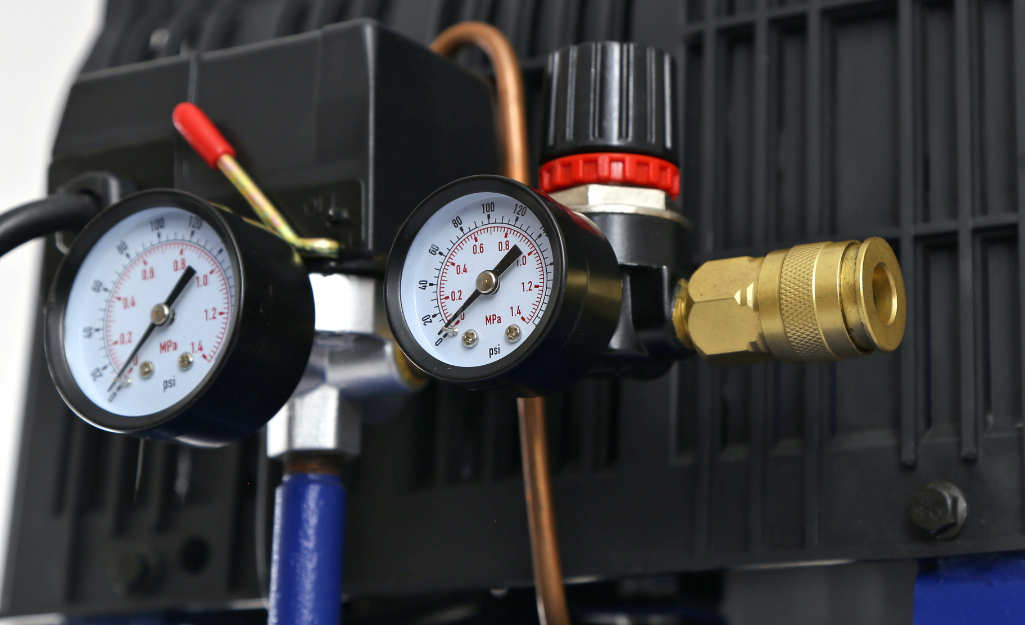
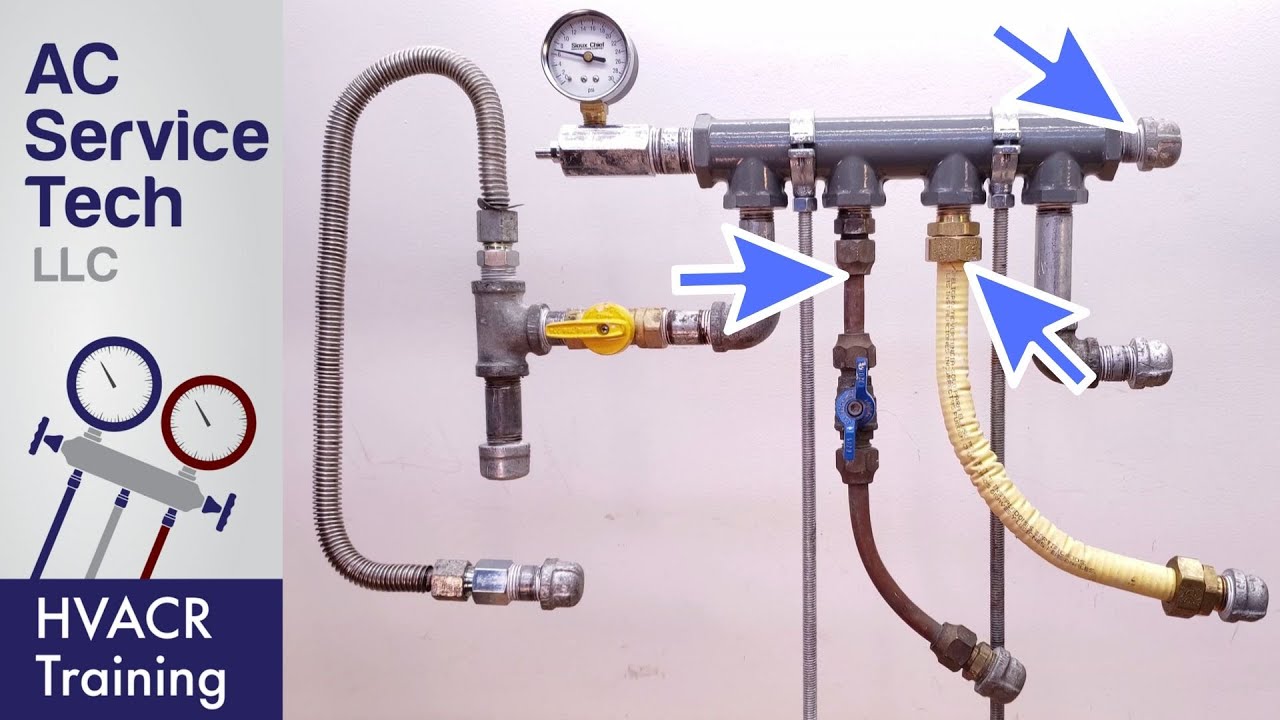
- Connect the Test Gauge: A specialized pressure gauge is connected to the gas line. This gauge is designed to measure pressure accurately and hold it over a specific period. Often this involves connecting to an appliance connection point or a designated test port.
- Pressurize the Line: Using a hand pump or a nitrogen cylinder with a regulator, the gas line is pressurized to a specific pressure, typically higher than the normal operating pressure (e.g., 10-15 psi for residential systems). Never use oxygen to pressurize a gas line, as this creates an explosive hazard!
- Monitor the Pressure: The pressure is monitored over a set period, typically 15 minutes to several hours, depending on local codes and the size of the system. The pressure must remain constant during this time.
- Identify and Repair Leaks (if necessary): If the pressure drops, it indicates a leak. The leak must be located using a leak detection solution (e.g., soapy water) and repaired. After the repair, the line is re-pressurized and tested again.
- Depressurize the Line: Once the test is complete and the line holds pressure, the pressure is carefully released.
- Restore Service: After a successful test, the gas supply is turned back on to the appliances, and the appliances are checked to ensure they are functioning correctly.
Question 4: What tools and materials are needed for pressure testing?
The following tools and materials are commonly used for pressure testing gas lines. Note: this list is not exhaustive, and specialized equipment may be required depending on the specific situation.
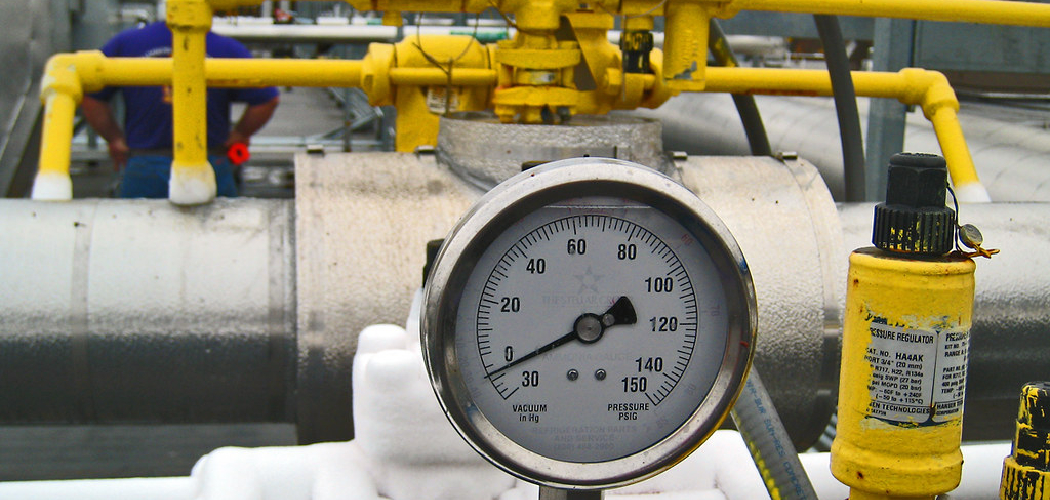
- Pressure Gauge: A calibrated pressure gauge capable of accurately measuring the test pressure. Look for a gauge specifically designed for gas line testing.
- Hand Pump or Nitrogen Cylinder with Regulator: A source of pressure to pressurize the gas line. A hand pump is suitable for small systems, while a nitrogen cylinder with a regulator is often used for larger or more complex systems. Always use dry nitrogen to avoid contaminating the gas lines.
- Fittings and Adapters: Various fittings and adapters to connect the pressure gauge to the gas line.
- Leak Detection Solution: A soap-and-water solution or a commercially available leak detection spray to identify leaks.
- Pipe Wrenches and Other Hand Tools: Standard plumbing tools for tightening fittings and making repairs.
- Safety Glasses and Gloves: Personal protective equipment to protect your eyes and hands.
- Thread Sealant: Gas-rated pipe sealant or tape to ensure airtight connections.
- Test Plugs or Caps: To seal off any open gas line connections during the test.
- Documentation: A notebook or form to record the test pressure, duration, and results.
Question 5: What pressure should I use when testing my gas line?
The correct test pressure depends on the type of gas line and local building codes. However, some general guidelines apply:
- Low-Pressure Systems (Residential): For typical residential gas systems, a common test pressure is 10-15 psi (pounds per square inch). This is significantly higher than the normal operating pressure, which is typically around 0.25 psi (inches of water column).
- High-Pressure Systems (Commercial/Industrial): Commercial and industrial gas systems may operate at higher pressures and, therefore, require higher test pressures. The specific test pressure will be determined by the operating pressure and local codes.
- Consult Local Codes: Always refer to your local building codes and regulations to determine the required test pressure. These codes are designed to ensure the safety of gas systems in your area.
- Manufacturer's Instructions: If you are testing a specific gas appliance or component, refer to the manufacturer's instructions for recommended test pressures.
- Don't Exceed Maximum Pressure: Never exceed the maximum allowable pressure rating of the gas line or any of its components. Over-pressurizing can damage the system and create a safety hazard.
Question 6: What are some common causes of gas line leaks?
Several factors can contribute to gas line leaks:
- Corrosion: Over time, metal gas lines can corrode, especially in damp or corrosive environments. Corrosion weakens the pipe and can lead to leaks.
- Loose Fittings: Fittings that are not properly tightened or that have become loose over time can leak gas.
- Damaged Pipes: Gas lines can be damaged by accidental impacts, digging, or other physical forces.
- Faulty Connections: Improperly installed or failing connections are a common cause of leaks.
- Ground Movement: Shifting soil or ground movement can put stress on gas lines, causing them to crack or break.
- Extreme Temperatures: Extreme temperature fluctuations can cause expansion and contraction of gas lines, potentially leading to leaks.
- Old Age: Gas lines, like any other component of a building, have a lifespan. Older gas lines are more prone to leaks due to wear and tear.
- Improper Installation: Incorrectly installed gas lines are more susceptible to leaks due to poor joints or improper materials.
Question 7: What should I do if I suspect a gas leak?
If you suspect a gas leak, take the following steps immediately:
- Evacuate: Get everyone out of the building immediately.
- Don't Use Electronics: Do not use any electrical switches, phones, or other electronic devices inside the building. These can create a spark that could ignite the gas.
- Open Windows and Doors: If possible, open windows and doors to ventilate the building.
- Turn Off the Gas Supply: If you know where the main gas shut-off valve is and it is safe to do so, turn it off.
- Call the Gas Company or Emergency Services: From a safe location (outside the building), call your gas company or emergency services (911) immediately.
- Stay Away: Do not re-enter the building until it has been declared safe by the gas company or emergency services.
- Do Not Attempt Repairs Yourself: Leave repairs to qualified professionals.
Disclaimer: This information is intended for general educational purposes only and should not be considered a substitute for professional advice. Gas line work can be dangerous. Always consult with a qualified and licensed professional for any gas line installation, repair, or pressure testing.