How To Program Intermatic 7-day Timer
Unlock Energy Savings: A Comprehensive Guide to Programming Your Intermatic 7-Day Timer
Tired of energy bills that spike unexpectedly? Want to take control of your HVAC system and lighting for better energy efficiency? Programming an Intermatic 7-day timer is a simple yet powerful way to achieve significant energy savings, whether you're a homeowner, business owner, or a savvy HVAC contractor looking to offer your clients cost-effective solutions. This comprehensive guide will walk you through the programming process, highlighting the benefits and ROI you can expect.
Understanding the Intermatic 7-Day Timer
Intermatic timers are known for their reliability and user-friendliness, offering a wide range of models to suit various applications. These timers allow you to schedule on/off times for electrical devices, including HVAC systems, lighting, pool pumps, and more. The 7-day programmability offers the flexibility to create different schedules for weekdays and weekends, maximizing energy savings when demand is lower.
Why Choose a 7-Day Timer?
Unlike simple mechanical timers, 7-day digital timers provide granular control over your devices. Consider these advantages:
- Flexibility: Set different schedules for each day of the week.
- Precision: Accurate to the minute, ensuring devices turn on and off precisely when you need them.
- Energy Savings: Reduce energy waste by only running devices when necessary. A study by the Energy Information Administration (EIA) showed that programmable thermostats can save homeowners an average of 10-12% on heating and cooling costs.
- Convenience: Set it and forget it. The timer automatically follows your schedule.
- Cost-Effective: Low initial investment with a quick return through reduced energy consumption.
Step-by-Step Guide to Programming Your Intermatic 7-Day Timer
While specific steps may vary slightly depending on your Intermatic model, the general programming process is similar across most devices. Always refer to your specific model's instruction manual for the most accurate guidance.
1. Preparation and Initial Setup
Before you begin, ensure the timer is properly installed and wired according to the manufacturer's instructions. It's crucial to disconnect the power supply before working on any electrical connections. Once installed, you'll need to set the current time and day.
- Power On: Turn on the power supply to the timer.
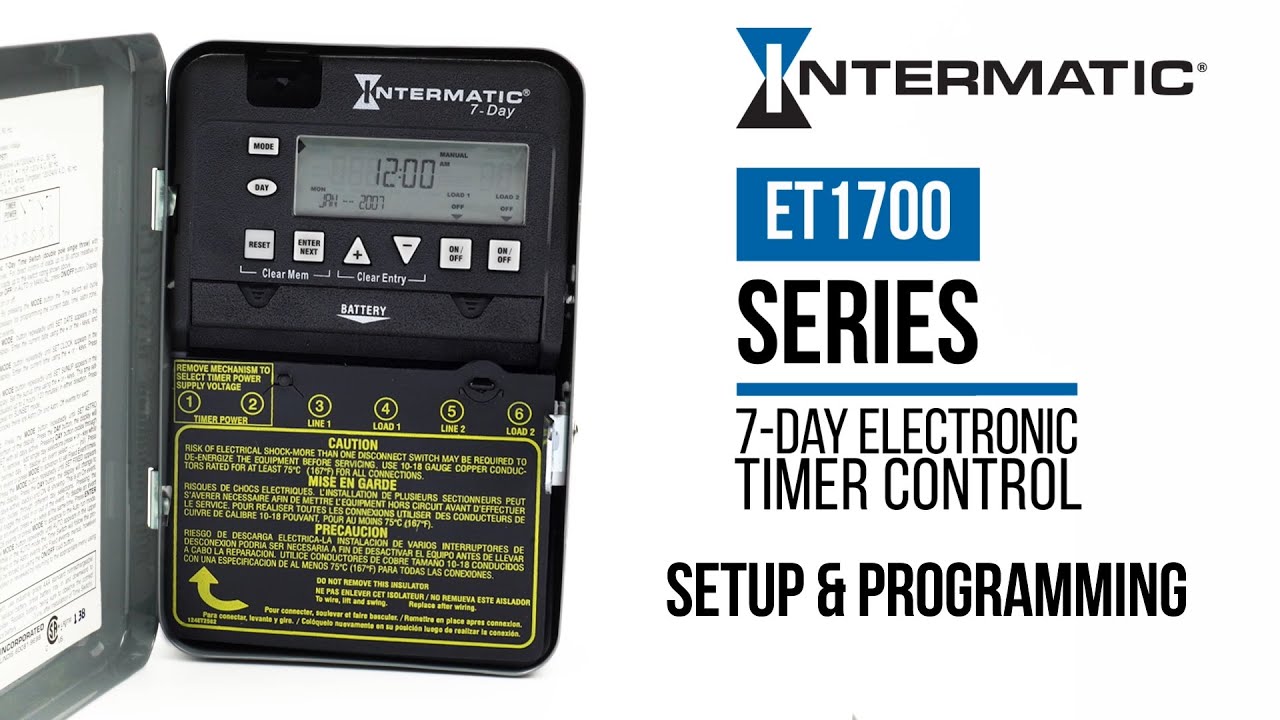
- Display: Familiarize yourself with the LCD display and the function buttons (e.g., PROG, SET, +, -, MANUAL).
- Set Time and Day: Use the SET or CLOCK button to access the time and day settings. Use the + and - buttons to adjust the values. Press SET or ENTER to confirm each setting. For example, on many models, holding the "Clock" button while pressing "+" or "-" adjusts the hour and minute.
2. Entering Programming Mode
To start programming your on/off schedules, you'll need to enter programming mode. This is usually done by pressing the PROG or PGM button.
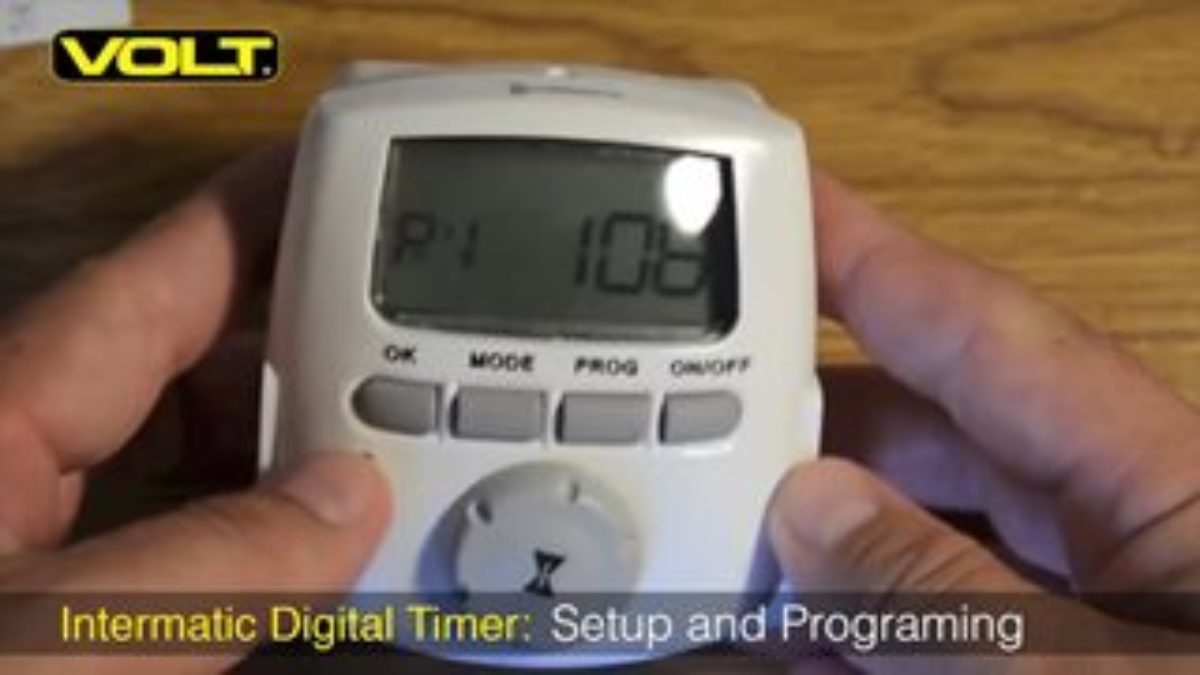
- Press PROG: Press the PROG button. The display will likely show "1 ON," indicating the first on-time setting.
- Select Program: If your timer has multiple programs, use the + or - buttons to cycle through them. For basic HVAC control, one program is usually sufficient.
3. Setting the ON Time
Now, you'll set the time when you want the device to turn on.
- Select Day(s): The display will show the days of the week. Use the + or - buttons to select the days for which you want this on-time to apply. You can select individual days, weekdays only, weekends only, or all days. Some models have pre-set options for weekdays, weekends, and every day.
- Set Hour: Use the + and - buttons to set the hour for the on-time.
- Set Minute: Use the + and - buttons to set the minute for the on-time.
- Confirm: Press PROG or ENTER to confirm the on-time setting.
4. Setting the OFF Time
Next, you'll set the time when you want the device to turn off.
- Select "1 OFF": After confirming the on-time, the display will show "1 OFF," indicating the first off-time setting.
- Select Day(s): Repeat the process from step 3 to select the days of the week for this off-time. Make sure the selected days match the on-time setting.
- Set Hour: Use the + and - buttons to set the hour for the off-time.
- Set Minute: Use the + and - buttons to set the minute for the off-time.
- Confirm: Press PROG or ENTER to confirm the off-time setting.
5. Repeat for Additional Schedules (If Needed)
If you need to set multiple on/off schedules, repeat steps 3 and 4 for each schedule. The display will show "2 ON," "2 OFF," and so on.
6. Exiting Programming Mode
Once you've programmed all your desired schedules, exit programming mode by pressing the CLOCK or AUTO button. This will return the display to the current time and day.
7. Testing Your Settings
Before relying on your programmed schedules, test them to ensure they work correctly. Use the MANUAL button to temporarily override the timer and verify that the device turns on and off at the programmed times.
Maximizing Energy Savings with Your Intermatic Timer
Now that you know how to program your Intermatic timer, let's explore how to maximize its energy-saving potential:
- Optimize HVAC Schedules: Adjust your thermostat settings based on occupancy patterns. For example, lower the thermostat during the day when no one is home and raise it again shortly before everyone returns. According to Energy Star, optimizing your thermostat settings can save you up to 10% on your energy bill.
- Control Lighting: Program outdoor lights to turn on at dusk and off at dawn. Use timers to control indoor lights in unoccupied rooms.
- Manage Pool Pumps: Pool pumps consume significant energy. Reduce pump run time to the minimum required to maintain water quality. Check with your local pool supply store for recommended run times. Many utility companies offer rebates on energy-efficient pool pumps and timers.
- Consider Load Shedding: For businesses, implement load shedding strategies by scheduling non-essential equipment to operate during off-peak hours. This can significantly reduce demand charges.
Integrating with Smart Home Systems for Enhanced Control
While Intermatic timers offer excellent standalone control, integrating them with smart home systems can unlock even greater energy savings and convenience.
- Smart Thermostats: Pair your Intermatic timer with a smart thermostat like Nest or Ecobee. This allows you to remotely adjust your HVAC settings from your smartphone or tablet, even when you're away from home. Smart thermostats also learn your heating and cooling preferences and automatically adjust the temperature to optimize energy efficiency.
- Smart Sensors: Use motion sensors to automatically turn lights on and off in occupied rooms. Window and door sensors can detect when a window or door is open and automatically turn off the HVAC system in that zone to prevent energy waste.
- IFTTT Integration: Some Intermatic timers and smart home hubs support IFTTT (If This Then That) integration, allowing you to create custom automations. For example, you could set your timer to automatically turn off the lights when you leave home, based on your smartphone's location.
ROI and Energy Savings: Real-World Examples
The return on investment (ROI) for an Intermatic 7-day timer can be significant, depending on your energy consumption patterns and the devices you control. Here are some examples:
- Residential: A homeowner who programs their HVAC system and outdoor lighting with an Intermatic timer can expect to save 5-15% on their annual energy bill. This translates to potentially hundreds of dollars in savings per year. The timer itself typically costs less than $50, resulting in a payback period of less than a year.
- Commercial: A small business that implements load shedding strategies with Intermatic timers can reduce peak demand charges and lower their overall energy costs by 10-20%. The ROI is often even faster for businesses due to their higher energy consumption.
- HVAC Contractors: Offering energy-efficient solutions like Intermatic timers can differentiate your business and attract customers looking to save money on their energy bills. You can also leverage rebates and incentives offered by utility companies to further enhance the value proposition.
Consider this scenario: A homeowner spends $200 per month on electricity. By properly programming their Intermatic timer to manage their HVAC and pool pump, they reduce their energy consumption by 10%. This saves them $20 per month, or $240 per year. The timer, costing approximately $40, pays for itself in just two months.
Rebates and Incentives
Many utility companies offer rebates and incentives for installing energy-efficient devices, including programmable timers. Check with your local utility company to see if they offer any programs that can help you save even more money. These rebates can significantly reduce the initial cost of the timer and accelerate the ROI.
"According to the Database of State Incentives for Renewables & Efficiency (DSIRE), numerous states offer rebates for energy-efficient appliances and controls, including programmable thermostats and timers."
Troubleshooting Common Issues
While Intermatic timers are generally reliable, you may encounter occasional issues. Here are some common problems and how to troubleshoot them:
- Timer Not Turning On/Off:
- Check the power supply to the timer.
- Verify that the timer is in AUTO mode.
- Review the programmed on/off times to ensure they are correct.
- Check for any tripped circuit breakers.
- Display Not Working:
- Ensure the timer has power.
- Check the battery (if applicable).
- Consult the user manual for troubleshooting steps.
- Incorrect Time:
- Reset the time and day according to the instructions in the user manual.
- If the timer continues to lose time, the battery may need to be replaced.
If you're unable to resolve the issue yourself, contact a qualified electrician or HVAC technician for assistance.
Conclusion
Programming an Intermatic 7-day timer is a smart investment that can help you significantly reduce your energy bills and improve your overall energy efficiency. By following the steps outlined in this guide and taking advantage of available rebates and incentives, you can quickly recoup your investment and start enjoying the benefits of automated energy management. Whether you're a homeowner looking to save money, a business aiming to reduce operating costs, or an HVAC contractor offering energy-efficient solutions, Intermatic timers provide a simple and effective way to take control of your energy consumption. Embrace this technology and start saving energy and money today!