How To Program Intermatic Pool Timer
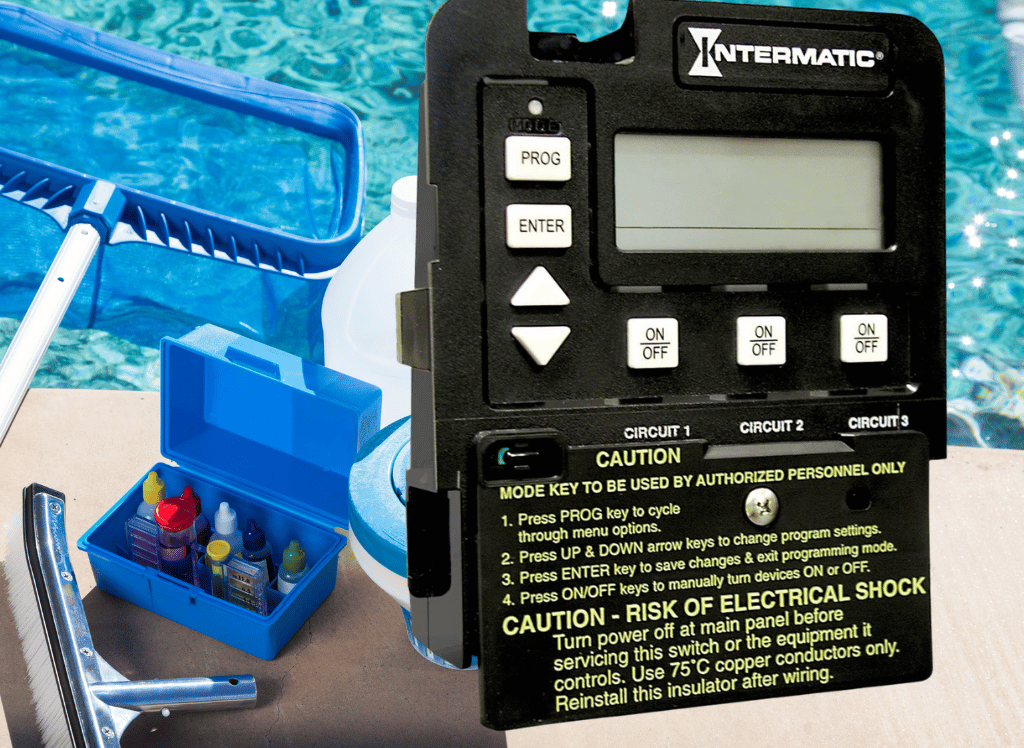
One of the most common frustrations for homeowners with a pool is a malfunctioning pool timer. Imagine this: it's a hot summer day, you're ready for a refreshing swim, but the pool pump hasn't run all night and the water is murky. Often, the culprit isn't a catastrophic failure, but rather a simple programming issue or a minor electrical hiccup with your Intermatic pool timer.
This article will guide you through troubleshooting your Intermatic pool timer. We'll focus on safe and simple DIY fixes that homeowners can attempt. Remember, safety is paramount. If you're uncomfortable with any step, or if the problem seems beyond basic troubleshooting, call a qualified electrician or pool technician.
Safety First!
Before you touch anything, remember these crucial safety points:
- Turn off the power! Locate the circuit breaker for your pool equipment (including the timer) in your home's electrical panel and switch it OFF. Double-check that the timer is indeed powered down.
- Never work with wet hands or in wet conditions. Water and electricity are a dangerous combination.
- If you are unsure about any step, stop and call a professional. It's better to be safe than sorry.
- Wear appropriate safety gear. Eye protection is always a good idea.
Troubleshooting Your Intermatic Pool Timer: A Step-by-Step Guide
1. Checking the Power Supply
The first step is to confirm that the timer is receiving power. This might seem obvious, but it's often the simplest explanation for a non-functioning timer.
- Verify the Circuit Breaker: Even if you *think* you turned off the correct breaker, double-check. Sometimes breakers are mislabeled or trip unexpectedly. Flip the breaker all the way to the "OFF" position, wait a few seconds, and then flip it back to "ON".
- Inspect the Wiring (Visually): Look for any signs of damage to the wiring connected to the timer. This includes frayed wires, cracked insulation, or loose connections. If you see any damage, DO NOT TOUCH THE WIRES. Call a professional immediately.
- Test the Voltage (Advanced - Requires a Multimeter and Knowledge): If you're comfortable using a multimeter, you can check the voltage at the timer's terminals. Consult your timer's manual for the correct voltage readings. If you are not comfortable using a multimeter, skip this step and call a professional.
2. Reviewing the Timer Settings
Once you've confirmed that the timer is receiving power, the next step is to carefully review the timer's settings.
- Verify the Time: Make sure the current time is set correctly. An incorrect time will cause the pump to run at the wrong times.
- Check the ON/OFF Trippers: These are the small metal or plastic tabs that determine when the timer turns the pump on and off. Ensure they are securely attached to the timer wheel and positioned correctly for your desired schedule. Older timers often use mechanical trippers that can become loose or damaged.
- Ensure Trippers Make Contact: Sometimes the trippers become bent and don't properly make contact with the switch. Gently bend them back into shape so they make solid contact.
- Examine the Timer Wheel: The timer wheel should be rotating smoothly. If it's sticking or not moving at all, the timer mechanism may be faulty.
- Overlapping Trippers: Ensure that trippers are not overlapping, as this may affect the timer to trigger correctly.
3. Troubleshooting Common Timer Types
Intermatic offers various types of pool timers. Here's a breakdown of troubleshooting steps specific to some common models:
Mechanical Timers (e.g., T104, T106)
- Clock Motor Failure: If the timer wheel isn't turning, the clock motor may be faulty. You can often hear a faint buzzing sound from a working clock motor. If it's silent, the motor likely needs to be replaced.
- Switch Malfunction: The switch that turns the pump on and off can wear out over time. You can test the switch with a multimeter (advanced - requires knowledge). If it's not working correctly, it needs to be replaced.
- Tripper Issues: As mentioned earlier, ensure the trippers are in good condition, properly positioned, and making good contact.
Digital Timers (e.g., PE153, ET900 Series)
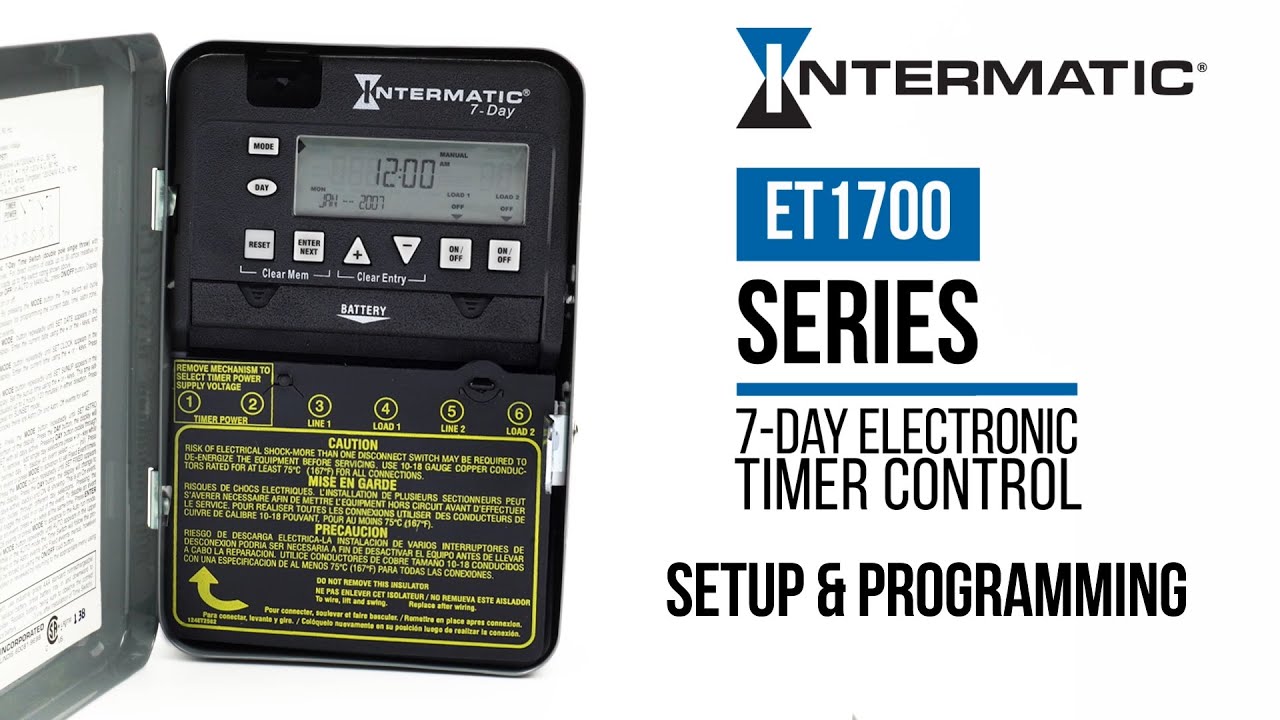
- Display Problems: If the display is blank or dim, check the battery (if applicable) or the power supply.
- Programming Errors: Review the programming instructions carefully. Digital timers can be more complex to program than mechanical timers. Refer to the user manual.
- Locked Controls: Some digital timers have a "lock" feature to prevent accidental changes. Make sure the controls are unlocked.
- Software Glitches: Try resetting the timer to its factory default settings. The procedure for doing this is usually found in the user manual.
4. Cleaning the Timer
Dust, debris, and insects can accumulate inside the timer enclosure and interfere with its operation. Carefully clean the inside of the timer enclosure with a soft brush or vacuum cleaner. Make sure the power is OFF before cleaning!
5. Basic Part Replacement (Proceed with Caution!)
In some cases, you may be able to replace a faulty part yourself. However, only attempt this if you are comfortable working with electrical components and have the necessary skills and tools.
- Clock Motor Replacement (Mechanical Timers): You can often purchase a replacement clock motor online or at a pool supply store. Follow the instructions carefully when replacing the motor. Ensure the power is OFF.
- Timer Switch Replacement (Mechanical Timers): Similar to the clock motor, you can often replace the timer switch yourself. Again, follow the instructions carefully and ensure the power is OFF.
- Battery Replacement (Digital Timers): Some digital timers have a battery that needs to be replaced periodically. The battery is usually located on the back of the timer.
Important Note: When replacing any part, make sure to purchase the correct replacement part for your specific timer model. Refer to the timer's model number, which is usually found on the timer's casing.
6. Advanced Troubleshooting and When to Call a Professional
The following issues are best left to qualified electricians or pool technicians:
- Internal Wiring Problems: Any issues with the internal wiring of the timer, such as burnt wires or loose connections, should be handled by a professional.
- Damaged Enclosure: If the timer enclosure is cracked or damaged, it needs to be replaced by a professional.
- Repeated Failures: If the timer continues to fail even after you've attempted basic troubleshooting, there may be a more serious underlying problem.
- Unfamiliar Electrical Work: If you are not comfortable working with electrical components, do not attempt any repairs yourself.
- Gas-Related Issues (For pool heaters): If the timer controls any gas-powered equipment, such as a pool heater, leave the repairs to a qualified gas technician.
- Problems Within the Control Box: Issues within the timer control box are a more complex undertaking that should be handled by an experienced professional.
Preventative Maintenance
To help prevent future problems with your Intermatic pool timer, consider the following preventative maintenance tips:
- Regular Cleaning: Clean the timer enclosure regularly to remove dust, debris, and insects.
- Inspect Wiring: Periodically inspect the wiring for any signs of damage.
- Proper Ventilation: Ensure the timer is properly ventilated to prevent overheating.
- Consider a Surge Protector: A surge protector can help protect the timer from power surges.
- Professional Inspection: Have your pool equipment, including the timer, inspected by a professional on a regular basis.
By following these troubleshooting steps and preventative maintenance tips, you can help keep your Intermatic pool timer working properly and ensure that your pool is always ready for a refreshing swim. Remember, safety is always the top priority. When in doubt, call a professional!