How To Purge A Propane Tank
Ever fired up your propane grill for a summer barbecue only to be met with a weak, yellow flame or, worse, no flame at all? Or perhaps your propane-powered generator sputtered and died unexpectedly? One common culprit behind these frustrating scenarios is air or moisture contamination inside your propane tank. This article will guide you through the process of diagnosing this issue and, more importantly, safely purging your propane tank. Remember, propane is flammable, so safety is paramount!
Understanding the Problem: Why Purging is Necessary
Propane tanks aren't completely airtight. Over time, especially if a tank is left empty or nearly empty, air and moisture can seep inside. This contamination leads to several problems:
- Reduced Propane Pressure: Air takes up space, reducing the amount of propane vapor available, leading to weak flames or appliance malfunction.
- Inefficient Combustion: The presence of air interferes with the proper mixing of propane and oxygen, resulting in incomplete combustion and the production of carbon monoxide.
- Corrosion: Moisture can corrode the inside of the tank, shortening its lifespan and potentially creating leaks.
- Freezing Regulator: Water vapor in the tank can freeze in the regulator during cold weather, blocking the flow of propane.
Purging your propane tank removes these contaminants, restoring its proper function and ensuring the safe and efficient operation of your propane appliances.
Step 1: Diagnosing the Problem
Before you start purging, confirm that the problem truly stems from contamination within the tank. Here's how:
Check the Obvious:
Always begin with the simplest explanations.
- Tank Level: Is the tank actually full enough? A nearly empty tank will exhibit similar symptoms. Try gently shaking the tank. You should feel and hear the liquid propane sloshing around. If it feels exceptionally light, it might be empty.
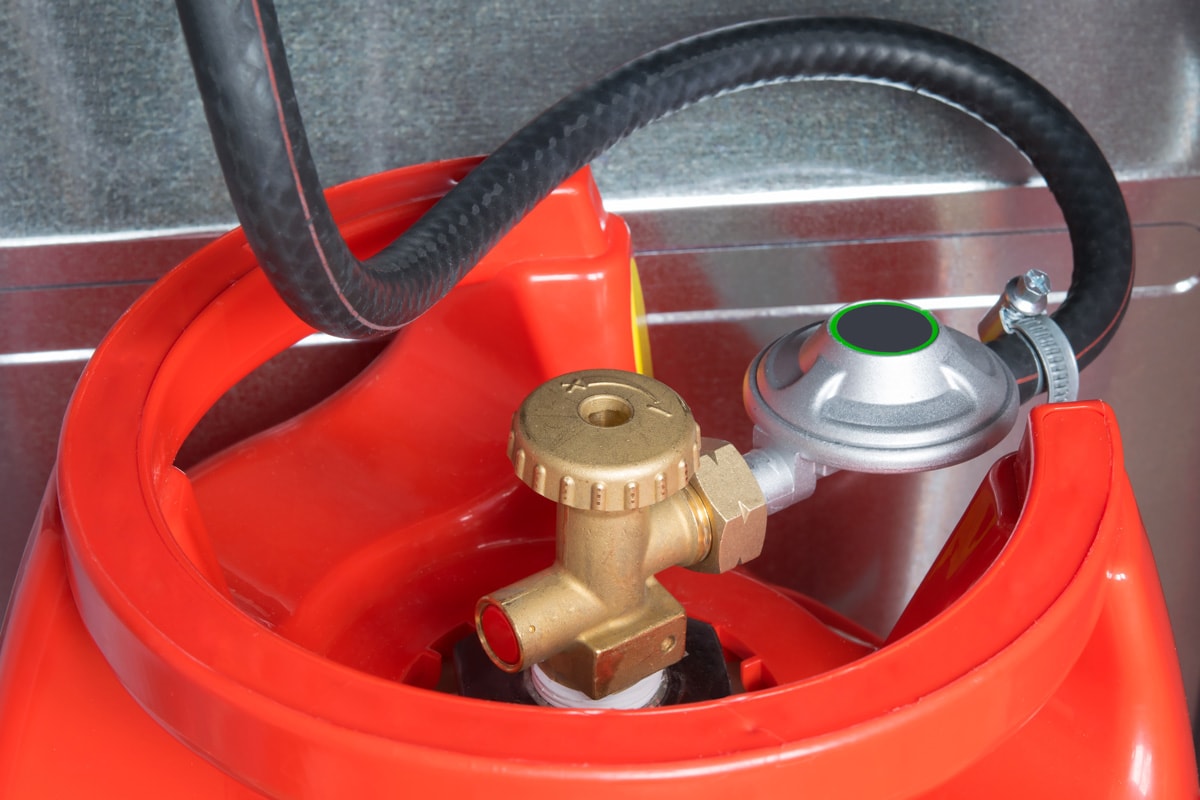
- Regulator Issues: Inspect the regulator for signs of damage or corrosion. A faulty regulator can restrict propane flow. Look for cracks, rust, or leaks around the connections.
- Hose Blockages: Check the propane hose for kinks, bends, or obstructions. Spiders or insects sometimes build nests inside hoses.
- Burner Issues: Ensure the burner itself is clean and free of debris. Clogged burner ports can mimic the symptoms of a contaminated tank.
The Soapy Water Test:
This is a crucial step to check for leaks around the tank valve and connections. Never use an open flame to check for leaks!
- Mix a solution of soapy water (dish soap works well) in a spray bottle.
- Spray the solution liberally around the tank valve, regulator connections, and hose connections.
- Watch for bubbles. Even tiny bubbles indicate a leak.
If you find a leak, do not attempt to purge the tank. Tighten the connection carefully. If the leak persists, replace the faulty component or consult a qualified propane technician. A propane leak is a serious safety hazard.
The Flame Test (If Safe and All Other Issues Ruled Out):
Only perform this test if you are confident that there are no leaks and you've ruled out all other potential causes. This test helps determine if the propane is burning cleanly. The flame should be blue. A yellow or orange flame suggests contamination.
- Connect the propane tank to an appliance (grill, heater, etc.).
- Light the appliance.
- Observe the flame color.
If the flame is consistently yellow or orange, and you've ruled out other causes, purging the tank may be necessary.
Step 2: Safety Precautions – Absolutely Critical!
Propane is highly flammable. Following these safety precautions is non-negotiable:
- Ventilation: Purge the tank outdoors in a well-ventilated area, away from any sources of ignition (open flames, sparks, electrical equipment). Never purge a tank indoors or in an enclosed space.
- No Smoking: Absolutely no smoking within 25 feet of the purging area.
- Fire Extinguisher: Keep a fully charged fire extinguisher nearby. Know how to use it.
- Protective Gear: Wear safety glasses and gloves. Propane can cause frostbite if it comes into contact with skin.
- Wind Direction: Position yourself upwind of the tank to avoid inhaling any propane vapor.
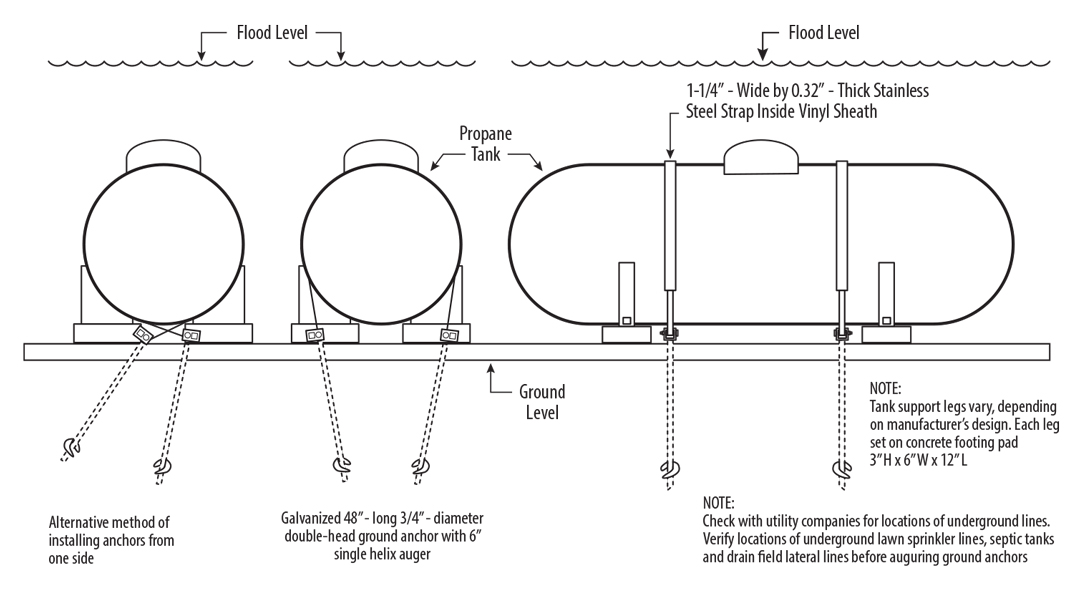
- Secure the Tank: Ensure the tank is stable and won't tip over during the purging process.
- Children and Pets: Keep children and pets far away from the purging area.
- Emergency Contact: Have a phone nearby and know the number for your local fire department and propane supplier in case of an emergency.
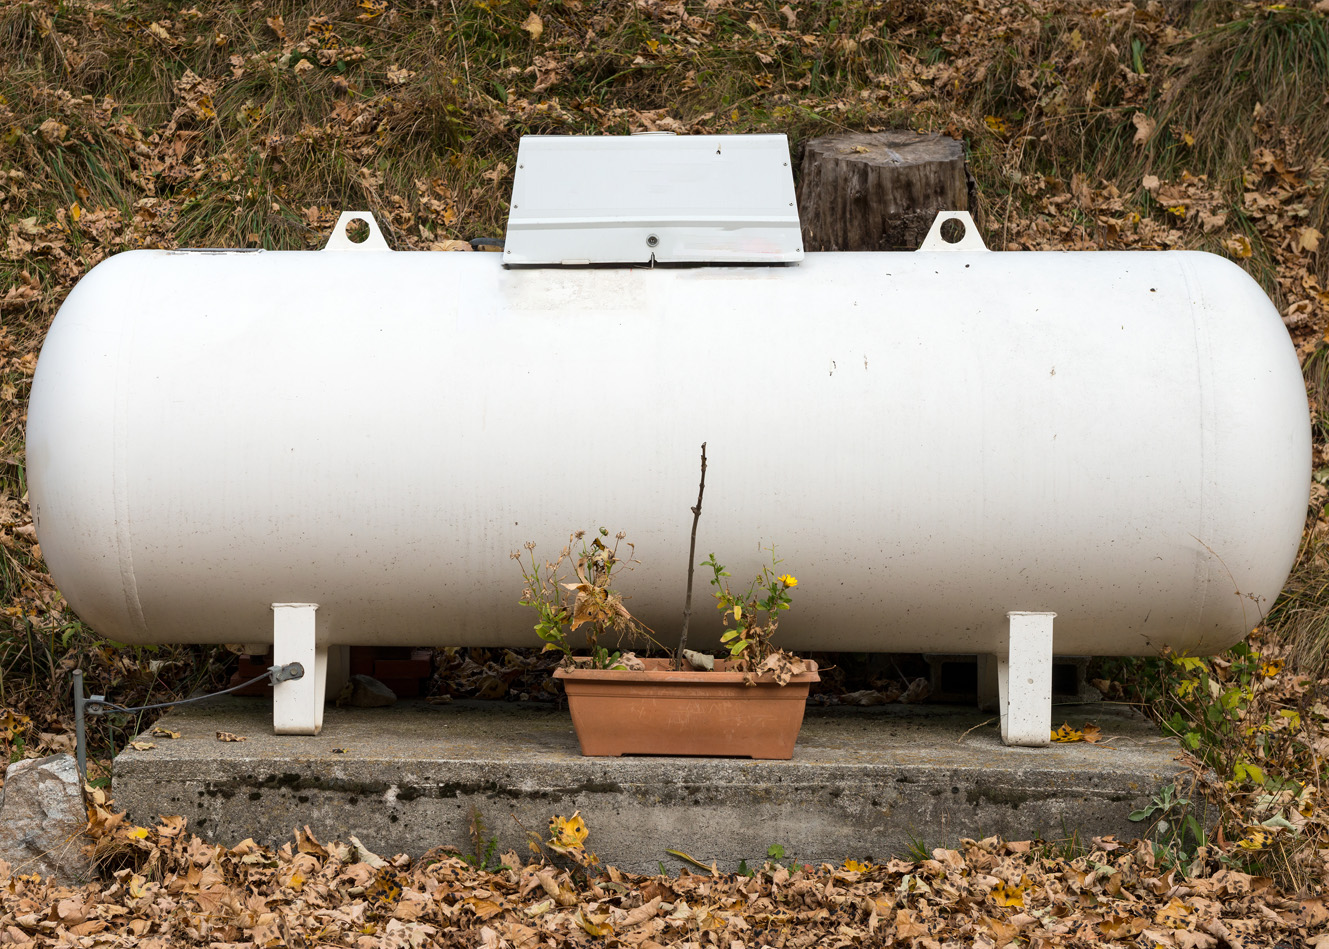
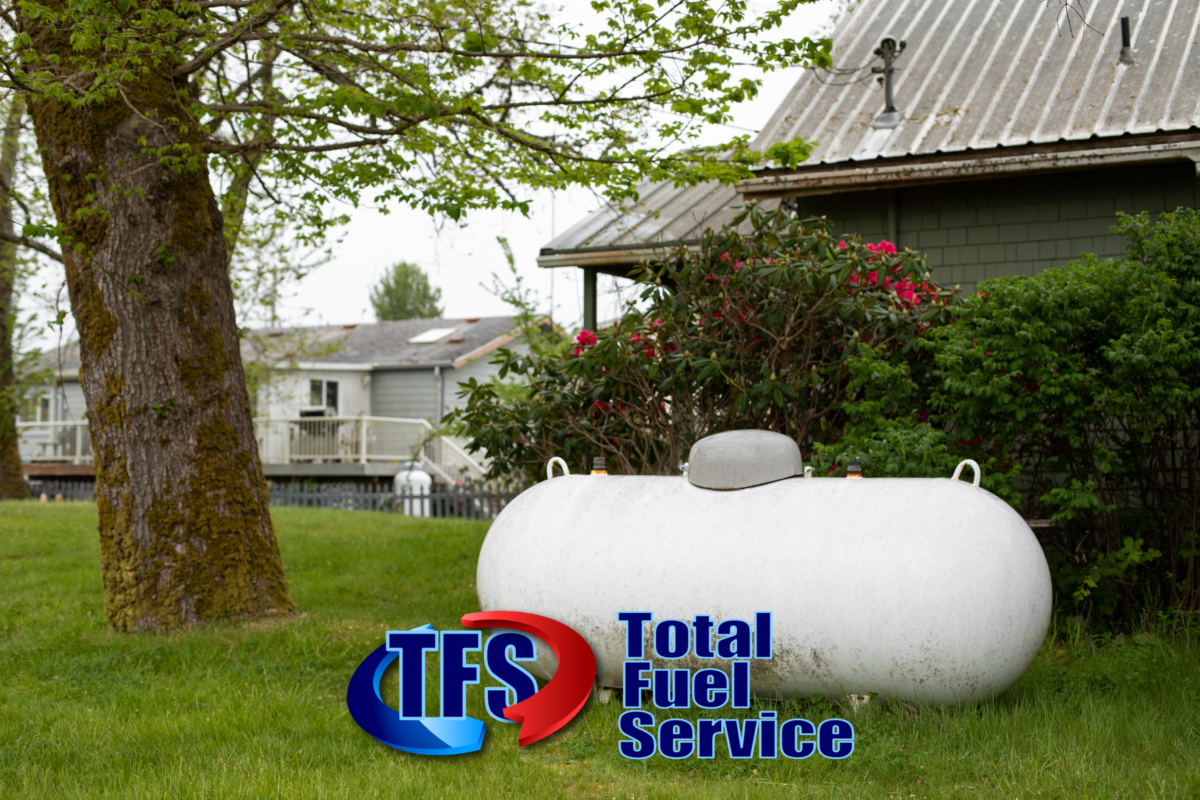
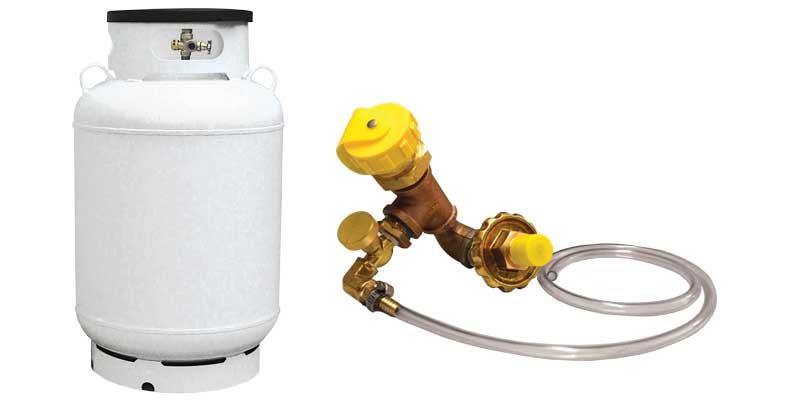
Step 3: Purging Your Propane Tank - DIY Method (Limited Use)
Important Disclaimer: This DIY purging method is only recommended for small propane tanks (like those used for grills) that have minor contamination issues. For larger tanks or significant contamination, professional purging is strongly advised.
This method involves slowly bleeding off the contaminated propane vapor. It is not a complete purge, but it can often improve the performance of a smaller tank.
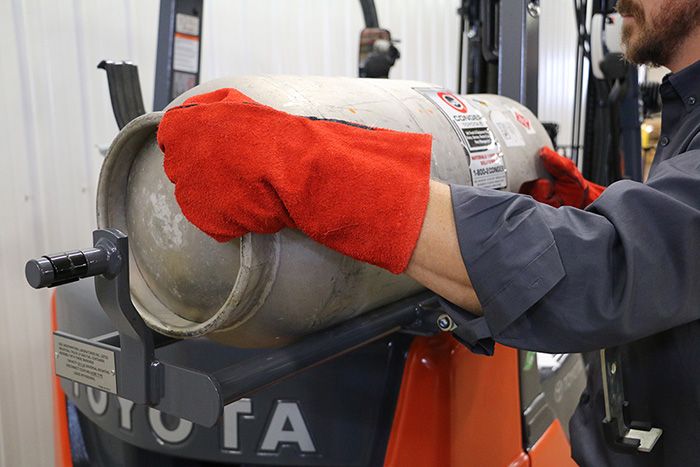
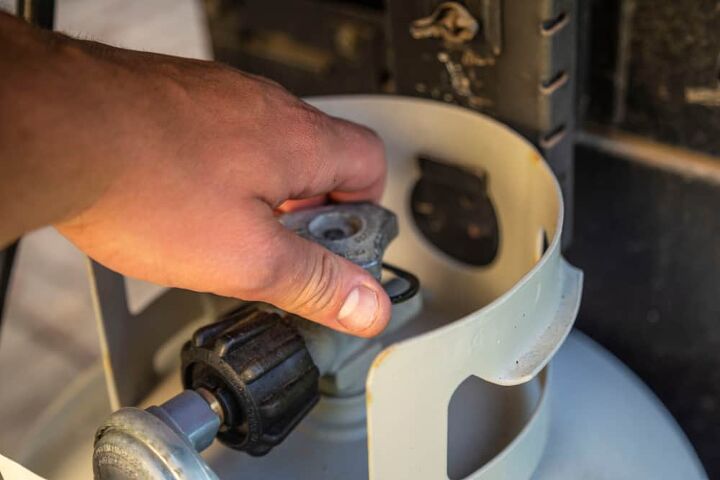
- Connect a Short Hose: Attach a short propane hose to the tank valve. This hose should be no longer than 2-3 feet. This will allow you to direct the escaping propane away from yourself and any potential ignition sources.
- Find a Safe Release Point: The end of the hose should be directed towards an open area, away from buildings, vegetation, and people. Ensure there are no potential ignition sources nearby.
- Slowly Open the Valve: Very gradually open the tank valve. You should hear a hissing sound as propane vapor escapes. Open the valve just enough to allow a slow, steady flow of propane. Opening it too much can release liquid propane, which is extremely dangerous.
- Monitor and Smell: Keep a close eye on the release point. Monitor the smell of the propane. Initially, you may smell more of the contaminants (air, moisture). As you purge, the smell should become more like pure propane.
- Purge for a Limited Time: Purge for no more than 5-10 minutes. Over-purging can deplete the tank of propane and may not be effective in removing all contaminants.
- Close the Valve: Slowly and carefully close the tank valve.
- Test Your Appliance: Reconnect the tank to your appliance and test it. If the flame is still yellow or weak, repeat the purging process for another 5 minutes, but no longer.
If, after two attempts at purging, the problem persists, it's time to call a professional. Continuing to attempt DIY purging may be ineffective and could be dangerous.
Step 4: Knowing When to Call a Professional
Certain situations demand professional intervention. Do not attempt DIY purging in the following cases:
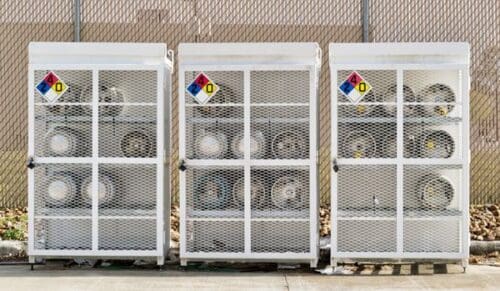
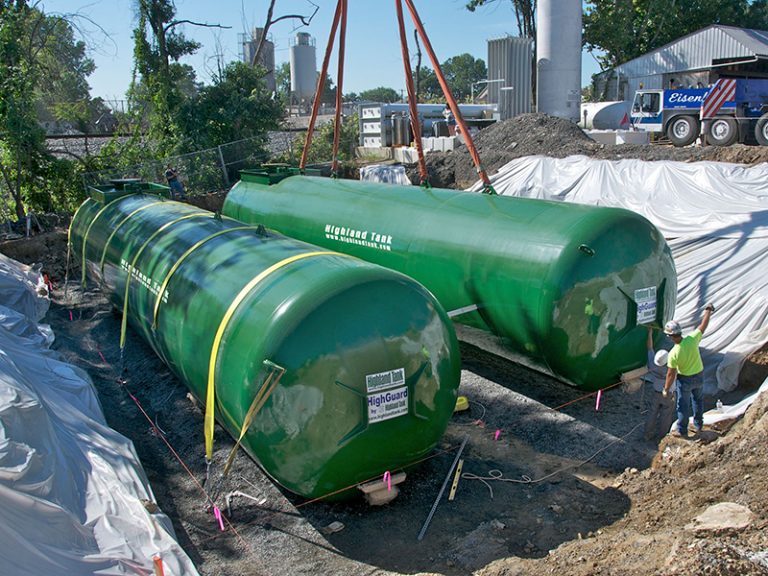
- Large Propane Tanks: Purging large tanks (e.g., those used for home heating or water heating) requires specialized equipment and training.
- Significant Contamination: If the tank has been exposed to excessive moisture, rust, or other contaminants, a simple purge won't suffice. Professionals have the tools to thoroughly clean and inspect the tank.
- Corrosion or Damage: If the tank shows signs of corrosion, damage, or leaks, it needs to be professionally inspected and potentially replaced.
- You're Unsure: If you're not completely comfortable or confident in your ability to perform the purging process safely, err on the side of caution and call a professional.
- Following a Flood: If your propane tank has been submerged in floodwater, it *must* be inspected by a professional. Floodwater can introduce harmful contaminants and compromise the tank's integrity.
What a Professional Will Do
A qualified propane technician will have the following skills and equipment:
- Proper Equipment: They have specialized purging equipment, including vaporizers, vacuum pumps, and nitrogen purging systems, to safely and effectively remove contaminants.
- Tank Inspection: They can thoroughly inspect the tank for corrosion, damage, and leaks.
- Pressure Testing: They can perform pressure tests to ensure the tank is structurally sound.
- Safe Disposal: They can safely dispose of any contaminated propane.
- Code Compliance: They ensure that all work is done in compliance with local and national safety codes.
Preventing Future Contamination
Once your propane tank is purged, take steps to prevent future contamination:
- Store Tanks Properly: Store propane tanks in a dry, well-ventilated area, away from direct sunlight and extreme temperatures.
- Keep Tanks Filled: If possible, keep your propane tank at least partially full. This reduces the amount of air that can enter the tank.
- Inspect Regularly: Regularly inspect your tank, regulator, and hose for signs of damage or wear.
- Use a Tank Cover: Consider using a tank cover to protect the tank from the elements.
- Professional Inspection: Have your propane system professionally inspected every few years.
In Conclusion
Purging a propane tank can be a simple DIY task for smaller tanks with minor contamination, but safety must always be your top priority. By following these steps and knowing when to call a professional, you can keep your propane appliances running smoothly and safely. Remember, when in doubt, always consult with a qualified propane technician.