How To Put A Air Conditioner In A Window

Summer's here, and suddenly your home feels like an oven. The old central AC is struggling to keep up, or maybe you only need to cool a single room. That's when the trusty window air conditioner comes into play. But sometimes, getting that unit installed and running smoothly isn't as simple as just plugging it in. This article will guide you through troubleshooting common window AC installation problems and getting your cool air flowing quickly and safely.
Diagnosing the Installation Issue: Is it Really the AC Unit?
Before tearing your hair out over a seemingly faulty AC, let's rule out a few common culprits. A little detective work upfront can save you time and money.
Step 1: Preliminary Checks (No Tools Required!)
First, the basics. Is the unit actually plugged in? Seems obvious, but double-check the power cord is securely connected to both the AC unit and the electrical outlet. Then, ensure the outlet itself is working. Plug a lamp or other small appliance into the outlet to confirm it's providing power. Is the AC getting enough power?
Next, inspect the circuit breaker or fuse box. Has the breaker tripped or the fuse blown? If so, reset the breaker or replace the fuse. If it trips again immediately, do not continue to reset it repeatedly. This indicates a serious electrical problem that needs a qualified electrician's attention.
Visually inspect the AC unit's power cord for any signs of damage – cuts, frayed wires, or exposed conductors. Never use a damaged power cord; it's a fire hazard! Replace it immediately.
Finally, make sure the AC's air filter is clean. A dirty filter restricts airflow, making the unit work harder and less efficiently. Remove the filter (usually located at the front of the unit) and hold it up to the light. If you can't easily see through it, it's time for a cleaning or replacement.
Step 2: Assessing the Installation (Basic Tools May Be Required)
Okay, power and cleanliness are confirmed. Now, let's look at the physical installation. A poor installation can lead to several issues, from inefficient cooling to water leaks.
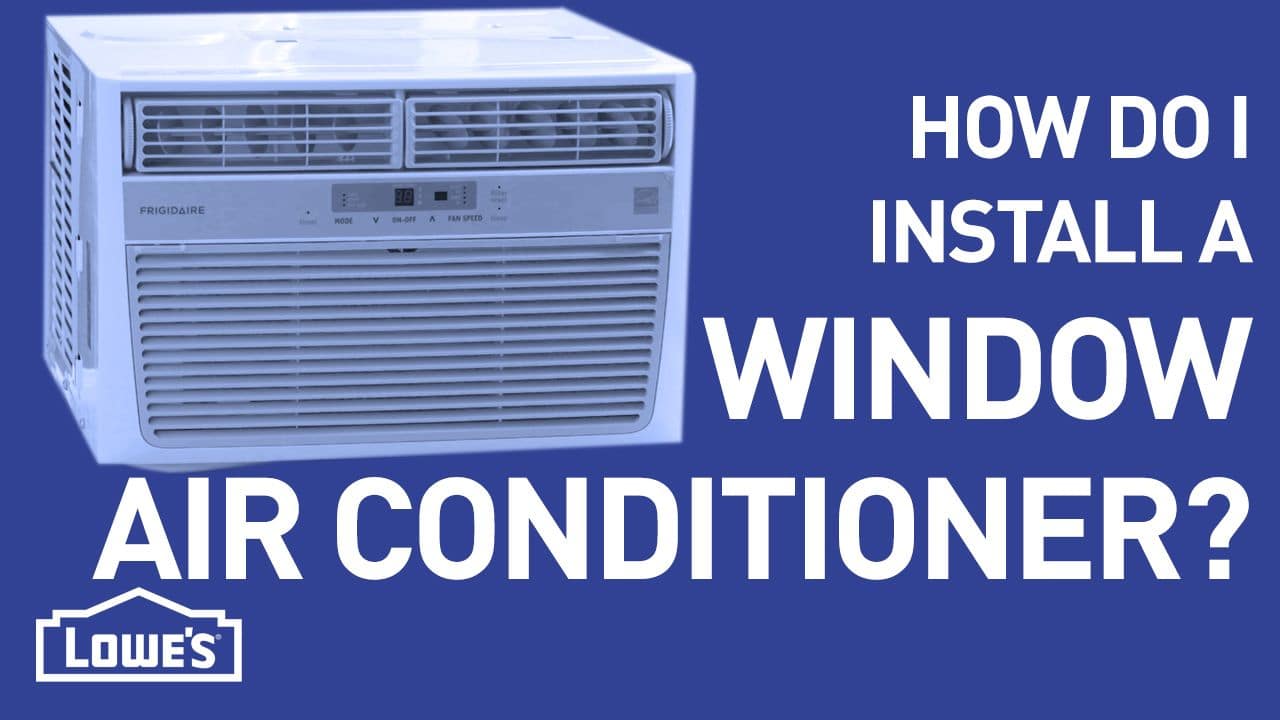
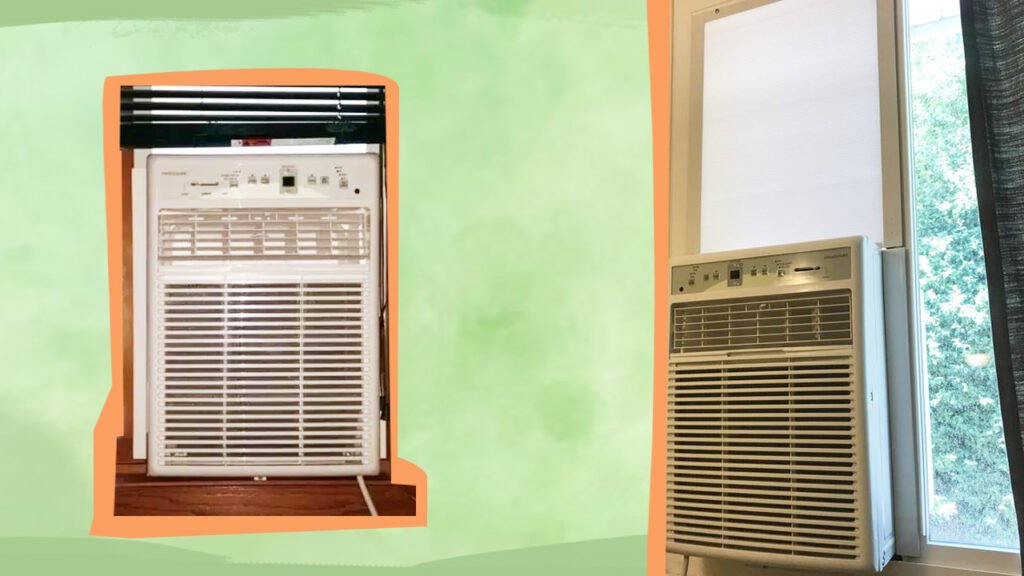
Window Fit: Is the AC unit securely installed in the window? There should be minimal gaps between the unit and the window frame. Use the included accordion panels (or weather stripping) to seal any gaps effectively. A wobbly or unstable unit is not only inefficient but also a potential safety hazard.
Angle: Window AC units are designed to be slightly tilted downwards towards the outside. This allows condensation to drain properly. Use a level to check the angle. If it's tilting inwards, water can pool inside the unit and potentially leak into your home. Adjust the unit to achieve a slight outward tilt.
Support Brackets: Does your AC unit have proper support brackets? Larger units especially require these for safe and stable installation. Ensure the brackets are securely attached to both the AC unit and the window frame or exterior wall. A falling AC unit can cause serious injury or damage.
Drainage: Check the drainage hole (usually located at the back or bottom of the unit, on the outside). Is it clear of debris? A clogged drainage hole will prevent condensation from escaping, leading to water leaks inside your home.
Common Installation Problems and DIY Solutions
Now that you've diagnosed the issue, let's explore some common problems and how to fix them.
Problem 1: AC Unit Won't Turn On
Possible Causes:
- No power to the outlet.
- Tripped circuit breaker or blown fuse.
- Faulty power cord.
- Internal unit malfunction.
DIY Solutions:
- As described in Step 1, verify power to the outlet, reset the breaker/replace the fuse, and inspect the power cord.
- If the above checks out, unplug the AC unit for at least 15 minutes. This can sometimes reset the internal electronics. Then, plug it back in and try again.
When to Call a Pro:
If the unit still doesn't turn on after these steps, it likely indicates an internal electrical or mechanical problem. Do not attempt to repair it yourself! Contact a qualified HVAC technician.
Problem 2: AC Unit is Running, But Not Cooling Effectively
Possible Causes:
- Dirty air filter.
- Poor window seal.
- Incorrect thermostat setting.
- Unit is undersized for the room.
- Refrigerant leak (less likely with newer units).
DIY Solutions:
- Clean or replace the air filter.
- Improve the window seal by adding weather stripping around the AC unit and the window frame.
- Ensure the thermostat is set to a sufficiently low temperature and the fan is set to "high" or "auto."
- Close doors and windows in the room to maximize cooling efficiency.
- Check that the coils on the outside of the unit are free from obstructions like leaves and debris. Gently brush them clean if necessary.
When to Call a Pro:
If the unit still doesn't cool effectively after these steps, it could indicate a refrigerant leak or a more serious mechanical problem. Do not attempt to handle refrigerant yourself! It's a hazardous substance and requires specialized equipment and training. Call an HVAC technician.
Problem 3: AC Unit is Leaking Water
Possible Causes:
- Incorrect tilt angle.
- Clogged drainage hole.
- Excessive humidity.
DIY Solutions:
- Ensure the AC unit is tilted slightly downwards towards the outside to facilitate proper drainage.
- Check the drainage hole for clogs and clear any debris. You can use a small wire or pipe cleaner to dislodge the blockage.
- If the humidity is extremely high, the unit may simply be producing more condensation than it can drain effectively. Try running the unit on a lower fan speed or in "dry" mode (if available).
When to Call a Pro:
If the leaking persists after addressing the tilt and drainage, there could be an internal issue with the drainage system or the unit's internal components. A professional HVAC technician can diagnose and repair the problem.
Problem 4: AC Unit is Making Excessive Noise
Possible Causes:
- Loose components.
- Vibrations.
- Debris inside the unit.
- Worn-out motor or fan.
DIY Solutions:
- Check for any loose screws or panels on the exterior of the unit and tighten them.
- Use foam pads or rubber shims to dampen vibrations between the AC unit and the window frame.
- After disconnecting the power, carefully inspect the inside of the unit (accessible by removing the front panel) for any loose debris that might be causing the noise.
When to Call a Pro:
If the noise persists after these steps, especially if it's a grinding, rattling, or squealing sound, it could indicate a worn-out motor, fan, or other internal component. Do not attempt to repair these components yourself! Contact an HVAC technician.
Safety First! Key Reminders
Working with electrical appliances involves inherent risks. Always prioritize safety:
- Disconnect the power before performing any maintenance or repairs on the AC unit.
- Never work on a live electrical circuit.
- Wear appropriate safety gear, such as gloves and eye protection, when cleaning or repairing the unit.
- Be careful when lifting heavy AC units. Use proper lifting techniques or ask for assistance.
- If you're uncomfortable with any of these steps, don't hesitate to call a qualified HVAC technician. It's better to be safe than sorry.
When to Call in the Professionals
While many window AC installation and troubleshooting issues can be resolved with simple DIY solutions, there are situations where a professional HVAC technician is essential.
- Refrigerant Leaks: Handling refrigerant requires specialized equipment and training.
- Electrical Problems: Diagnosing and repairing electrical issues inside the unit can be dangerous and requires expertise.
- Internal Mechanical Problems: Repairing motors, fans, compressors, and other internal components requires specialized knowledge and tools.
- If You're Unsure: If you're not comfortable performing any of these tasks or if you're unsure about the cause of the problem, it's always best to err on the side of caution and call a professional.
By following these steps and exercising caution, you can confidently troubleshoot common window AC installation problems and get your cool air flowing in no time. Remember, safety always comes first, and when in doubt, call a professional.


