How To Read A Pressure Gauge
Understanding pressure within your HVAC system is crucial for both efficient operation and identifying potential problems. Knowing how to read a pressure gauge is a valuable skill for homeowners and DIY enthusiasts, allowing you to diagnose issues and potentially save money on costly repairs. However, remember that working with HVAC systems involves electricity and refrigerants, so safety should always be your top priority. This guide will walk you through the process of reading a pressure gauge and understanding what the readings mean, while also emphasizing when it's best to call a qualified professional.
Understanding HVAC Pressure Gauges
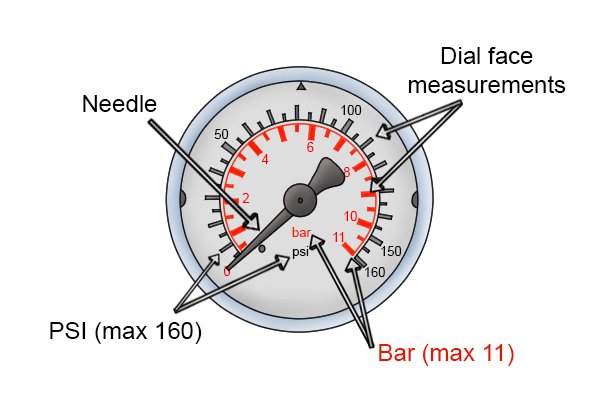
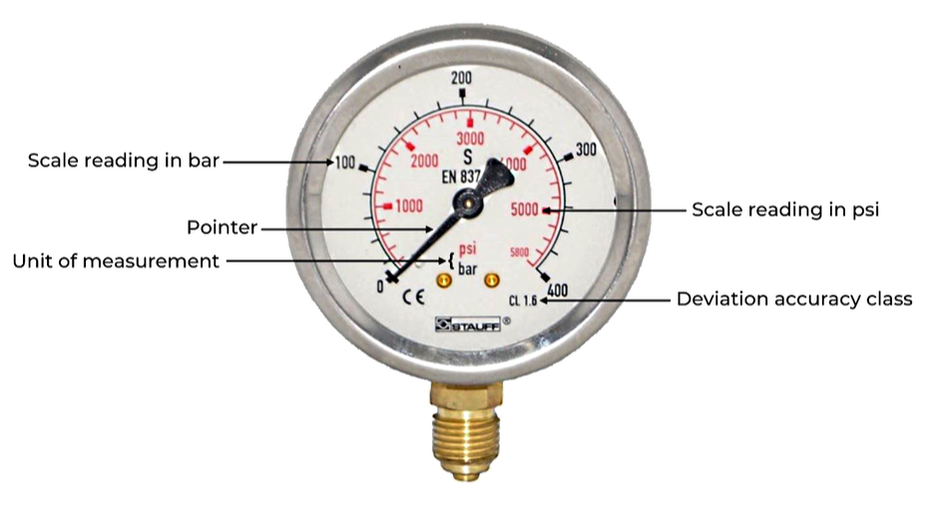
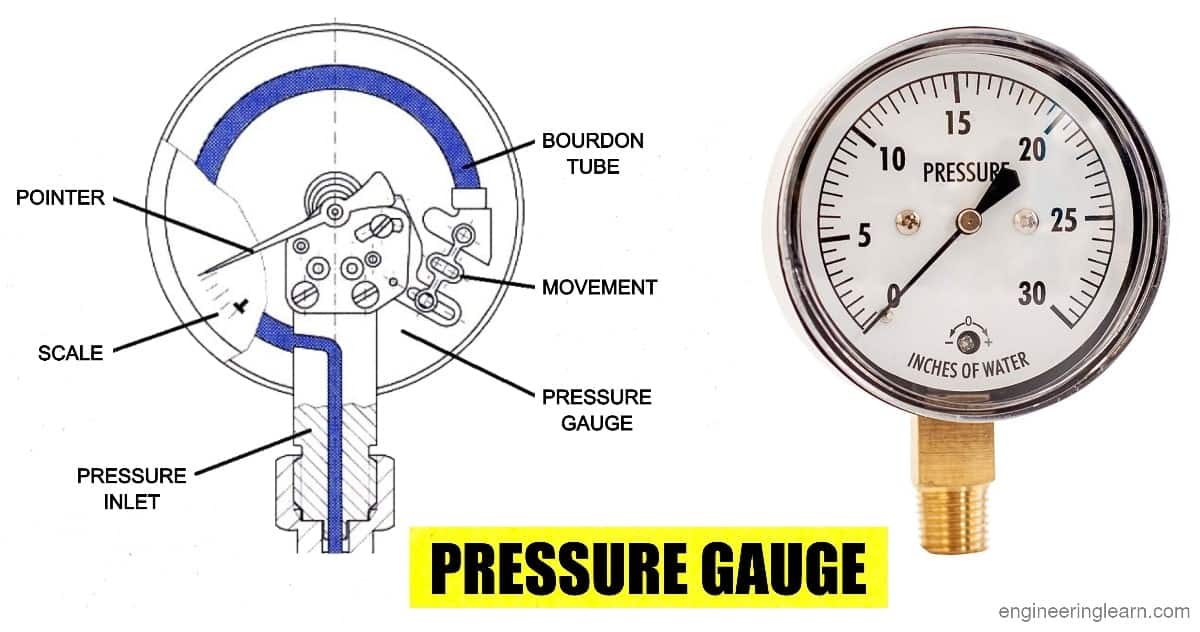
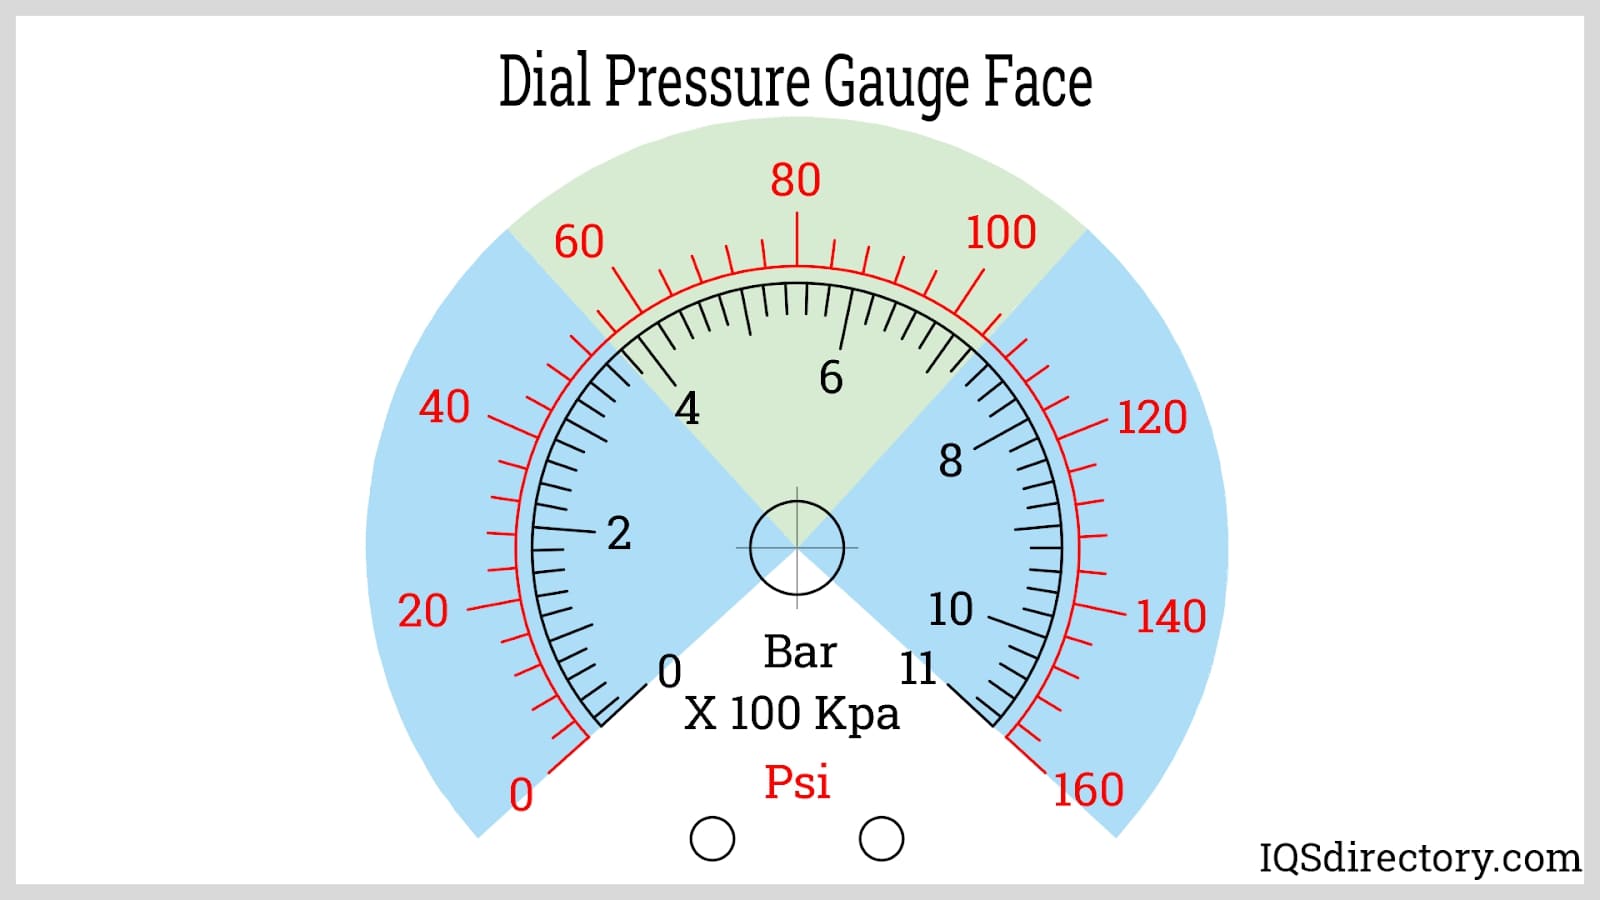
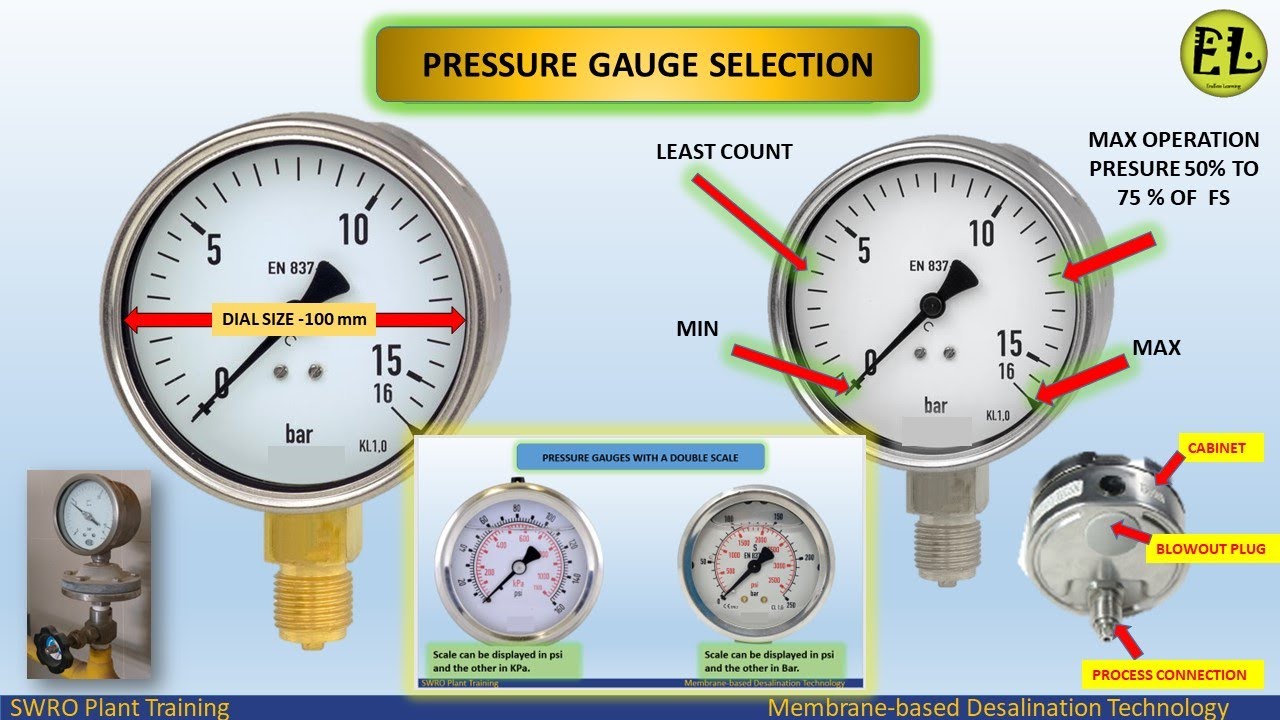
Before diving into how to read the gauge, it's essential to understand what it measures and the types of gauges used in HVAC systems. Primarily, we're concerned with pressure gauges that measure the pressure of the refrigerant circulating within the system.
Types of Pressure Gauges
There are a few main types you might encounter:
- Analog Manifold Gauges: These are the most common type for HVAC work. They feature two gauges (high-pressure and low-pressure) connected to a manifold with hoses. Often color-coded red (high-pressure) and blue (low-pressure), they are often part of a manifold gauge set.
- Digital Manifold Gauges: Digital gauges offer a more precise reading and often include features like refrigerant type selection and temperature readings. They can be more expensive but offer greater accuracy.
- Single Pressure Gauges: These are simpler gauges used for specific applications, such as checking pressure at a particular point in the system.
What the Gauges Measure
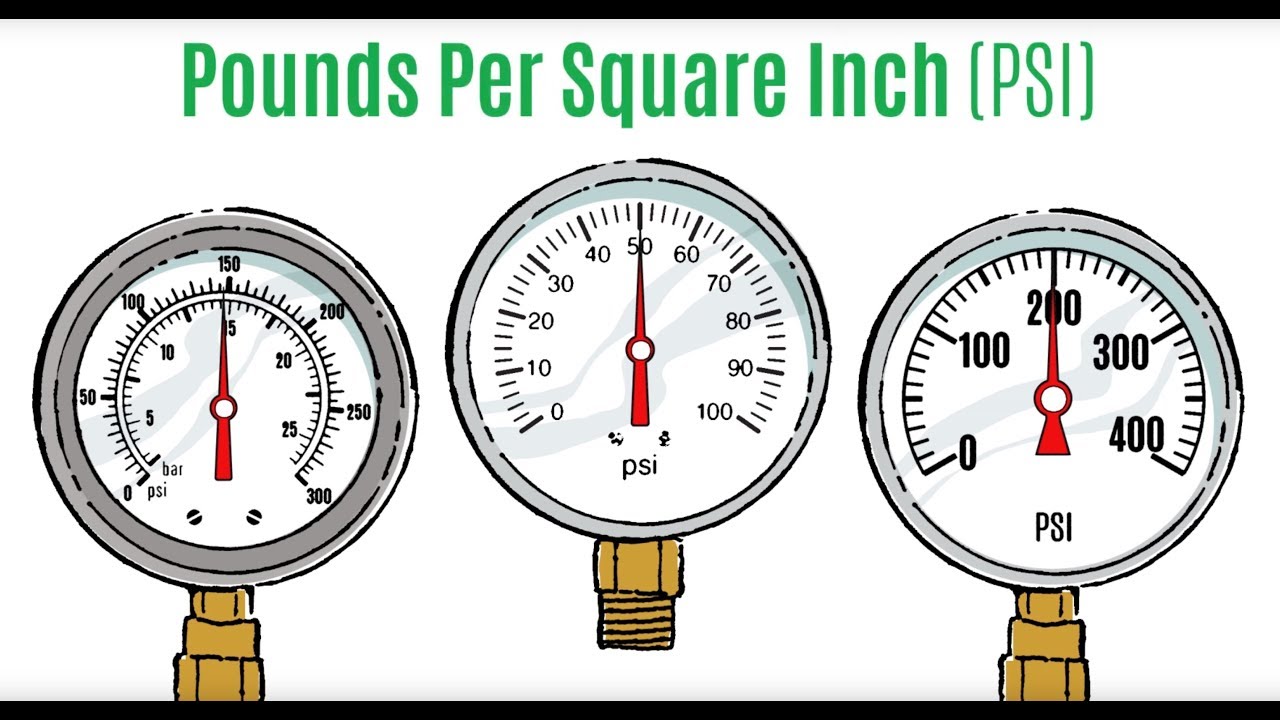
HVAC pressure gauges typically measure pressure in pounds per square inch (psi). Understanding the high-side and low-side pressures is vital for diagnosing issues. The readings indicate the condition of the refrigerant, the compressor's performance, and potential blockages or leaks within the system.
Essential Tools and Safety Precautions
Before you begin, gather the necessary tools and understand the safety precautions. Refrigerant can cause frostbite. Electricity can cause death.
Required Tools
- Manifold Gauge Set (Analog or Digital): Choose a set compatible with the type of refrigerant used in your system.
- Wrenches: For connecting and disconnecting hoses.
- Refrigerant Charging Hoses: Ensure they are in good condition and compatible with the refrigerant.
- Safety Glasses: Protect your eyes from refrigerant splashes.
- Gloves: Protect your hands from cold surfaces and potential refrigerant exposure.
- HVAC Multimeter (Optional): For checking electrical components, though not directly related to reading the gauges, it's a good tool to have on hand.
Safety First!
Working with HVAC systems can be dangerous. Always prioritize safety. Here are some crucial precautions:
- Turn off the Power: Before working on any electrical components, disconnect the power to the HVAC unit at the breaker.
- Wear Safety Gear: Always wear safety glasses and gloves.
- Work in a Well-Ventilated Area: Refrigerant can displace oxygen, so ensure good ventilation.
- Never Over-Pressurize the System: Follow the manufacturer's pressure specifications.
- If Unsure, Call a Professional: If you're not comfortable with any step, or if you encounter a complex problem, contact a qualified HVAC technician.
Step-by-Step Guide to Reading a Pressure Gauge
Follow these steps to accurately read the pressure gauges on your HVAC system:
- Connect the Manifold Gauge Set:
- Locate the service ports on your HVAC unit. These are usually capped and labeled.
- Connect the blue hose (low-pressure) to the low-side service port.
- Connect the red hose (high-pressure) to the high-side service port.
- The yellow hose (center port on the manifold) is typically used for charging or evacuating the system and isn't directly involved in simply reading the pressures.
- Purge the Hoses:
- Slightly loosen one of the hose connections at the service port.
- Allow a small amount of refrigerant to escape, purging any air from the hose.
- Tighten the connection.
- Repeat for the other hose. This step is crucial for accurate readings.
- Start the HVAC System:
- Turn on the HVAC system and allow it to run for at least 15 minutes to stabilize.
- Read the Gauges:
- Observe the pressure readings on both the high-pressure and low-pressure gauges.
- Note the ambient temperature.
- Interpret the Readings:
- Compare the readings to the pressure/temperature (PT) chart for your specific refrigerant type. This chart correlates pressure with temperature and will tell you the proper operating pressure based on ambient temperature. The correct pressure readings will depend on the refrigerant, but knowing the temperature outside and using the PT chart will tell you if the pressures are correct.
- Disconnect the Gauges:
- Turn off the HVAC system.
- Carefully disconnect the hoses from the service ports, being mindful of any remaining refrigerant in the hoses.
- Replace the caps on the service ports.
Interpreting Pressure Readings: Common Issues
Understanding the pressure readings is key to diagnosing HVAC problems. Here are some common issues and their associated pressure readings:
- Low Refrigerant:
- Symptoms: Low cooling performance, ice on the evaporator coil.
- Gauge Readings: Both high-side and low-side pressures are lower than normal.
- Overcharged Refrigerant:
- Symptoms: Reduced cooling efficiency, potential compressor damage.
- Gauge Readings: Both high-side and low-side pressures are higher than normal.
- Compressor Issues:
- Symptoms: No cooling, unusual noises from the compressor.
- Gauge Readings: Varied readings depending on the specific compressor issue. Could include low suction and low discharge or no change when the compressor is turned on.
- Restricted Airflow:
- Symptoms: Poor cooling, frozen evaporator coil.
- Gauge Readings: Low suction pressure, high discharge pressure.
- Dirty Condenser Coil:
- Symptoms: Reduced cooling efficiency.
- Gauge Readings: High head pressure, normal to low suction pressure.
Cost Considerations
Addressing HVAC issues can range from simple DIY fixes to expensive professional repairs. Understanding the potential costs can help you make informed decisions.
- Refrigerant Recharge: $150 - $600+ depending on the refrigerant type and amount needed.
- Compressor Replacement: $800 - $2500+ depending on the unit and labor.
- Leak Repair: $200 - $1000+ depending on the location and severity of the leak.
- DIY Fixes (e.g., cleaning coils, replacing air filters): $10 - $50.
These are rough estimates, and actual costs can vary depending on your location and the specific HVAC contractor.
When to Call a Professional
While reading a pressure gauge can help you diagnose issues, some repairs are best left to the professionals. Consider calling an HVAC technician in the following situations:
- You suspect a refrigerant leak: Handling refrigerants requires specialized equipment and training.
- The compressor is malfunctioning: Compressor repairs are complex and often require specialized tools and knowledge.
- You are uncomfortable working with electricity or refrigerants: Safety should always be your top priority.
- You are unsure about the correct pressure readings or how to proceed with the repair: A qualified technician can accurately diagnose the problem and recommend the best course of action.
- If you are dealing with a warranty issue. Some repairs can void the warranty.
Final Thoughts
Knowing how to read a pressure gauge is a valuable tool for understanding your HVAC system's performance. However, it's important to balance DIY efforts with a healthy dose of caution. By following safety precautions and knowing when to call a professional, you can keep your HVAC system running efficiently and avoid costly repairs in the long run. Remember that HVAC systems are complex and contain dangerous chemicals. If you are not comfortable with any part of the process, contact a qualified HVAC technician.