How To Remove A Carbon Monoxide Detector

Carbon monoxide (CO) detectors are life-saving devices, crucial for alerting occupants to the presence of this odorless, colorless, and deadly gas. While these detectors are designed to be reliable, there are circumstances where temporary removal is necessary. This article provides a comprehensive guide on how to safely remove a CO detector, covering various detector types, power sources, and essential safety precautions.
Understanding Carbon Monoxide Detectors
Before delving into the removal process, it's important to understand the types of CO detectors commonly found in homes and commercial buildings. These detectors primarily differ based on their power source:
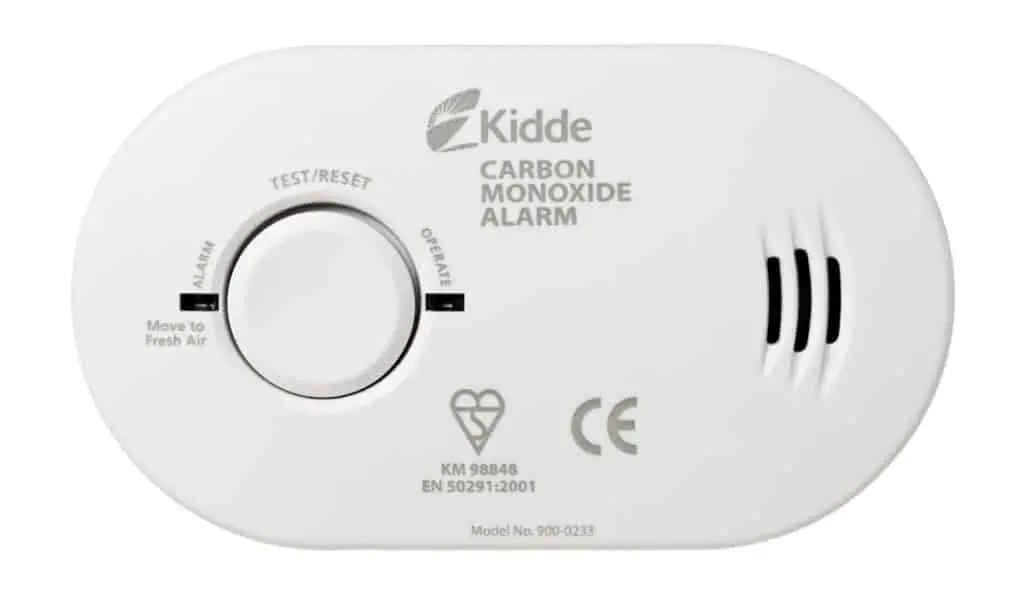
- Battery-powered Detectors: These are the most common type for residential use. They rely solely on batteries (typically AA or 9V) for power.
- Hardwired Detectors: These detectors are connected directly to your home's electrical system. They usually have a battery backup in case of a power outage.
- Plug-in Detectors: These devices plug directly into an electrical outlet. Many also include a battery backup.
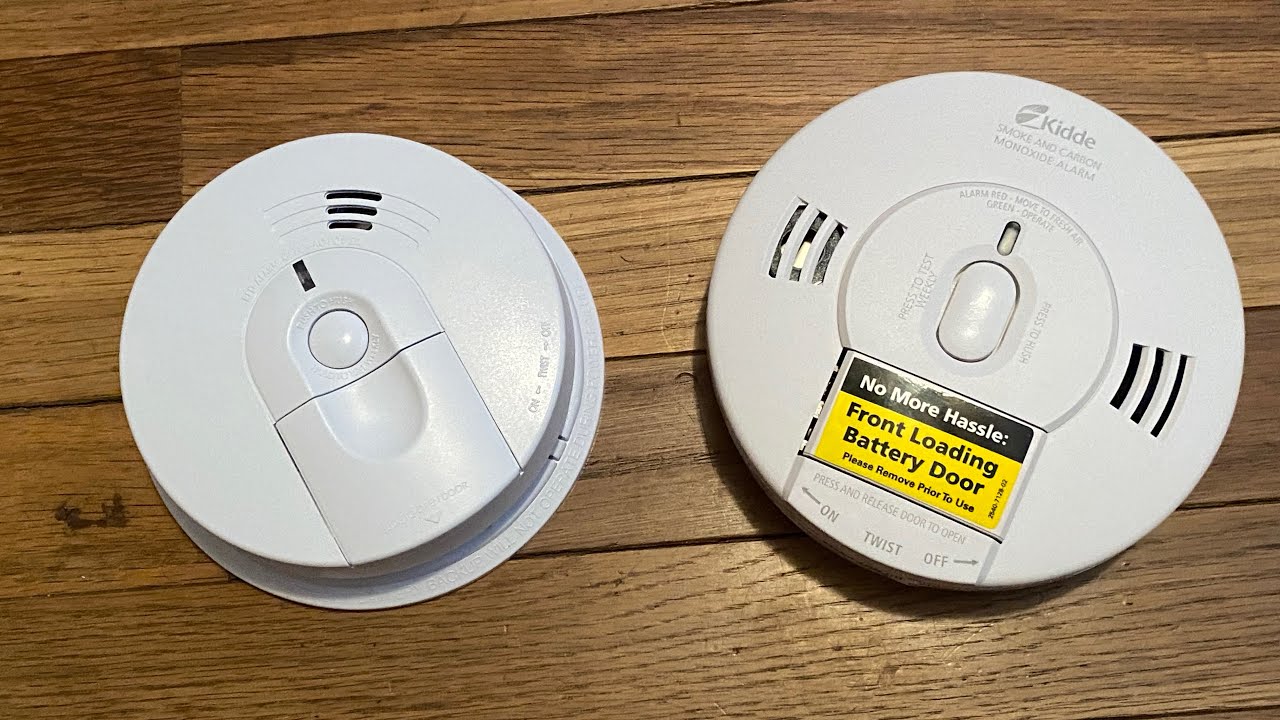
- Combination Smoke/CO Detectors: These devices combine both smoke and carbon monoxide detection capabilities. They can be battery-powered, hardwired, or plug-in.
Safety First: Prioritize Ventilation
Regardless of the reason for removing the CO detector, prioritizing ventilation is paramount. Open windows and doors to allow fresh air to circulate throughout the space. This is especially crucial if you suspect a CO leak. If anyone experiences symptoms of CO poisoning (headache, dizziness, nausea, shortness of breath), immediately evacuate the premises and call emergency services.
Removing a Battery-Powered Carbon Monoxide Detector
Battery-powered detectors are the easiest to remove. Follow these steps:
- Locate the Detector: Identify the detector you wish to remove.
- Twist and Remove (if applicable): Some detectors are mounted with a twist-and-lock mechanism. Gently twist the detector counterclockwise to detach it from the mounting bracket.
- Detach from Mounting Bracket: If there is no twist-and-lock mechanism, the detector is likely attached to a mounting bracket. Carefully detach it.
- Remove the Batteries: Open the battery compartment (usually on the back or side of the detector) and remove the batteries.
- Silence Alarms (if necessary): Some detectors may continue to chirp or alarm briefly after battery removal. Refer to the manufacturer's instructions to silence the alarm.
Removing a Hardwired Carbon Monoxide Detector
Removing a hardwired detector requires extra caution due to the electrical connection. Always turn off the power before proceeding. Failure to do so could result in electric shock.
- Turn Off the Power: Locate the circuit breaker that controls the CO detector. Turn the breaker to the "OFF" position. Double-check that the power is off using a non-contact voltage tester.
- Locate the Detector: Identify the detector you wish to remove.
- Twist and Remove (if applicable): Some detectors are mounted with a twist-and-lock mechanism. Gently twist the detector counterclockwise to detach it from the mounting bracket.
- Detach from Mounting Bracket: If there is no twist-and-lock mechanism, the detector is likely attached to a mounting bracket. Carefully detach it.
- Disconnect the Wiring: Carefully disconnect the wires connecting the detector to the electrical system. Typically, there will be three wires: black (hot), white (neutral), and green or bare copper (ground). Use wire connectors to safely cap off the exposed wires. This is a critical step to prevent electrical hazards.
- Remove the Battery Backup (if applicable): Open the battery compartment and remove the battery.
Important Note for HVAC Technicians: When replacing a hardwired CO detector as part of an HVAC system installation or maintenance, ensure the new detector meets current code requirements and is properly wired. Use appropriate wiring methods and connectors as specified by the manufacturer and local regulations.
Removing a Plug-in Carbon Monoxide Detector
Plug-in detectors are relatively simple to remove:
- Unplug the Detector: Simply unplug the detector from the electrical outlet.
- Remove the Battery Backup (if applicable): Open the battery compartment and remove the battery.
Reasons for Temporary Removal and Important Considerations
There are several legitimate reasons why you might need to temporarily remove a CO detector:
- Construction or Remodeling: Dust and debris from construction can trigger false alarms.
- Painting: Fumes from paint can also cause false alarms.
- Cleaning: Certain cleaning products may trigger false alarms.
- Replacing the Detector: When the detector reaches the end of its lifespan (typically 5-10 years), it needs to be replaced.
Important Considerations:
- Never permanently disable or remove a CO detector. These devices are essential for safety.
- If you suspect a CO leak, do not attempt to remove the detector yourself. Evacuate the premises and call emergency services.
- Always replace the CO detector as soon as possible after completing the temporary removal task.
- Test the detector after re-installation to ensure it is working properly. Press the test button to verify the alarm sounds.
- Refer to the manufacturer's instructions for specific removal and testing procedures.
Choosing the Right Carbon Monoxide Detector
When selecting a CO detector, consider the following factors:
- Type: Choose the type that best suits your needs (battery-powered, hardwired, plug-in, or combination).
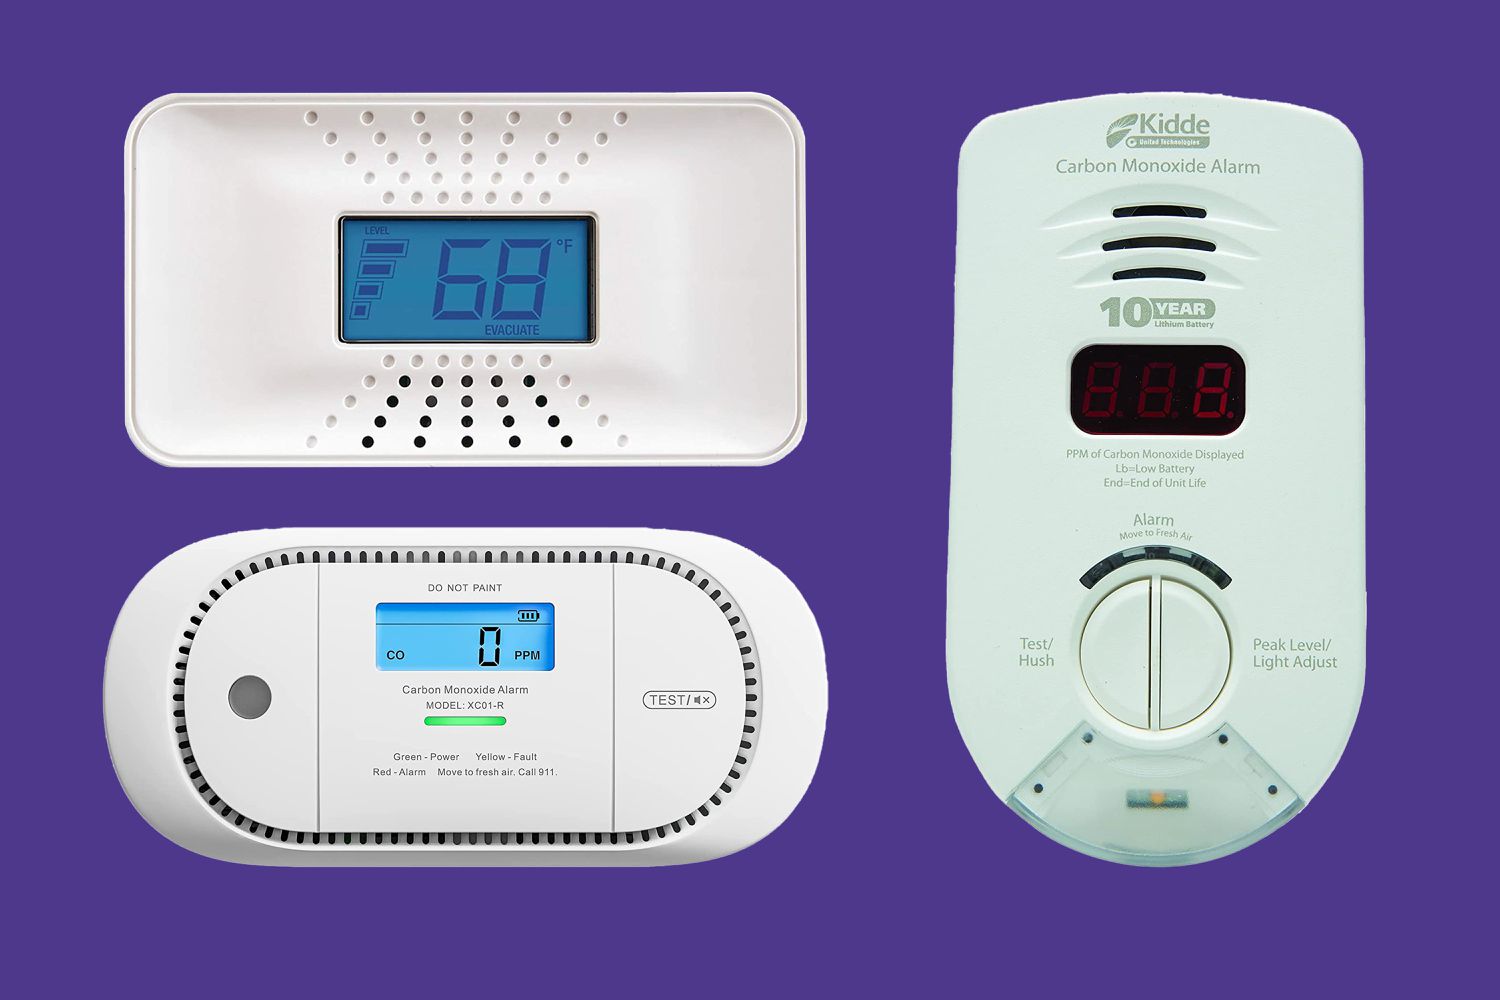
- Features: Look for features such as digital displays, voice alerts, and interconnectivity (linking multiple detectors together).
- Compliance: Ensure the detector meets current safety standards and is certified by a recognized testing laboratory (e.g., UL, CSA).
- Lifespan: Check the manufacturer's recommended lifespan for the detector. Most detectors need to be replaced every 5-10 years.
Cost Comparison:
The cost of CO detectors varies depending on the type, features, and brand.
- Battery-powered Detectors: Typically range from $15 to $50.
- Hardwired Detectors: Generally cost between $30 and $75.
- Plug-in Detectors: Similar in price to battery-powered detectors, ranging from $15 to $50.
- Combination Smoke/CO Detectors: Can range from $30 to $100 or more, depending on features and brand.
Professional Installation:
While battery-powered and plug-in detectors are easy to install yourself, hardwired detectors often require professional installation. Hiring a qualified electrician or HVAC technician ensures the detector is properly wired and meets local code requirements.
HVAC System Integration:
Modern HVAC systems often integrate with smart home technology, including CO detection. Some systems can automatically shut down the furnace or other fuel-burning appliances if CO is detected, providing an extra layer of safety. These integrated systems often require professional installation and maintenance.
Example: A homeowner upgrading their furnace to a high-efficiency model might also consider installing a smart thermostat that integrates with a combination smoke/CO detector. This allows for remote monitoring and control, as well as automatic alerts in case of a CO leak. The cost of such a system can range from $500 to $1500, including installation, but the added safety and convenience can be well worth the investment.
Maintaining Your Carbon Monoxide Detector
Regular maintenance is essential to ensure your CO detector is functioning properly:
- Test the Detector Regularly: Press the test button at least once a month to verify the alarm sounds.
- Replace Batteries Annually: Even if the detector doesn't indicate a low battery, replace the batteries annually (or as recommended by the manufacturer).
- Keep the Detector Clean: Dust or vacuum the detector regularly to prevent buildup that could interfere with its operation.
- Replace the Detector Every 5-10 Years: CO detectors have a limited lifespan. Replace them as recommended by the manufacturer, even if they appear to be working properly.
By following these guidelines, you can safely remove and maintain your carbon monoxide detector, ensuring the safety and well-being of yourself and your loved ones.


