How To Remove Green Corrosion From Copper Pipes
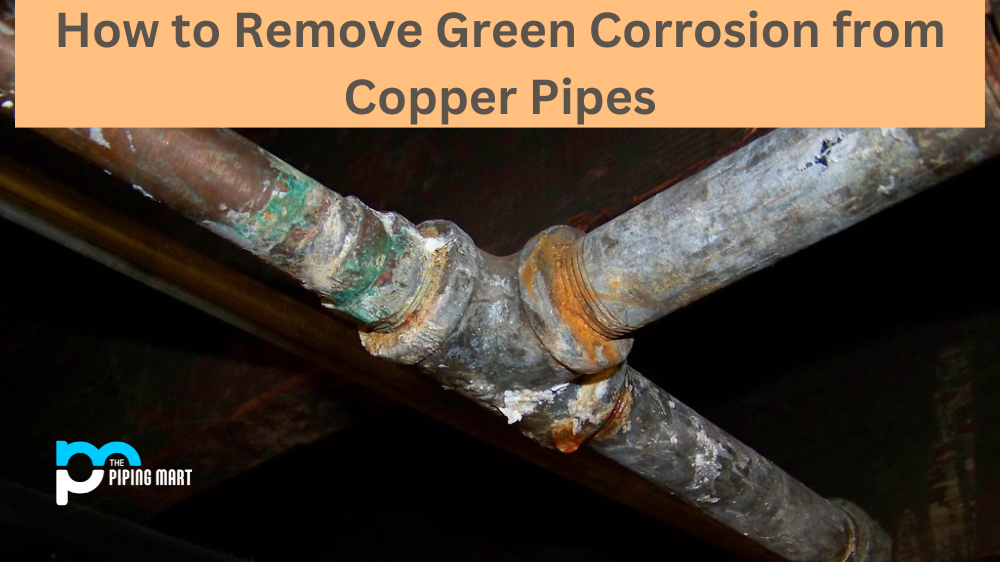
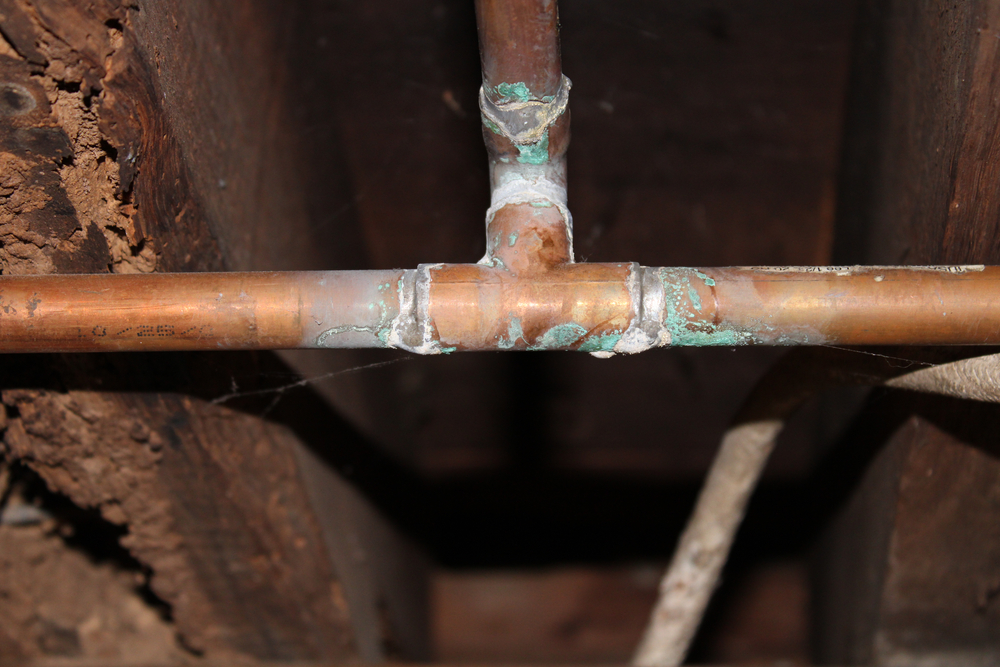
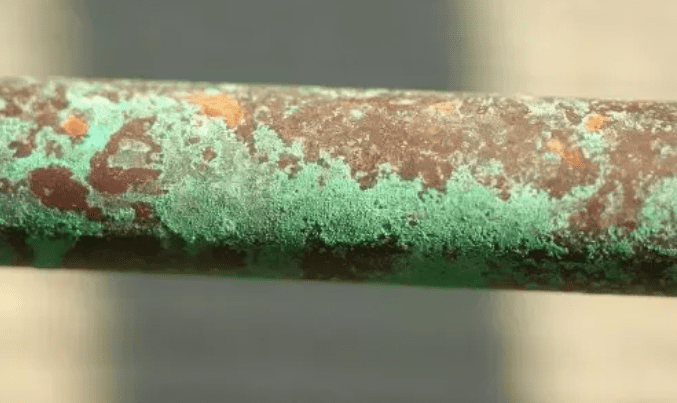
Green corrosion on copper pipes, often referred to as patina or verdigris, is a common sight in plumbing and HVAC systems. While a thin layer can be protective, excessive buildup indicates an underlying issue that, if left unaddressed, can lead to leaks, reduced system efficiency, and costly repairs. This article outlines the steps for safely and effectively removing green corrosion from copper pipes, catering to both homeowners undertaking DIY projects and HVAC professionals.
Understanding the Cause and Identifying the Severity
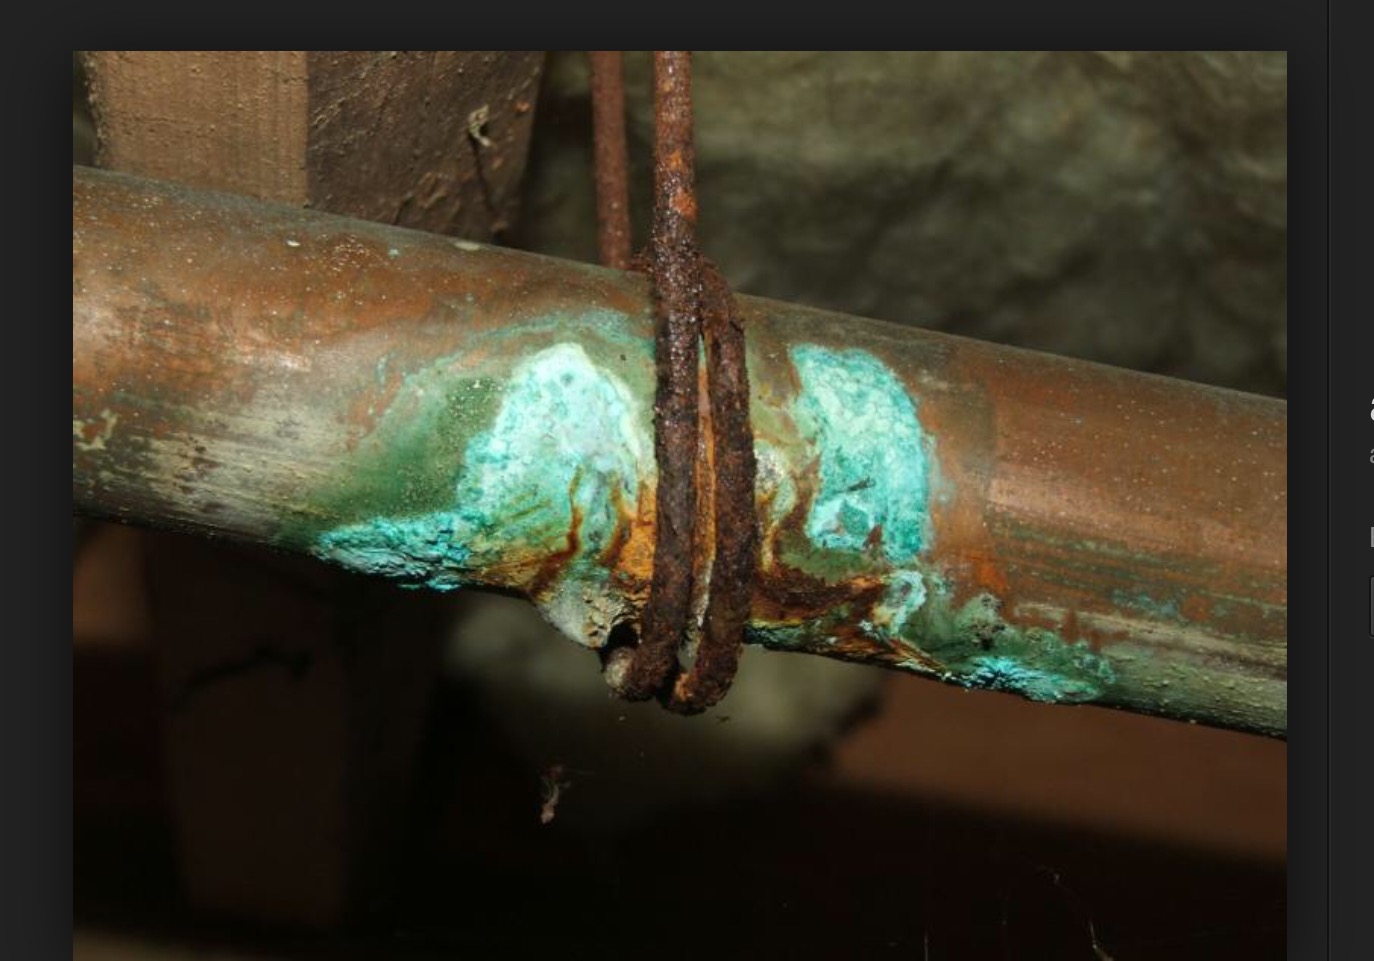
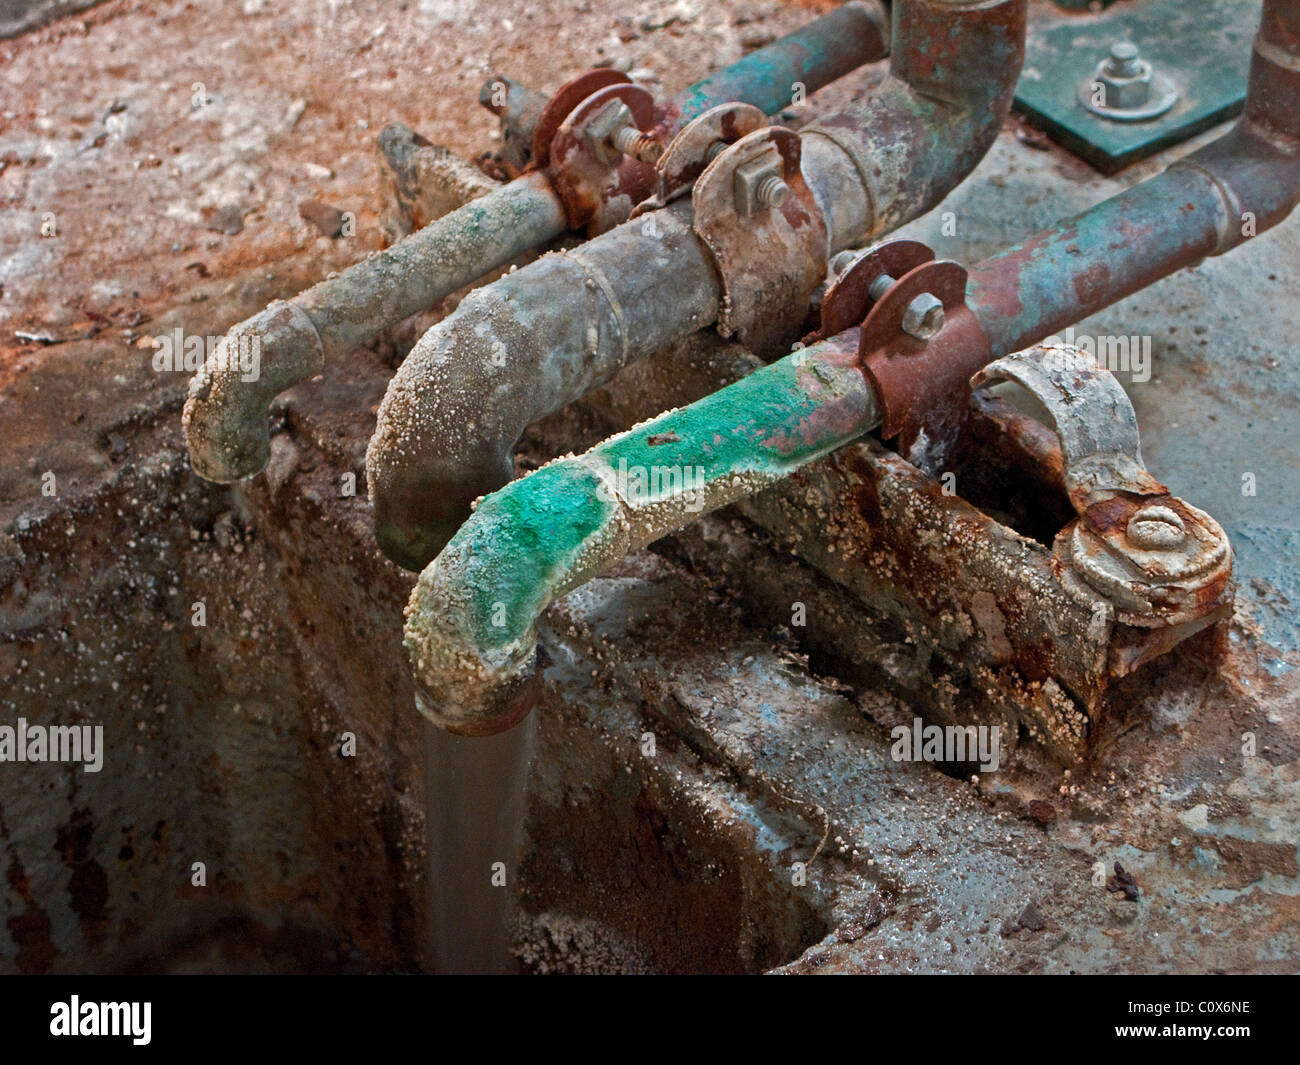
Before diving into the cleaning process, it's crucial to understand why green corrosion forms. Copper reacts with oxygen, moisture, and certain chemicals (like chlorides and sulfides) in the environment, forming copper oxides, sulfates, and chlorides – the green corrosion we see. High humidity, condensation, and exposure to cleaning products or salt air accelerate this process. The severity of the corrosion dictates the cleaning method. A light green dusting is easily removed, while thick, scaly buildup requires more aggressive techniques. Look for pitting or thinning of the copper pipe, as these indicate significant damage and may necessitate pipe replacement by a qualified HVAC technician.
Safety Precautions: Protecting Yourself and Your System
Safety should always be paramount when working with plumbing and cleaning agents. Before starting any cleaning procedure:
- Wear appropriate personal protective equipment (PPE): This includes gloves (chemical-resistant, such as nitrile or neoprene), eye protection (safety glasses or goggles), and a respirator if using chemical cleaners that produce fumes.
- Turn off the water supply: Shut off the water supply to the affected pipe section to prevent leaks during the cleaning process. For hot water pipes, allow the pipe to cool completely before starting.
- Ventilate the area: Ensure adequate ventilation, especially when using chemical cleaners. Open windows and doors to allow fresh air circulation.
- Protect surrounding surfaces: Cover nearby surfaces with plastic sheeting or drop cloths to prevent accidental damage from cleaning solutions or abrasives.
Method 1: Mechanical Cleaning (For Light Corrosion)
For light green corrosion, mechanical cleaning is often sufficient and avoids the use of harsh chemicals.
Tools and Materials:
- Abrasive pads (e.g., Scotch-Brite pads or fine steel wool)
- Emery cloth (for more stubborn areas)
- Wire brush (for tight spaces and fittings)
- Clean cloths or rags
- Water (optional)
Procedure:
- Dry wipe: Begin by wiping the copper pipe with a dry cloth to remove loose debris and dirt.
- Abrasive cleaning: Using the abrasive pad, gently scrub the affected area. Apply consistent pressure and work in the direction of the pipe. Avoid excessive force, which can scratch the copper.
- Emery cloth (if needed): For areas with more stubborn corrosion, switch to emery cloth. Use a back-and-forth motion, ensuring you don't thin the pipe wall.
- Wire brush (for fittings): Use a wire brush to clean corrosion from tight spaces, such as pipe fittings and joints.
- Clean and inspect: Wipe the pipe with a clean cloth to remove any remaining residue. Inspect the area to ensure all corrosion has been removed. If necessary, repeat the process.
- Optional water rinse: A light water rinse can help remove any remaining abrasive particles. Be sure to dry the pipe thoroughly afterward.
Method 2: Chemical Cleaning (For Moderate to Heavy Corrosion)
When mechanical cleaning proves insufficient, chemical cleaners can effectively remove more stubborn corrosion. However, caution is advised, and proper safety precautions are essential.
Choosing a Chemical Cleaner:
Several commercial copper cleaners are available, specifically formulated to remove corrosion without damaging the pipe. Alternatively, a DIY solution can be made using common household ingredients. Popular options include:
- Commercial copper cleaners: Follow the manufacturer's instructions carefully. These cleaners often contain mild acids or chelating agents. Examples include those based on sulfamic acid or citric acid.
- Vinegar and salt: Mix equal parts white vinegar and salt to create a mild acidic paste.
- Lemon juice and salt: Similar to vinegar, lemon juice can be used as a natural acid. Mix with salt to form a paste.
- Baking soda and water: Create a paste of baking soda and water. This is a gentler abrasive cleaner suitable for less severe corrosion.
Procedure:
- Apply the cleaner: Apply the chosen cleaner to the affected area using a brush or cloth. Ensure the cleaner covers all corroded surfaces.
- Dwell time: Allow the cleaner to dwell for the recommended time (refer to the product label for commercial cleaners, or 10-15 minutes for DIY solutions). This allows the cleaner to break down the corrosion.
- Scrub gently: After the dwell time, gently scrub the area with a brush or abrasive pad. Avoid excessive force, as this can damage the copper.
- Rinse thoroughly: Rinse the pipe thoroughly with clean water to remove all traces of the cleaner. Ensure no residue remains, as this can promote further corrosion.
- Dry completely: Dry the pipe completely with a clean cloth. Leaving the pipe wet can lead to re-corrosion.
Method 3: Electrolytic Cleaning (For Severe Corrosion - Professional Only)
For extremely severe corrosion, particularly in complex piping systems, electrolytic cleaning might be necessary. This method uses an electric current to remove corrosion. This method should **only** be performed by a qualified and experienced HVAC professional. It involves setting up an electrolytic cell with the corroded pipe acting as one electrode and a sacrificial metal (like stainless steel) as the other, submerged in an electrolyte solution. A DC current is passed through the cell, causing the corrosion to dissolve and deposit onto the sacrificial electrode. The complexity and potential hazards of this method make it unsuitable for DIY projects.
Preventing Future Corrosion
Once the corrosion has been removed, taking steps to prevent its recurrence is crucial. Consider the following:
- Address the source of moisture: Identify and repair any leaks or sources of condensation that contribute to corrosion. This might involve fixing dripping faucets, insulating cold water pipes, or improving ventilation in damp areas.
- Avoid chemical exposure: Be mindful of cleaning products or chemicals that may come into contact with copper pipes. Avoid using harsh chemicals near copper pipes, and ensure adequate ventilation when using cleaning products.
- Install a water softener: Hard water can accelerate corrosion. Consider installing a water softener to reduce mineral content.
- Regular inspection: Regularly inspect copper pipes for signs of corrosion. Early detection allows for prompt treatment and prevents severe damage. Annual HVAC system checkups are recommended.
- Dielectric Unions: When connecting copper pipes to dissimilar metals (like steel), use dielectric unions. These fittings prevent galvanic corrosion, which occurs when dissimilar metals are in contact in the presence of an electrolyte (water).
Cost Considerations
The cost of removing green corrosion from copper pipes varies depending on the method used, the severity of the corrosion, and whether you hire a professional. Mechanical cleaning is the most cost-effective option, requiring only basic tools and materials. Chemical cleaning involves the cost of the cleaner, which can range from a few dollars for DIY solutions to $20-$50 for commercial products. Hiring a qualified HVAC technician for electrolytic cleaning or pipe replacement can range from $100 to several hundred dollars, depending on the complexity of the job. Early detection and prevention are always the most cost-effective strategies. A small investment in preventative measures can save significant expenses on repairs or replacements down the line. For example, insulating pipes, a relatively inexpensive task, can prevent condensation and subsequent corrosion.
Conclusion
Removing green corrosion from copper pipes is an essential part of maintaining a healthy and efficient plumbing or HVAC system. By understanding the causes of corrosion, implementing appropriate cleaning techniques, and taking preventative measures, homeowners and professionals alike can ensure the longevity and reliability of their copper piping. Remember that safety should always be a top priority, and for complex or severe corrosion, consulting with a qualified HVAC technician is highly recommended.