How To Remove Water Line From Refrigerator Door
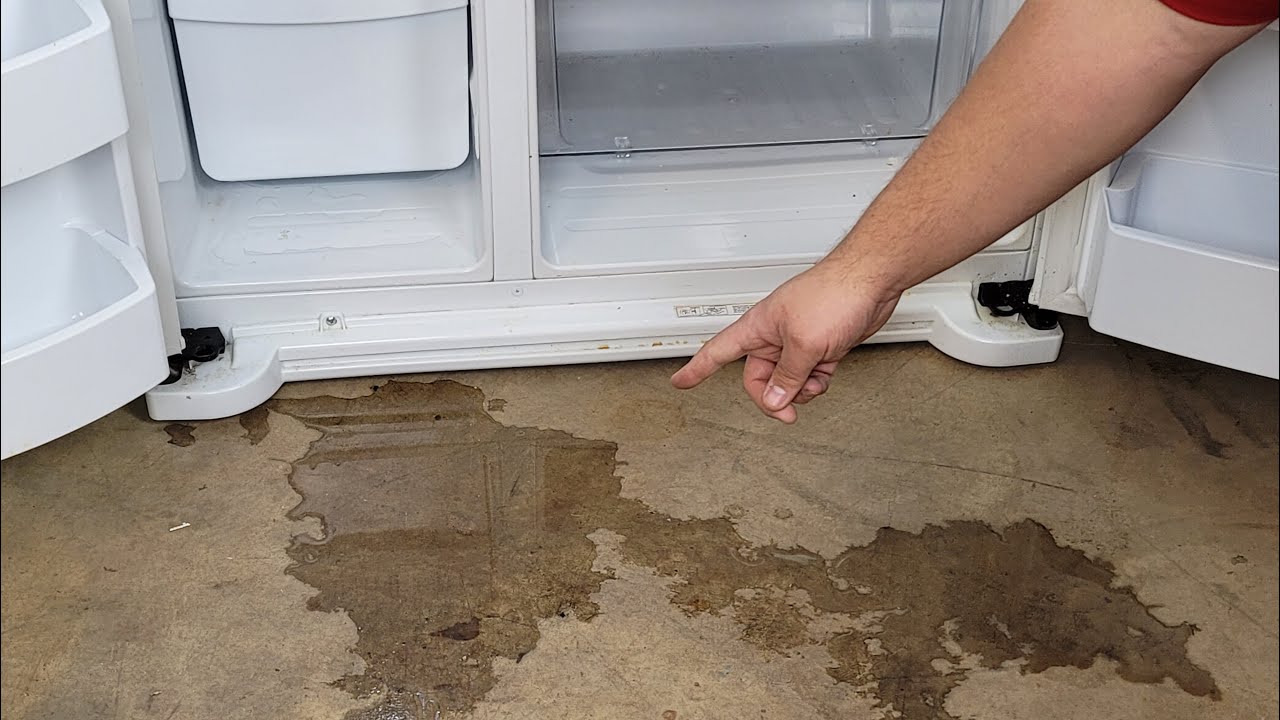
Refrigerators are essential appliances, and a malfunctioning ice maker or water dispenser can be a major inconvenience. Often, the issue stems from the water line connected to the refrigerator door. This article will guide you through safely removing the water line from your refrigerator door for troubleshooting or replacement purposes. Remember to prioritize safety and know when to call a professional.
Common Causes & Initial Checks
Before diving into water line removal, let's identify potential culprits for your refrigerator's water woes. Ruling out simple fixes first can save time and effort.
- Frozen Water Line: This is a common issue, especially during colder months. Check for ice buildup in the line itself.
- Kinked Water Line: A bent or kinked line restricts water flow. Examine the line from the water source to the refrigerator.
- Faulty Water Filter: A clogged filter can drastically reduce water pressure.
- Malfunctioning Water Inlet Valve: This valve controls the water flow to the dispenser and ice maker. A faulty valve might not open or close properly.
- Dispenser Switch Problems: The switch that activates the water dispenser could be faulty.
Preliminary Steps
Before you even think about tools, take these vital steps:
- Safety First! Always disconnect the refrigerator from its power source. Unplug it from the wall outlet. This prevents electrical shock during the process.
- Shut Off the Water Supply: Locate the shut-off valve for the refrigerator's water line. This is usually under the sink or in the basement. Turn it off completely to prevent water from flooding your kitchen.
- Gather Your Tools: You'll likely need the following:
- Adjustable wrench or pliers
- Screwdriver (Phillips head and/or flathead, depending on your refrigerator model)
- Towels or a bucket to catch any spilled water
- Gloves for grip and hygiene
- Consult Your Refrigerator's Manual: Your refrigerator's manual provides specific instructions and diagrams for your model. This is invaluable.
Step-by-Step Guide: Removing the Water Line
Now, let's proceed with safely removing the water line from the refrigerator door. Note that specific connection types can vary, so carefully observe how the line is attached before you start disconnecting anything.
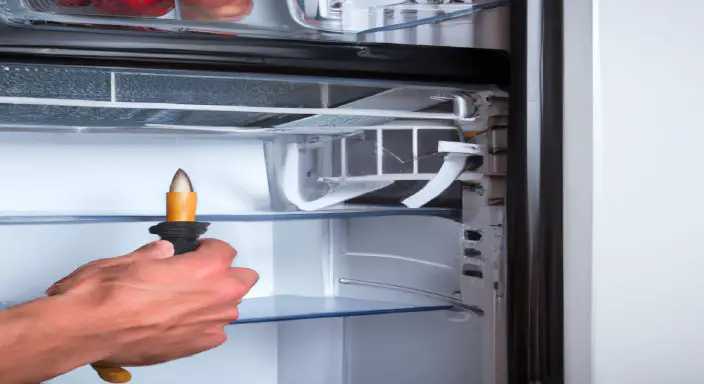
Step 1: Accessing the Water Line Connection
The water line connection to the refrigerator door is usually located at the bottom of the door, inside the refrigerator compartment, or sometimes on the back of the refrigerator. You might need to remove a panel or cover to access it.
- Locate the Access Panel: Check the bottom of the refrigerator door, the back of the refrigerator, or inside the refrigerator compartment near the door hinge. Refer to your refrigerator's manual for the exact location.
- Remove the Panel: Use a screwdriver to remove any screws securing the access panel. Carefully detach the panel, noting how it's attached.
Step 2: Identifying the Water Line Connection Type
There are several common types of water line connections:
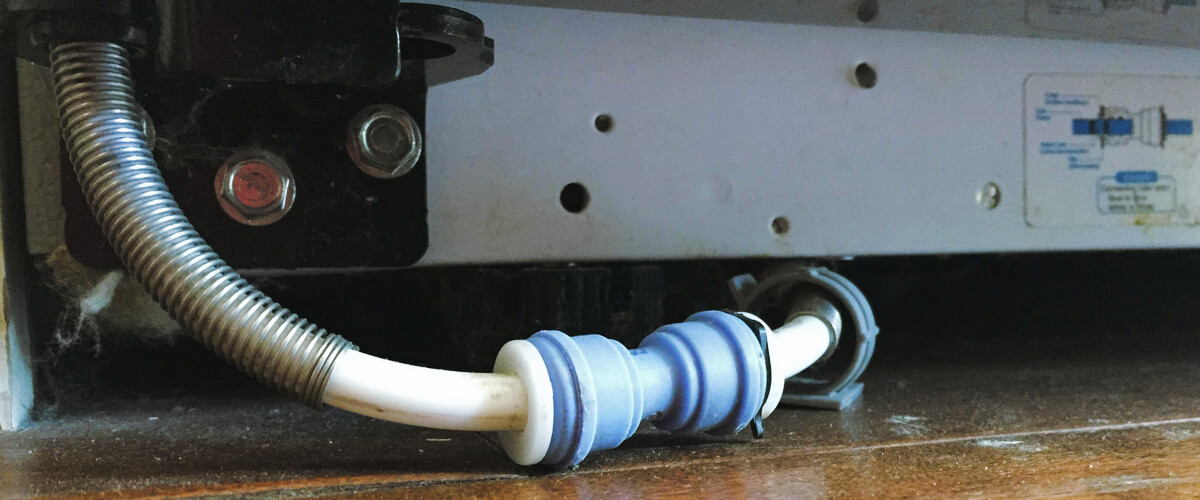
- Compression Fittings: These fittings use a compression nut and ferrule (a small ring) to create a watertight seal.
- Push-to-Connect Fittings: These fittings allow you to simply push the water line into the fitting to connect it. To disconnect, you usually need to push in a release collar.
- Threaded Fittings: These are standard threaded connections, similar to those found on plumbing fixtures.
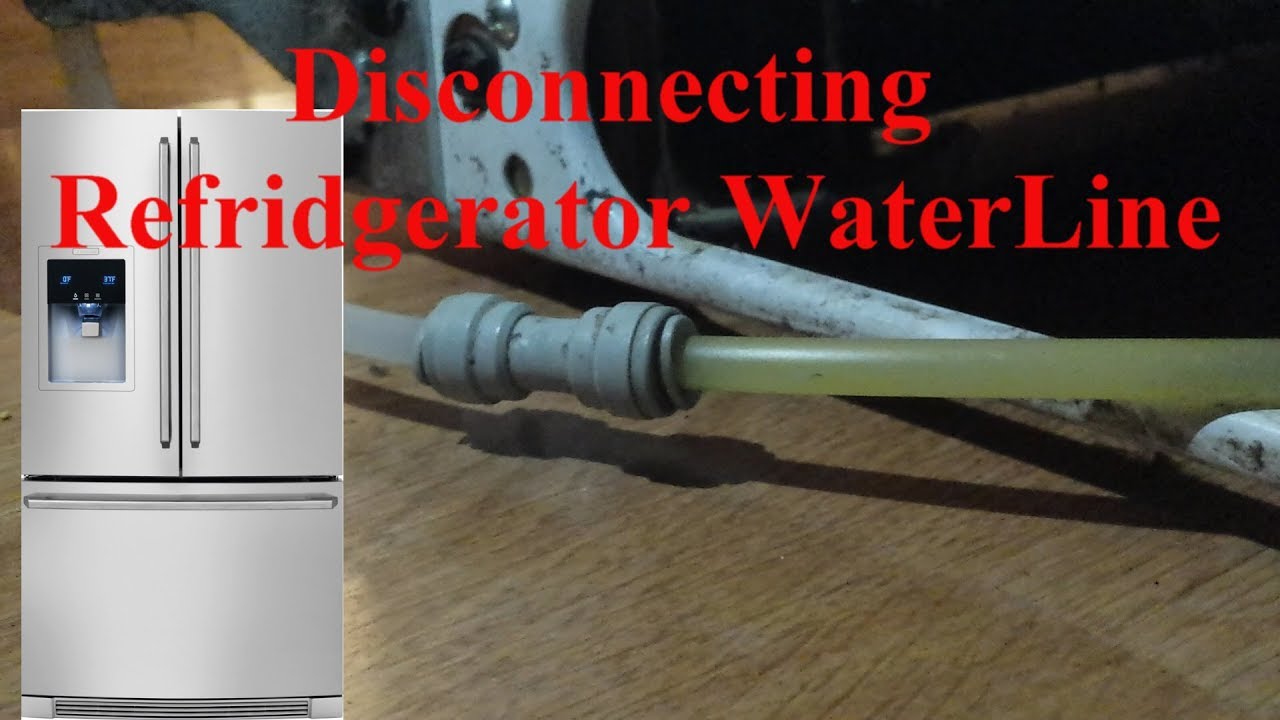
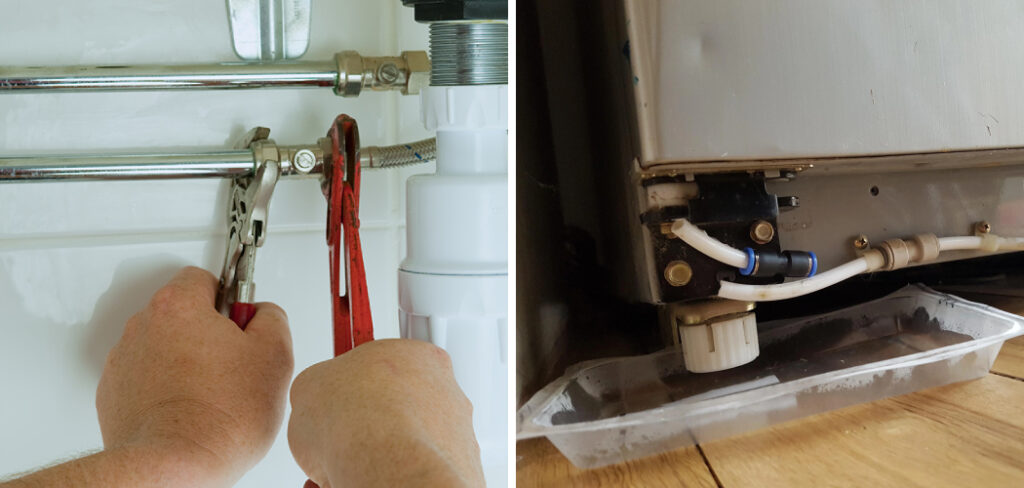
Step 3: Disconnecting the Water Line
The disconnection process depends on the type of fitting used.
A. Compression Fittings:
- Loosen the Compression Nut: Use an adjustable wrench or pliers to carefully loosen the compression nut. Turn it counterclockwise.
- Hold the Water Line: While loosening the nut, hold the water line to prevent it from twisting or bending.
- Pull the Water Line Free: Once the nut is loose enough, gently pull the water line out of the fitting. Be prepared for a small amount of water to spill. Use a towel to absorb any spills.
- Inspect the Ferrule: Check the ferrule for damage or deformation. If it's damaged, it should be replaced when you reconnect the water line.
B. Push-to-Connect Fittings:
- Locate the Release Collar: Find the release collar on the fitting. It's usually a colored ring or a small plastic piece.
- Push and Hold the Release Collar: Use your fingers to push the release collar inwards towards the fitting. You might need to use a small tool, like a screwdriver, to help push the collar if it's stiff.
- Pull the Water Line Free: While holding the release collar, gently pull the water line out of the fitting.
C. Threaded Fittings:
- Use Two Wrenches: Use one wrench to hold the fitting on the refrigerator door and another wrench to loosen the water line connection. This prevents you from twisting or damaging the refrigerator's internal components.
- Loosen the Connection: Turn the wrench on the water line connection counterclockwise to loosen it.
- Unscrew and Disconnect: Once the connection is loose, carefully unscrew it by hand and disconnect the water line.
Step 4: Inspecting the Water Line
After disconnecting the water line, thoroughly inspect it for any signs of damage, kinks, or blockages.
- Check for Kinks: Look for any sharp bends or kinks in the water line. Kinks restrict water flow and can cause problems.
- Inspect for Cracks or Leaks: Check the water line for any cracks or signs of leaks. If you find any damage, replace the water line.
- Flush the Water Line: If possible, flush the water line with water to remove any debris or sediment.
Step 5: Reconnecting the Water Line (If Applicable)
If you're simply removing the water line to inspect it or clear a blockage, follow these steps to reconnect it. If you're replacing the water line, skip to the "Replacing the Water Line" section.
A. Compression Fittings:
- Insert the Water Line: Carefully insert the water line into the fitting as far as it will go.
- Tighten the Compression Nut: Tighten the compression nut clockwise until it's snug. Do not overtighten, as this can damage the fitting or the water line.
- Test for Leaks: Turn on the water supply and check for leaks around the compression fitting. If you see any leaks, slightly tighten the nut until the leak stops.
B. Push-to-Connect Fittings:
- Insert the Water Line: Push the water line firmly into the fitting until it clicks into place.
- Test the Connection: Gently pull on the water line to make sure it's securely connected.
- Test for Leaks: Turn on the water supply and check for leaks around the fitting. If you see any leaks, remove the water line and try reinserting it, ensuring it's fully seated.
C. Threaded Fittings:
- Apply Teflon Tape: Wrap Teflon tape around the threads of the water line connection to create a watertight seal.
- Hand-Tighten the Connection: Screw the water line connection onto the fitting by hand until it's snug.
- Tighten with Wrenches: Use two wrenches to tighten the connection, holding the fitting on the refrigerator door with one wrench and tightening the water line connection with the other. Do not overtighten.
- Test for Leaks: Turn on the water supply and check for leaks around the threaded connection. If you see any leaks, slightly tighten the connection until the leak stops.
Step 6: Reassembling and Testing
Once the water line is reconnected (or a new one is installed), reassemble the access panel and test the water dispenser and ice maker.
- Reattach the Access Panel: Replace the access panel and secure it with the screws you removed earlier.
- Turn on the Water Supply: Slowly turn the water supply valve back on.
- Restore Power: Plug the refrigerator back into the wall outlet.
- Test the Water Dispenser: Dispense water to check for proper flow and leaks.
- Test the Ice Maker: Allow the ice maker several hours to produce ice. Check for proper ice production and leaks.
Replacing the Water Line
If your water line is damaged or excessively kinked, replacing it is often the best solution. Purchase a new water line that is compatible with your refrigerator model. Ensure it's the correct length and has the appropriate fittings.
The replacement process is essentially the same as the removal and reconnection process described above. Just be sure to follow the instructions carefully and use the correct fittings.
When to Call a Professional
While many water line issues are simple to fix, some situations require the expertise of a qualified appliance repair technician:
- You're uncomfortable working with water lines or tools.
- You suspect a problem with the refrigerator's internal components, such as the water inlet valve or dispenser switch.
- You're dealing with a refrigerant leak. Refrigerant handling requires specialized equipment and training.
- The problem persists after you've tried the troubleshooting steps outlined above.
- Your refrigerator is still under warranty. Attempting repairs yourself might void the warranty.
Dealing with electricity and pressurized water lines can be hazardous. When in doubt, err on the side of caution and call a professional. They have the knowledge and tools to diagnose and repair complex refrigerator problems safely and effectively.
Preventative Maintenance
To prevent future water line problems, consider these preventative maintenance tips:
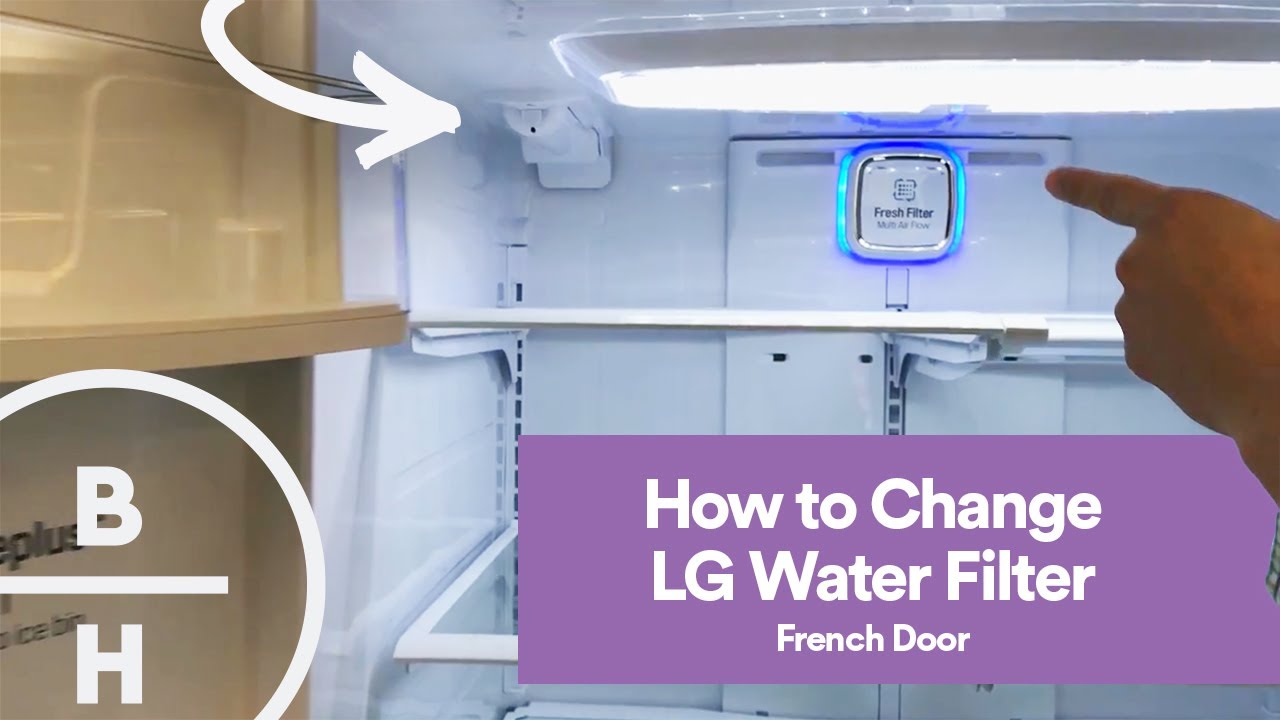
- Replace the Water Filter Regularly: Follow the manufacturer's recommendations for water filter replacement. A clogged filter can put stress on the water line and other components.
- Inspect the Water Line Periodically: Check the water line for kinks, cracks, or leaks at least twice a year.
- Ensure Adequate Space Behind the Refrigerator: Avoid pushing the refrigerator too close to the wall, as this can kink the water line.
By following these steps, you can troubleshoot and potentially fix common water line issues on your refrigerator door. Remember to prioritize safety and consult a professional when needed. With a little knowledge and effort, you can keep your refrigerator running smoothly and enjoy fresh, clean water and ice.